window PONTIAC VIBE 2007 User Guide
[x] Cancel search | Manufacturer: PONTIAC, Model Year: 2007, Model line: VIBE, Model: PONTIAC VIBE 2007Pages: 432, PDF Size: 2.54 MB
Page 87 of 432
Keys
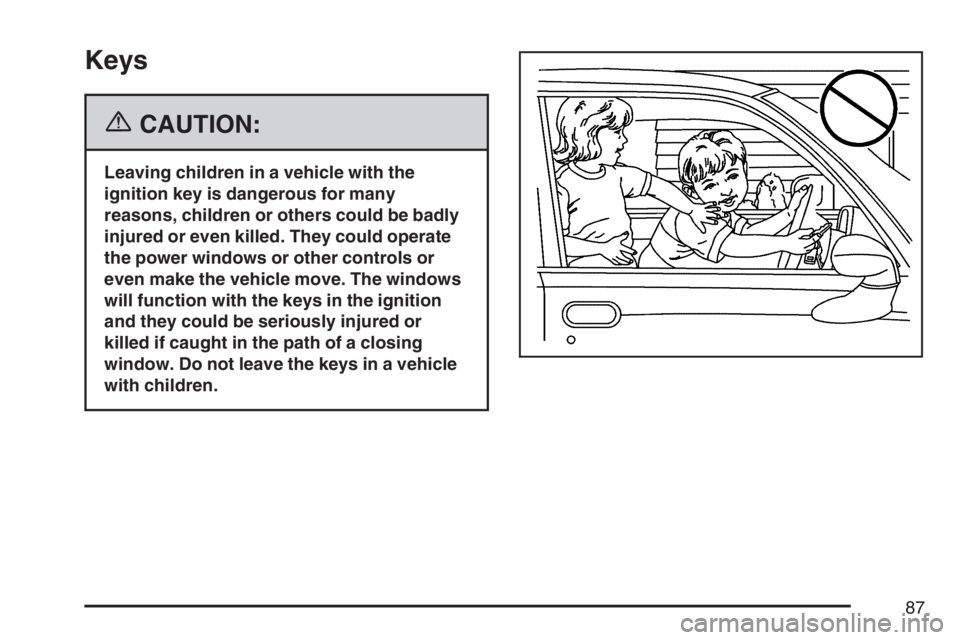
{CAUTION:
Leaving children in a vehicle with the
ignition key is dangerous for many
reasons, children or others could be badly
injured or even killed. They could operate
the power windows or other controls or
even make the vehicle move. The windows
will function with the keys in the ignition
and they could be seriously injured or
killed if caught in the path of a closing
window. Do not leave the keys in a vehicle
with children.
87
Page 96 of 432
To cancel the rear door security lock, do the
following:
1. Unlock the door from the inside and open the
door from the outside.
2. Slide the lever up.
3. Do the same for the other rear door.
The rear door locks will now work normally.Liftgate/Liftglass
{CAUTION:
It can be dangerous to drive with the
liftgate or liftglass open because carbon
monoxide (CO) gas can come into your
vehicle. You cannot see or smell CO. It
can cause unconsciousness and even
death. If you must drive with the liftgate
open or if electrical wiring or other cable
connections must pass through the seal
between the body and the liftgate or
liftglass:
Make sure all other windows are shut.
Turn the fan on your climate control
system to its highest speed and select
the control setting that will force
outside air into your vehicle. See
“Climate Control System” in the Index.
If you have air outlets on or under the
instrument panel, open them all the
way. SeeEngine Exhaust on page 119.
96
Page 98 of 432
Windows
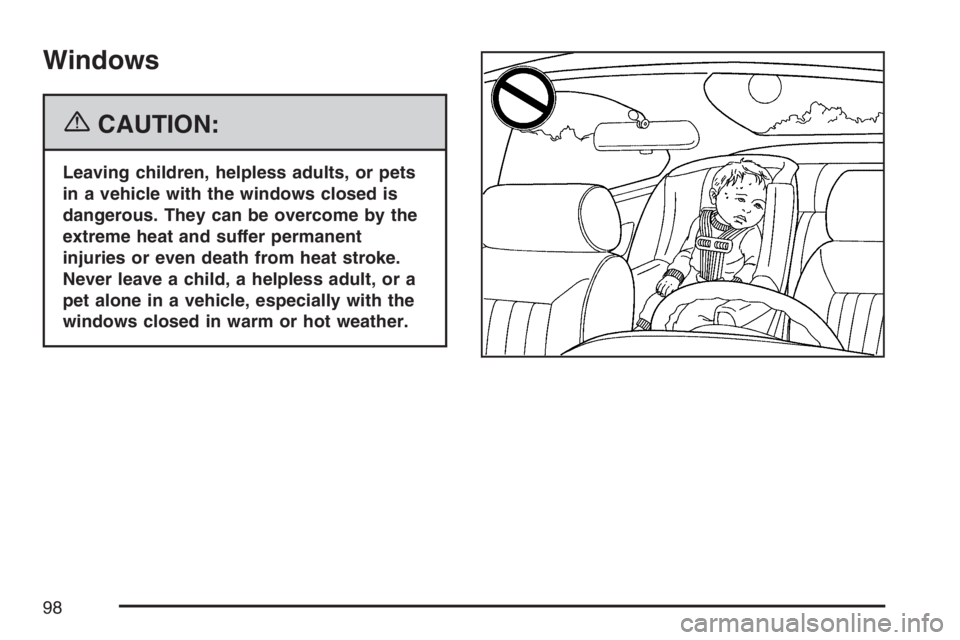
{CAUTION:
Leaving children, helpless adults, or pets
in a vehicle with the windows closed is
dangerous. They can be overcome by the
extreme heat and suffer permanent
injuries or even death from heat stroke.
Never leave a child, a helpless adult, or a
pet alone in a vehicle, especially with the
windows closed in warm or hot weather.
98
Page 99 of 432
Manual Windows
Use the window crank to open and close each
window.
Power Windows
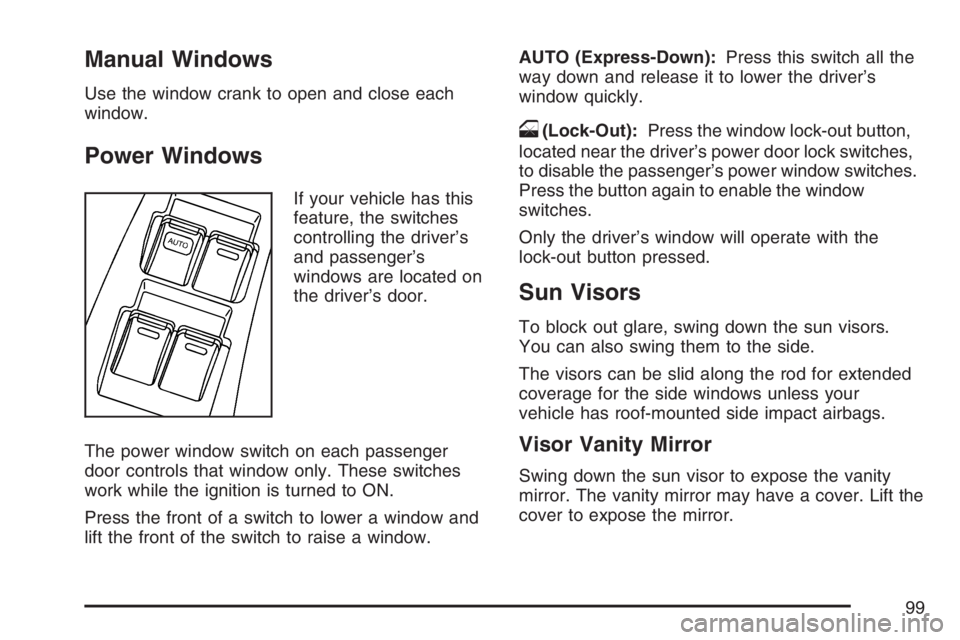
If your vehicle has this
feature, the switches
controlling the driver’s
and passenger’s
windows are located on
the driver’s door.
The power window switch on each passenger
door controls that window only. These switches
work while the ignition is turned to ON.
Press the front of a switch to lower a window and
lift the front of the switch to raise a window.AUTO (Express-Down):Press this switch all the
way down and release it to lower the driver’s
window quickly.
o(Lock-Out):Press the window lock-out button,
located near the driver’s power door lock switches,
to disable the passenger’s power window switches.
Press the button again to enable the window
switches.
Only the driver’s window will operate with the
lock-out button pressed.
Sun Visors
To block out glare, swing down the sun visors.
You can also swing them to the side.
The visors can be slid along the rod for extended
coverage for the side windows unless your
vehicle has roof-mounted side impact airbags.
Visor Vanity Mirror
Swing down the sun visor to expose the vanity
mirror. The vanity mirror may have a cover. Lift the
cover to expose the mirror.
99
Page 101 of 432
Testing the Alarm
To test the alarm, do the following:
1. Open all the windows.
2. Set the system as described in the previous
procedure. The doors and liftgate should be
locked with the key or remote keyless
entry transmitter. Be sure to wait until the
indicator light starts �ashing.
3. Unlock the driver’s door from the inside. The
system should activate the alarm.
4. Stop the alarm as described in the disarming
procedure following.
5. Repeat this operation for the other doors. Also
check that the system is activated when the
battery terminal is disconnected and then
reconnected.
If the system does not work properly, have it
checked by your dealer.
How the System Alarm is Activated
The system will activate the alarm under the
following conditions:
If the driver’s or front passenger’s door is
unlocked or if any of the other doors or
the liftgate is forcibly opened without the key
or remote keyless entry transmitter.
If the battery terminal is disconnected and
then reconnected.
If the ignition is hot-wired.
If the side window glass is broken or damaged.
The indicator light will come on when the
system is activated.
If the driver’s or front passenger’s doors are
unlocked without using the key or remote keyless
entry transmitter, the other doors and the
liftgate will be automatically locked again.
After one minute the alarm will automatically stop
and the indicator light will start �ashing again.
101
Page 119 of 432

Engine Exhaust
{CAUTION:
Engine exhaust can kill. It contains the
gas carbon monoxide (CO), which you
cannot see or smell. It can cause
unconsciousness and death.
You might have exhaust coming in if:
The exhaust system sounds strange
or different.
Your vehicle gets rusty underneath.
Your vehicle was damaged in a
collision.
Your vehicle was damaged when
driving over high points on the road
or over road debris.
CAUTION: (Continued)
CAUTION: (Continued)
Repairs were not done correctly.
Your vehicle or the exhaust system
has been modi�ed improperly.
If you ever suspect exhaust is coming into
your vehicle:
Drive it only with all the windows
down to blow out any CO; and
Have your vehicle �xed immediately.
119
Page 133 of 432
Instrument Panel Overview........................ 136
Hazard Warning Flashers.......................... 138
Other Warning Devices............................. 138
Horn.......................................................... 138
Tilt Wheel.................................................. 139
Turn Signal/Multifunction Lever.................. 139
Turn and Lane-Change Signals................. 140
Headlamp High/Low-Beam Changer.......... 140
Flash-to-Pass............................................ 141
Windshield Wipers..................................... 141
Windshield Washer.................................... 142
Rear Window Wiper/Washer...................... 142
Cruise Control........................................... 143
Exterior Lamps.......................................... 146
Headlamps on Reminder........................... 146
Daytime Running Lamps (DRL)................. 147
Automatic Headlamp System..................... 147
Fog Lamps................................................ 148
Instrument Panel Brightness...................... 148
Interior Lamps Control............................... 149
Entry Lighting............................................ 149
Reading Lamps......................................... 150
Accessory Power Outlet(s)........................ 150Power Outlet 115 Volt Alternating
Current.................................................. 151
Ashtray(s) and Cigarette Lighter................ 151
Climate Controls......................................... 152
Climate Control System............................. 152
Outlet Adjustment...................................... 155
Passenger Compartment Air Filter............. 156
Warning Lights, Gages, and Indicators..... 158
Instrument Panel Cluster........................... 159
Speedometer and Odometer...................... 160
Trip Odometers......................................... 160
Tachometer............................................... 161
Safety Belt Reminder Light........................ 161
Airbag Readiness Light............................. 162
Passenger Airbag Status Indicator............. 163
Charging System Light.............................. 165
Brake System Warning Light..................... 166
Anti-Lock Brake System Warning Light...... 167
Low Tire Pressure Warning Light.............. 167
Traction Control System (TCS)
Warning Light........................................ 168
StabiliTrak
®Indicator Light......................... 168
Section 3 Instrument Panel
133
Page 137 of 432
The main components of your instrument panel are the following:
A. Air Outlets. SeeOutlet Adjustment on
page 155.
B. Instrument Panel Cluster. SeeInstrument
Panel Cluster on page 159.
C. Climate Control System. SeeClimate Control
System on page 152.
D. Hazard Warning Flasher Button. SeeHazard
Warning Flashers on page 138.
E. Audio System. SeeAudio System(s) on
page 177.
F. Rear Window Defogger Button. See “Rear
Window Defogger” underClimate Control
System on page 152.
G. Passenger Airbag Status Indicator. See
Passenger Airbag Status Indicator on page 163.
Front Passenger Safety Belt Reminder Light.
SeeSafety Belt Reminder Light on page 161.
H. Power Remote Control Mirror Button. See
Outside Remote Control Mirrors on page 122.
I. Instrument Panel Brightness Control. See
Instrument Panel Brightness on page 148.
J. Rear Liftglass Release Button. See
Liftgate/Liftglass on page 96.K. Tire Pressure Monitor Reset Button. SeeTire
Pressure Monitor System on page 330.
L. Coinholder. SeeCoinholder(s) on page 127.
M. TRAC OFF Button. SeeTraction Control
System (TCS) on page 230.
N. Content Theft-Deterrent Security Light. See
Content Theft-Deterrent on page 100.
O. Storage Compartment. SeeInstrument Panel
Storage Area on page 127.
P. Turn Signal/Multifunction Lever and Exterior
Lamp Stalk. SeeTurn Signal/Multifunction
Lever on page 139andExterior Lamps
on page 146.
Q. Hood Release. SeeHood Release on
page 280.
R. Tilt Lever. SeeTilt Wheel on page 139.
S. Horn. SeeHorn on page 138.
T. Cruise Control Lever (Option). SeeCruise
Control on page 143.
U. Ignition Switch. SeeIgnition Positions on
page 103.
137
Page 141 of 432
Flash-to-Pass
With the lever in the low-beam position, pull the
lever toward you to momentarily switch to
high beams (to signal that you are going to pass).
If you have the headlamps on when you release
the lever, they will return to the low beams.
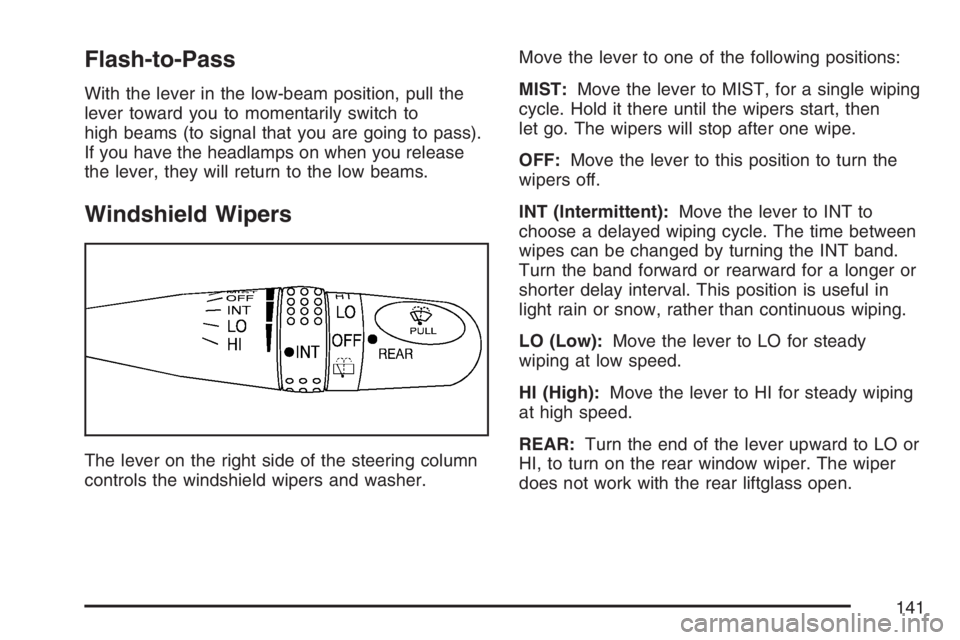
Windshield Wipers
The lever on the right side of the steering column
controls the windshield wipers and washer.Move the lever to one of the following positions:
MIST:Move the lever to MIST, for a single wiping
cycle. Hold it there until the wipers start, then
let go. The wipers will stop after one wipe.
OFF:Move the lever to this position to turn the
wipers off.
INT (Intermittent):Move the lever to INT to
choose a delayed wiping cycle. The time between
wipes can be changed by turning the INT band.
Turn the band forward or rearward for a longer or
shorter delay interval. This position is useful in
light rain or snow, rather than continuous wiping.
LO (Low):Move the lever to LO for steady
wiping at low speed.
HI (High):Move the lever to HI for steady wiping
at high speed.
REAR:Turn the end of the lever upward to LO or
HI, to turn on the rear window wiper. The wiper
does not work with the rear liftglass open.
141
Page 142 of 432
Be sure to clear ice and snow from the wiper
blades before using them. If they are frozen to the
windshield, carefully loosen or thaw them. If the
blades become damaged, get new blades or blade
inserts.
Heavy snow or ice can overload the wipers. A
circuit breaker stops them until the motor cools.
Clear away snow or ice to prevent an overload.
Windshield Washer
Pull the lever toward you to spray washer �uid on
the windshield. The spray will continue until
you release the lever. The wipers will run a few
times. SeeWindshield Washer Fluid on page 305.
The knob automatically returns from the position
after you release it.
{CAUTION:
In freezing weather, do not use your
washer until the windshield is warmed.
Otherwise the washer �uid can form ice
on the windshield, blocking your vision.
Rear Window Wiper/Washer
Turn the knob up or down as far as it will go, to
squirt washer �uid on the rear window. The
knob automatically returns from these positions
after it is released.
The rear window washer uses the same �uid
bottle as the windshield washer. However, the rear
window washer will run out of �uid before the
windshield washer. If you can wash the windshield
but not the rear window, check the �uid level.
{CAUTION:
In freezing weather, do not use your
washer until the windshield is warmed.
Otherwise the washer �uid can form ice
on the windshield, blocking your vision.
142