brake light PONTIAC VIBE 2007 Owners Manual
[x] Cancel search | Manufacturer: PONTIAC, Model Year: 2007, Model line: VIBE, Model: PONTIAC VIBE 2007Pages: 432, PDF Size: 2.54 MB
Page 114 of 432
Parking Brake
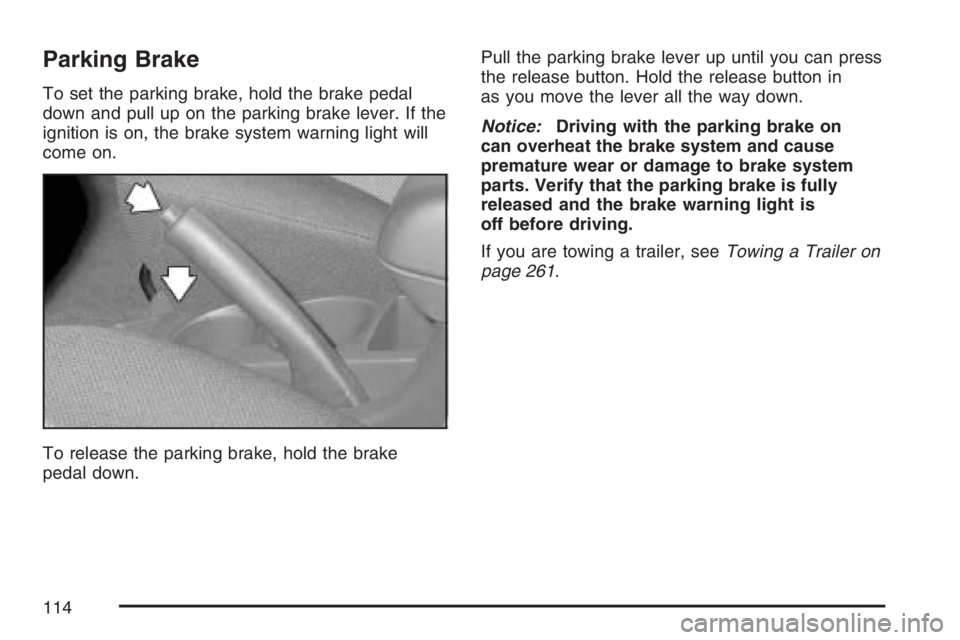
To set the parking brake, hold the brake pedal
down and pull up on the parking brake lever. If the
ignition is on, the brake system warning light will
come on.
To release the parking brake, hold the brake
pedal down.Pull the parking brake lever up until you can press
the release button. Hold the release button in
as you move the lever all the way down.
Notice:Driving with the parking brake on
can overheat the brake system and cause
premature wear or damage to brake system
parts. Verify that the parking brake is fully
released and the brake warning light is
off before driving.
If you are towing a trailer, seeTowing a Trailer on
page 261.
114
Page 133 of 432
Instrument Panel Overview........................ 136
Hazard Warning Flashers.......................... 138
Other Warning Devices............................. 138
Horn.......................................................... 138
Tilt Wheel.................................................. 139
Turn Signal/Multifunction Lever.................. 139
Turn and Lane-Change Signals................. 140
Headlamp High/Low-Beam Changer.......... 140
Flash-to-Pass............................................ 141
Windshield Wipers..................................... 141
Windshield Washer.................................... 142
Rear Window Wiper/Washer...................... 142
Cruise Control........................................... 143
Exterior Lamps.......................................... 146
Headlamps on Reminder........................... 146
Daytime Running Lamps (DRL)................. 147
Automatic Headlamp System..................... 147
Fog Lamps................................................ 148
Instrument Panel Brightness...................... 148
Interior Lamps Control............................... 149
Entry Lighting............................................ 149
Reading Lamps......................................... 150
Accessory Power Outlet(s)........................ 150Power Outlet 115 Volt Alternating
Current.................................................. 151
Ashtray(s) and Cigarette Lighter................ 151
Climate Controls......................................... 152
Climate Control System............................. 152
Outlet Adjustment...................................... 155
Passenger Compartment Air Filter............. 156
Warning Lights, Gages, and Indicators..... 158
Instrument Panel Cluster........................... 159
Speedometer and Odometer...................... 160
Trip Odometers......................................... 160
Tachometer............................................... 161
Safety Belt Reminder Light........................ 161
Airbag Readiness Light............................. 162
Passenger Airbag Status Indicator............. 163
Charging System Light.............................. 165
Brake System Warning Light..................... 166
Anti-Lock Brake System Warning Light...... 167
Low Tire Pressure Warning Light.............. 167
Traction Control System (TCS)
Warning Light........................................ 168
StabiliTrak
®Indicator Light......................... 168
Section 3 Instrument Panel
133
Page 138 of 432
V. Windshield Wiper Lever. SeeWindshield
Wipers on page 141.
W. Cigarette Lighter or Accessory Power Outlet.
SeeAshtray(s) and Cigarette Lighter on
page 151orAccessory Power Outlet(s) on
page 150.
X. Shift Lever. SeeAutomatic Transaxle Operation
on page 108orManual Transaxle Operation
on page 111.
Y. Power Outlet. SeePower Outlet 115 Volt
Alternating Current on page 151.
Z. Parking Brake. SeeParking Brake on
page 114.
AA. Center Console Storage Area. SeeCenter
Console Storage Area on page 127.
AB. Glove Box. SeeGlove Box on page 127.
Hazard Warning Flashers
The hazard warning �ashers let you warn the
police and others that you have a problem. The
front and rear turn signal lamps will �ash on
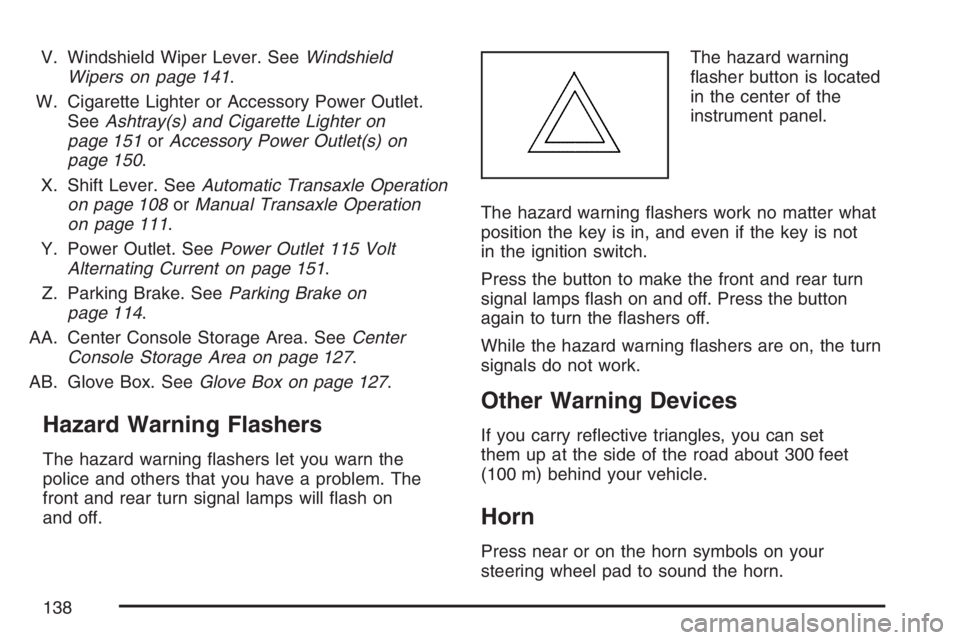
and off.The hazard warning
�asher button is located
in the center of the
instrument panel.
The hazard warning �ashers work no matter what
position the key is in, and even if the key is not
in the ignition switch.
Press the button to make the front and rear turn
signal lamps �ash on and off. Press the button
again to turn the �ashers off.
While the hazard warning �ashers are on, the turn
signals do not work.
Other Warning Devices
If you carry re�ective triangles, you can set
them up at the side of the road about 300 feet
(100 m) behind your vehicle.
Horn
Press near or on the horn symbols on your
steering wheel pad to sound the horn.
138
Page 144 of 432
Setting Cruise Control
{CAUTION:
If you leave your cruise control on when
you are not using cruise, you might hit a
button and go into cruise when you do
not want to. You could be startled and
even lose control. Keep the cruise control
switch off until you want to use cruise
control.
1. Press the ON-OFF button at the end of the
cruise control lever. The CRUISE light on the
instrument panel cluster comes on. See
Cruise Control Light on page 174for more
information.
2. Get up to the desired speed.
3. Move the lever down to−SET and release it.
4. Take your foot off the accelerator pedal.
Resuming a Set Speed
Suppose the cruise control is set at a desired
speed and then you apply the brake. This shuts
off cruise control. But you do not need to reset it.
If the vehicle speed is 25 mph (40 km/h) or
greater, push the lever up to +RES
(Resume/Accelerate). The vehicle returns to the
previously set speed and stays there.
Increasing Speed While Using Cruise
Control
There are three ways to go to a higher speed:
Use the accelerator pedal to get to the higher
speed. Move the lever down to−SET.
Release the lever and the accelerator pedal.
You will now cruise at the higher speed.
Move the cruise lever up to +RES. Hold it
there until you get up to the speed desired,
and then release the lever.
To increase the vehicle speed in very small
amounts, move the lever to +RES brie�y
and then release it. Each time this is done,
the vehicle goes about 1 mph (1.6 km/h)
faster.
144
Page 145 of 432
Reducing Speed While Using Cruise
Control
There are two ways to reduce your speed while
using cruise control:
Push and hold the lever to−SET until you reach
the lower speed desired, then release it.
To slow down in very small amounts, push the
lever down brie�y. Each time this is done, the
vehicle will go about 1 mph (1.6 km/h) slower.
Passing Another Vehicle While Using
Cruise Control
Use the accelerator pedal to increase the vehicle
speed. When you take your foot off the pedal,
the vehicle slows down to the cruise control speed
you set earlier.
Using Cruise Control on Hills
How well the cruise control works on hills depends
upon the vehicle speed, load, and the steepness
of the hills.
When going up steep hills, you might have to step
on the accelerator pedal to maintain the vehicle
speed.When going downhill, you might have to brake or
shift to a lower gear to keep the vehicle speed
down. Of course, applying the brake or
downshifting to SECOND (2) or LOW (L) turns off
the cruise control. Many drivers �nd this to be
too much trouble and do not use cruise control on
steep hills.
Ending Cruise Control
There are several ways to turn off the cruise
control:
Step lightly on the brake pedal or push the
clutch pedal, if you have a manual transaxle.
Press the ON-OFF button again.
Pull the cruise control lever toward you.
Erasing Speed Memory
When you turn off the cruise control or the
ignition, the cruise control set speed memory
is erased.
145
Page 147 of 432
Daytime Running Lamps (DRL)
Daytime Running Lamps (DRL) can make it easier
for others to see the front of your vehicle during
the day. DRL can be helpful in many different
driving conditions, but they can be especially
helpful in the short periods after dawn and before
sunset. Fully functional daytime running lamps
are required on all vehicles �rst sold in Canada.
The DRL system will make the headlamps
come on at a reduced brightness when the
following conditions are met:
The ignition is on with the engine running.
The exterior lamps switch is off.
The parking brake is released.
When the DRL are on, only the headlamps will be
on at a reduced brightness. The taillamps,
sidemarker and other lamps will not be on. The
instrument panel will not be lit up either.
When you turn the exterior lamp switch to the
headlamp position, the DRL will go off and
the headlamps will come on. The other lamps that
come on with the headlamps will also come on.When it begins to get dark, the headlamps will
automatically switch from DRL to the regular
headlamps. See “Automatic Headlamp System”
following.
When you turn the exterior lamp switch off, the
regular lamps will go off and the headlamps
will change to the reduced brightness of DRL
provided it is not dark outside. DRL also comes on
if only the parking lamps are being used.
Automatic Headlamp System
Your vehicle has an automatic light sensor on the
top left corner of the instrument panel, so be
sure it is not covered or the headlamps will be on
continuously.
When it is dark enough outside, the automatic
headlamp system will turn on the low-beam
headlamps at the normal brightness along with
other lamps such as the taillamps, sidemarker,
parking lamps and instrument panel lights. This is
indicated by the headlamp symbol on your
instrument panel cluster. SeeInstrument Panel
Cluster on page 159.
147
Page 166 of 432
Brake System Warning Light
Your vehicle’s hydraulic brake system is divided
into two parts. If one part is not working, the other
part can still work and stop you. For good
braking, though, you need both parts working well.
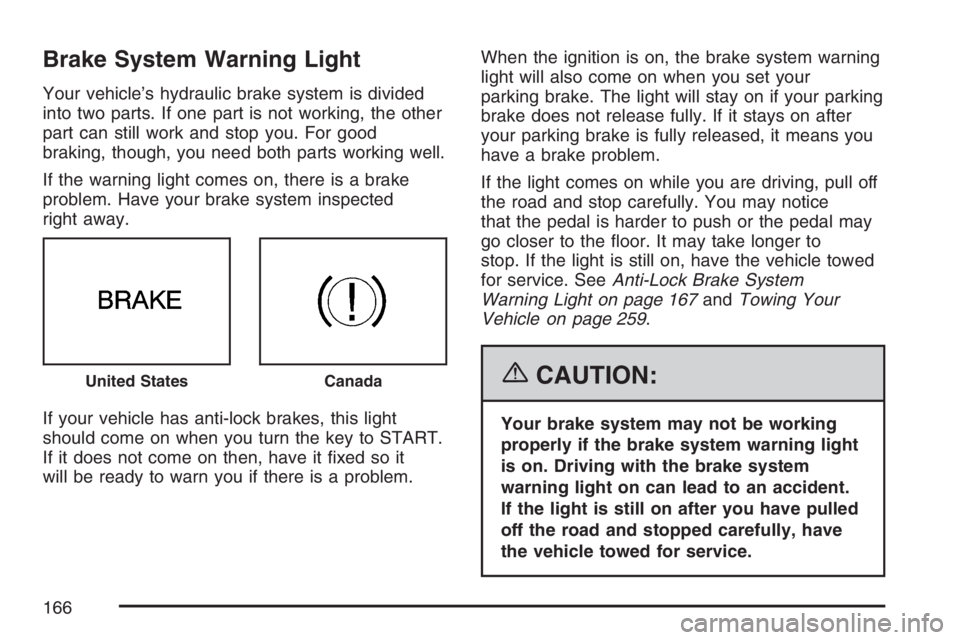
If the warning light comes on, there is a brake
problem. Have your brake system inspected
right away.
If your vehicle has anti-lock brakes, this light
should come on when you turn the key to START.
If it does not come on then, have it �xed so it
will be ready to warn you if there is a problem.When the ignition is on, the brake system warning
light will also come on when you set your
parking brake. The light will stay on if your parking
brake does not release fully. If it stays on after
your parking brake is fully released, it means you
have a brake problem.
If the light comes on while you are driving, pull off
the road and stop carefully. You may notice
that the pedal is harder to push or the pedal may
go closer to the �oor. It may take longer to
stop. If the light is still on, have the vehicle towed
for service. SeeAnti-Lock Brake System
Warning Light on page 167andTowing Your
Vehicle on page 259.
{CAUTION:
Your brake system may not be working
properly if the brake system warning light
is on. Driving with the brake system
warning light on can lead to an accident.
If the light is still on after you have pulled
off the road and stopped carefully, have
the vehicle towed for service.
United StatesCanada
166
Page 167 of 432
Anti-Lock Brake System
Warning Light
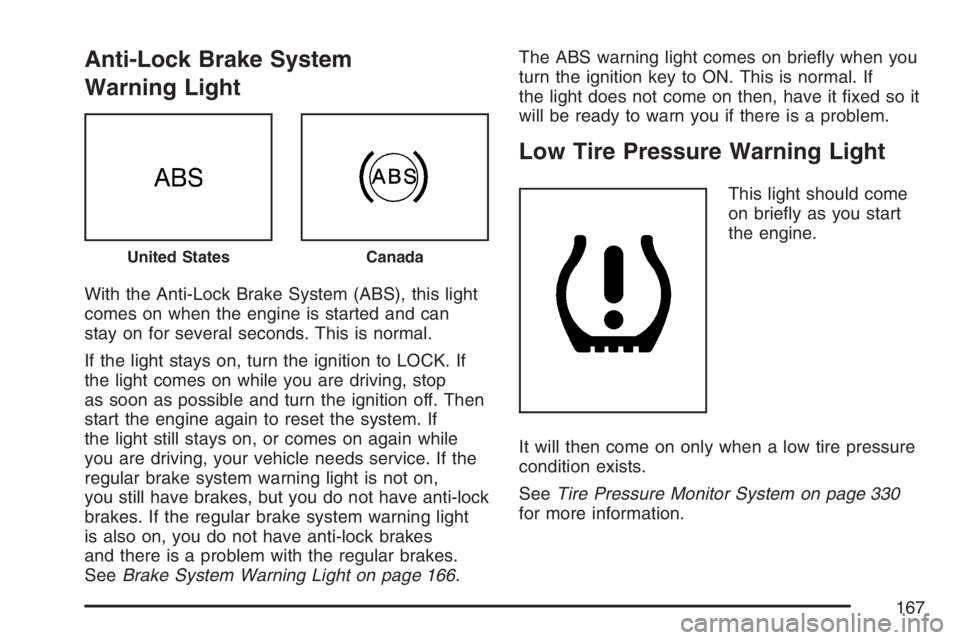
With the Anti-Lock Brake System (ABS), this light
comes on when the engine is started and can
stay on for several seconds. This is normal.
If the light stays on, turn the ignition to LOCK. If
the light comes on while you are driving, stop
as soon as possible and turn the ignition off. Then
start the engine again to reset the system. If
the light still stays on, or comes on again while
you are driving, your vehicle needs service. If the
regular brake system warning light is not on,
you still have brakes, but you do not have anti-lock
brakes. If the regular brake system warning light
is also on, you do not have anti-lock brakes
and there is a problem with the regular brakes.
SeeBrake System Warning Light on page 166.The ABS warning light comes on brie�y when you
turn the ignition key to ON. This is normal. If
the light does not come on then, have it �xed so it
will be ready to warn you if there is a problem.
Low Tire Pressure Warning Light
This light should come
on brie�y as you start
the engine.
It will then come on only when a low tire pressure
condition exists.
SeeTire Pressure Monitor System on page 330
for more information.
United StatesCanada
167
Page 226 of 432
Control of a Vehicle
You have three systems that make your vehicle go
where you want it to go. They are the brakes, the
steering, and the accelerator. All three systems
have to do their work at the places where the tires
meet the road.
Sometimes, as when you are driving on snow or
ice, it is easy to ask more of those control systems
than the tires and road can provide. That means
you can lose control of your vehicle.
Adding non-GM accessories can affect your
vehicle’s performance. SeeAccessories and
Modi�cations on page 272.
Braking
SeeBrake System Warning Light on page 166.
Braking action involves perception time and
reaction time.
First, you have to decide to push on the brake
pedal. That is perception time. Then you have to
bring up your foot and do it. That is reaction time.Average reaction time is about three-fourths of
a second. But that is only an average. It might be
less with one driver and as long as two or
three seconds or more with another. Age, physical
condition, alertness, coordination, and eyesight
all play a part. So do alcohol, drugs, and
frustration. But even in three-fourths of a second,
a vehicle moving at 60 mph (100 km/h) travels
66 feet (20 m). That could be a lot of distance in an
emergency, so keeping enough space between
your vehicle and others is important.
And, of course, actual stopping distances vary
greatly with the surface of the road, whether it is
pavement or gravel; the condition of the road,
whether it is wet, dry, or icy; tire tread; the
condition of the brakes; the weight of the vehicle;
and the amount of brake force applied.
226
Page 227 of 432
Avoid needless heavy braking. Some people drive
in spurts — heavy acceleration followed by
heavy braking — rather than keeping pace with
traffic. This is a mistake. The brakes may not have
time to cool between hard stops. The brakes
will wear out much faster if you do a lot of heavy
braking. If you keep pace with the traffic and
allow realistic following distances, you will
eliminate a lot of unnecessary braking. That means
better braking and longer brake life.
If your vehicle’s engine ever stops while you are
driving, brake normally but do not pump the
brakes. If you do, the pedal may get harder to
push down. If the engine stops, you will still have
some power brake assist. But you will use it
when you brake. Once the power assist is used
up, it may take longer to stop and the brake pedal
will be harder to push.
Adding non-GM accessories can affect your
vehicle’s performance. SeeAccessories and
Modi�cations on page 272.Anti-Lock Brake System (ABS)
Your vehicle may have the Anti-Lock Brake
System (ABS), an advanced electronic braking
system that will help prevent a braking skid.
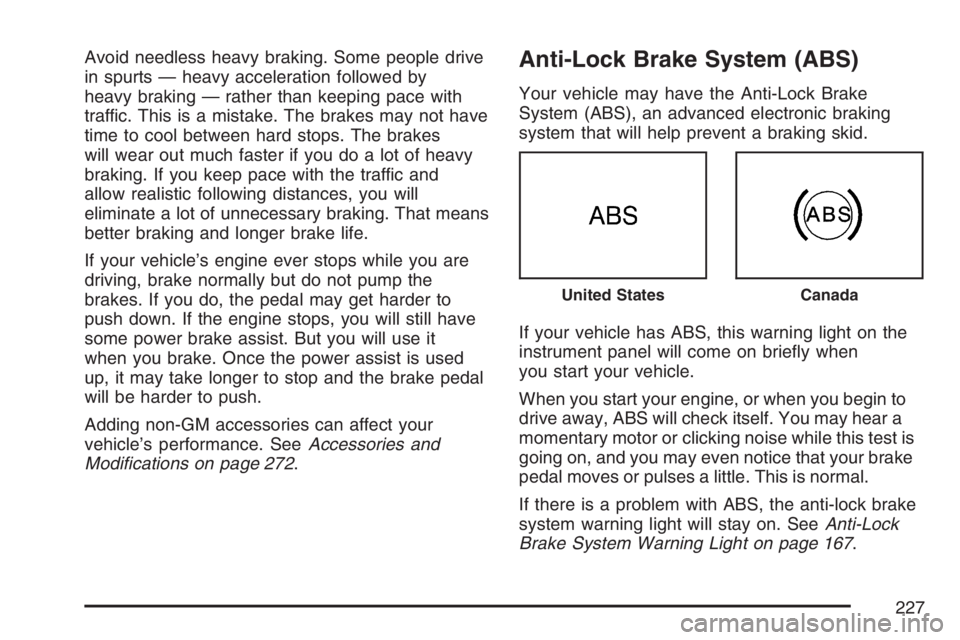
If your vehicle has ABS, this warning light on the
instrument panel will come on brie�y when
you start your vehicle.
When you start your engine, or when you begin to
drive away, ABS will check itself. You may hear a
momentary motor or clicking noise while this test is
going on, and you may even notice that your brake
pedal moves or pulses a little. This is normal.
If there is a problem with ABS, the anti-lock brake
system warning light will stay on. SeeAnti-Lock
Brake System Warning Light on page 167.
United StatesCanada
227