light PONTIAC VIBE 2010 Workshop Manual
[x] Cancel search | Manufacturer: PONTIAC, Model Year: 2010, Model line: VIBE, Model: PONTIAC VIBE 2010Pages: 318, PDF Size: 1.7 MB
Page 166 of 318
Brakes
Antilock Brake
System (ABS)
This vehicle has the Antilock Brake
System (ABS), an advanced
electronic braking system that
helps prevent a braking skid.
When the engine is started and the
vehicle begins to drive away, ABS
checks itself. A momentary motor or
clicking noise might be heard while
this test is going on, and it might
even be noticed that the brake pedal
moves a little. This is normal.
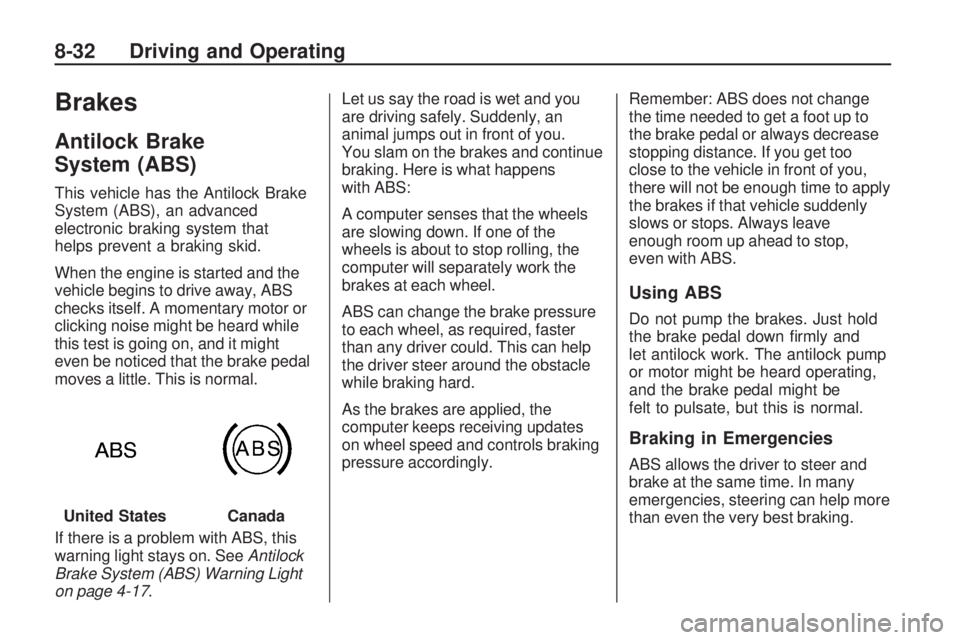
If there is a problem with ABS, this
warning light stays on. SeeAntilock
Brake System (ABS) Warning Light
on page 4-17. Let us say the road is wet and you
are driving safely. Suddenly, an
animal jumps out in front of you.
You slam on the brakes and continue
braking. Here is what happens
with ABS:
A computer senses that the wheels
are slowing down. If one of the
wheels is about to stop rolling, the
computer will separately work the
brakes at each wheel.
ABS can change the brake pressure
to each wheel, as required, faster
than any driver could. This can help
the driver steer around the obstacle
while braking hard.
As the brakes are applied, the
computer keeps receiving updates
on wheel speed and controls braking
pressure accordingly.
Remember: ABS does not change
the time needed to get a foot up to
the brake pedal or always decrease
stopping distance. If you get too
close to the vehicle in front of you,
there will not be enough time to apply
the brakes if that vehicle suddenly
slows or stops. Always leave
enough room up ahead to stop,
even with ABS.
Using ABS
Do not pump the brakes. Just hold
the brake pedal down firmly and
let antilock work. The antilock pump
or motor might be heard operating,
and the brake pedal might be
felt to pulsate, but this is normal.
Braking in Emergencies
ABS allows the driver to steer and
brake at the same time. In many
emergencies, steering can help more
than even the very best braking.
United States
Canada
8-32 Driving and Operating
Page 167 of 318
Parking Brake
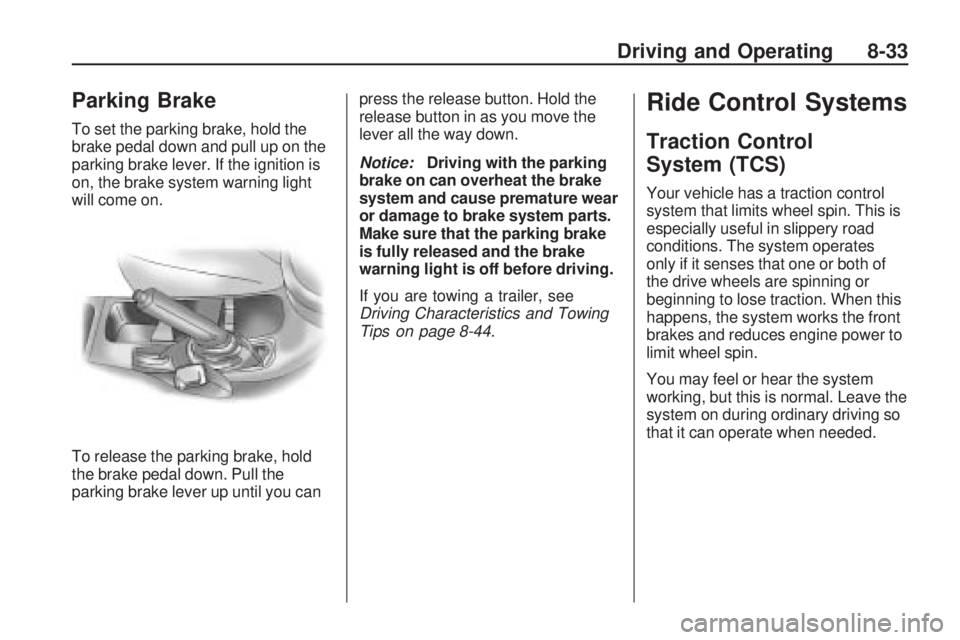
To set the parking brake, hold the
brake pedal down and pull up on the
parking brake lever. If the ignition is
on, the brake system warning light
will come on.
To release the parking brake, hold
the brake pedal down. Pull the
parking brake lever up until you canpress the release button. Hold the
release button in as you move the
lever all the way down.
Notice:
Driving with the parking
brake on can overheat the brake
system and cause premature wear
or damage to brake system parts.
Make sure that the parking brake
is fully released and the brake
warning light is off before driving.
If you are towing a trailer, see
Driving Characteristics and Towing
Tips on page 8-44.
Ride Control Systems
Traction Control
System (TCS)
Your vehicle has a traction control
system that limits wheel spin. This is
especially useful in slippery road
conditions. The system operates
only if it senses that one or both of
the drive wheels are spinning or
beginning to lose traction. When this
happens, the system works the front
brakes and reduces engine power to
limit wheel spin.
You may feel or hear the system
working, but this is normal. Leave the
system on during ordinary driving so
that it can operate when needed.
Driving and Operating 8-33
Page 168 of 318
When the ignition is turned to
ON/RUN, the system automatically
turns on. If the system has been
turned off, it will automatically turn on
at 55 km/h (35 mph). TCS cannot be
turned off above 55 km/h (35 mph).
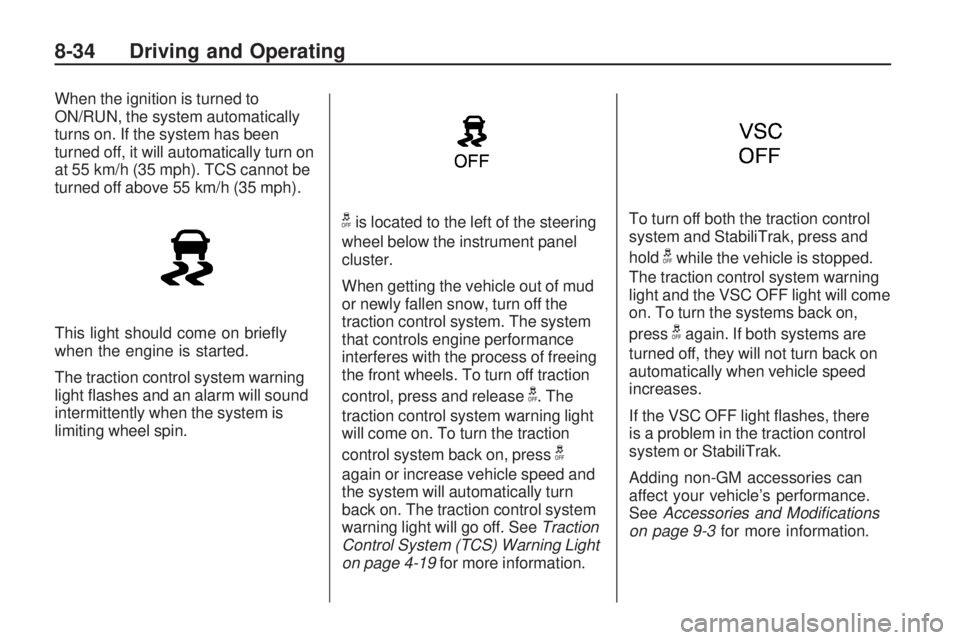
This light should come on briefly
when the engine is started.
The traction control system warning
light flashes and an alarm will sound
intermittently when the system is
limiting wheel spin.
gis located to the left of the steering
wheel below the instrument panel
cluster.
When getting the vehicle out of mud
or newly fallen snow, turn off the
traction control system. The system
that controls engine performance
interferes with the process of freeing
the front wheels. To turn off traction
control, press and release
g. The
traction control system warning light
will come on. To turn the traction
control system back on, press
g
again or increase vehicle speed and
the system will automatically turn
back on. The traction control system
warning light will go off. See Traction
Control System (TCS) Warning Light
on page 4-19 for more information. To turn off both the traction control
system and StabiliTrak, press and
hold
gwhile the vehicle is stopped.
The traction control system warning
light and the VSC OFF light will come
on. To turn the systems back on,
press
gagain. If both systems are
turned off, they will not turn back on
automatically when vehicle speed
increases.
If the VSC OFF light flashes, there
is a problem in the traction control
system or StabiliTrak.
Adding non-GM accessories can
affect your vehicle’s performance.
See Accessories and Modi�cations
on page 9-3 for more information.
8-34 Driving and Operating
Page 169 of 318
StabiliTrak System
The vehicle has the StabiliTrak
system which combines antilock
brake, traction and stability control
systems. This system automatically
controls the brakes and engine to
help prevent the vehicle from
skidding when cornering on a
slippery road surface or turning
the steering wheel abruptly.
This system activates when the
vehicle speed reaches or exceeds
15 km/h (9 mph), and deactivates
when the vehicle speed reduces to
below 15 km/h (9 mph).
A sound may be heard in the engine
compartment for a few seconds
when the engine is started or just
after the vehicle begins to move.
This means that the system is in
the self-check mode, but does not
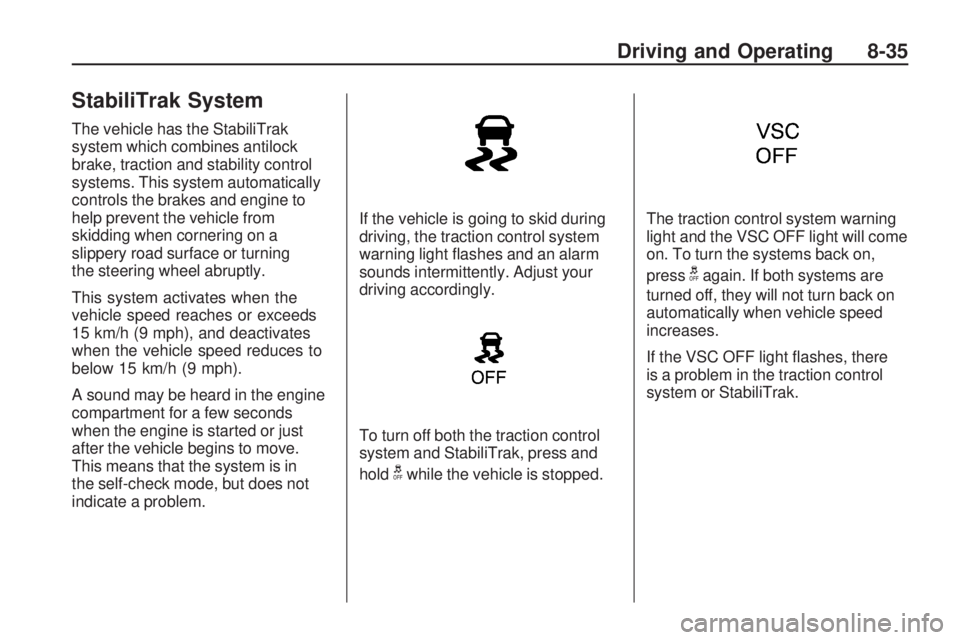
indicate a problem.If the vehicle is going to skid during
driving, the traction control system
warning light flashes and an alarm
sounds intermittently. Adjust your
driving accordingly.
To turn off both the traction control
system and StabiliTrak, press and
hold
gwhile the vehicle is stopped.
The traction control system warning
light and the VSC OFF light will come
on. To turn the systems back on,
press
gagain. If both systems are
turned off, they will not turn back on
automatically when vehicle speed
increases.
If the VSC OFF light flashes, there
is a problem in the traction control
system or StabiliTrak.
Driving and Operating 8-35
Page 170 of 318
Cruise Control
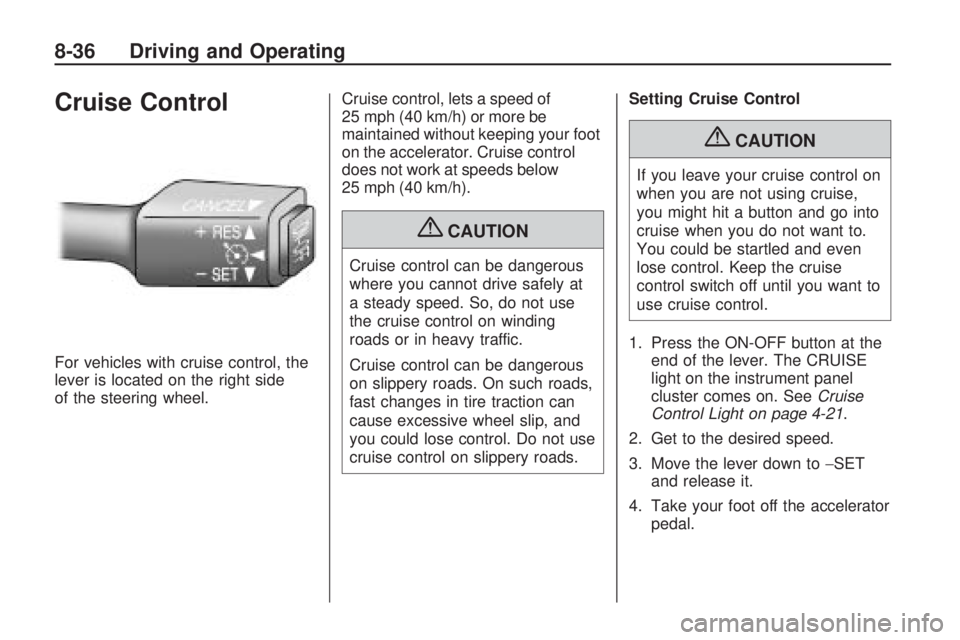
For vehicles with cruise control, the
lever is located on the right side
of the steering wheel.Cruise control, lets a speed of
25 mph (40 km/h) or more be
maintained without keeping your foot
on the accelerator. Cruise control
does not work at speeds below
25 mph (40 km/h).
{CAUTION
Cruise control can be dangerous
where you cannot drive safely at
a steady speed. So, do not use
the cruise control on winding
roads or in heavy traffic.
Cruise control can be dangerous
on slippery roads. On such roads,
fast changes in tire traction can
cause excessive wheel slip, and
you could lose control. Do not use
cruise control on slippery roads.Setting Cruise Control
{CAUTION
If you leave your cruise control on
when you are not using cruise,
you might hit a button and go into
cruise when you do not want to.
You could be startled and even
lose control. Keep the cruise
control switch off until you want to
use cruise control.
1. Press the ON-OFF button at the end of the lever. The CRUISE
light on the instrument panel
cluster comes on. See Cruise
Control Light on page 4-21 .
2. Get to the desired speed.
3. Move the lever down to −SET
and release it.
4. Take your foot off the accelerator pedal.
8-36 Driving and Operating
Page 171 of 318
If the cruise control indicator light
flashes, press the ON-OFF button
once to deactivate the system,
and then press the button back on.
If the cruise control speed cannot
be set or the cruise control cancels
immediately after being activated,
there may be a problem with the
cruise control system. See your
dealer/retailer.
Resuming a Set Speed
If the brakes are applied after the
cruise control is set, the cruise
control is turned off.
If the vehicle speed is 25 mph
(40 km/h) or greater, push the lever
up to +RES (Resume/Accelerate) to
return to the previously set speed.Increasing Speed While Using
Cruise Control
There are three ways to increase
the vehicle speed:
•Use the accelerator pedal to get
to the higher speed. Move the
lever down to
−SET. Release the
lever and the accelerator pedal.
•Move the cruise lever up to +RES.
Hold it there until the desired
speed is reached, and then
release the lever.
•To increase the vehicle speed in
very small amounts, move the
lever to +RES briefly and then
release it. Each time this is done,
the vehicle goes about 1 mph
(1.6 km/h) faster. Reducing Speed While Using
Cruise Control
There are two ways to reduce the
vehicle speed while using cruise
control:
•Push and hold the lever to
−SET
until the desired lower speed is
reached, then release it.
•To slow down in very small
amounts, push the lever down
briefly. Each time this is done,
the vehicle will go about 1 mph
(1.6 km/h) slower.
Passing Another Vehicle While
Using Cruise Control
Use the accelerator pedal to
increase the vehicle speed. When
you take your foot off the pedal, the
vehicle slows down to the cruise
control speed set earlier.
Driving and Operating 8-37
Page 176 of 318
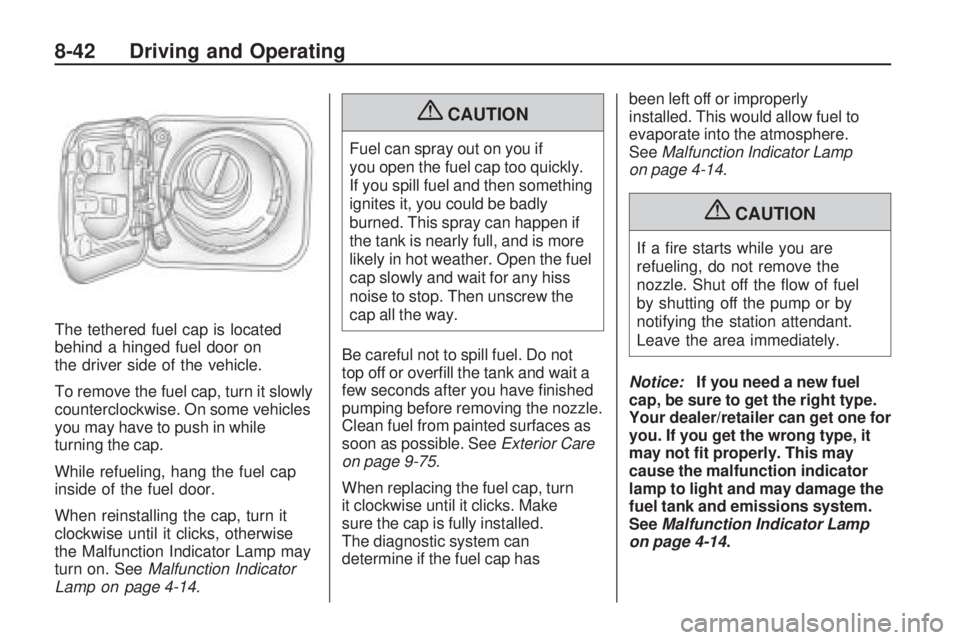
The tethered fuel cap is located
behind a hinged fuel door on
the driver side of the vehicle.
To remove the fuel cap, turn it slowly
counterclockwise. On some vehicles
you may have to push in while
turning the cap.
While refueling, hang the fuel cap
inside of the fuel door.
When reinstalling the cap, turn it
clockwise until it clicks, otherwise
the Malfunction Indicator Lamp may
turn on. SeeMalfunction Indicator
Lamp on page 4-14.
{CAUTION
Fuel can spray out on you if
you open the fuel cap too quickly.
If you spill fuel and then something
ignites it, you could be badly
burned. This spray can happen if
the tank is nearly full, and is more
likely in hot weather. Open the fuel
cap slowly and wait for any hiss
noise to stop. Then unscrew the
cap all the way.
Be careful not to spill fuel. Do not
top off or overfill the tank and wait a
few seconds after you have finished
pumping before removing the nozzle.
Clean fuel from painted surfaces as
soon as possible. See Exterior Care
on page 9-75.
When replacing the fuel cap, turn
it clockwise until it clicks. Make
sure the cap is fully installed.
The diagnostic system can
determine if the fuel cap has been left off or improperly
installed. This would allow fuel to
evaporate into the atmosphere.
See
Malfunction Indicator Lamp
on page 4-14.
{CAUTION
If a fire starts while you are
refueling, do not remove the
nozzle. Shut off the flow of fuel
by shutting off the pump or by
notifying the station attendant.
Leave the area immediately.
Notice: If you need a new fuel
cap, be sure to get the right type.
Your dealer/retailer can get one for
you. If you get the wrong type, it
may not �t properly. This may
cause the malfunction indicator
lamp to light and may damage the
fuel tank and emissions system.
See Malfunction Indicator Lamp
on page 4-14.
8-42 Driving and Operating
Page 184 of 318
Trailer Brakes
Does the trailer have its own
brakes? Be sure to read and follow
the instructions for the trailer
brakes so they are installed,
adjusted and maintained properly.
Because the vehicle has anti-lock
brakes, do not tap into the vehicle’s
brake system. If you do, both brake
systems will not work well, or at all.
Trailer Wiring Harness
All of the electrical circuits required
for the trailer lighting system can be
accessed at the driver’s side rear
lamp connector. This connector is
located under the carpet at the rear
corner of the cargo compartment.
Conversions and
Add-Ons
Add-On Electrical
Equipment
Notice:Do not add anything
electrical to the vehicle unless you
check with your dealer/retailer
�rst. Some electrical equipment
can damage the vehicle and the
damage would not be covered by
the vehicle’s warranty. Some
add-on electrical equipment can
keep other components from
working as they should. Add-on equipment can drain the
vehicle battery, even if the vehicle is
not operating.
The vehicle has an airbag system.
Before attempting to add anything
electrical to the vehicle, see
Servicing the Airbag-Equipped
Vehicle on page 2-34
.
8-50 Driving and Operating
Page 201 of 318
How to Inspect the Engine Air
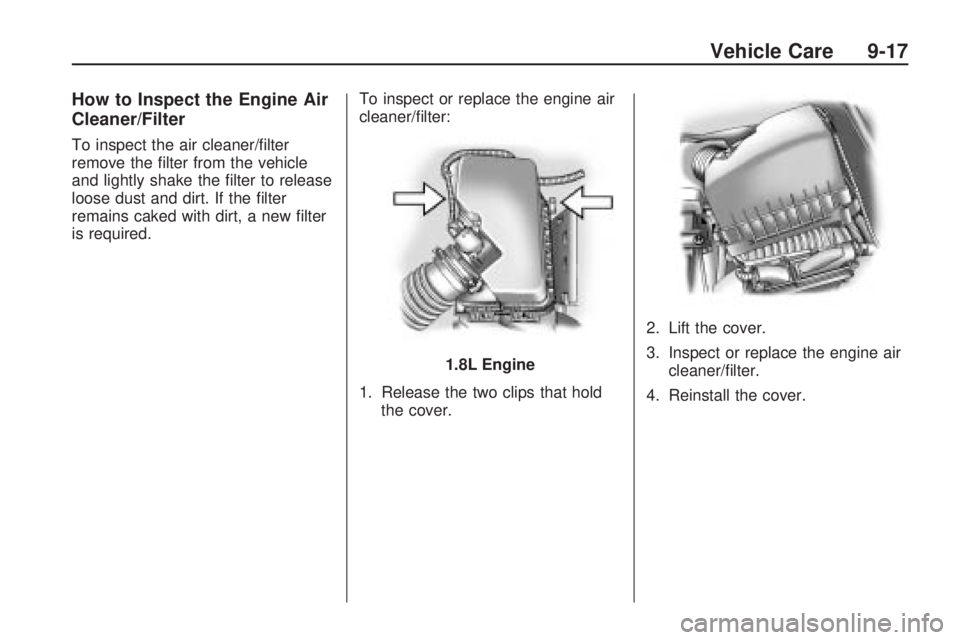
Cleaner/Filter
To inspect the air cleaner/filter
remove the filter from the vehicle
and lightly shake the filter to release
loose dust and dirt. If the filter
remains caked with dirt, a new filter
is required.To inspect or replace the engine air
cleaner/filter:
1. Release the two clips that hold
the cover. 2. Lift the cover.
3. Inspect or replace the engine air
cleaner/filter.
4. Reinstall the cover.
1.8L Engine
Vehicle Care 9-17
Page 204 of 318
What to Use
Use a 50/50 mixture of clean,
drinkable water and DEX-COOL®
coolant, which will not damage
aluminum parts. If this coolant
mixture is used, nothing else
needs to be added.
{CAUTION
Adding only plain water to the
cooling system can be dangerous.
Plain water, or some other liquid
such as alcohol, can boil before
the proper coolant mixture will.
The vehicle’s coolant warning
system is set for the proper coolant
mixture. With plain water or the
wrong mixture, the engine could
get too hot but would not get the
overheat warning. The engine
could catch fire and you or
others could be burned. Use a
50/50 mixture of clean, drinkable
water and DEX-COOL
®coolant.Notice:
If an improper coolant
mixture is used, the engine could
overheat and be badly damaged.
The repair cost would not be
covered by the vehicle warranty.
Too much water in the mixture
can freeze and crack the engine,
radiator, heater core, and other
parts.
•Gives freezing protection down to
−34°F (− 38°C).
•Gives boiling protection up to
265°F (129°C).
•Protects against rust and
corrosion.
•Helps keep the proper engine
temperature.
•Lets the warning lights and gages
work as they should.
Notice: Using coolant other than
DEX-COOL can cause premature
engine, heater core or radiator
corrosion. In addition, the engine
coolant may require changing sooner, at 30,000 miles
(50 000 km) or 24 months,
whichever occurs �rst. Any
repairs would not be covered
by the vehicle warranty. Always
use DEX-COOL (silicate-free)
coolant in your vehicle.
Checking Coolant
The vehicle must be on a level
surface. When the engine is cold,
the coolant level should be at LOW,
or a little higher. When the engine
is warm, the level should be up to
FULL, or a little higher. If it is not,
there could be a leak at the pressure
cap or in the radiator hoses, heater
hoses, radiator, water pump, or
somewhere else in the cooling
system.
See
Engine Compartment Overview
on page 9-6 for the location of
the coolant recovery tank.
9-20 Vehicle Care