warning PONTIAC VIBE 2010 Owners Manual
[x] Cancel search | Manufacturer: PONTIAC, Model Year: 2010, Model line: VIBE, Model: PONTIAC VIBE 2010Pages: 318, PDF Size: 1.7 MB
Page 1 of 318
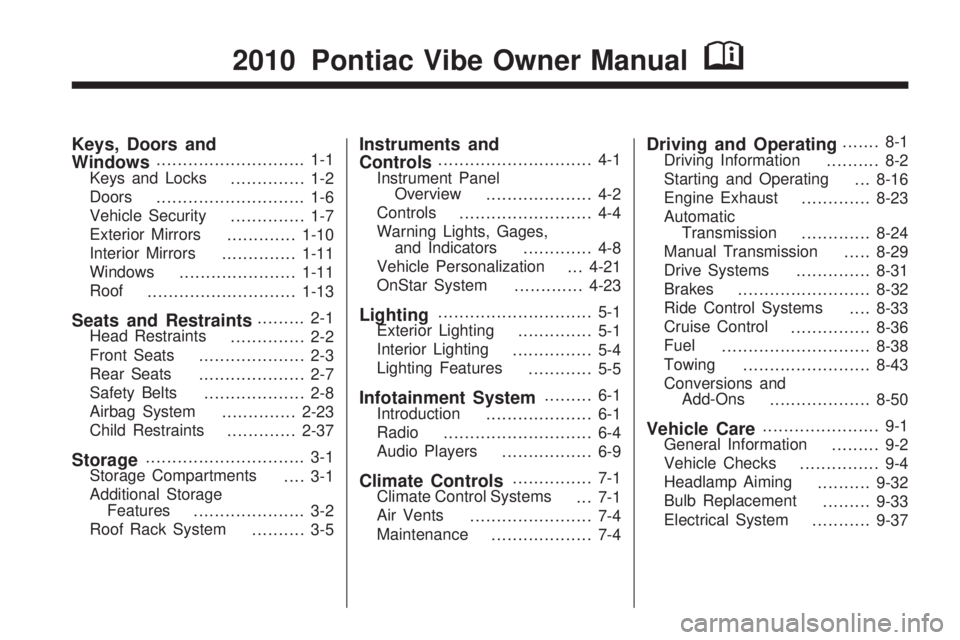
Keys, Doors and
Windows............................ 1-1
Keys and Locks .............. 1-2
Doors ............................ 1-6
Vehicle Security .............. 1-7
Exterior Mirrors .............1-10
Interior Mirrors ..............1-11
Windows ...................... 1-11
Roof ............................ 1-13
Seats and Restraints......... 2-1
Head Restraints .............. 2-2
Front Seats .................... 2-3
Rear Seats .................... 2-7
Safety Belts ................... 2-8
Airbag System ..............2-23
Child Restraints .............2-37
Storage.............................. 3-1
Storage Compartments .... 3-1
Additional Storage Features ..................... 3-2
Roof Rack System .......... 3-5
Instruments and
Controls............................. 4-1
Instrument Panel Overview .................... 4-2
Controls ......................... 4-4
Warning Lights, Gages, and Indicators ............. 4-8
Vehicle Personalization . . . 4-21
OnStar System .............4-23
Lighting............................. 5-1
Exterior Lighting .............. 5-1
Interior Lighting ............... 5-4
Lighting Features ............ 5-5
Infotainment System......... 6-1
Introduction .................... 6-1
Radio ............................ 6-4
Audio Players ................. 6-9
Climate Controls............... 7-1
Climate Control Systems ... 7-1
Air Vents ....................... 7-4
Maintenance ................... 7-4
Driving and Operating....... 8-1
Driving Information .......... 8-2
Starting and Operating . . . 8-16
Engine Exhaust .............8-23
Automatic Transmission .............8-24
Manual Transmission .....8-29
Drive Systems ..............8-31
Brakes ......................... 8-32
Ride Control Systems ....8-33
Cruise Control ...............8-36
Fuel ............................ 8-38
Towing ........................ 8-43
Conversions and Add-Ons ................... 8-50
Vehicle Care...................... 9-1
General Information ......... 9-2
Vehicle Checks ............... 9-4
Headlamp Aiming ..........9-32
Bulb Replacement .........9-33
Electrical System ...........9-37
2010 Pontiac Vibe Owner ManualM
Page 4 of 318
Using this Manual
To quickly locate information about
the vehicle use the Index in the back
of the manual. It is an alphabetical
list of what is in the manual and the
page number where it can be found.
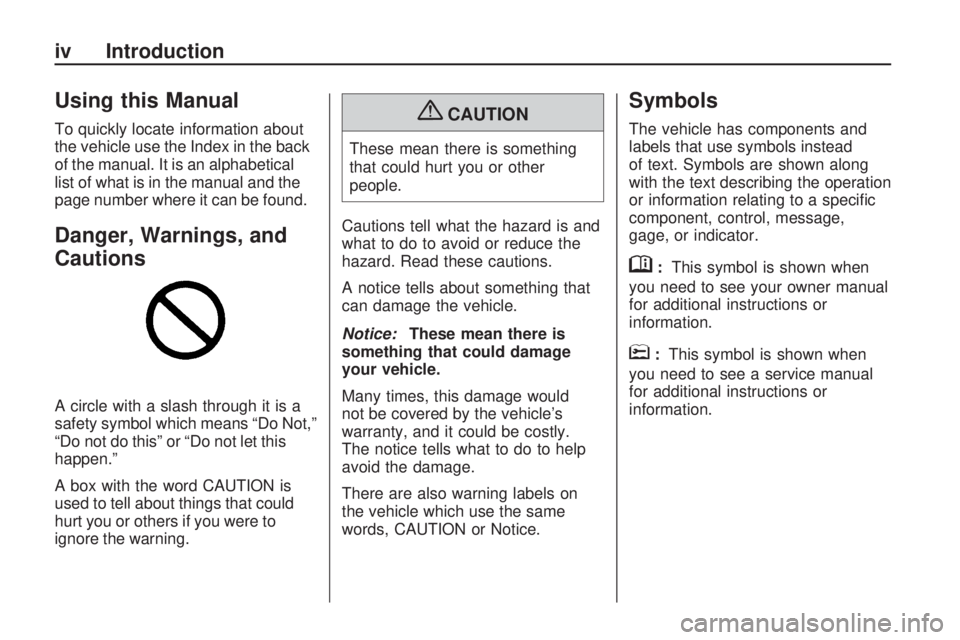
Danger, Warnings, and
Cautions
A circle with a slash through it is a
safety symbol which means “Do Not,”
“Do not do this” or “Do not let this
happen.”
A box with the word CAUTION is
used to tell about things that could
hurt you or others if you were to
ignore the warning.
{CAUTION
These mean there is something
that could hurt you or other
people.
Cautions tell what the hazard is and
what to do to avoid or reduce the
hazard. Read these cautions.
A notice tells about something that
can damage the vehicle.
Notice: These mean there is
something that could damage
your vehicle.
Many times, this damage would
not be covered by the vehicle’s
warranty, and it could be costly.
The notice tells what to do to help
avoid the damage.
There are also warning labels on
the vehicle which use the same
words, CAUTION or Notice.
Symbols
The vehicle has components and
labels that use symbols instead
of text. Symbols are shown along
with the text describing the operation
or information relating to a specific
component, control, message,
gage, or indicator.
M: This symbol is shown when
you need to see your owner manual
for additional instructions or
information.
*: This symbol is shown when
you need to see a service manual
for additional instructions or
information.
iv Introduction
Page 5 of 318
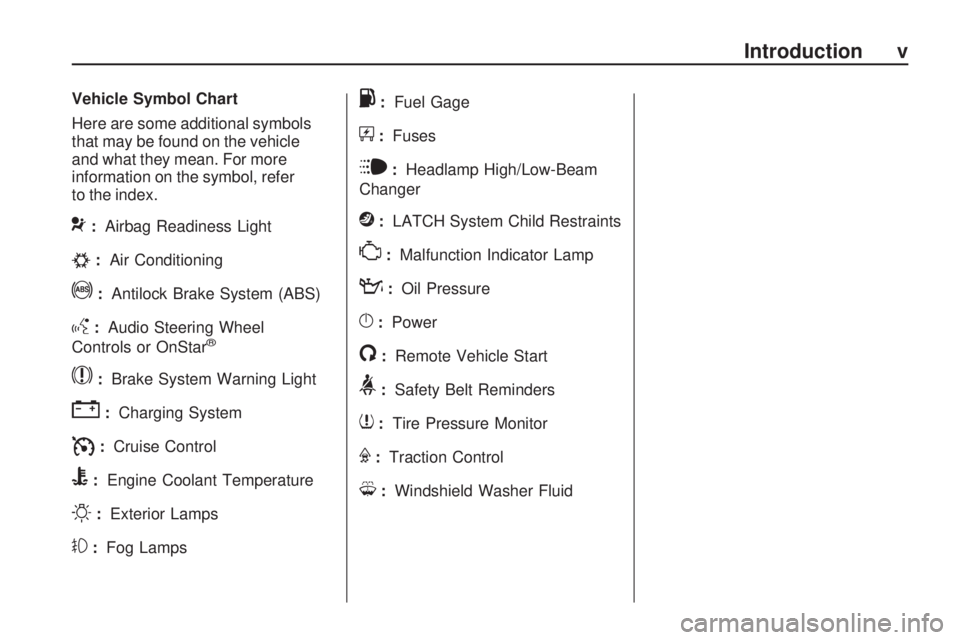
Vehicle Symbol Chart
Here are some additional symbols
that may be found on the vehicle
and what they mean. For more
information on the symbol, refer
to the index.
9:Airbag Readiness Light
#:Air Conditioning
!:Antilock Brake System (ABS)
g:Audio Steering Wheel
Controls or OnStar®
$: Brake System Warning Light
":Charging System
I:Cruise Control
B:Engine Coolant Temperature
O:Exterior Lamps
#:Fog Lamps
.:Fuel Gage
+:Fuses
i:Headlamp High/Low-Beam
Changer
j: LATCH System Child Restraints
*:Malfunction Indicator Lamp
::Oil Pressure
}:Power
/:Remote Vehicle Start
>:Safety Belt Reminders
7:Tire Pressure Monitor
F:Traction Control
M:Windshield Washer Fluid
Introduction v
Page 9 of 318
Remote Keyless Entry
(RKE) System
SeeRadio Frequency Statement
(US, Can) on page 12-16 for
information regarding Part 15 of
the Federal Communications
Commission (FCC) Rules and
RSS-210/211 of Industry and
Science Canada.
Remote Keyless Entry
(RKE) System Operation
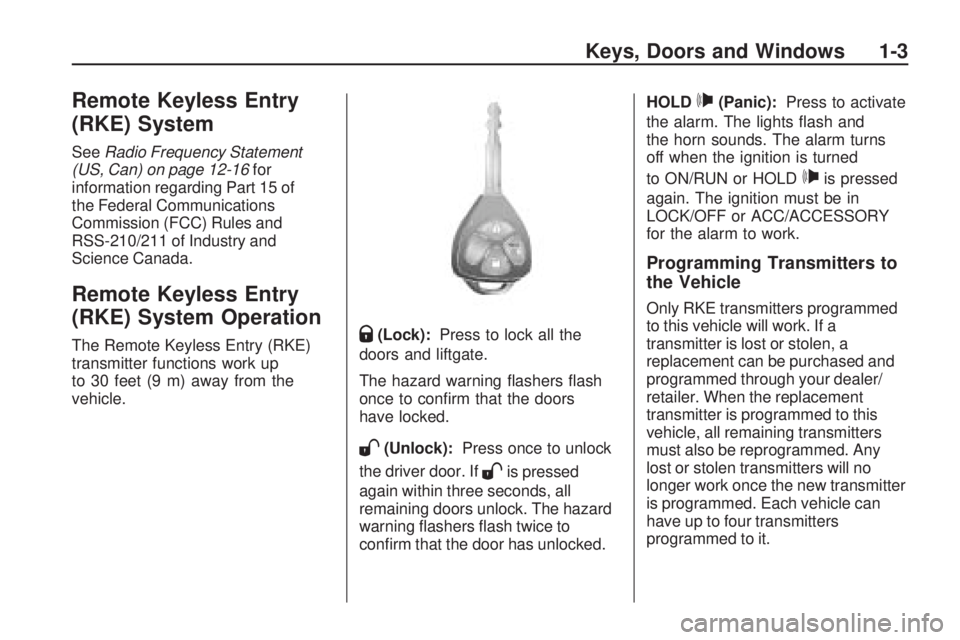
The Remote Keyless Entry (RKE)
transmitter functions work up
to 30 feet (9 m) away from the
vehicle.Q(Lock): Press to lock all the
doors and liftgate.
The hazard warning flashers flash
once to confirm that the doors
have locked.
W(Unlock): Press once to unlock
the driver door. If
Wis pressed
again within three seconds, all
remaining doors unlock. The hazard
warning flashers flash twice to
confirm that the door has unlocked. HOLD
p(Panic):
Press to activate
the alarm. The lights flash and
the horn sounds. The alarm turns
off when the ignition is turned
to ON/RUN or HOLD
pis pressed
again. The ignition must be in
LOCK/OFF or ACC/ACCESSORY
for the alarm to work.
Programming Transmitters to
the Vehicle
Only RKE transmitters programmed
to this vehicle will work. If a
transmitter is lost or stolen, a
replacement can be purchased and
programmed through your dealer/
retailer. When the replacement
transmitter is programmed to this
vehicle, all remaining transmitters
must also be reprogrammed. Any
lost or stolen transmitters will no
longer work once the new transmitter
is programmed. Each vehicle can
have up to four transmitters
programmed to it.
Keys, Doors and Windows 1-3
Page 48 of 318
How Does an Airbag
Restrain?
In moderate to severe frontal or
near frontal collisions, even belted
occupants can contact the steering
wheel or the instrument panel.
In moderate to severe side collisions,
even belted occupants can contact
the inside of the vehicle.
Airbags supplement the protection
provided by safety belts. Frontal
airbags distribute the force of the
impact more evenly over the
occupant’s upper body, stopping
the occupant more gradually.
Seat-mounted side impact and
roof-rail airbags distribute the force
of the impact more evenly over the
occupant’s upper body.
But airbags would not help in many
types of collisions, primarily because
the occupant’s motion is not toward
those airbags. SeeWhen Should an
Airbag In�ate? on page 2-26 for
more information.
Airbags should never be regarded
as anything more than a supplement
to safety belts.
What Will You See After
an Airbag In�ates?
After the frontal airbags and
seat-mounted side impact airbags
inflate, they quickly deflate, so
quickly that some people may not
even realize an airbag inflated.
Roof-rail airbags may still be at least
partially inflated for some time after
they deploy. Some components of
the airbag module may be hot for
several minutes. For location of the
airbag modules, see What Makes
an Airbag In�ate? on page 2-27 .
The parts of the airbag that come
into contact with you may be warm,
but not too hot to touch. There may
be some smoke and dust coming
from the vents in the deflated
airbags. Airbag inflation does not
prevent the driver from seeing out
of the windshield or being able to
steer the vehicle, nor does it prevent
people from leaving the vehicle.
{CAUTION
When an airbag inflates, there
may be dust in the air. This dust
could cause breathing problems
for people with a history of asthma
or other breathing trouble.
To avoid this, everyone in the
vehicle should get out as soon
as it is safe to do so. If you have
breathing problems but cannot get
out of the vehicle after an airbag
inflates, then get fresh air by
opening a window or a door. If you
experience breathing problems
following an airbag deployment,
you should seek medical attention.
The vehicle has a feature that may
automatically unlock the doors, turn
the interior lamps on, and turn the
hazard warning flashers on when
the airbags inflate. You can lock
the doors, turn the interior lamps off,
and turn the hazard warning flashers
off by using the controls for those
features.
2-28 Seats and Restraints
Page 83 of 318

Instruments and
Controls
Instrument Panel OverviewInstrument Panel Overview.....4-2
ControlsSteering Wheel Adjustment.....4-4
Steering Wheel Controls .........4-4
Horn ...................................
.4-5
Windshield Wiper/Washer .......4-5
Rear Window Wiper/Washer . . . .4-6
Power Outlets (Accessory Power Outlets) ....................
.4-6
Power Outlets (115 Volt Alternating Current) .............
.4-7
Cigarette Lighter ..................
.4-8
Ashtrays .............................
.4-8
Warning Lights, Gages, and
Indicators
Warning Lights, Gages, and
Indicators ..........................
.4-8
Instrument Cluster ................
.4-9
Speedometer .....................
.4-10
Odometer ..........................
.4-10
Trip Odometer ....................
.4-10
Tachometer .......................
.4-10
Fuel Gage .........................
.4-10
Engine Coolant Temperature Gage .............4-11
Safety Belt Reminders ..........4-11
Airbag Readiness Light .........4-12
Passenger Airbag Status Indicator ..........................
.4-13
Charging System Light .........4-14
Malfunction Indicator Lamp .................
.4-14
Brake System Warning Light ...............................
.4-17
Antilock Brake System (ABS) Warning Light ...........4-17
Service All-Wheel Drive Light ...............................
.4-18Speed Sensitive Power
Steering (SSPS) Warning
Light ...............................
.4-18
StabiliTrak®Indicator Light . . . .4-18
Traction Control System (TCS) Warning Light ...........4-19
Tire Pressure Light .............
.4-19
Engine Oil Pressure Light .....4-19
Low Fuel Warning Light ........4-20
Security Light .....................
.4-20
High-Beam on Light .............4-20
Fog Lamp Light ..................
.4-20
Lamps on Reminder .............4-20
Taillamp Indicator Light .........4-21
Low Washer Fluid Warning Light ...............................
.4-21
Cruise Control Light .............4-21
Door Ajar Light ...................
.4-21
Vehicle PersonalizationVehicle Personalization .........4-21
OnStar SystemOnStar®System.................
.4-23
Instruments and Controls 4-1
Page 85 of 318
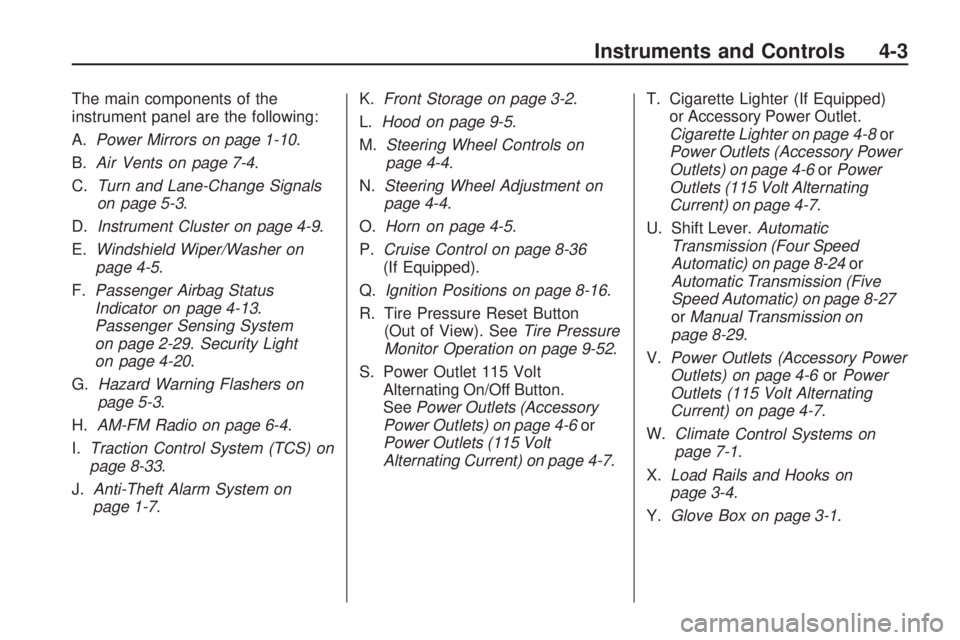
The main components of the
instrument panel are the following:
A.Power Mirrors on page 1-10 .
B. Air Vents on page 7-4.
C. Turn and Lane-Change Signals
on page 5-3.
D. Instrument Cluster on page 4-9 .
E. Windshield Wiper/Washer on
page 4-5.
F. Passenger Airbag Status
Indicator on page 4-13 .
Passenger Sensing System
on page 2-29. Security Light
on page 4-20.
G. Hazard Warning Flashers on
page 5-3.
H. AM-FM Radio on page 6-4 .
I. Traction Control System (TCS) on
page 8-33.
J. Anti-Theft Alarm System on
page 1-7. K.
Front Storage on page 3-2 .
L. Hood on page 9-5.
M. Steering Wheel Controls on
page 4-4.
N. Steering Wheel Adjustment on
page 4-4.
O. Horn on page 4-5.
P. Cruise Control on page 8-36
(If Equipped).
Q. Ignition Positions on page 8-16 .
R. Tire Pressure Reset Button (Out of View). See Tire Pressure
Monitor Operation on page 9-52 .
S. Power Outlet 115 Volt Alternating On/Off Button.
See Power Outlets (Accessory
Power Outlets) on page 4-6 or
Power Outlets (115 Volt
Alternating Current) on page 4-7 .T. Cigarette Lighter (If Equipped)
or Accessory Power Outlet.
Cigarette Lighter on page 4-8 or
Power Outlets (Accessory Power
Outlets) on page 4-6 orPower
Outlets (115 Volt Alternating
Current) on page 4-7.
U. Shift Lever. Automatic
Transmission (Four Speed
Automatic) on page 8-24 or
Automatic Transmission (Five
Speed Automatic) on page 8-27
or Manual Transmission on
page 8-29.
V. Power Outlets (Accessory Power
Outlets) on page 4-6 orPower
Outlets (115 Volt Alternating
Current) on page 4-7 .
W. Climate
Control Systems on
page 7-1.
X. Load Rails and Hooks on
page 3-4.
Y. Glove Box on page 3-1 .
Instruments and Controls 4-3
Page 90 of 318
Cigarette Lighter
For vehicles with a lighter, push
the lighter down and it will pop up
when it is ready to be used. The
ignition switch must be in the
ACC/ACCESSORY or ON/RUN
position to use the lighter.
Notice:Holding a cigarette
lighter in while it is heating does
not let the lighter back away from
the heating element when it is hot.
Damage from overheating can
occur to the lighter or heating
element, or a fuse could be blown.
Do not hold a cigarette lighter in
while it is heating.
It is not recommended to use the
cigarette lighter to plug in auxiliary
electrical equipment. Use the
accessory power outlet for phones and other electrical equipment. See
Power Outlets (Accessory Power
Outlets) on page 4-6
orPower
Outlets (115 Volt Alternating
Current) on page 4-7 .
Ashtrays
For vehicles with a removable
ashtray, it is located in the front
cupholder in the center console
storage area.
Notice:If papers, pins, or other
�ammable items are put in the
ashtray, hot cigarettes or other
smoking materials could ignite
them and possibly damage the
vehicle. Never put �ammable
items in the ashtray.
Warning Lights,
Gages, and Indicators
Warning lights come on when there
could be a problem with a vehicle
function. Some warning lights come
on briefly when the engine is started
to indicate they are working.
Gages can indicate when there
could be a problem with a vehicle
function. Often gages and warning
lights work together to indicate
a problem with the vehicle.
When one of the warning lights
comes on and stays on while driving,
or when one of the gages shows
there may be a problem, check the
section that explains what to do.
Follow this manual’s advice. Waiting
to do repairs can be costly and even
dangerous.
4-8 Instruments and Controls
Page 93 of 318
that the fuel filler door is on the driver
side of the vehicle. The fuel gage
works only when the ignition switch is
turned to ON/RUN. When the gage
first indicates E or empty, there is still
about 2 gallons ( 7.6 L) of fuel left,
but more needs to be added right
away. When the vehicle is low on fuel
the low fuel warning light, located
below the empty mark, comes on.
Five things that do not indicate a
problem with the fuel gage:
•At the gas station, the fuel pump
shuts off before the gage reads
F or full.
•It takes a little more or less fuel
to fill up than the gage indicated.
For example, the gage may have
indicated the tank was half full,
but it actually took more or less
than half the tank’s capacity to
fill it.
•It takes the gage several minutes
to read F or full after filling the
vehicle with fuel.
•The gage moves a little when you
turn, stop or speed up.
•The gage does not go back to E
or empty when you turn off the
ignition.
Engine Coolant
Temperature Gage
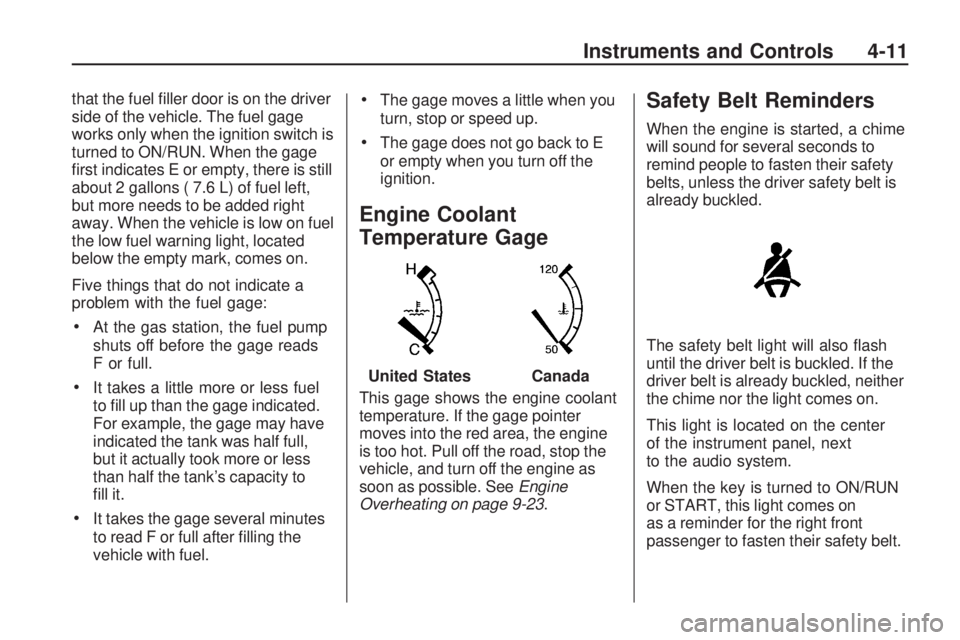
This gage shows the engine coolant
temperature. If the gage pointer
moves into the red area, the engine
is too hot. Pull off the road, stop the
vehicle, and turn off the engine as
soon as possible. SeeEngine
Overheating on page 9-23 .
Safety Belt Reminders
When the engine is started, a chime
will sound for several seconds to
remind people to fasten their safety
belts, unless the driver safety belt is
already buckled.
The safety belt light will also flash
until the driver belt is buckled. If the
driver belt is already buckled, neither
the chime nor the light comes on.
This light is located on the center
of the instrument panel, next
to the audio system.
When the key is turned to ON/RUN
or START, this light comes on
as a reminder for the right front
passenger to fasten their safety belt.
United States
Canada
Instruments and Controls 4-11
Page 99 of 318
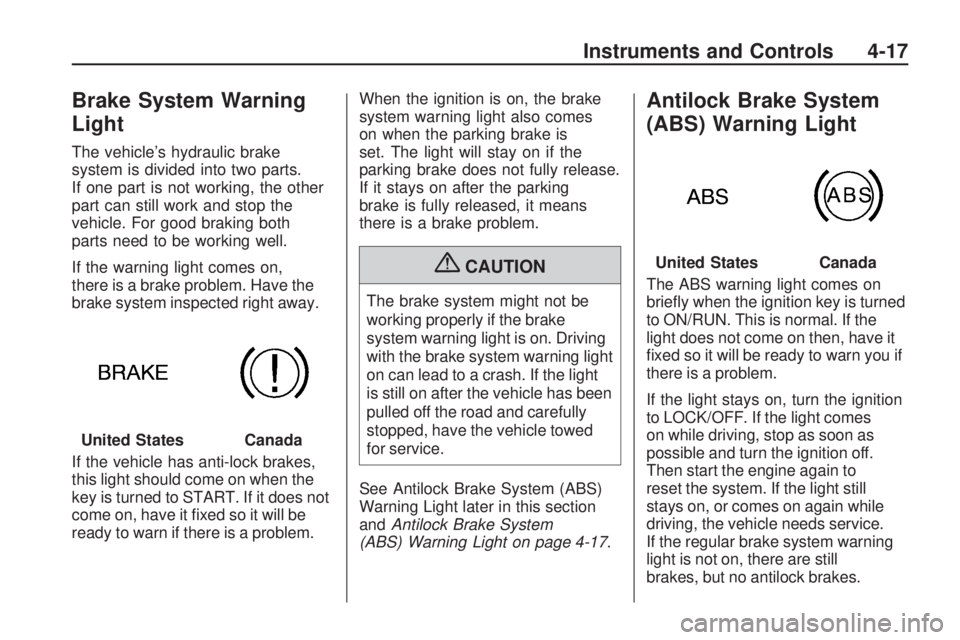
Brake System Warning
Light
The vehicle’s hydraulic brake
system is divided into two parts.
If one part is not working, the other
part can still work and stop the
vehicle. For good braking both
parts need to be working well.
If the warning light comes on,
there is a brake problem. Have the
brake system inspected right away.
If the vehicle has anti-lock brakes,
this light should come on when the
key is turned to START. If it does not
come on, have it fixed so it will be
ready to warn if there is a problem.When the ignition is on, the brake
system warning light also comes
on when the parking brake is
set. The light will stay on if the
parking brake does not fully release.
If it stays on after the parking
brake is fully released, it means
there is a brake problem.
{CAUTION
The brake system might not be
working properly if the brake
system warning light is on. Driving
with the brake system warning light
on can lead to a crash. If the light
is still on after the vehicle has been
pulled off the road and carefully
stopped, have the vehicle towed
for service.
See Antilock Brake System (ABS)
Warning Light later in this section
and Antilock Brake System
(ABS) Warning Light on page 4-17 .
Antilock Brake System
(ABS) Warning Light
The ABS warning light comes on
briefly when the ignition key is turned
to ON/RUN. This is normal. If the
light does not come on then, have it
fixed so it will be ready to warn you if
there is a problem.
If the light stays on, turn the ignition
to LOCK/OFF. If the light comes
on while driving, stop as soon as
possible and turn the ignition off.
Then start the engine again to
reset the system. If the light still
stays on, or comes on again while
driving, the vehicle needs service.
If the regular brake system warning
light is not on, there are still
brakes, but no antilock brakes.
United States
Canada
United StatesCanada
Instruments and Controls 4-17