steering wheel Ram 1500 2013 Owner's Guide
[x] Cancel search | Manufacturer: RAM, Model Year: 2013, Model line: 1500, Model: Ram 1500 2013Pages: 734, PDF Size: 5.47 MB
Page 270 of 734
This system allows the driver to select a variety of useful
information by pressing the switches mounted on the
steering wheel. The EVIC consists of the following:
•Digital Speedometer
• Vehicle Info
• Fuel Economy Info
• Trip A
• Trip B
• Stop/Start Info (If Equipped)
• Trailer Tow
• Audio
• Stored Messages
• Screen Setup •
Vehicle Settings (Not Equipped with a Uconnect®
Access 5.0 & 8.4 radio)
The system allows the driver to select information by
pressing the following buttons mounted on the steering
wheel:
EVIC Steering Wheels Buttons
268 UNDERSTANDING YOUR INSTRUMENT PANEL
Page 279 of 734
•Stop/Start Not Ready Max Cooling Or Heating Se-
lected – If Equipped
• Stop/Start Not Ready Front Defrost Selected – If
Equipped
• Stop/Start Not Ready Steering Wheel Turned – If
Equipped
• Stop/Start Autostop Active – If Equipped
• Stop/Start To Restart Press Clutch Or Shift To Neutral
– If Equipped
• Stop/Start Req’d Fault Detected – If Equipped
• Stop/Start Cannot Autostart Hood Open – If
Equipped
• Stop/Start Unavailable Service Battery – If Equipped
• Stop/Start Unavailable Service Stop/Start System – If
Equipped •
Stop/Start To Restart Shift Out Of Park – If Equipped
• Stop/Start Off – If Equipped
• Autostop Duration – If Equipped
The Reconfigurable Telltales section is divided into the
white telltales area on the right, amber telltales in the
middle, and red telltales on the left.
EVIC Amber Telltales
This area will show reconfigurable amber caution tell-
tales. These telltales include:
• Low Fuel Telltale
When the fuel level reaches approximately 3.0 gal
(11.0 L) this light will turn on, and remain on until
fuel is added.
4
UNDERSTANDING YOUR INSTRUMENT PANEL 277
Page 293 of 734
Key Fob Linked To Memory
When this feature is selected the memory seat, mirror,
and radio settings will return to the memory set position
when the RKE transmitter UNLOCK button is pressed. If
this feature is not selected then the memory seat, mirror,
and radio settings can only return to the memory set
position using the seat mounted switch. To make your
selection, press and release the SELECT button until a
check-mark appears next to the feature showing the
system has been activated or the check-mark is removed
showing the system has been deactivated.
Keyless Enter-N-Go™ (Passive Entry)
This feature allows you to lock and unlock the vehicle’s
door(s) without having to press the RKE transmitter lock
or unlock buttons. To make your selection, press and
release the SELECT button until a check-mark appears
next to the feature showing the system has been activated
or the check-mark is removed showing the system hasbeen deactivated. Refer to “Keyless Enter-N-Go™” in
“Things To Know Before Starting Your Vehicle”.
Remote Start Comfort Sys.
When this feature is selected and the remote start is
activated, the heated steering wheel and driver heated
seat features will automatically turn on in cold weather.
In warm weather, the driver vented seat feature will
automatically turn on when the remote start is activated.
These features will stay on through the duration of
remote start or until the key is turned to RUN. To make
your selection, press and release the SELECT button until
a check-mark appears next to the feature showing the
system has been activated or the check-mark is removed
showing the system has been deactivated.
Key-Off Power Delay
When this feature is selected, the power window
switches, radio, hands-free system (if equipped), DVD
video system (if equipped), power sunroof (if equipped),
4
UNDERSTANDING YOUR INSTRUMENT PANEL 291
Page 308 of 734
NOTE:The seat will return to the memorized seat
location (if Recall Memory with Remote Key Unlock is set
to ON) when the Remote Keyless Entry (RKE) transmitter
is used to unlock the door. Refer to “Driver Memory
Seat” in “Understanding The Features Of Your Vehicle”
for further information.
Auto-On Comfort & Remote Start
After pressing the Auto-On Comfort & Remote Start
soft-key the following settings will be available.
• Horn With Remote Start
When this feature is selected, the horn will sound when
the remote start is activated. To make your selection,
touch the Sound Horn With Remote Start soft-key, until a
check-mark appears next to setting, showing that setting
has been selected. Touch the back arrow soft-key to
return to the previous menu. •
Auto-On Driver Heated/Ventilated Seat & Steering
Wheel With Vehicle Start — If Equipped
When this feature is selected the driver’s heated seat and
heated steering wheel will automatically turn on when
temperatures are below 40° F (4.4° C). When tempera-
tures are above 80° F (26.7° C) the driver vented seat will
turn on. To make your selection, touch the Auto Heated
Seats soft-key, until a check-mark appears next to setting,
showing that setting has been selected. Touch the back
arrow soft-key to return to the previous menu.
Engine Off Options
After pressing the Engine Off Options soft-key the fol-
lowing settings will be available.
• Engine Off Power Delay
When this feature is selected, the power window
switches, radio, Uconnect® phone system (if equipped),
DVD video system (if equipped), power sunroof (if
306 UNDERSTANDING YOUR INSTRUMENT PANEL
Page 314 of 734
Uconnect® RADIOS — IF EQUIPPED
For detailed information about your Uconnect® radio
refer to your Uconnect® Supplement Manual.
iPod®/USB/MP3 CONTROL — IF EQUIPPED
Located inside the center console upper lid, this feature
allows an iPod® or external USB device to be plugged
into the USB port.
iPod® control supports Mini, 4G, Photo, Nano, 5G iPod®
and iPhone® devices. Some iPod® software versions
may not fully support the iPod® control features. Please
visit Apple’s website for software updates.
For further information, refer to the Uconnect® Access
User ’s Manual.
STEERING WHEEL AUDIO CONTROLS — IF
EQUIPPED
The remote sound system controls are located on the back
surface of the steering wheel. Reach behind the wheel to
access the switches.
Remote Sound System Controls (Back View Of SteeringWheel)
312 UNDERSTANDING YOUR INSTRUMENT PANEL
Page 357 of 734
In 8-speed vehicles, the brake pedal must also be pressed
to shift from NEUTRAL into DRIVE or REVERSE when
the vehicle is stopped or moving at low speeds.
Eight–Speed Automatic Transmission — If
Equipped
Your vehicle is equipped with a state of the art, fuel
efficient eight-speed transmission. The electronic shifter
control is located on the instrument panel. The transmis-
sion gear (PRND) is displayed both above the shifter
control and in the Electronic Vehicle Information Center
(EVIC). To select a gear range, simply rotate the shifter
control. You must press the brake pedal to shift the
transmission out of PARK (see Brake/Transmission Shift
Interlock System). You must also press the brake pedal to
shift from NEUTRAL into DRIVE or REVERSE, when the
vehicle is stopped or moving at low speeds. To shift past
multiple gear ranges at once (such as Park to Drive),simply rotate the shifter control to the appropriate detent.
Select the DRIVE range for normal driving.
The electronically-controlled transmission provides a
precise shift schedule. The transmission electronics are
self-calibrating; therefore, the first few shifts on a new
vehicle may be somewhat abrupt. This is a normal
condition, and precision shifts will develop within a few
hundred miles (kilometers).
Only shift from DRIVE to PARK or REVERSE when the
accelerator pedal is released and the vehicle is stopped.
Be sure to keep your foot on the brake pedal when
shifting between these gears.
The transmission shifter control has only PARK, RE-
VERSE, NEUTRAL, and DRIVE positions. Manual down-
shifts can be made using the Electronic Range Select
(ERS) switches (described later in this section). Pressing
the GEAR-/GEAR+ switches (on the steering wheel)
while in the DRIVE position will select the highest
5
STARTING AND OPERATING 355
Page 364 of 734
shift above third gear (except to prevent engine over-
speed), but will shift down into second and first gears
normally.
You can switch between DRIVE and ERS mode at any
vehicle speed. When the shifter control is in the DRIVE
position, the transmission will operate automatically,
shifting between all available gears. Tapping the GEAR-
switch (on the steering wheel) will activate ERS mode,
display the current gear in the instrument cluster, and
maintain that gear as the top available gear. Once in ERS
mode, tapping the GEAR- or GEAR+ switch will change
the top available gear.To exit ERS mode, simply press and hold the GEAR+
switch until “D” is once again displayed in the transmis-
sion gear position indicator in the instrument cluster.
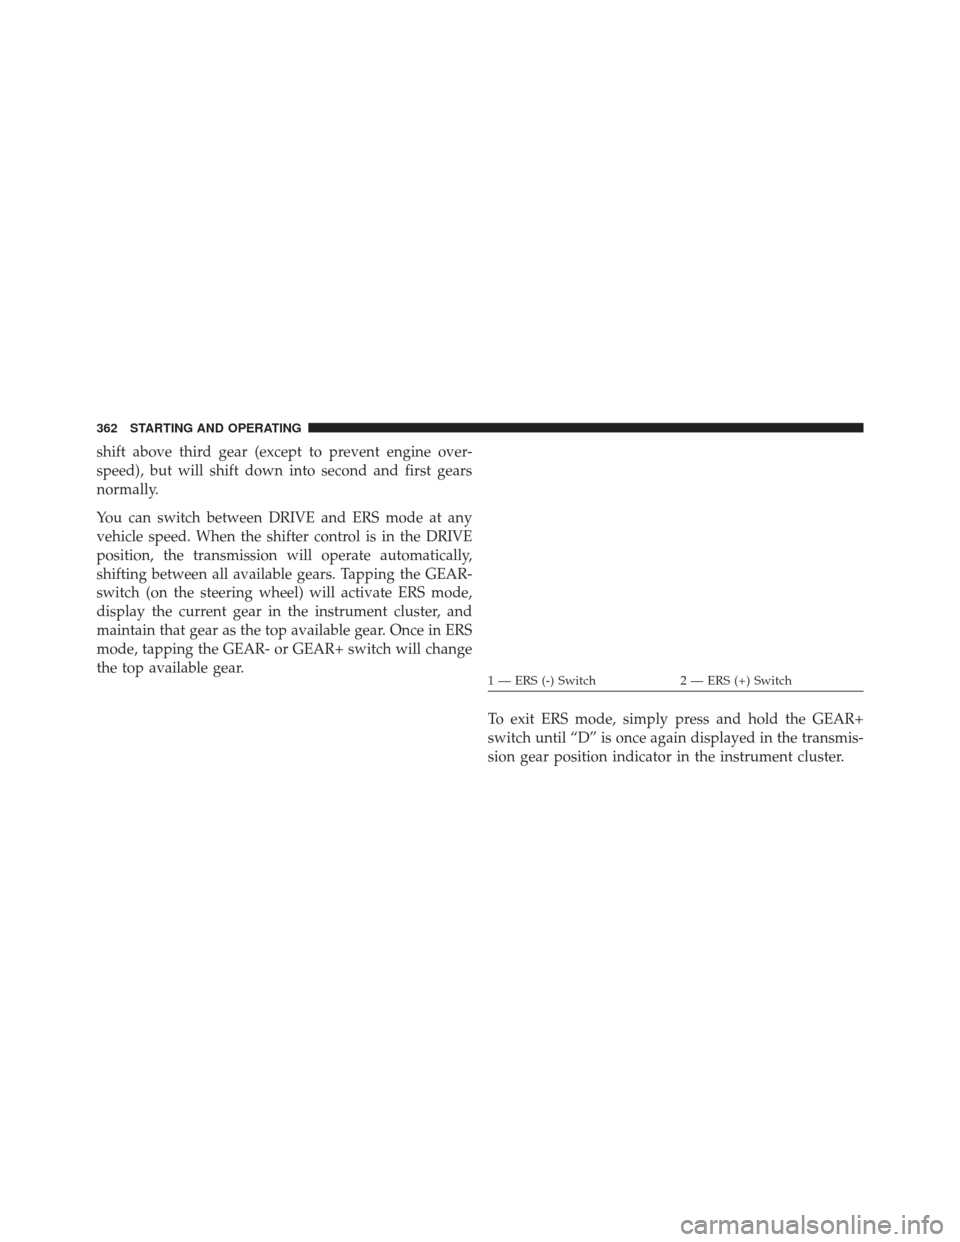
1 — ERS (-) Switch2 — ERS (+) Switch
362 STARTING AND OPERATING
Page 420 of 734
position, the rear axle is locked. In the FRONT/REAR
LOCK position, the front and rear axles are locked.
NOTE:Even when the axles are in the AXLE UNLOCK
position, the limited slip differential in the rear axle still
provides torque biasing capability for moderate low
traction environments.
During the command to lock the axle, the indicator light
will flash until the axle is locked. After the lock command
has been successfully executed, the light will remain on
solid.
To lock the rear axle, place the vehicle in 4LO. Refer to
“Four Wheel Drive Operation” in “Starting and Operat-
ing” for further information. Move the axle locker switch
position to REAR LOCK while traveling less than 3 mph
(5 km/h). The RR indicator light will remain on when the
rear axle is locked. NOTE:
Left to right wheel speed difference may be
necessary to allow the axle to fully lock. If the indicator
light is flashing after placing the switch in the REAR
LOCK or FRONT/REAR LOCK position, drive the ve-
hicle in a turn or on loose gravel to expedite the locking
action.
WARNING!
Do not use the locked axle position for normal
driving. A locked front axle is intended for off-road
driving only. Locking the front axle during on-road
driving will reduce the steering ability. This could
cause a collision and you may be seriously injured.
To lock the front axle; move the axle locker switch to
FRONT/REAR LOCK while traveling less than 3 mph
(5 km/h). The indicator light will be solid when the front
axle is locked.
418 STARTING AND OPERATING
Page 421 of 734
NOTE:The rear axle must be locked before the front axle
will lock.
To unlock the front axle; move the axle locker switch to
REAR LOCK. The FRONT/REAR LOCK indicator light
will go out when the axle is unlocked.
NOTE: The axle lockers could be torque locked due to
side to side loads on the axle. Driving slowly while
turning the steering wheel from a left hand turn to a right
hand turn or driving in REVERSE for a short distance
may be required to release the torque lock and unlock the
axles.
To unlock the rear axle; move the axle locker switch to
AXLE UNLOCK. The REAR LOCK indicator light will go
out when the rear axle is unlocked.STABILIZER/SWAY BAR SYSTEM — POWER
WAGON ONLY
Your vehicle is equipped with an electronic disconnecting
stabilizer/sway bar. This system allows greater front
suspension travel in off-road situations.
Due to the use of taller springs, this vehicle has an
increased ride height of approximately 1.9 in (48.3 mm)
in the front and 1.5 in (38.1 mm) in the rear. A major
advantage to increasing ride height is the positive effect
it has on approach/departure and break over angles.
This system is controlled by the electronic control sway
bar switch located on the instrument panel.
5
STARTING AND OPERATING 419
Page 424 of 734
agency to determine the designated off-road vehicle
(ORV) trails or recreation areas. You should always tread
lightly and only use established roads, trails or ORV
recreational areas. The National Forest Service, Bureau of
Land Management or local Department of Natural Re-
sources are a wealth of information and usually have
maps with marked trails.
Skid Plates And Underbody Protection
Steel skid plates protect the major driveline components
of the truck including the fuel tank, transfer case and
steering damper. In addition, this vehicle is equipped
with boxed cross members and fore/aft rails. This addi-
tional protection allows the vehicle to be utilized in
severe off-road situations that would be considered im-
passable by a normal truck.
Ramp Travel Index (RTI)
The ramp travel index is the distance, in inches, that you
can drive your vehicle with one wheel on a 20-degreeramp without lifting any other wheel off the ground. This
distance up the ramp divided by the wheelbase of the
vehicle and multiplied by 1,000 is the RTI. This vehicle
has an RTI of 655, which means you can articulate one
front wheel 32 inches in the air while the other three
wheels remain in contact with the ground.
Water Fording Characteristics
Water fording characteristic is the vehicle’s ability to
cross a body of still water, where the powertrain and
drivetrain are safe from water ingestion. This vehicle has
high water fording characteristics with the ability to cross
a pool of water, without stopping, 24 inches deep at a
maximum speed of 10 mph (16 km/h) and a pool of
water 30 inches deep at a maximum speed of 5 mph
(8 km/h), both with an entrance ramp angle of 1.3
degrees.
422 STARTING AND OPERATING