mirror Ram 1500 2014 User Guide
[x] Cancel search | Manufacturer: RAM, Model Year: 2014, Model line: 1500, Model: Ram 1500 2014Pages: 806, PDF Size: 5.78 MB
Page 143 of 806
If your vehicle is equipped with a touchscreen, this
feature can be programmed through the Uconnect®
system. Refer to “Uconnect® Settings” in “Understand-
ing Your Instrument Panel” for further information.
If your vehicle is not equipped with a touchscreen, this
feature can be programmed through the Electronic Ve-
hicle Information Center (EVIC). Refer to “Electronic
Vehicle Information Center (EVIC)” in “Understanding
Your Instrument Panel” for further information.
Power Folding Outside Mirrors — If Equipped
If equipped with power folding mirrors, they can be
electrically folded rearward and unfolded into the drive
position.
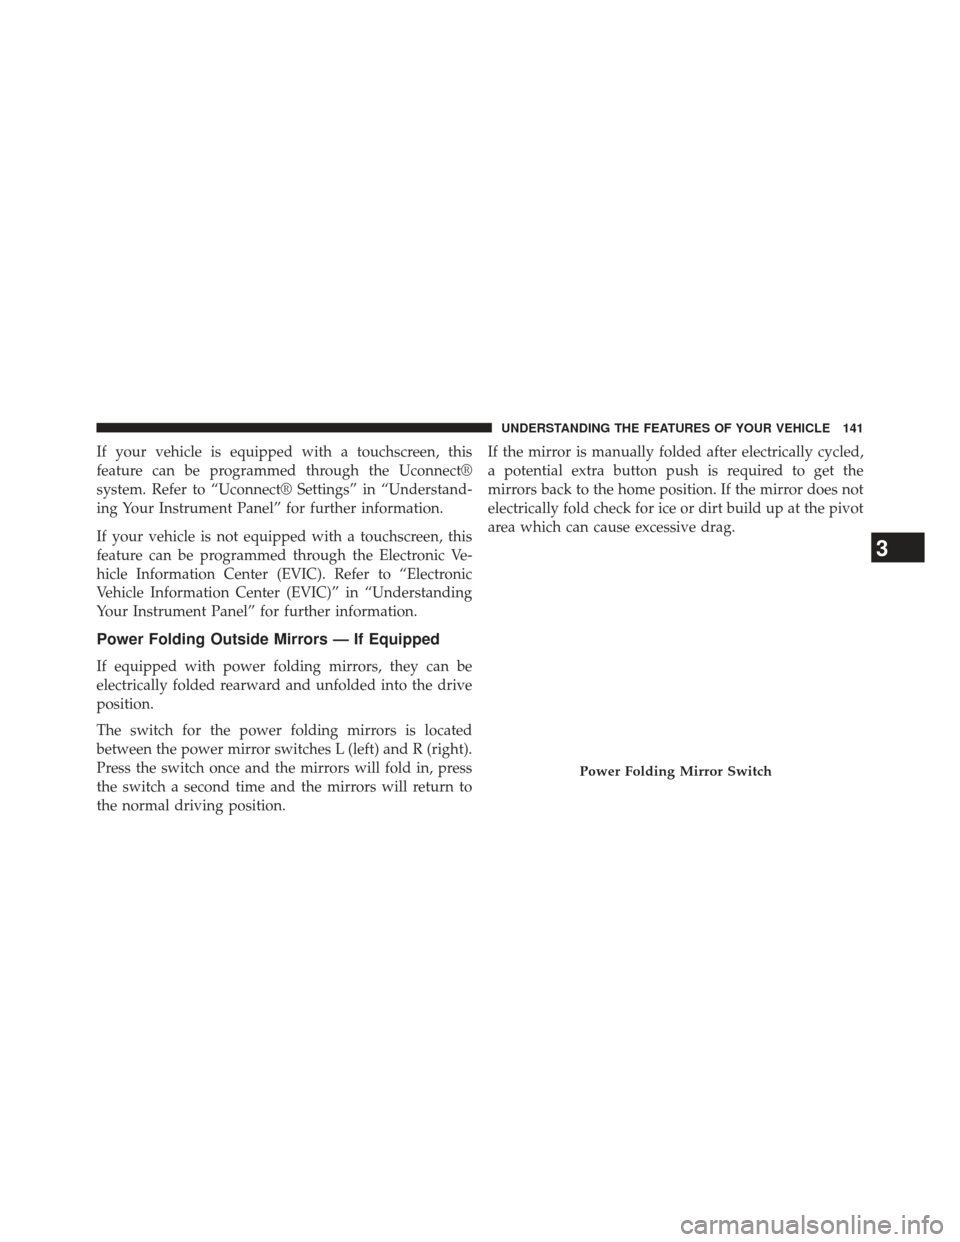
The switch for the power folding mirrors is located
between the power mirror switches L (left) and R (right).
Press the switch once and the mirrors will fold in, press
the switch a second time and the mirrors will return to
the normal driving position.If the mirror is manually folded after electrically cycled,
a potential extra button push is required to get the
mirrors back to the home position. If the mirror does not
electrically fold check for ice or dirt build up at the pivot
area which can cause excessive drag.
Power Folding Mirror Switch
3
UNDERSTANDING THE FEATURES OF YOUR VEHICLE 141
Page 144 of 806

Resetting the Power Folding Outside Mirrors
You may need to reset the power folding mirrors if the
following occurs:
•The mirrors are accidentally blocked while folding.
• The mirrors are accidentally manually folded/
unfolded.
• The mirrors come out of the unfolded position.
• The mirrors shake and vibrate at normal driving
speeds.
To reset the power folding mirrors: Fold and unfold them
by pressing the button (this may require multiple button
pushes). This resets them to their normal position.Power Mirrors — If Equipped
The controls for the power mirrors are located on the
driver’s door trim panel.
The power mirror controls consist of mirror select but-
tons and a four-way mirror control switch.
Power Mirror Controls Location
142 UNDERSTANDING THE FEATURES OF YOUR VEHICLE
Page 145 of 806

To adjust a mirror, press either the L (left) or R (right)
button to select the mirror that you want to adjust.Using the mirror control switch, press on any of the four
arrows for the direction that you want the mirror to move
Power Mirror Controls
1 — Mirror Select Buttons
2 — Four-Way Mirror Control SwitchPower Mirror Movement
3
UNDERSTANDING THE FEATURES OF YOUR VEHICLE 143
Page 146 of 806

Heated Mirrors — If Equipped
These mirrors are heated to melt frost or ice. This
feature can be activated whenever you turn on the
rear window defroster (if equipped). Refer to
“Rear Window Features” in “Understanding The Fea-
tures Of Your Vehicle” for further information.
Driver’s Outside Automatic Dimming Mirror — If
Equipped
The driver ’s outside mirror will automatically adjust for
glare from vehicles behind you. This feature is controlled
by the inside automatic dimming mirror and will auto-
matically adjust for headlight glare when the inside
mirror adjusts.
Illuminated Vanity Mirror — If Equipped
Illuminated vanity mirrors are located on each sun visor.
To use the mirror, rotate the sun visor down and swing
the mirror cover upward. The lights will turn on auto-
matically. Closing the mirror cover turns off the light.
Illuminated Vanity Mirror
144 UNDERSTANDING THE FEATURES OF YOUR VEHICLE
Page 148 of 806
Trailer Towing Mirrors — If Equipped
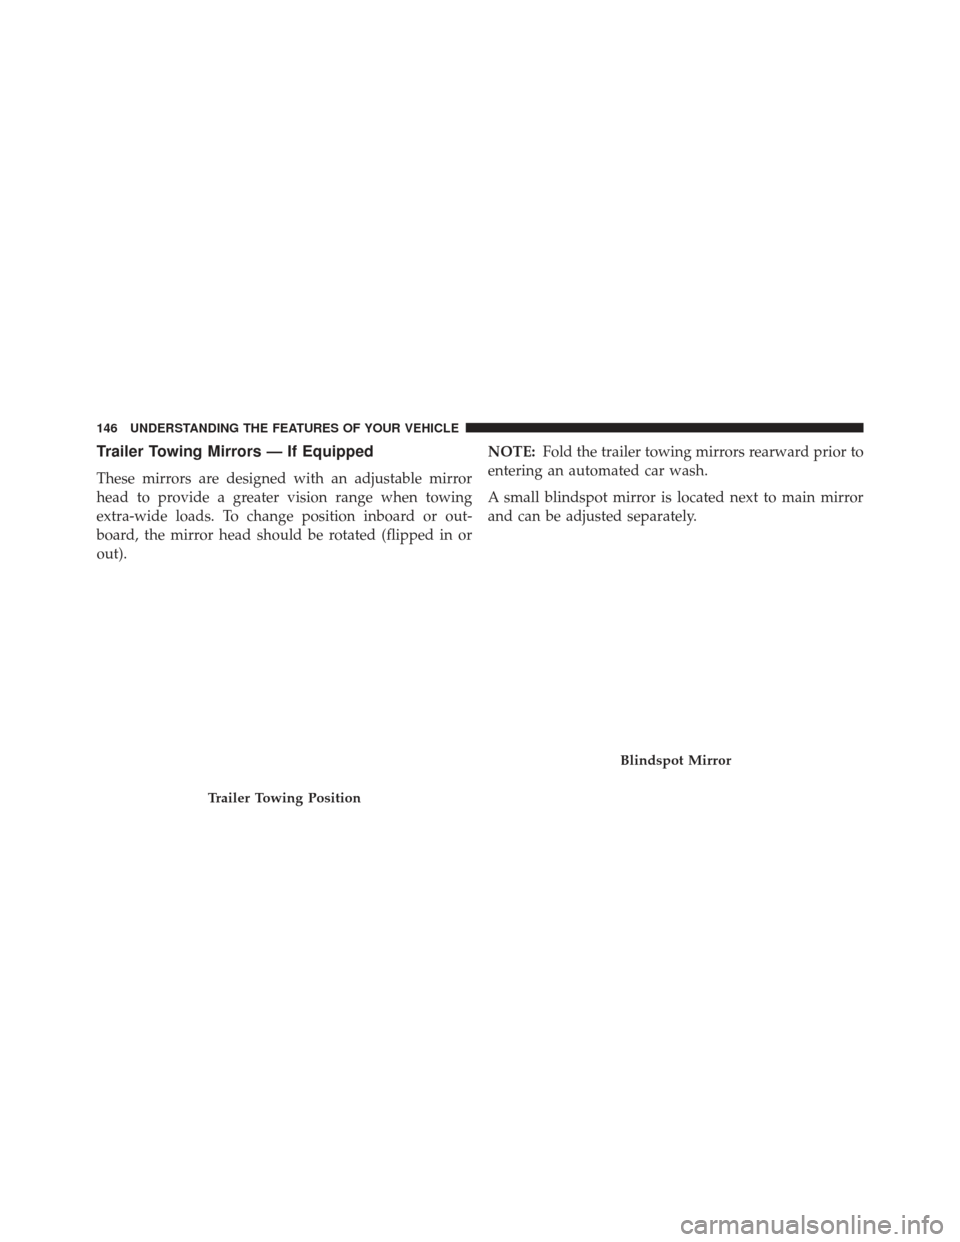
These mirrors are designed with an adjustable mirror
head to provide a greater vision range when towing
extra-wide loads. To change position inboard or out-
board, the mirror head should be rotated (flipped in or
out).NOTE:
Fold the trailer towing mirrors rearward prior to
entering an automated car wash.
A small blindspot mirror is located next to main mirror
and can be adjusted separately.
Trailer Towing Position
Blindspot Mirror
146 UNDERSTANDING THE FEATURES OF YOUR VEHICLE
Page 164 of 806
NOTE:
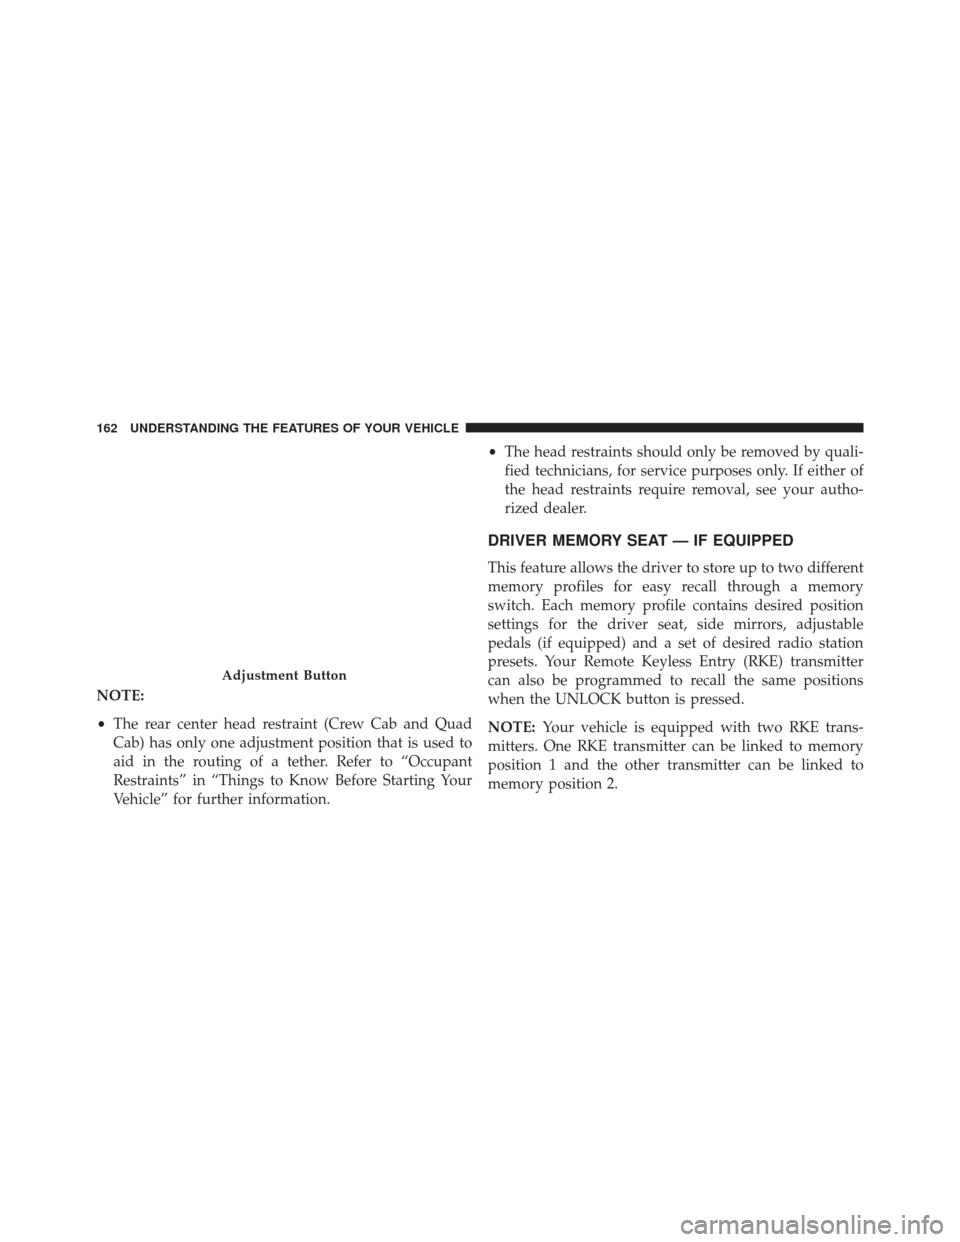
•The rear center head restraint (Crew Cab and Quad
Cab) has only one adjustment position that is used to
aid in the routing of a tether. Refer to “Occupant
Restraints” in “Things to Know Before Starting Your
Vehicle” for further information. •
The head restraints should only be removed by quali-
fied technicians, for service purposes only. If either of
the head restraints require removal, see your autho-
rized dealer.
DRIVER MEMORY SEAT — IF EQUIPPED
This feature allows the driver to store up to two different
memory profiles for easy recall through a memory
switch. Each memory profile contains desired position
settings for the driver seat, side mirrors, adjustable
pedals (if equipped) and a set of desired radio station
presets. Your Remote Keyless Entry (RKE) transmitter
can also be programmed to recall the same positions
when the UNLOCK button is pressed.
NOTE: Your vehicle is equipped with two RKE trans-
mitters. One RKE transmitter can be linked to memory
position 1 and the other transmitter can be linked to
memory position 2.
Adjustment Button
162 UNDERSTANDING THE FEATURES OF YOUR VEHICLE
Page 165 of 806
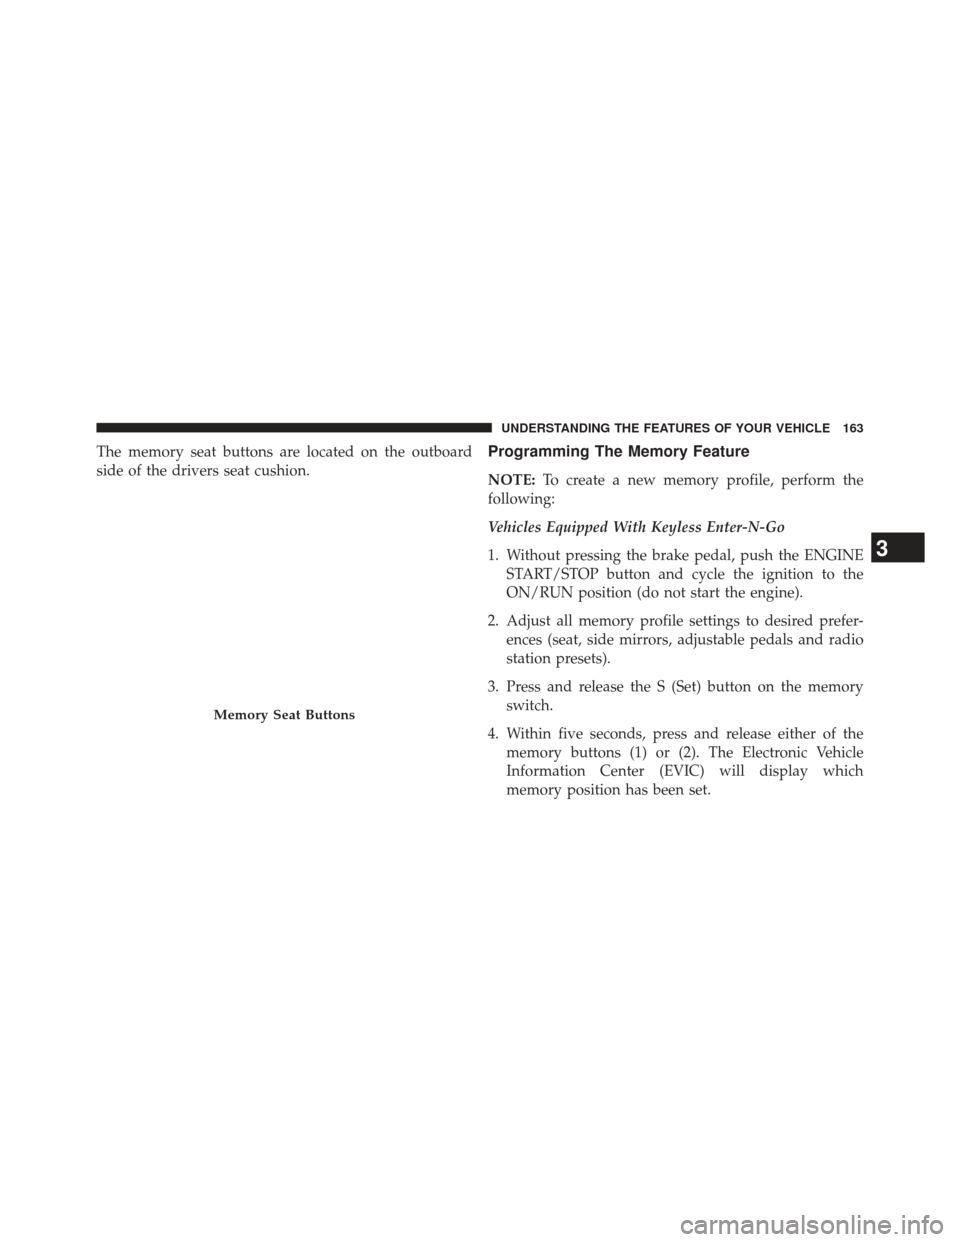
The memory seat buttons are located on the outboard
side of the drivers seat cushion.Programming The Memory Feature
NOTE:To create a new memory profile, perform the
following:
Vehicles Equipped With Keyless Enter-N-Go
1. Without pressing the brake pedal, push the ENGINE START/STOP button and cycle the ignition to the
ON/RUN position (do not start the engine).
2. Adjust all memory profile settings to desired prefer- ences (seat, side mirrors, adjustable pedals and radio
station presets).
3. Press and release the S (Set) button on the memory switch.
4. Within five seconds, press and release either of the memory buttons (1) or (2). The Electronic Vehicle
Information Center (EVIC) will display which
memory position has been set.
Memory Seat Buttons
3
UNDERSTANDING THE FEATURES OF YOUR VEHICLE 163
Page 166 of 806
Vehicles Not Equipped With Keyless Enter-N-Go
1. Insert the ignition Key Fob, and turn the ignitionswitch to the ON/RUN position.
2. Adjust all memory profile settings to desired prefer- ences (seat, side mirrors, adjustable pedals [if
equipped], power tilt and telescopic steering column
[if equipped], and radio station presets).
3. Press and release the S (Set) button on the memory switch.
4. Within five seconds, press and release either of the memory buttons (1) or (2). The Electronic Vehicle
Information Center (EVIC) will display which
memory position has been set.
NOTE: Memory profiles can be set without the vehicle
in PARK, but the vehicle must be in PARK to recall a
memory profile.Linking And Unlinking The Remote Keyless Entry
Transmitter To Memory
Your RKE transmitters can be programmed to recall one
of two pre-programmed memory profiles by pressing the
UNLOCK button on the RKE transmitter.
NOTE: Before programming your RKE transmitters to
memory and If your vehicle is equipped with a touch-
screen, you must select the “Memory To FOB” feature
through the Uconnect® system. Refer to “Uconnect®
Settings ” in “Understanding Your Instrument Panel” for
further information.
If your vehicle is not equipped with a touchscreen, you
must select the “Key Fob Linked To Memory” feature
through the Electronic Vehicle Information Center
(EVIC). Refer to “Electronic Vehicle Information Center
(EVIC)” in “Understanding Your Instrument Panel” for
further information.
164 UNDERSTANDING THE FEATURES OF YOUR VEHICLE
Page 175 of 806
Automatic High Beam Headlamp Control — If
Equipped
The Automatic High Beam Headlamp Control system
provides increased forward lighting at night by automat-
ing high beam control through the use of a digital camera
mounted on the inside rearview mirror. This camera
detects vehicle specific light and automatically switches
from high beams to low beams until the approaching
vehicle is out of view.
NOTE:
•If your vehicle is equipped with a touchscreen the
Automatic High Beam Headlamp Control can be
turned on or off using the Uconnect® System. Refer to
“Uconnect® Settings” in “Understanding Your Instru-
ment Panel” for further information.
• If your vehicle is not equipped with a touchscreen the
Automatic High Beam Headlamp Control can be turned on or off using the Electronic Vehicle Informa-
tion Center (EVIC) or Driver Information Display
(DID). Refer to “Electronic Vehicle Information Center
(EVIC)” or “Driver Information Display (DID)” in
“Understanding Your Instrument Panel” for further
information.
• Broken, muddy, or obstructed headlights and taillights
of vehicles in the field of view will cause headlights to
remain on longer (closer to the vehicle). Also, dirt, film,
and other obstructions on the windshield or camera
lens will cause the system to function improperly.
If the windshield or Automatic High Beam Headlamp
Control mirror is replaced, the mirror must be re-aimed
to ensure proper performance. See your local authorized
dealer.
3
UNDERSTANDING THE FEATURES OF YOUR VEHICLE 173
Page 212 of 806
WARNING!(Continued)
•Before using ParkSense®, it is strongly recom-
mended that the ball mount and hitch ball assem-
bly is disconnected from the vehicle when the
vehicle is not used for towing. Failure to do so can
result in injury or damage to vehicles or obstacles
because the hitch ball will be much closer to the
obstacle than the rear fascia when the loudspeaker
sounds the continuous tone. Also, the sensors
could detect the ball mount and hitch ball assem-
bly, depending on its size and shape, giving a false
indication that an obstacle is behind the vehicle.
PARKVIEW® REAR BACK UP CAMERA — IF
EQUIPPED
Your vehicle may be equipped with the ParkView® Rear
Back Up Camera that allows you to see a image of the
rear surroundings of your vehicle whenever the shift
lever is put into REVERSE. The image will be displayed
in the rearview mirror display (if equipped) or
Uconnect® screen (if equipped) along with a caution note
to “check entire surroundings” across the top of the
screen. After five seconds this note will disappear.
The ParkView® camera is located to the left of the
tailgate handle.
When the vehicle is shifted out of REVERSE (with camera
delay turned OFF), the rear camera mode is exited and
the navigation or audio screen appears again.
210 UNDERSTANDING THE FEATURES OF YOUR VEHICLE