40 amp Ram 1500 2014 Service Manual
[x] Cancel search | Manufacturer: RAM, Model Year: 2014, Model line: 1500, Model: Ram 1500 2014Pages: 806, PDF Size: 5.78 MB
Page 412 of 806
4. Wait approximately 30 seconds.
5. Restart the engine.
6. Shift into the desired gear range. If the problem is nolonger detected, the transmission will return to normal
operation.
NOTE: Even if the transmission can be reset, we recom-
mend that you visit your authorized dealer at your
earliest possible convenience. Your authorized dealer has
diagnostic equipment to determine if the problem could
recur.
If the transmission cannot be reset, authorized dealer
service is required.Electronic Range Select (ERS) Operation —
Eight-Speed Transmission
The Electronic Range Select (ERS) switches allow the
driver to limit the highest available gear when the
transmission is in DRIVE. For example, if you shift the
transmission into 3 (third gear), the transmission will not
shift above third gear (except to prevent engine over-
speed), but will shift down into second and first gears
normally.
You can switch between DRIVE and ERS mode at any
vehicle speed. When the gear selector is in DRIVE, the
transmission will operate automatically, shifting between
all available gears. Tapping the GEAR- switch (on the
steering wheel) will activate ERS mode, display the
current gear in the instrument cluster, and maintain that
gear as the top available gear. Once in ERS mode, tapping
the GEAR- or GEAR+ switch will change the top avail-
able gear.
410 STARTING AND OPERATING
Page 422 of 806
If the transmission cannot be reset, authorized dealer
service is required.
Electronic Range Select (ERS) Operation —
Six-Speed Transmission
The Electronic Range Select (ERS) shift control allows the
driver to limit the highest available gear when the shift
lever is in the DRIVE position. For example, if you shift
the transmission into 3 (third gear), the transmission will
not shift above third gear, but will shift down into second
and first gears normally.
Use of ERS (or TOW/HAUL mode) also enables an
additional underdrive gear which is not normally used
during through-gear accelerations. This additional gear
can improve vehicle performance and cooling capability
when towing a trailer on certain grades. In ERS mode,
gears 1 though 3 are underdrive gears, and ERS 4 is direct
drive. ERS 5 and 6 (Overdrive gears) are the same as the
normal fourth and fifth gears.You can switch between DRIVE and ERS mode at any
vehicle speed. When the shift lever is in the DRIVE
position, the transmission will operate automatically,
shifting between all available gears. Tapping the ERS (-)
switch (column shift) or tapping the shift lever to the left
(-) (console shift) will activate ERS mode, display the
current gear in the instrument cluster, and maintain that
gear as the top available gear. For example, if you are in
DRIVE and are in third (direct) gear, when you tap the
shift lever/switch one time in the (-) direction, the
display will show 4 (ERS 4 is direct gear). Another tap
down (-) will shift the transmission down to ERS 3 (the
added underdrive gear). Once in ERS mode, tapping ERS
(-) or (+) will change the top available gear.
420 STARTING AND OPERATING
Page 434 of 806
NOTE:Even if the transmission can be reset, we recom-
mend that you visit your authorized dealer at your
earliest possible convenience. Your authorized dealer has
diagnostic equipment to determine if the problem could
recur.
If the transmission cannot be reset, authorized dealer
service is required.
Electronic Range Select (ERS) Operation
The Electronic Range Select (ERS) shift control allows the
driver to limit the highest available gear when the shift
lever is in the DRIVE position. For example, if you shift
the transmission into 3 (third gear), the transmission will
not shift above third gear, but will shift down into second
and first gears normally.
You can switch between DRIVE and ERS mode at any
vehicle speed. When the shift lever is in the DRIVE
position, the transmission will operate automatically, shifting between all available gears. Tapping the ERS (-)
switch will activate ERS mode, display the current gear in
the instrument cluster, and maintain that gear as the top
available gear. Once in ERS mode, tapping ERS (-) or (+)
will change the top available gear.
Column Shift Lever
432 STARTING AND OPERATING
Page 461 of 806
AIR SUSPENSION SYSTEM (1500 MODELS ONLY)
— IF EQUIPPED
Description
The air suspension system provides full time load level-
ing capability along with the benefit of being able to
adjust vehicle height by the push of a button.
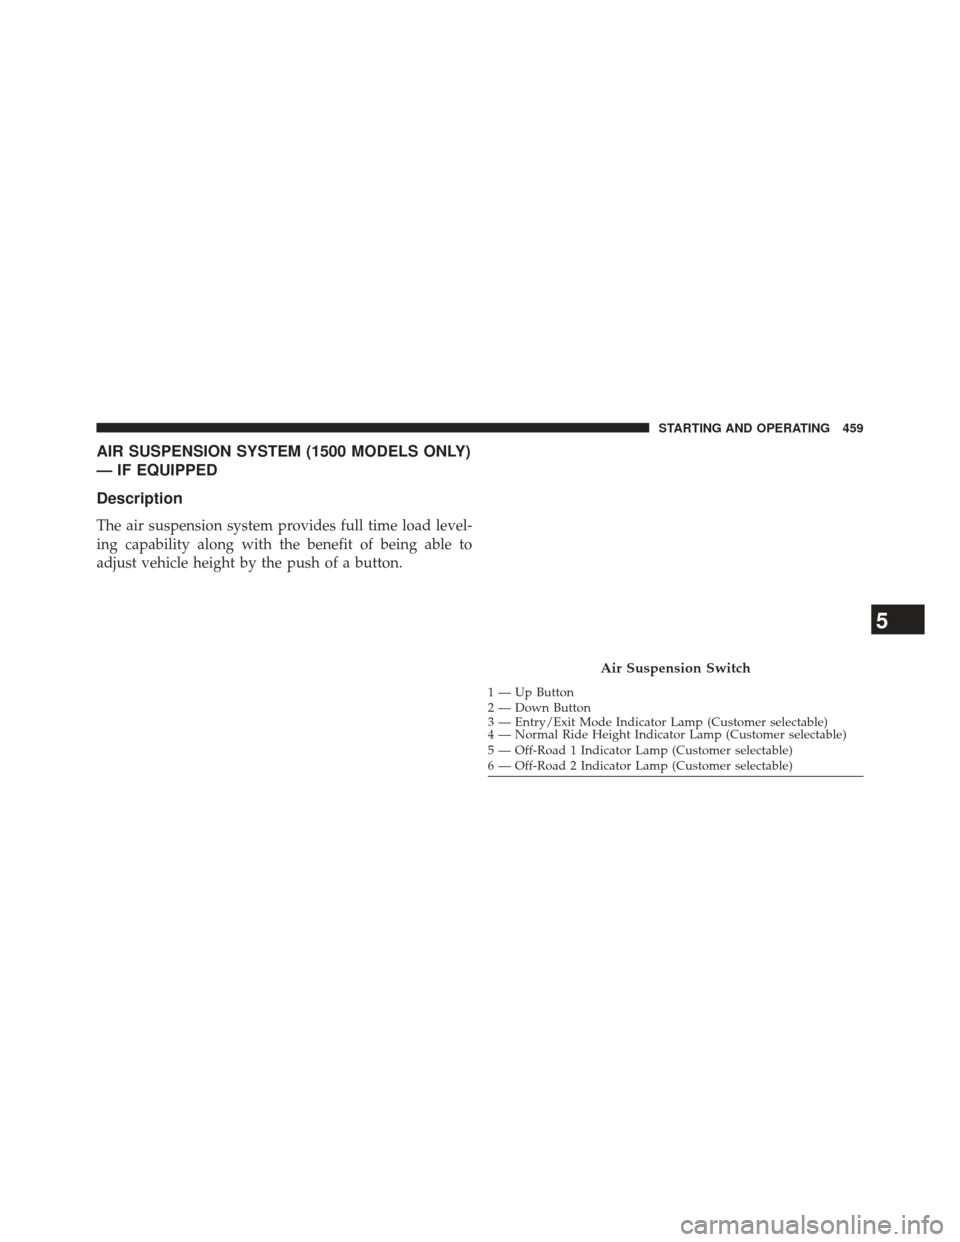
1 — Up Button
2 — Down Button
3 — Entry/Exit Mode Indicator Lamp (Customer selectable)
4 — Normal Ride Height Indicator Lamp (Customer selectable)
5 — Off-Road 1 Indicator Lamp (Customer selectable)
6 — Off-Road 2 Indicator Lamp (Customer selectable)
Air Suspension Switch
5
STARTING AND OPERATING 459
Page 466 of 806
Protection Mode
In order to “protect” the air suspension system, the
vehicle will enter Protection Mode when load leveling
cannot be achieved. Some driving may be required to
clear the protection mode telltale in the EVIC. Refer to
“Electronic Vehicle Information Center (EVIC)” in “Un-
derstanding Your Instrument Panel” for further informa-
tion.
NOTE:If equipped with a touch screen radio all
enabling/disabling of air suspension features must be
done through the radio. Refer to “Uconnect® Settings” in
“Understanding Your Instrument Panel” for further in-
formation.Electronic Vehicle Information Center (EVIC)
Display Messages
When the appropriate conditions exist, a message will
appear in the EVIC display. Refer to “Electronic Vehicle
Information Center (EVIC)” in “Understanding Your
Instrument Panel” for further information.
An audible chime will be heard whenever a system error
has been detected.
Operation
The indicator lamps 3 through 6 will illuminate to show
the current position of the vehicle. Flashing indicator
lamps will show a position which the system is working
to achieve. When raising, if multiple indicator lamps are
flashing, the highest flashing indicator lamp is the posi-
tion the system is working to achieve. When lowering, if
multiple indicators are flashing, the lowest solid indica-
tor lamp is the position the system is working to achieve.
464 STARTING AND OPERATING
Page 467 of 806
Pressing the “UP” button once will move the suspension
one position higher from the current position, assuming
all conditions are met (i.e. key in ON/RUN position,
engine running, speed below threshold, etc). The “UP”
button can be pressed multiple times, each press will
raise the requested level by one position up to a maxi-
mum position of OR2 or the highest position allowed
based on current conditions (i.e. vehicle speed, etc).
Pressing the “DOWN” button once will move the sus-
pension one position lower from the current level, as-
suming all conditions are met (i.e. key in ON/RUN
position, engine running, doors closed, speed below
threshold, etc). The “DOWN” button can be pressed
multiple times, each press will lower the requested level
by one position down to a minimum of Entry/Exit Mode
or the lowest position allowed based on current condi-
tions (i.e. vehicle speed, etc.)Automatic height changes will occur based on vehicle
speed and the current vehicle height. The indicator lamps
and EVIC messages will operate the same for automatic
changes and user requested changes.
•
Off-Road 2 (OR2) – Indicator lamps 3, 4, 5 and 6 will be
illuminated when the vehicle is in OR2.
• Off-Road 1 (OR1) – Indicator lamps 3, 4 and 5 will be
illuminated when the vehicle is in OR1.
• Normal Ride Height (NRH)/Aero Mode – Indicator
lamps 3 and 4 will be illuminated when the vehicle is
in this position.
• Entry/Exit Mode – Indicator lamp 3 will be illumi-
nated when the vehicle is in Entry Exit Mode. Entry/
Exit mode can be requested up to 33 mph (53 km/h).
If vehicle speed is reduced to, and kept below, 15 mph
(24 km/h) indicator lamp 4 will flash and indicator
lamp 3 will remain solid until Entry/Exit Mode is
achieved at which point indicator lamp 4 will turn off.
5
STARTING AND OPERATING 465
Page 468 of 806
•Transport Mode – No indicator lamps will be illumi-
nated. Transport Mode is disabled by driving the
vehicle.
• Tire/Jack Mode – indicator lamps 3 and 6 will be
illuminated. Tire/Jack Mode is disabled by driving the
vehicle.
• Wheel Alignment Mode – indicator lamps 3 and 4 will
be illuminated. Wheel Alignment Mode is disabled by
driving the vehicle.
AIR SUSPENSION SYSTEM (2500/3500 MODELS
ONLY) — IF EQUIPPED
Description
The air suspension system is a rear leveling ride height
system. The main purpose of this system is to maintain
the truck’s rear ride height level. Normal Ride Height (NRH)
– This is the standard
position of the suspension and is meant for normal
driving.
Rear Leveling Ride Height Switch
466 STARTING AND OPERATING
Page 471 of 806
Electronic Vehicle Information Center (EVIC)
Display Messages
When the appropriate conditions exist, a message will
appear in the EVIC display. Refer to “Electronic Vehicle
Information Center (EVIC)” in “Understanding Your
Instrument Panel” for further information.
An audible chime will be heard whenever a system error
has been detected.
Operation
Pushing the Trailer Mode button once, while at Normal
Ride Height (NRH) will lower the vehicle to trailer level.
NOTE:The LED will continuously blink until vehicle
trailer level that been achieved.
Pushing the Trailer Mode again will raise the vehicle to
Normal Ride Height (NRH). NOTE:
The LED will continuously blink until Normal
Ride Height (NRH) has been achieved.
• Transport Mode – No indicator lamps will be illumi-
nated. Transport Mode is disabled by driving the
vehicle.
• Tire/Jack Mode – The LED will be illuminated. Tire/
Jack Mode is disabled by driving the vehicle.
• Wheel Alignment Mode – The LED will be illumi-
nated. Wheel Alignment Mode is disabled by driving
the vehicle.
AXLE LOCKER SYSTEM — POWER WAGON
MODELS ONLY (IF EQUIPPED)
This vehicle is equipped with electronically locking front
and rear differentials. These differentials, when engaged,
mechanically lock together the axle shafts forcing the
wheels to spin at an equal rate. This allows the vehicle to
maintain its momentum and prevents it from becoming
5
STARTING AND OPERATING 469
Page 476 of 806
WARNING!
If the stabilizer/sway bar will not return to On-Road
mode, vehicle stability is greatly reduced. Do not
attempt to drive the vehicle over 18 mph (29 km/h).
Driving faster than 18 mph (29 km/h) may cause loss
of control of the vehicle, which could result in
serious injury or death. Contact your local service
center for assistance.
SAFE OFF-ROAD DRIVING — POWER WAGON
ONLY
Off-Road Driving Tips And Vehicle Characteristics
Your vehicle has excellent on and off-road capabilities.
These off-road capabilities will allow you to explore
those wilderness trails where few travel, providing a
source of exciting and satisfying recreation. Before you
venture out, you should contact your local governmentalagency to determine the designated off-road vehicle
(ORV) trails or recreation areas. You should always tread
lightly and only use established roads, trails or ORV
recreational areas. The National Forest Service, Bureau of
Land Management or local Department of Natural Re-
sources are a wealth of information and usually have
maps with marked trails.
Skid Plates And Underbody Protection
Steel skid plates protect the major driveline components
of the truck including the fuel tank, transfer case and
steering damper. In addition, this vehicle is equipped
with boxed cross members and fore/aft rails. This addi-
tional protection allows the vehicle to be utilized in
severe off-road situations that would be considered im-
passable by a normal truck.
474 STARTING AND OPERATING
Page 477 of 806
Ramp Travel Index (RTI)
The ramp travel index is the distance, in inches, that you
can drive your vehicle with one wheel on a 20-degree
ramp without lifting any other wheel off the ground. This
distance up the ramp divided by the wheelbase of the
vehicle and multiplied by 1,000 is the RTI. This vehicle
has an RTI of 655, which means you can articulate one
front wheel 32 inches in the air while the other three
wheels remain in contact with the ground.
Water Fording Characteristics
Water fording characteristic is the vehicle’s ability to cross a
body of still water, where the powertrain and drivetrain are
safe from water ingestion. This vehicle has high water
fording characteristics with the ability to cross a pool of
water, without stopping, 24 inches deep at a maximum
speed of 10 mph (16 km/h) and a pool of water 30 inches
deep at a maximum speed of 5 mph (8 km/h), both with an
entrance ramp angle of 1.3 degrees.
CAUTION!
The door sill height is 25 inches. Water may intrude
into the interior of the vehicle at greater depths.
Simultaneous Brake And Throttle Operation
Many off-road driving conditions require the simultane-
ous use of the brake and throttle (two footed driving).
When climbing rocks, logs, or other stepped objects,
using light brake pressure with light throttle will keep the
vehicle from jerking or lurching. This technique is also
used when you need to stop and restart a vehicle on a
steep incline.
The Basics Of Off-Road Driving
You will encounter many types of terrain driving off-
road. You should be familiar with the terrain and area
before proceeding. There are many types of surface
conditions: hard packed dirt, gravel, rocks, grass, sand,
5
STARTING AND OPERATING 475