Cool Ram 1500 2018 Owner's Manual
[x] Cancel search | Manufacturer: RAM, Model Year: 2018, Model line: 1500, Model: Ram 1500 2018Pages: 700, PDF Size: 8.86 MB
Page 56 of 700
There are two heated seat switches that allow the rear
passengers to operate the seats independently. You can
choose from HI, LO or OFF heat settings. Amber indicator
lights in each switch indicate the level of heat in use. Two
indicator lights will illuminate for HI, one for LO and none
for OFF.Push the switch once to select HI-level heating.
Push the switch a second time to select LO-level
heating. Push the switch a third time to shut the
heating elements OFF.
NOTE:
• Once a heat setting is selected, heat will be felt within
two to five minutes.
• The engine must be running for the heated seats to
operate.
When the HI-level setting is selected, the heater will
provide a boosted heat level during the first four minutes
of operation. Then, the heat output will drop to the normal
HI-level. If the HI-level setting is selected, the system will
automatically switch to LO-level after approximately 60
minutes of continuous operation. At that time, the number of illuminated LEDs changes from two to one, indicating
the change. The LO-level setting will turn OFF automati-
cally after approximately 45 minutes.
Ventilated Seats — If Equipped
Located in the seat cushion are small fans that draw the air
from the passenger compartment and move air through
fine perforations in the seat cover to help keep the driver
and front passenger cooler in higher ambient temperatures.
The fans operate at two speeds, HI and LO.
The front ventilated seats control buttons are located on the
center instrument panel below the climate controls.
If your vehicle is equipped with a touchscreen, the front
ventilated seats control buttons are also located within the
climate or controls screen of the touchscreen.
•
Press the ventilated seat button
once to choose HI.
•Press the ventilated seat buttona second time to
choose LO.
• Press the ventilated seat buttona third time to turn
the ventilated seat OFF.
NOTE: The engine must be running for the ventilated seats
to operate.
54 GETTING TO KNOW YOUR VEHICLE
Page 90 of 700

IconDescription
Front Defrost Setting
Turn the Mode Control knob to the Defrost mode. Air comes from the windshield and side win-
dow demist outlets. Use Defrost mode with maximum temperature settings for best windshield
and side window defrosting and defogging.
Rear Defrost Button
Push and release the Rear Defrost Control button to turn on the rear window defroster and the
heated outside mirrors (if equipped). An indicator will illuminate when the rear window de-
froster is on. The rear window defroster automatically turns off after ten minutes.
Temperature Control
Use this control knob to regulate the temperature of the air inside the passenger compartment. Ro-
tating the knob counterclockwise, from top center into the blue area of the scale, indicates cooler
temperatures. Rotating the knob clockwise, into the red area, indicates warmer temperatures.
Blower Control
There are seven blower speeds. Use this control knob to regulate the amount of air forced
through the system in any mode you select. The blower speed increases as you move the con-
trol clockwise from the off position.
88 GETTING TO KNOW YOUR VEHICLE
Page 91 of 700
IconDescription
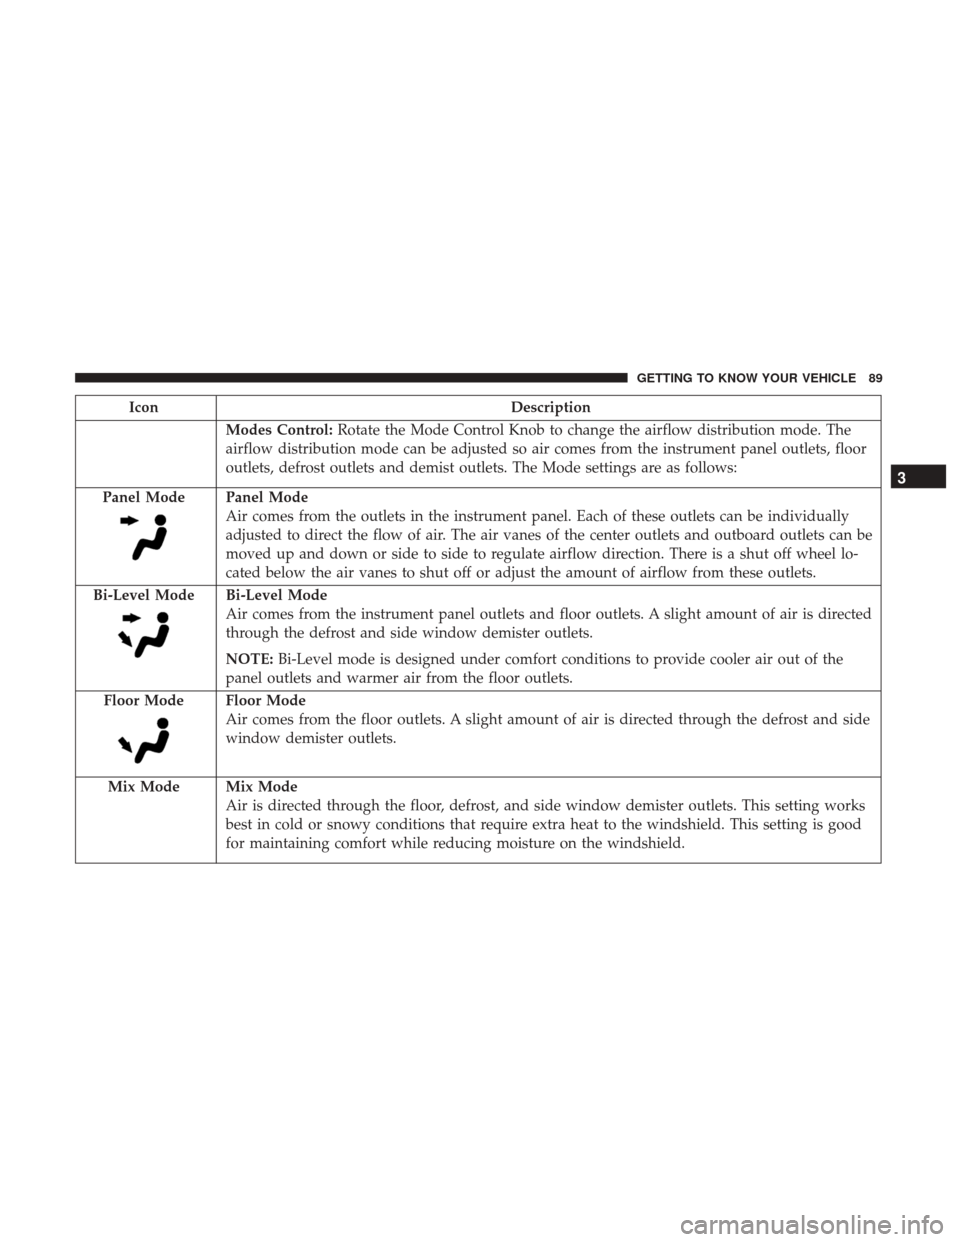
Modes Control:Rotate the Mode Control Knob to change the airflow distribution mode. The
airflow distribution mode can be adjusted so air comes from the instrument panel outlets, floor
outlets, defrost outlets and demist outlets. The Mode settings are as follows:
Panel Mode
Panel Mode
Air comes from the outlets in the instrument panel. Each of these outlets can be individually
adjusted to direct the flow of air. The air vanes of the center outlets and outboard outlets can be
moved up and down or side to side to regulate airflow direction. There is a shut off wheel lo-
cated below the air vanes to shut off or adjust the amount of airflow from these outlets.
Bi-Level Mode
Bi-Level Mode
Air comes from the instrument panel outlets and floor outlets. A slight amount of air is directed
through the defrost and side window demister outlets.
NOTE: Bi-Level mode is designed under comfort conditions to provide cooler air out of the
panel outlets and warmer air from the floor outlets.
Floor Mode
Floor Mode
Air comes from the floor outlets. A slight amount of air is directed through the defrost and side
window demister outlets.
Mix Mode
Mix Mode
Air is directed through the floor, defrost, and side window demister outlets. This setting works
best in cold or snowy conditions that require extra heat to the windshield. This setting is good
for maintaining comfort while reducing moisture on the windshield.
3
GETTING TO KNOW YOUR VEHICLE 89
Page 95 of 700

IconDescription
Front Defrost Setting
Push the button to activate Defrost mode. Air comes from the windshield and side window de-
mist outlets. Use Defrost mode with maximum temperature settings for best windshield and
side window defrosting and defogging.
Rear Defrost Button
Push and release the Rear Defrost Control button to turn on the rear window defroster and the
heated outside mirrors (if equipped). An indicator will illuminate when the rear window de-
froster is on. The rear window defroster automatically turns off after ten minutes.
Temperature Control
Press the arrows on the touchscreen or faceplate to regulate the temperature of the air inside the
passenger compartment. Pressing the down arrow indicates cooler temperatures, and pressing
the up arrow indicates warmer temperatures.
Blower Control
There are seven blower speeds. Press the buttons to regulate the amount of air forced through
the system in any mode you select. The blower speed increases as you move the control clock-
wise from the off position.
3
GETTING TO KNOW YOUR VEHICLE 93
Page 96 of 700

IconDescription
Panel Mode
Panel Mode
Air comes from the outlets in the instrument panel. Each of these outlets can be individually
adjusted to direct the flow of air. The air vanes of the center outlets and outboard outlets can be
moved up and down or side to side to regulate airflow direction. There is a shut off wheel lo-
cated below the air vanes to shut off or adjust the amount of airflow from these outlets.
Bi-Level Mode
Bi-Level Mode
Air comes from the instrument panel outlets and floor outlets. A slight amount of air is directed
through the defrost and side window demister outlets.
NOTE: Bi-Level mode is designed under comfort conditions to provide cooler air out of the
panel outlets and warmer air from the floor outlets.
Floor Mode
Floor Mode
Air comes from the floor outlets. A slight amount of air is directed through the defrost and side
window demister outlets.
Mix Mode
Mix Mode
Air is directed through the floor, defrost, and side window demister outlets. This setting works
best in cold or snowy conditions that require extra heat to the windshield. This setting is good
for maintaining comfort while reducing moisture on the windshield.
94 GETTING TO KNOW YOUR VEHICLE
Page 102 of 700
IconDescription
Uconnect 3
Uconnect 4C/4C NAV
Driver and Passenger Temperature Up and Down Buttons
Provides the driver and passenger with independent temperature control. Push the up arrow
button on the faceplate, press the up arrow button on the touchscreen, or press and slide the
temperature bar towards the red arrow button on the touchscreen for warmer temperature set-
tings. Push the down arrow button on the faceplate, press the down arrow button on the touch-
screen, or press and slide the temperature bar towards the blue arrow button on the touchscreen
for cooler temperature settings. When the SYNC feature is active, the passenger ’s temperature
will move up and down with the driver ’s temperature, when it is increased and decreased, re-
spectively.
NOTE: Temperature numbers will only be displayed if the system is equipped with Automatic
Temperature Control.
SYNC Button — If Equipped
Press the SYNC button on the touchscreen to toggle the SYNC feature on/off. The SYNC indica-
tor is illuminated when this feature is enabled. SYNC is used to synchronize the passenger tem-
perature setting with the driver temperature setting. The SYNC feature also synchronizes the
rear passengers’ temperature to the driver temperature setting. Changing the passenger tem-
perature setting while in SYNC will automatically exit this feature.
100 GETTING TO KNOW YOUR VEHICLE
Page 103 of 700
IconDescription
Faceplate Knob
Touchscreen Buttons
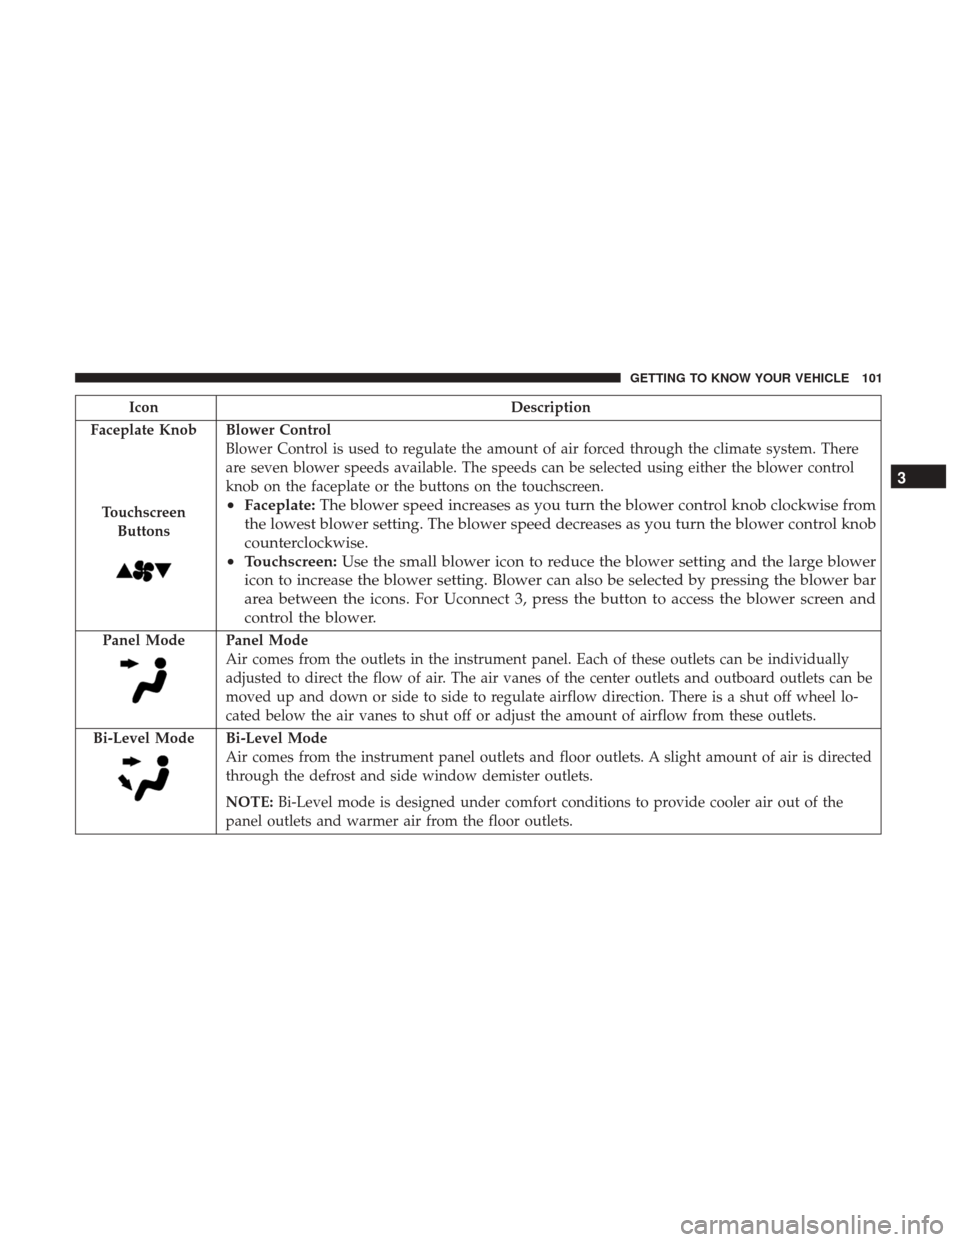
Blower Control
Blower Control is used to regulate the amount of air forced through the climate system. There
are seven blower speeds available. The speeds can be selected using either the blower control
knob on the faceplate or the buttons on the touchscreen.
• Faceplate: The blower speed increases as you turn the blower control knob clockwise from
the lowest blower setting. The blower speed decreases as you turn the blower control knob
counterclockwise.
• Touchscreen: Use the small blower icon to reduce the blower setting and the large blower
icon to increase the blower setting. Blower can also be selected by pressing the blower bar
area between the icons. For Uconnect 3, press the button to access the blower screen and
control the blower.
Panel ModePanel Mode
Air comes from the outlets in the instrument panel. Each of these outlets can be individually
adjusted to direct the flow of air. The air vanes of the center outlets and outboard outlets can be
moved up and down or side to side to regulate airflow direction. There is a shut off wheel lo-
cated below the air vanes to shut off or adjust the amount of airflow from these outlets.
Bi-Level Mode
Bi-Level Mode
Air comes from the instrument panel outlets and floor outlets. A slight amount of air is directed
through the defrost and side window demister outlets.
NOTE: Bi-Level mode is designed under comfort conditions to provide cooler air out of the
panel outlets and warmer air from the floor outlets.
3
GETTING TO KNOW YOUR VEHICLE 101
Page 105 of 700
Climate Control Functions
A/C (Air Conditioning)
The Air Conditioning (A/C) button allows the operator to
manually activate or deactivate the air conditioning sys-
tem. When the air conditioning system is turned on, cool
dehumidified air will flow through the outlets into the
cabin. For improved fuel economy, press the A/C button to
turn off the air conditioning and manually adjust the
blower and airflow mode settings. Also, make sure to select
only Panel, Bi-Level, or Floor modes.
NOTE:
•If fog or mist appears on the windshield or side glass,
select Defrost mode, and increase blower speed if
needed.
• If your air conditioning performance seems lower than
expected, check the front of the A/C condenser (located
in front of the radiator), for an accumulation of dirt or
insects. Clean with a gentle water spray from the front of
the radiator and through the condenser. MAX A/C
MAX A/C sets the control for maximum cooling perfor-
mance.
Press and release to toggle between MAX A/C and the prior
settings. The button illuminates when MAX A/C is on.
In MAX A/C, the blower level and mode position can be
adjusted to desired user settings. Pressing other settings
will cause the MAX A/C operation to switch to the selected
setting and MAX A/C to exit.
Recirculation
When outside air contains smoke, odors, or high humidity,
or if rapid cooling is desired, you may wish to recirculate
interior air by pressing the Recirculation control button.
The Recirculation indicator will illuminate when this but-
ton is selected. Press the button a second time to turn off
the Recirculation mode and allow outside air into the
vehicle.
NOTE:
In cold weather, use of Recirculation mode may
lead to excessive window fogging. The Recirculation fea-
ture may be unavailable (button on the touchscreen greyed
out) if conditions exist that could create fogging on the
inside of the windshield.
3
GETTING TO KNOW YOUR VEHICLE 103
Page 107 of 700
Summer Operation
The engine cooling system must be protected with a
high-quality antifreeze coolant to provide proper corrosion
protection and to protect against engine overheating. OAT
coolant (conforming to MS.90032) is recommended.
Winter Operation
To ensure the best possible heater and defroster perfor-
mance, make sure the engine cooling system is functioning
properly and the proper amount, type, and concentration
of coolant is used. Use of the Air Recirculation mode
during Winter months is not recommended, because it may
cause window fogging.
Vacation/Storage
Before you store your vehicle, or keep it out of service (i.e.,
vacation) for two weeks or more, run the air conditioning
system at idle for about five minutes, in fresh air with the
blower setting on high. This will ensure adequate system
lubrication to minimize the possibility of compressor dam-
age when the system is started again.
Window Fogging
Vehicle windows tend to fog on the inside in mild, rainy,
and/or humid weather. To clear the windows, select De-
frost or Mix mode and increase the front blower speed. Do
not use the Recirculation mode without A/C for long
periods, as fogging may occur.
Outside Air Intake
Make sure the air intake, located directly in front of the
windshield, is free of obstructions, such as leaves. Leaves
collected in the air intake may reduce airflow, and if they
enter the plenum, they could plug the water drains. In
Winter months, make sure the air intake is clear of ice,
slush, and snow.
Cabin Air Filter
The climate control system filters out dust and pollen from
the air. Contact an authorized dealer to service your cabin
air filter, and to have it replaced when needed.
3
GETTING TO KNOW YOUR VEHICLE 105
Page 139 of 700
WARNING!
To avoid serious injury or death:
•Only devices designed for use in this type of outlet
should be inserted into any 12 Volt outlet.
• Do not touch with wet hands.
• Close the lid when not in use and while driving the
vehicle.
• If this outlet is mishandled, it may cause an electric
shock and failure.
CAUTION!
•Many accessories that can be plugged in draw power
from the vehicle’s battery, even when not in use (i.e.,
cellular phones, etc.). Eventually, if plugged in long
enough, the vehicle’s battery will discharge suffi-
ciently to degrade battery life and/or prevent the
engine from starting.
• Accessories that draw higher power (i.e., coolers,
vacuum cleaners, lights, etc.), will discharge the
battery even more quickly. Only use these intermit-
tently and with greater caution.
(Continued)
CAUTION! (Continued)
•After the use of high power draw accessories, or long
periods of the vehicle not being started (with acces-
sories still plugged in), the vehicle must be driven a
sufficient length of time to allow the generator to
recharge the vehicle’s battery.
Cigar Lighter And Ash Receiver — If Equipped
A removable cigar lighter and ash receiver are available.
For vehicles with a bench seat, the cup holder tray can be
used to hold the ash receiver.
Power Inverter — If Equipped
A 115 or 230 Volt (150 Watts Maximum) outlet is located on
the center stack of the instrument panel, to the right of the
radio. This outlet can power cellular phones, electronics and
other low power devices requiring power up to 150 Watts.
Certain high-end video game consoles will exceed this power
limit, as will most power tools.
The power inverter is designed with built-in overload
protection. If the power rating of 150 Watts is exceeded, the
power inverter will automatically shut down. Once the
electrical device has been removed from the outlet the
inverter should automatically reset.
3
GETTING TO KNOW YOUR VEHICLE 137