light Ram 1500 2020 Owner's Manual
[x] Cancel search | Manufacturer: RAM, Model Year: 2020, Model line: 1500, Model: Ram 1500 2020Pages: 674, PDF Size: 32.69 MB
Page 339 of 674

STARTING AND OPERATING 337
4. If the STOP/START system is manually turned off, theengine can be started and stopped by cycling the ignition
switch or pressing the STOP/START switch again.
5. The STOP/START system will reset itself back to an ON condition every time the key is turned off and back on.
To Manually Turn On The Stop Start System
1. Push the STOP/START Off switch (located near the gearselector module).
2. The light on the switch will turn off.
System Malfunction
If there is a malfunction in the STOP/START system, the
system will not shut down the engine. A “SERVICE STOP/
START SYSTEM” message will appear in the instrument
cluster display. Refer to “Instrument Cluster Display” in
“Getting To Know Your Instrument Panel” for further infor -
mation.
The system will need to be checked by your authorized
dealer.
SPEED CONTROL — IF EQUIPPED
When engaged, the Speed Control takes over accelerator
operations at speeds greater than 20 mph (32 km/h).
The Speed Control buttons are located on the right side of the
steering wheel.
Speed Control Buttons
1 — CANC/Cancel
2 — SET (+)/Accel
3 — On/Off
4 — RES/Resume
5 — SET (-)/Decel
5
2020_DT_1500_OM_US.book Page 337
Page 340 of 674
338 STARTING AND OPERATING
NOTE:
In order to ensure proper operation, the Speed Control
system has been designed to shut down if multiple Speed
Control functions are operated at the same time. If this
occurs, the Speed Control system can be reactivated by
pushing the Speed Control on/off button and resetting the
desired vehicle set speed.
To Activate
Push the On/Off button to activate the Speed Control. The
cruise indicator light in the instrument cluster display will
illuminate. To turn the system off, push the On/Off button a
second time. The cruise indicator light will turn off. The
system should be turned off when not in use.
To Set A Desired Speed
Turn the Speed Control on.
NOTE:
The vehicle should be traveling at a steady speed and on
level ground before pushing the SET (+) or SET (-) button.
When the vehicle has reached the desired speed, push the
SET (+) or SET (-) button and release. Release the accelerator
and the vehicle will operate at the selected speed.
To Vary The Speed Setting
To Increase Speed
When the Speed Control is set, you can increase speed by
pushing the SET (+) button.
WARNING!
Speed Control can be dangerous where the system
cannot maintain a constant speed. Your vehicle could go
too fast for the conditions, and you could lose control
and have an accident. Do not use Speed Control in heavy
traffic or on roads that are winding, icy, snow-covered or
slippery.
WARNING!
Leaving the Speed Control system on when not in use is
dangerous. You could accidentally set the system or
cause it to go faster than you want. You could lose
control and have an accident. Always leave the system
off when you are not using it.
2020_DT_1500_OM_US.book Page 338
Page 342 of 674

340 STARTING AND OPERATING
To Accelerate For Passing
Press the accelerator as you would normally. When the pedal
is released, the vehicle will return to the set speed.
To Resume Speed
To resume a previously set speed, push the RES button and
release. Resume can be used at any speed above 20 mph
(32 km/h).
To Deactivate
A soft tap on the brake pedal, pushing the CANC (cancel)
button, or normal brake pressure while slowing the vehicle
will deactivate the speed control without erasing the set
speed from memory.
Pushing the on/off button or placing the ignition in the OFF
position, erases the set speed from memory.
Using Speed Control On Hills
The transmission may downshift on hills to maintain the
vehicle set speed.
NOTE:
The Speed Control system maintains speed up and down
hills. A slight speed change on moderate hills is normal.On steep hills, a greater speed loss or gain may occur so it
may be preferable to drive without Speed Control.
ADAPTIVE CRUISE CONTROL (ACC) — IF EQUIPPED
Adaptive Cruise Control (ACC) increases the driving conve
-
nience provided by cruise control while traveling on high -
ways and major roadways. However, it is not a safety system
and not designed to prevent collisions. Speed Control func-
tion performs differently. Please refer to the proper section
within this chapter.
ACC will allow you to keep cruise control engaged in light
to moderate traffic conditions without the constant need to
reset your cruise control. ACC utilizes a radar sensor and a
forward facing camera designed to detect a vehicle directly
ahead of you.
NOTE:
• If the sensor does not detect a vehicle ahead of you, ACC will maintain a fixed set speed.
• If the ACC sensor detects a vehicle ahead, ACC will apply limited braking or accelerate (not to exceed the original set
speed) automatically to maintain a preset following
distance, while matching the speed of the vehicle ahead.
2020_DT_1500_OM_US.book Page 340
Page 350 of 674
348 STARTING AND OPERATING
• The ACC system maintains set speed when driving uphilland downhill. However, a slight speed change on
moderate hills is normal. In addition, downshifting may
occur while climbing uphill or descending downhill. This
is normal operation and necessary to maintain set speed.
When driving uphill and downhill, the ACC system will
cancel if the braking temperature exceeds normal range
(overheated).
Setting The Following Distance In ACC
The specified following distance for ACC can be set by
varying the distance setting between four bars (longest),
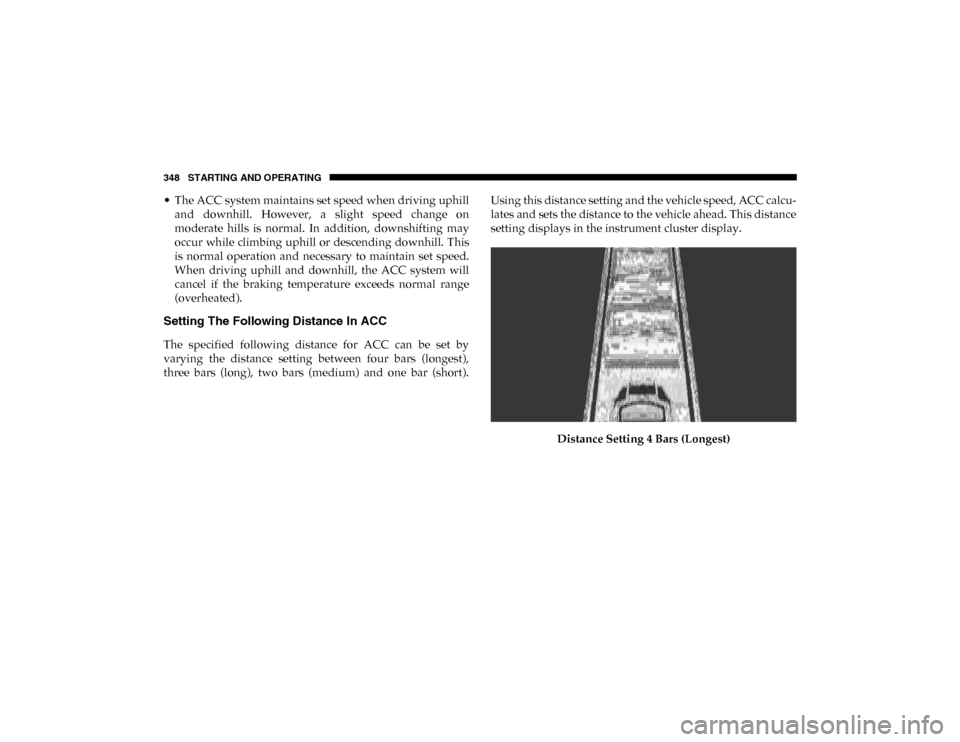
three bars (long), two bars (medium) and one bar (short). Using this distance setting and the vehicle speed, ACC calcu-
lates and sets the distance to the vehicle ahead. This distance
setting displays in the instrument cluster display.
Distance Setting 4 Bars (Longest)
2020_DT_1500_OM_US.book Page 348
Page 352 of 674
350 STARTING AND OPERATING
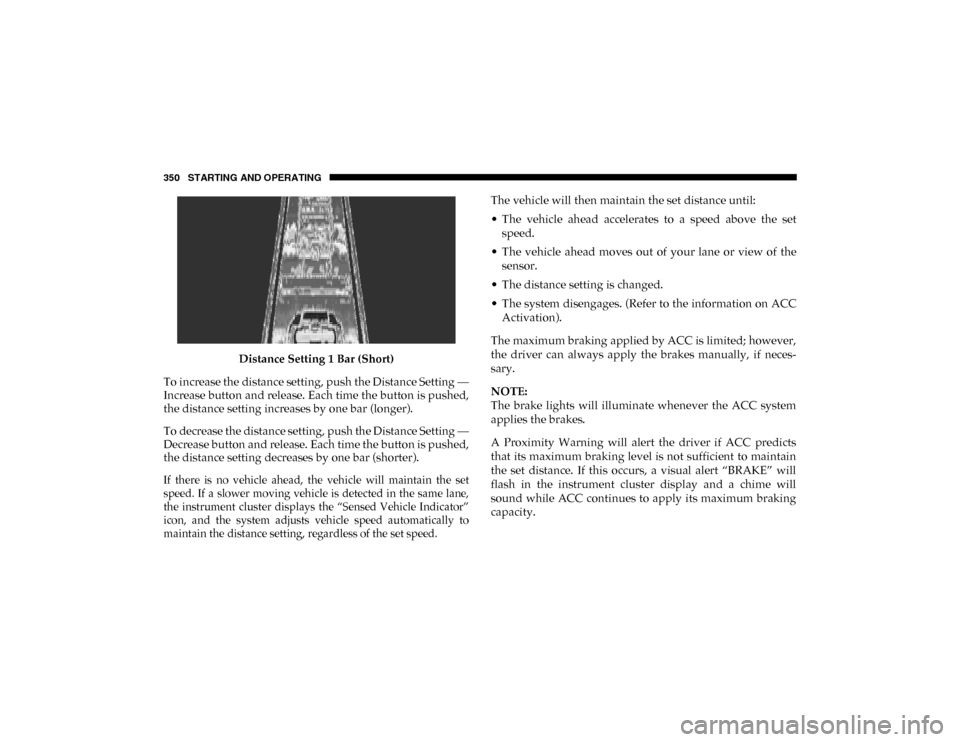
Distance Setting 1 Bar (Short)
To increase the distance setting, push the Distance Setting —
Increase button and release. Each time the button is pushed,
the distance setting increases by one bar (longer).
To decrease the distance setting, push the Distance Setting —
Decrease button and release. Each time the button is pushed,
the distance setting decreases by one bar (shorter).
If there is no vehicle ahead, the vehicle will maintain the set
speed. If a slower moving vehicle is detected in the same lane,
the instrument cluster displays the “Sensed Vehicle Indicator”
icon, and the system adjusts vehicle speed automatically to
maintain the distance setting, regardless of the set speed.
The vehicle will then maintain the set distance until:
• The vehicle ahead accelerates to a speed above the set
speed.
• The vehicle ahead moves out of your lane or view of the sensor.
• The distance setting is changed.
• The system disengages. (Refer to the information on ACC Activation).
The maximum braking applied by ACC is limited; however,
the driver can always apply the brakes manually, if neces -
sary.
NOTE:
The brake lights will illuminate whenever the ACC system
applies the brakes.
A Proximity Warning will alert the driver if ACC predicts
that its maximum braking level is not sufficient to maintain
the set distance. If this occurs, a visual alert “BRAKE” will
flash in the instrument cluster display and a chime will
sound while ACC continues to apply its maximum braking
capacity.
2020_DT_1500_OM_US.book Page 350
Page 361 of 674
STARTING AND OPERATING 359
La operación de este equipo está sujeta a las siguientes dos
condiciones:
1. es posible que este equipo o dispositivo no cause interfer-
encia perjudicial y
2. este equipo o dispositivo debe aceptar cualquier interfer- encia, incluyendo la que pueda causar su operación no
deseada.
NOTE:
Changes or modifications not expressly approved by the
party responsible for compliance could void the user’s
authority to operate the equipment.
Normal (Fixed Speed) Cruise Control Mode
In addition to Adaptive Cruise Control (ACC) mode, a
Normal (Fixed Speed) Cruise Control mode is available for
cruising at fixed speeds. The Normal (Fixed Speed) Cruise
Control mode is designed to maintain a set cruising speed
without requiring the driver to operate the accelerator.
Speed Control can only be operated if the vehicle speed is
above 20 mph (32 km/h).
To change between the different control modes, push the
Adaptive Cruise Control (ACC) on/off button which turns
the ACC on and the Normal (Fixed Speed) Cruise Control off. Pushing of the Normal (Fixed Speed) Cruise Control on/
off button will result in turning on (changing to) the Normal
(Fixed Speed) Cruise Control mode.
To Set A Desired Speed
Turn the Normal (Fixed Speed) Cruise Control on.
When the vehicle has reached the desired speed,
push the SET (+) or SET (-) button and release.
Release the accelerator and the vehicle will operate at the
selected speed. Once a speed has been set a message
“CRUISE CONTROL SET TO MPH (km/h)” will appear
indicating what speed was set. This light will turn on when
the system is turned on via the on/off control. It turns green
when the cruise control is set.
WARNING!
In the Normal (Fixed Speed) Cruise Control mode, the
system will not react to vehicles ahead. In addition, the
proximity warning does not activate and no alarm will
sound even if you are too close to the vehicle ahead since
neither the presence of the vehicle ahead nor the
vehicle-to-vehicle distance is detected. Be sure to
maintain a safe distance between your vehicle and the
vehicle ahead. Always be aware which mode is selected.
5
2020_DT_1500_OM_US.book Page 359
Page 407 of 674
STARTING AND OPERATING 405
NOTE:
In certain cold conditions, ice may prevent the fuel filler door
from opening. If this occurs, lightly push on the fuel filler
door around the perimeter to break the ice build up.
Emergency Gas Can Refueling
Most gas cans will not open the flapper doors.
A funnel is provided to open the flapper doors to allow
emergency refueling with a gas can.
1. Retrieve funnel from the jack and jack tool kit.
2. Insert funnel into same filler pipe opening as the fuelnozzle. 3. Ensure funnel is inserted fully to hold flapper doors open.
4. Pour fuel into funnel opening.
5. Remove funnel from filler pipe, clean off prior to putting
back in the jack and jack tool kit.
VEHICLE LOADING
Gross Vehicle Weight Rating (GVWR)
The Gross Vehicle Weight Rating (GVWR) is the total
permissible weight of your vehicle including driver, passen -
gers, vehicle, options and cargo. The label also specifies
maximum capacities of front and rear axle systems Gross
Axle Weight Rating (GAWR). Total load must be limited so
GVWR and front and rear GAWR are not exceeded.
Payload
The payload of a vehicle is defined as the allowable load
weight a truck can carry, including the weight of the driver,
all passengers, options and cargo.
WARNING!
• Always place container on the ground before filling.
• Keep the pump nozzle in contact with the container when you are filling it.
• Use only approved containers for flammable liquid.
• Do not leave container unattended while filling.
• A static electric charge could cause a spark and fire hazard.
5
2020_DT_1500_OM_US.book Page 405
Page 418 of 674
416 STARTING AND OPERATING
Integrated Trailer Brake Module — If Equipped
Your vehicle may have an Integrated Trailer Brake Module
(ITBM) for Electric and Electric Over Hydraulic (EOH) trailer
brakes.
NOTE:
This module has been designed and verified with electric
trailer brakes and new electric over hydraulic systems. Some
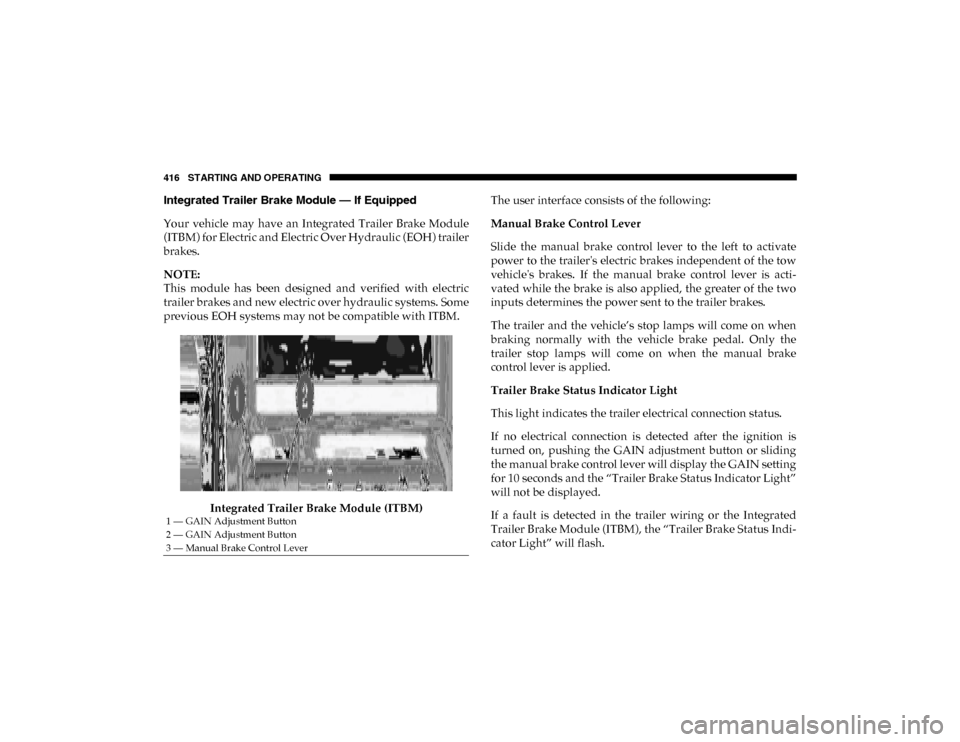
previous EOH systems may not be compatible with ITBM.Integrated Trailer Brake Module (ITBM) The user interface consists of the following:
Manual Brake Control Lever
Slide the manual brake control lever to the left to activate
power to the trailer's electric brakes independent of the tow
vehicle's brakes. If the manual brake control lever is acti
-
vated while the brake is also applied, the greater of the two
inputs determines the power sent to the trailer brakes.
The trailer and the vehicle’s stop lamps will come on when
braking normally with the vehicle brake pedal. Only the
trailer stop lamps will come on when the manual brake
control lever is applied.
Trailer Brake Status Indicator Light
This light indicates the trailer electrical connection status.
If no electrical connection is detected after the ignition is
turned on, pushing the GAIN adjustment button or sliding
the manual brake control lever will display the GAIN setting
for 10 seconds and the “Trailer Brake Status Indicator Light”
will not be displayed.
If a fault is detected in the trailer wiring or the Integrated
Trailer Brake Module (ITBM), the “Trailer Brake Status Indi -
cator Light” will flash.
1 — GAIN Adjustment Button
2 — GAIN Adjustment Button
3 — Manual Brake Control Lever
2020_DT_1500_OM_US.book Page 416
Page 420 of 674

418 STARTING AND OPERATING
*The suggested selection depends and may change
depending on the customer preferences for braking perfor-
mance. Condition of the trailer brakes, driving and road state
may also affect the selection.
Display Messages
The trailer brake control interacts with the instrument cluster
display. Display messages, along with a single chime, will be
displayed when a malfunction is determined in the trailer
connection, trailer brake control, or on the trailer. Refer to
“Instrument Cluster Display” in “Getting To Know Your
Instrument Panel” for further information. NOTE:
• An aftermarket controller may be available for use with
trailers with air or electric-over-hydraulic trailer brake
systems. To determine the type of brakes on your trailer
and the availability of controllers, check with your trailer
manufacturer or dealer.
• Removal of the ITBM will cause errors and it may cause damage to the electrical system and electronic modules of
the vehicle. See your authorized dealer if an aftermarket
module is to be installed.
Light Electric Heavy Electric
Light EOHHeavy EOH
Type of Trailer Brakes Electric Trailer Brakes Electric Trailer Brakes Electric over Hydraulic
Trailer BrakesElectric over Hydraulic
Trailer Brakes
Load *Under 10,000 lbs *Above 10,000 lbs *Under 10,000 lbs *Above 10,000 lbs
WARNING!
Connecting a trailer that is not compatible with the
ITBM system may result in reduced or complete loss of
trailer braking. There may be a increase in stopping
distance or trailer instability which could result in
personal injury.
CAUTION!
Connecting a trailer that is not compatible with the
ITBM system may result in reduced or complete loss of
trailer braking. There may be a increase in stopping
distance or trailer instability which could result in
damage to your vehicle, trailer, or other property.
2020_DT_1500_OM_US.book Page 418
Page 421 of 674
STARTING AND OPERATING 419
Towing Requirements — Trailer Lights And Wiring
Whenever you pull a trailer, regardless of the trailer size,
stoplights and turn signals on the trailer are required for
motoring safety.
The Trailer Tow Package may include a four- and seven-pin
wiring harness. Use a factory approved trailer harness and
connector.
NOTE:
Do not cut or splice wiring into the vehicle’s wiring harness.
The electrical connections are all complete to the vehicle but
you must mate the harness to a trailer connector. Refer to the
following illustrations.
NOTE:
• Disconnect trailer wiring connector from the vehiclebefore launching a boat (or any other device plugged into
vehicle’s electrical connect) into water.
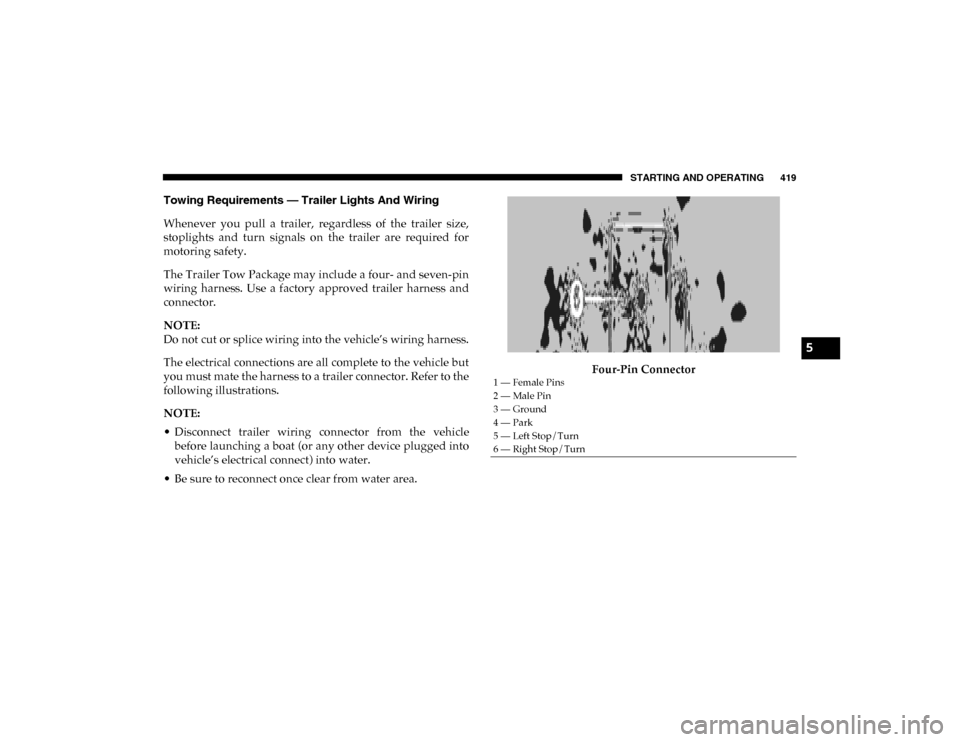
• Be sure to reconnect once clear from water area. Four-Pin Connector
1 — Female Pins
2 — Male Pin
3 — Ground
4 — Park
5 — Left Stop/Turn
6 — Right Stop/Turn
5
2020_DT_1500_OM_US.book Page 419