warning Ram 1500 2020 Owner's Guide
[x] Cancel search | Manufacturer: RAM, Model Year: 2020, Model line: 1500, Model: Ram 1500 2020Pages: 674, PDF Size: 32.69 MB
Page 98 of 674

96 GETTING TO KNOW YOUR VEHICLE
NOTE:
If the window runs into any obstacle during the Auto-Closure,
it will reverse direction and then go back down. Remove the
obstacle and use the window switch again to close the
window. Any impact due to rough road conditions may
trigger the auto reverse function unexpectedly during auto
closure. If this happens, pull the switch lightly to the first
detent and hold to close the window manually.
Reset Auto-Up
Should the Auto-Up feature stop working, the window may
need to be reset. To reset Auto-Up:
1. Make sure the door is fully closed.
2. Pull the window switch up to close the windowcompletely and continue to hold the switch up for an
additional two seconds after the window is closed. 3. Push the window switch down firmly to the second
detent to open the window completely and continue to
hold the switch down for an additional two seconds after
the window is fully open.
Window Lockout Switch
The window lockout switch on the driver's door allows you
to disable the window control on the rear passenger doors.
To disable the window controls on the rear passenger doors,
push the window lock switch into the latched or down posi -
tion. To enable the window controls, push the window lock
switch again and return the switch to the released or up posi -
tion.
Window Lockout Switch
WARNING!
There is no anti-pinch protection when the window is
almost closed. Be sure to clear all objects from the
window before closing.
2020_DT_1500_OM_US.book Page 96
Page 100 of 674
98 GETTING TO KNOW YOUR VEHICLE
POWER SUNROOF — IF EQUIPPED
Single Pane Power Sunroof — If Equipped
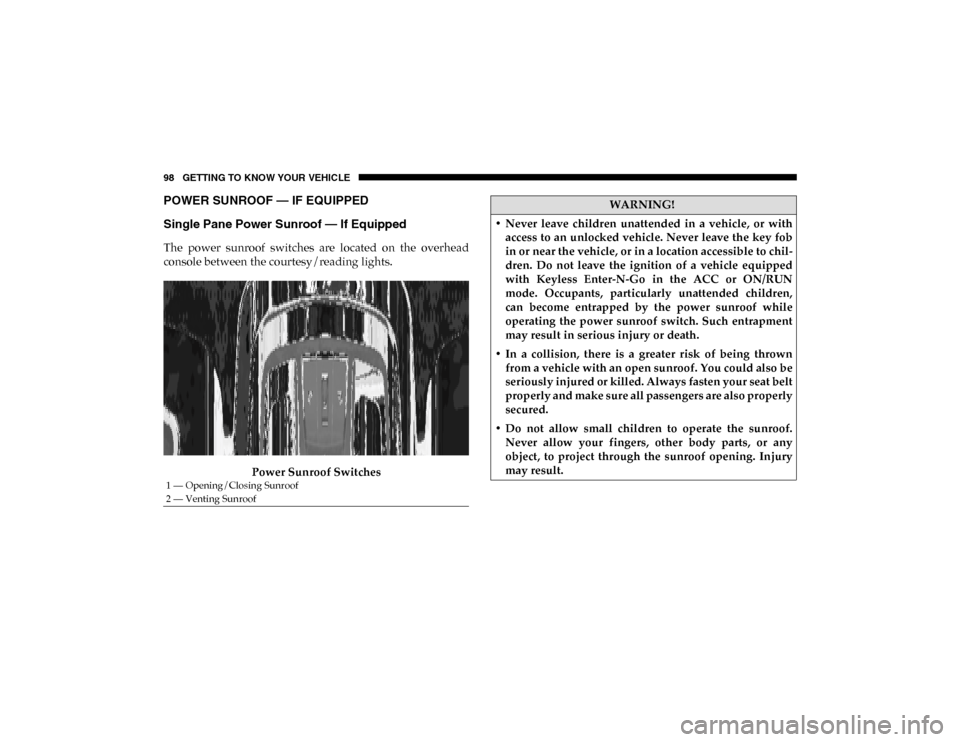
The power sunroof switches are located on the overhead
console between the courtesy/reading lights.Power Sunroof Switches
1 — Opening/Closing Sunroof
2 — Venting Sunroof
WARNING!
• Never leave children unattended in a vehicle, or with access to an unlocked vehicle. Never leave the key fob
in or near the vehicle, or in a location accessible to chil -
dren. Do not leave the ignition of a vehicle equipped
with Keyless Enter-N-Go in the ACC or ON/RUN
mode. Occupants, particularly unattended children,
can become entrapped by the power sunroof while
operating the power sunroof switch. Such entrapment
may result in serious injury or death.
• In a collision, there is a greater risk of being thrown from a vehicle with an open sunroof. You could also be
seriously injured or killed. Always fasten your seat belt
properly and make sure all passengers are also properly
secured.
• Do not allow small children to operate the sunroof. Never allow your fingers, other body parts, or any
object, to project through the sunroof opening. Injury
may result.
2020_DT_1500_OM_US.book Page 98
Page 104 of 674

102 GETTING TO KNOW YOUR VEHICLE
Opening Sunroof
The sunroof has two programmed open positions, comfort
stop position and full open position. The comfort stop posi-
tion has been optimized to minimize wind buffeting when driving with side windows closed and sunroof open. If the
sunshade is in the closed position when initiating a sunroof
open command the sunshade will automatically open to the
half open position prior to the sunroof opening.
Express
Push the switch rearward and release it within one-half
second, the sunroof will open to the comfort stop position
and automatically stop. Push the switch rearward and
release it again, the sunroof will open to the full open posi
-
tion and automatically stop. This is called “Express Open”.
During Express Open operation, any movement of the
sunroof switch will stop the sunroof.
Manual
Push and hold the switch rearward, the sunroof will open to
the comfort stop position and automatically stop. Push the
switch rearward and hold it again, the sunroof will open to
the full open position and automatically stop. Any release of
the switch will stop the sunroof movement. The sunroof will
remain in a partially opened condition until the switch is
pushed and held again.
WARNING!
• Never leave children unattended in a vehicle, or with access to an unlocked vehicle. Never leave the key fob
in or near the vehicle, or in a location accessible to chil -
dren. Do not leave the ignition of a vehicle equipped
with Keyless Enter-N-Go in the ACC or ON/RUN
mode. Occupants, particularly unattended children,
can become entrapped by the power sunroof while
operating the power sunroof switch. Such entrapment
may result in serious injury or death.
• In a collision, there is a greater risk of being thrown from a vehicle with an open sunroof. You could also be
seriously injured or killed. Always fasten your seat belt
properly and make sure all passengers are also properly
secured.
• Do not allow small children to operate the sunroof. Never allow your fingers, other body parts, or any
object, to project through the sunroof opening. Injury
may result.
2020_DT_1500_OM_US.book Page 102
Page 108 of 674
106 GETTING TO KNOW YOUR VEHICLE
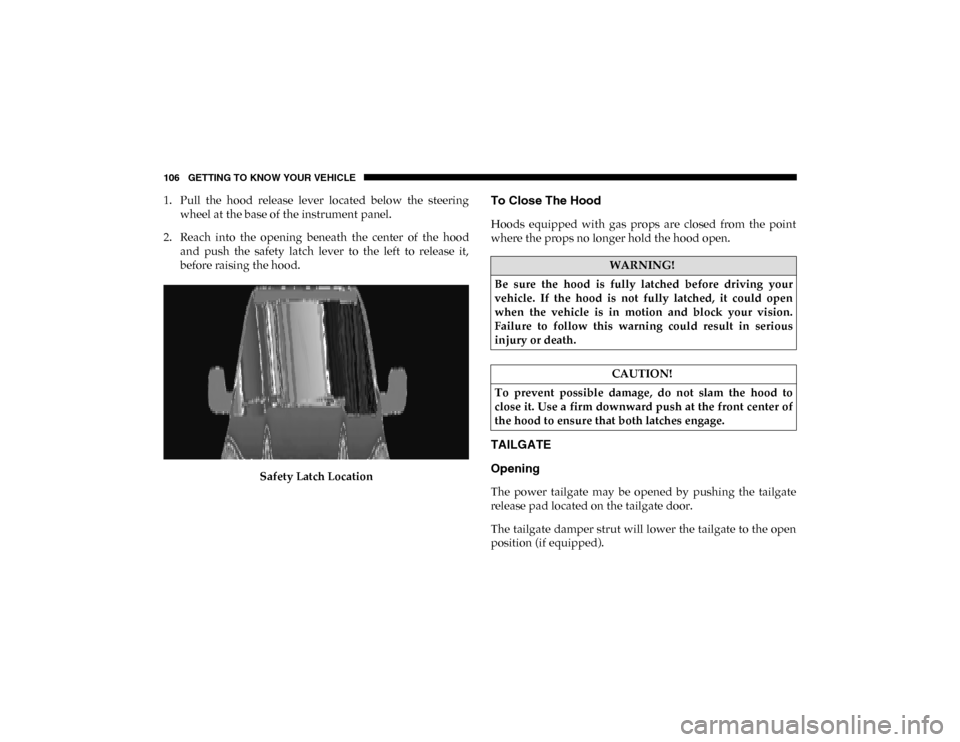
1. Pull the hood release lever located below the steeringwheel at the base of the instrument panel.
2. Reach into the opening beneath the center of the hood and push the safety latch lever to the left to release it,
before raising the hood.
Safety Latch LocationTo Close The Hood
Hoods equipped with gas props are closed from the point
where the props no longer hold the hood open.
TAILGATE
Opening
The power tailgate may be opened by pushing the tailgate
release pad located on the tailgate door.
The tailgate damper strut will lower the tailgate to the open
position (if equipped).
WARNING!
Be sure the hood is fully latched before driving your
vehicle. If the hood is not fully latched, it could open
when the vehicle is in motion and block your vision.
Failure to follow this warning could result in serious
injury or death.
CAUTION!
To prevent possible damage, do not slam the hood to
close it. Use a firm downward push at the front center of
the hood to ensure that both latches engage.
2020_DT_1500_OM_US.book Page 106
Page 111 of 674
GETTING TO KNOW YOUR VEHICLE 109
NOTE:
• When the swing doors are open, the maximum load placedon a door cannot exceed 180 lbs (82 kg).
• Pull back on the swing doors firmly after closing to ensure they are securely latched.GARAGE DOOR OPENER — IF EQUIPPED
HomeLink® replaces up to three hand-held transmitters that
operate devices such as garage door openers, motorized
gates, lighting or home security systems. The HomeLink®
unit is powered by your vehicles 12 Volt battery.
The HomeLink® buttons that are located on the sun visor
designate the three different HomeLink® channels.
HomeLink® Buttons
WARNING!
To prevent serious injury or death:
• Always keep hands away from the hinge sides of the swing doors and where the doors meet when opening
and closing the doors. Your hand or someone else’s
hand could be pinched.
• Never operate the vehicle with the swing doors open.
• Never hang from or sit on the swing doors.
CAUTION!
• Always check both swing doors are latched before starting vehicle.
• Vehicle damage may occur if doors are not securely latched.
2
2020_DT_1500_OM_US.book Page 109
Page 112 of 674
110 GETTING TO KNOW YOUR VEHICLE
NOTE:
HomeLink® is disabled when the Vehicle Security Alarm is
active.
NOTE:
Only use this transceiver with a garage door opener that has
a “stop and reverse” feature as required by federal safety
standards. This includes most garage door opener models
manufactured after 1982. Do not use a garage door openerwithout these safety features. Call toll-free 1-800-355-3515 or,
on the Internet at HomeLink.com for safety information or
assistance.
Before You Begin Programming HomeLink®
Be sure that your vehicle is parked outside of the garage
before you begin programming.
For more efficient programming and accurate transmission
of the radio-frequency signal it is recommended that a new
battery be placed in the hand-held transmitter of the device
that is being programmed to the HomeLink® system.
To erase the channels, place the ignition in the ON/RUN
position, and push and hold the two outside HomeLink®
buttons (I and III) for up to 20 seconds or until the orange
indicator flashes.
NOTE:
• Erasing all channels should only be performed when programming HomeLink® for the first time. Do not erase
channels when programming additional buttons.
• If you have any problems, or require assistance, please call toll-free 1-800-355-3515 or, on the Internet at Home-
Link.com for information or assistance.
WARNING!
• Your motorized door or gate will open and close while you are programming the universal transceiver. Do not
program the transceiver if people, pets or other objects
are in the path of the door or gate. Only use this trans -
ceiver with a garage door opener that has a “stop and
reverse” feature as required by Federal safety stan -
dards. This includes most garage door opener models
manufactured after 1982. Do not use a garage door
opener without these safety features.
• Vehicle exhaust contains carbon monoxide, a dangerous gas. Do not run your vehicle in the garage
while programming the transceiver. Exhaust gas can
cause serious injury or death.
2020_DT_1500_OM_US.book Page 110
Page 120 of 674
118 GETTING TO KNOW YOUR VEHICLE
Center Storage Compartment — If Equipped
The center storage compartment is located between the
driver and passenger seats. The storage compartment
provides an armrest and contains both and upper and lower
storage area.Center Storage Compartment Pull on the upper handle on the front of the armrest to raise
the cover. The upper storage area contains a USB power
outlet located at the rear of the area that can be used to power
small electrical devices, refer to “Electrical Power Outlets” in
this section for further information.WARNING!
• This armrest is not a seat. Anyone seated on the armrest could be seriously injured during vehicle operation, or
a collision. Only use the center seating position when
the armrest is fully upright.
• In a collision, the latch may open if the total weight of the items stored exceeds about 10 lbs (4.5 kg). These
items could be thrown about endangering occupants
of the vehicle. Items stored should not exceed a total of
10 lbs (4.5 kg).
2020_DT_1500_OM_US.book Page 118
Page 121 of 674
GETTING TO KNOW YOUR VEHICLE 119
With the upper lid closed, pull on the lower handle to open
the lower storage bin. The lower bin contains a power
inverter outlet located in the forward portion of the lower
bin. There is also a “fill line” located long the rear inside wall
of the lower bin. Contents above the “fill line” may interfere
with cupholder placement if equipped with a premium
center console.
Forward Portion Of Lower Storage Bin Premium Center Console — If Equipped
The premium center console is equipped with two front
storage bins located in front of the center storage compart
-
ment. These storage bins may be equipped with tandem
doors. Push the front bin to access the cupholders. Or push
the rear bin to access the coinholder/small storage bin.
Center Console Tandem Doors— If Equipped
WARNING!
Do not operate this vehicle with a console compartment
lid in the open position. Driving with the console
compartment lid open may result in injury in a collision.
1 — Push Front Bin Access
2 — Push Rear Bin Access
2
2020_DT_1500_OM_US.book Page 119
Page 132 of 674

130 GETTING TO KNOW YOUR VEHICLE
When the vehicle is turned off, be sure to unplug any equip-
ment as to not drain the battery of the vehicle. All accessories
connected to the outlet(s) should be removed or turned off
when the vehicle is not in use to protect the battery against
discharge.
WARNING!
To avoid serious injury or death:
• Only devices designed for use in this type of outlet should be inserted into any 12 Volt outlet.
• Do not touch with wet hands.
• Close the lid when not in use and while driving the vehicle.
• If this outlet is mishandled, it may cause an electric shock and failure.
CAUTION!
• Many accessories that can be plugged in draw power from the vehicle's battery, even when not in use (i.e.,
cellular phones, etc.). Eventually, if plugged in long
enough, the vehicle's battery will discharge sufficiently
to degrade battery life and/or prevent the engine from
starting.
• Accessories that draw higher power (i.e., coolers, vacuum cleaners, lights, etc.), will discharge the battery
even more quickly. Only use these intermittently and
with greater caution.
• After the use of high power draw accessories, or long periods of the vehicle not being started (with accesso -
ries still plugged in), the vehicle must be driven a suffi -
cient length of time to allow the generator to recharge
the vehicle's battery.
2020_DT_1500_OM_US.book Page 130
Page 136 of 674

134 GETTING TO KNOW YOUR VEHICLE
Wireless Charging Pad — If Equipped
Wireless Charging PadYour vehicle may be equipped with a 15W 3A Qi wireless
charging pad located inside of the center console just below
the CD player (if equipped). This charging pad is designed to
wirelessly charge your Qi enabled mobile phone. Qi is a stan
-
dard that uses magnetic induction to transfer power to your
mobile device.
Your mobile phone must be designed for Qi wireless
charging. If the phone is not equipped with Qi wireless
charging functionality, an aftermarket sleeve or a specialized
back plate can be purchased from your mobile phone
provider or an local electronics retailer. Please see your
phone’s owner’s manual for further information.
The wireless charging pad is equipped with an anti-slip mat,
an adjustable cradle to hold your mobile phone in place and
an LED indicator light.
WARNING!
To avoid serious injury or death:
• Do not insert any objects into the receptacles.
• Do not touch with wet hands.
• Close the lid when not in use.
• If this outlet is mishandled, it may cause an electric shock and failure.
CAUTION!
The key fob should not be placed on the charging pad or
within 15 cm (150 mm) of it. Doing so can cause excessive
heat buildup and damage to the fob. Placing the fob in
close proximity of the charging pad blocks the fob from
being detected by the vehicle and prevents the vehicle
from starting.
2020_DT_1500_OM_US.book Page 134