engine light Ram 2500 2018 User Guide
[x] Cancel search | Manufacturer: RAM, Model Year: 2018, Model line: 2500, Model: Ram 2500 2018Pages: 700, PDF Size: 8.86 MB
Page 120 of 700

5. Push and hold the programmed HomeLink button. Theinstrument cluster display will display “CHANNEL #
TRANSMIT.” If the garage door opener/device acti-
vates, programming is complete.
To program the remaining two HomeLink buttons, repeat
each step for each remaining button. DO NOT erase the
channels.
Reprogramming A Single HomeLink Button
(Non-Rolling Code)
To reprogram a channel that has been previously trained,
follow these steps:
1. Cycle the ignition to the ON/RUN position.
2. Push and hold the desired HomeLink button until the indicator light begins to flash after 20 seconds. Do not
release the button.
3. Without releasing the button proceed with “Program-
ming A Non-Rolling Code” step 2 and follow all remain-
ing steps.
Canadian/Gate Operator Programming
For programming transmitters in Canada/United States
that require the transmitter signals to “time-out” after
several seconds of transmission. Canadian radio frequency laws require transmitter signals
to time-out (or quit) after several seconds of transmission –
which may not be long enough for HomeLink to pick up
the signal during programming. Similar to this Canadian
law, some U.S. gate operators are designed to time-out in
the same manner.
It may be helpful to unplug the device during the cycling
process to prevent possible overheating of the garage door
or gate motor.
1. Turn the ignition switch to the ON/RUN position.
NOTE:
For vehicle’s equipped with Keyless Enter-N-Go,
place the ignition in the RUN position with the Engine ON.
For vehicle’s equipped with Keyless Enter-N-Go, place the
ignition in the RUN position with the Engine ON. Make
sure while programming HomeLink with the engine ON
that your vehicle is outside of your garage, or that the
garage door remains open at all times.
2. Place the hand - held transmitter 1 to 3 inches (3 to 8 cm) away from the HomeLink button you wish to program.
3. Push and hold the HomeLink button while you push and release (“cycle”), your hand - held transmitter every
two seconds.
118 GETTING TO KNOW YOUR VEHICLE
Page 121 of 700

4. Continue to hold both buttons until the instrumentcluster display changes from “CHANNEL # TRAIN-
ING” to “CHANNEL # TRAINED,” then release both
buttons.
NOTE: •It may take up to 30 seconds or longer in some cases
for the channel to train.
• If the instrument cluster display shows “DID NOT
TRAIN”, repeat from Step 2.
5. Push and hold the programmed HomeLink button. The instrument cluster display will display “CHANNEL #
TRANSMIT.” If the device is plugged in and activates,
programming is complete.
If you unplugged the garage door opener/device for
programming, plug it back in at this time.
Reprogramming A Single HomeLink Button
(Canadian/Gate Operator)
To reprogram a channel that has been previously trained,
follow these steps:
1. Turn the ignition switch to the ON/RUN position. NOTE:
For vehicle’s equipped with Keyless Enter-N-Go,
place the ignition in the RUN position with the Engine ON.
For vehicle’s equipped with Keyless Enter-N-Go, place the
ignition in the RUN position with the Engine ON. Make
sure while programming HomeLink with the engine ON
that your vehicle is outside of your garage, or that the
garage door remains open at all times.
2. Push and hold the desired HomeLink button until the instrument cluster display shows “CHANNEL #
TRAINING” Do not release the button.
3. Without releasing the button proceed with “Canadian/
Gate Operator Programming” Step 2 and follow all
remaining steps.
Using HomeLink
To operate, push and release the programmed HomeLink
button. Activation will now occur for the programmed
device (i.e. garage door opener, gate operator, security
system, entry door lock, home/office lighting, etc.) The
hand-held transmitter of the device may also be used at
any time.
3
GETTING TO KNOW YOUR VEHICLE 119
Page 139 of 700
WARNING!
To avoid serious injury or death:
•Only devices designed for use in this type of outlet
should be inserted into any 12 Volt outlet.
• Do not touch with wet hands.
• Close the lid when not in use and while driving the
vehicle.
• If this outlet is mishandled, it may cause an electric
shock and failure.
CAUTION!
•Many accessories that can be plugged in draw power
from the vehicle’s battery, even when not in use (i.e.,
cellular phones, etc.). Eventually, if plugged in long
enough, the vehicle’s battery will discharge suffi-
ciently to degrade battery life and/or prevent the
engine from starting.
• Accessories that draw higher power (i.e., coolers,
vacuum cleaners, lights, etc.), will discharge the
battery even more quickly. Only use these intermit-
tently and with greater caution.
(Continued)
CAUTION! (Continued)
•After the use of high power draw accessories, or long
periods of the vehicle not being started (with acces-
sories still plugged in), the vehicle must be driven a
sufficient length of time to allow the generator to
recharge the vehicle’s battery.
Cigar Lighter And Ash Receiver — If Equipped
A removable cigar lighter and ash receiver are available.
For vehicles with a bench seat, the cup holder tray can be
used to hold the ash receiver.
Power Inverter — If Equipped
A 115 or 230 Volt (150 Watts Maximum) outlet is located on
the center stack of the instrument panel, to the right of the
radio. This outlet can power cellular phones, electronics and
other low power devices requiring power up to 150 Watts.
Certain high-end video game consoles will exceed this power
limit, as will most power tools.
The power inverter is designed with built-in overload
protection. If the power rating of 150 Watts is exceeded, the
power inverter will automatically shut down. Once the
electrical device has been removed from the outlet the
inverter should automatically reset.
3
GETTING TO KNOW YOUR VEHICLE 137
Page 179 of 700
of this message type are “Turn Signal On” (if a turn signal
is left on) and “Lights On” (if driver leaves the vehicle).
•Unstored Messages Until RUN
These messages deal primarily with the Remote Start
feature. This message type is displayed until the ignition is
in the RUN state. Examples of this message type are
“Remote Start Aborted - Door Ajar” and “Press Brake
Pedal and Push Button to Start.”
• Five Second Unstored Messages
When the appropriate conditions occur, this type of mes-
sage takes control of the main display area for five seconds
and then returns to the previous screen. An example of this
message type is “Automatic High Beams On.”
Oil Life Reset
Your vehicle is equipped with an engine oil change indi-
cator system. The “Oil Change Required” message will
display in the instrument cluster display after a single
chime has sounded, to indicate the next scheduled oil
change interval. The engine oil change indicator system is
duty cycle based, which means the engine oil change
interval may fluctuate, dependent upon your personal
driving style. NOTE:
Use the steering wheel instrument cluster display
controls for the following procedure(s).
Vehicles Equipped With Passive Entry
1. Without pushing the brake pedal, push the ENGINE START/STOP button and place the ignition to the
ON/RUN position (do not start the engine).
2. Push and release the downarrow button to scroll
downward through the main menu to “Vehicle Info.”
3. Push and release the rightarrow button to access the
”Vehicle Info” screen, then scroll up or down to select
“Oil Life.”
4. Push and hold the rightarrow button to select “Reset”.
5. Push and release the downarrow button to select “Yes,”
then push and release the rightarrow button to select
reset of the Oil Life to 100%.
6. Push and release the uparrow button to exit the
instrument cluster display screen.
Vehicles Not Equipped With Passive Entry
1. Without pushing the brake pedal, cycle the ignition to the ON/RUN position (do not start the engine).
4
GETTING TO KNOW YOUR INSTRUMENT PANEL 177
Page 182 of 700

•Engage Park Brake To Prevent Rolling
• Transmission Too Cold Idle With Engine On
• Washer Fluid Low
• Service Air Suspension System
• Heavy Duty Air Suspension System Disabled
• Selected Ride Height Not Permitted Due To Speed
• Selected Ride Height Not Permitted Due To Payload
• Selected Ride Height Not Permitted - Payload Too Light
• Battery Low Start Engine To Change Ride Height
• Normal Ride Height Achieved
• Aerodynamic Ride Height Achieved
• Off Road 1 Ride Height Achieved
• Off Road 2 Ride Height Achieved
• Entry/Exit Ride Height Achieved
• Selected Ride Height Not Permitted
• Service Air Suspension System Immediately
• Reduce Speed To Maintain Selected Ride Height
• Air Suspension System Cooling Down Please Wait •
Vehicle Cannot Be Lowered Door Open
• Off Road 2 Watch For Clearance
• Entry/Exit Watch For Clearance
• Air Suspension Temporarily Disabled For Jacking And
Tire Change
• Battery Low Start Engine To Change Ride Height
The Reconfigurable Telltales section is divided into the
white telltales area on the right, yellow telltales in the
middle, and red telltales on the left.
Display Menu Items
Push and release the upordown arrow button until the
desired selectable menu icon is highlighted in the instru-
ment cluster display.
Speedometer
Push and release the upordown arrow button until the
speedometer menu item is highlighted in the instrument
cluster display. Push and release the rightarrow button to
cycle the display between mph and km/h.
Vehicle Info
Push and release the upordown arrow button until the
Vehicle Info menu item is highlighted in the instrument
180 GETTING TO KNOW YOUR INSTRUMENT PANEL
Page 183 of 700
cluster display. Push and release therightarrow button to
enter the submenus items of Vehicle Info. Follow the
directional prompts to access or reset any of the following
Vehicle Info submenu items:
• Tire Pressure
• Transmission Temp (Automatic only)
• Oil Temp
• Oil Life
• Air Suspension — If Equipped
• Coolant Temp — If Equipped
• Oil Pressure — If Equipped
• Battery Voltage — If Equipped
• Gauge Summary — If Equipped
• Engine Hours
Fuel Economy
Push and release the upordown arrow button until the
Fuel Economy menu item is highlighted in the instrument
cluster display. Push and Hold the rightarrow button to
reset Average Fuel Economy.
• Current Fuel Economy Gauge •
Average Fuel Economy Value
• Range To Empty
Trip A/Trip B
Push and release the upordown arrow button until the
Trip menu item is highlighted in the instrument cluster
display. Push and release the rightarrow button to enter
the submenus of Trip A and Trip B. The Trip A or Trip B
information will display the following:
• Distance
• Average Fuel Economy
• Elapsed Time
Push and hold rightarrow button to reset all information.
Trailer Tow
Push and release the upordown arrow button until the
Trailer Tow menu item is highlighted in the instrument
cluster display. Push and release the rightarrow button
and the next screen will display the following trailer trip
information:
• Trip (trailer specific) Distance: Push and hold the right
arrow button to reset the distance.
• Trailer Brake
4
GETTING TO KNOW YOUR INSTRUMENT PANEL 181
Page 190 of 700
NOTE:
•The charging system is independent from load reduc-
tion. The charging system performs a diagnostic on the
charging system continuously.
• If the Battery Charge Warning Light is on it may indicate
a problem with the charging system. Refer to “Battery
Charge Warning Light” in “Getting To Know Your
Instrument Panel” for further information.
The electrical loads that may be switched off (if equipped),
and vehicle functions which can be affected by load
reduction:
• Heated Seat/Vented Seats/Heated Wheel
• Heated/Cooled Cup Holders — If Equipped
• Rear Defroster And Heated Mirrors
• HVAC System
• 115V AC Power Inverter System
• Audio and Telematics System
Loss of the battery charge may indicate one or more of the
following conditions:
• The charging system cannot deliver enough electrical
power to the vehicle system because the electrical loads are larger than the capability of charging system. The
charging system is still functioning properly.
• Turning on all possible vehicle electrical loads (e.g.
HVAC to max settings, exterior and interior lights,
overloaded power outlets +12V, 115V AC, USB ports)
during certain driving conditions (city driving, towing,
frequent stopping).
• Installing options like additional lights, upfitter electri-
cal accessories, audio systems, alarms and similar de-
vices.
• Unusual driving cycles (short trips separated by long
parking periods).
• The vehicle was parked for an extended period of time
(weeks, months).
• The battery was recently replaced and was not charged
completely.
• The battery was discharged by an electrical load left on
when the vehicle was parked.
• The battery was used for an extended period with the
engine not running to supply radio, lights, chargers,
+12V portable appliances like vacuum cleaners, game
consoles and similar devices.
188 GETTING TO KNOW YOUR INSTRUMENT PANEL
Page 193 of 700
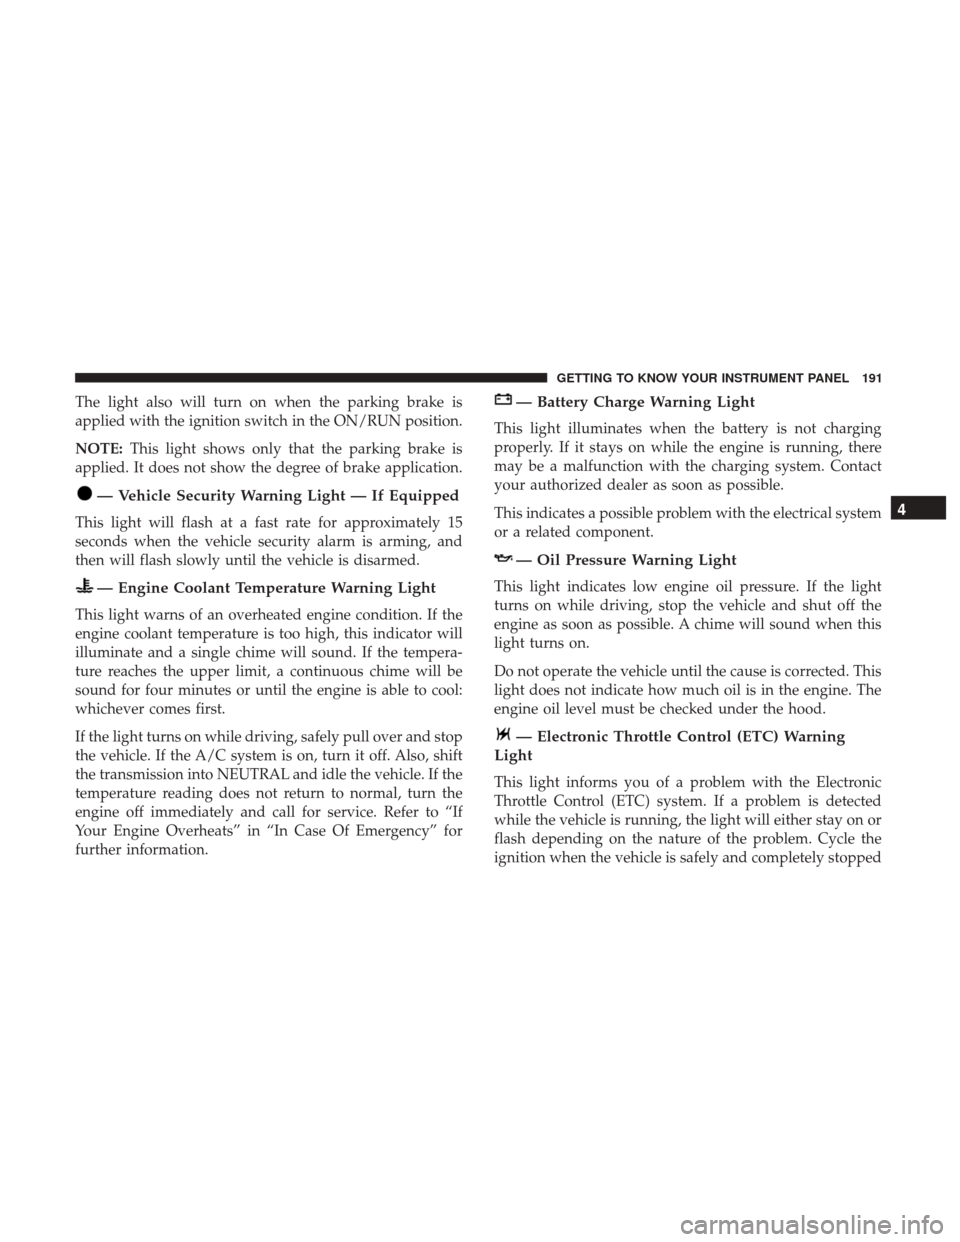
The light also will turn on when the parking brake is
applied with the ignition switch in the ON/RUN position.
NOTE:This light shows only that the parking brake is
applied. It does not show the degree of brake application.
— Vehicle Security Warning Light — If Equipped
This light will flash at a fast rate for approximately 15
seconds when the vehicle security alarm is arming, and
then will flash slowly until the vehicle is disarmed.
— Engine Coolant Temperature Warning Light
This light warns of an overheated engine condition. If the
engine coolant temperature is too high, this indicator will
illuminate and a single chime will sound. If the tempera-
ture reaches the upper limit, a continuous chime will be
sound for four minutes or until the engine is able to cool:
whichever comes first.
If the light turns on while driving, safely pull over and stop
the vehicle. If the A/C system is on, turn it off. Also, shift
the transmission into NEUTRAL and idle the vehicle. If the
temperature reading does not return to normal, turn the
engine off immediately and call for service. Refer to “If
Your Engine Overheats” in “In Case Of Emergency” for
further information.
— Battery Charge Warning Light
This light illuminates when the battery is not charging
properly. If it stays on while the engine is running, there
may be a malfunction with the charging system. Contact
your authorized dealer as soon as possible.
This indicates a possible problem with the electrical system
or a related component.
— Oil Pressure Warning Light
This light indicates low engine oil pressure. If the light
turns on while driving, stop the vehicle and shut off the
engine as soon as possible. A chime will sound when this
light turns on.
Do not operate the vehicle until the cause is corrected. This
light does not indicate how much oil is in the engine. The
engine oil level must be checked under the hood.
— Electronic Throttle Control (ETC) Warning
Light
This light informs you of a problem with the Electronic
Throttle Control (ETC) system. If a problem is detected
while the vehicle is running, the light will either stay on or
flash depending on the nature of the problem. Cycle the
ignition when the vehicle is safely and completely stopped
4
GETTING TO KNOW YOUR INSTRUMENT PANEL 191
Page 194 of 700
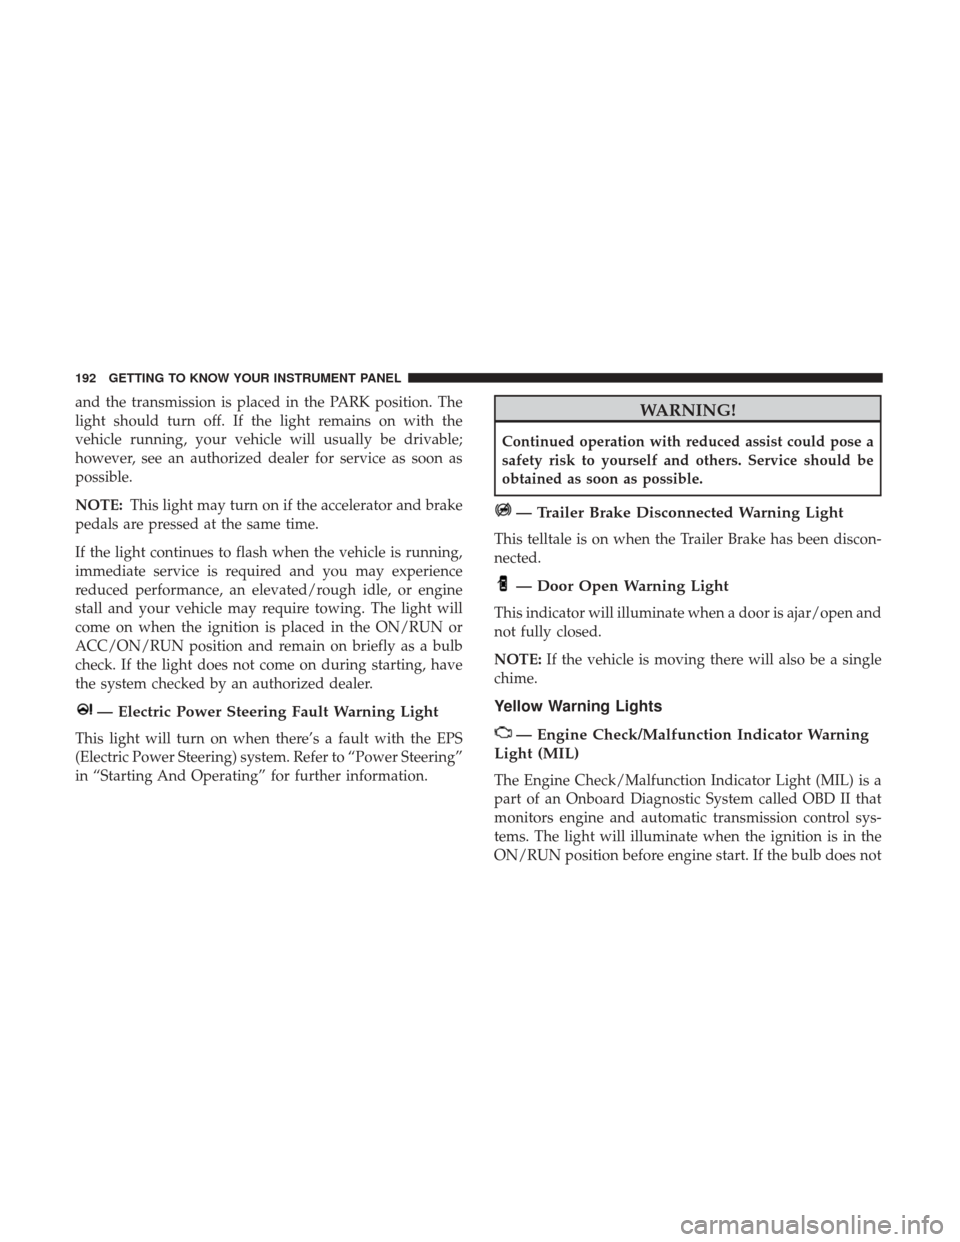
and the transmission is placed in the PARK position. The
light should turn off. If the light remains on with the
vehicle running, your vehicle will usually be drivable;
however, see an authorized dealer for service as soon as
possible.
NOTE:This light may turn on if the accelerator and brake
pedals are pressed at the same time.
If the light continues to flash when the vehicle is running,
immediate service is required and you may experience
reduced performance, an elevated/rough idle, or engine
stall and your vehicle may require towing. The light will
come on when the ignition is placed in the ON/RUN or
ACC/ON/RUN position and remain on briefly as a bulb
check. If the light does not come on during starting, have
the system checked by an authorized dealer.
— Electric Power Steering Fault Warning Light
This light will turn on when there’s a fault with the EPS
(Electric Power Steering) system. Refer to “Power Steering”
in “Starting And Operating” for further information.
WARNING!
Continued operation with reduced assist could pose a
safety risk to yourself and others. Service should be
obtained as soon as possible.
— Trailer Brake Disconnected Warning Light
This telltale is on when the Trailer Brake has been discon-
nected.
— Door Open Warning Light
This indicator will illuminate when a door is ajar/open and
not fully closed.
NOTE: If the vehicle is moving there will also be a single
chime.
Yellow Warning Lights
— Engine Check/Malfunction Indicator Warning
Light (MIL)
The Engine Check/Malfunction Indicator Light (MIL) is a
part of an Onboard Diagnostic System called OBD II that
monitors engine and automatic transmission control sys-
tems. The light will illuminate when the ignition is in the
ON/RUN position before engine start. If the bulb does not
192 GETTING TO KNOW YOUR INSTRUMENT PANEL
Page 195 of 700
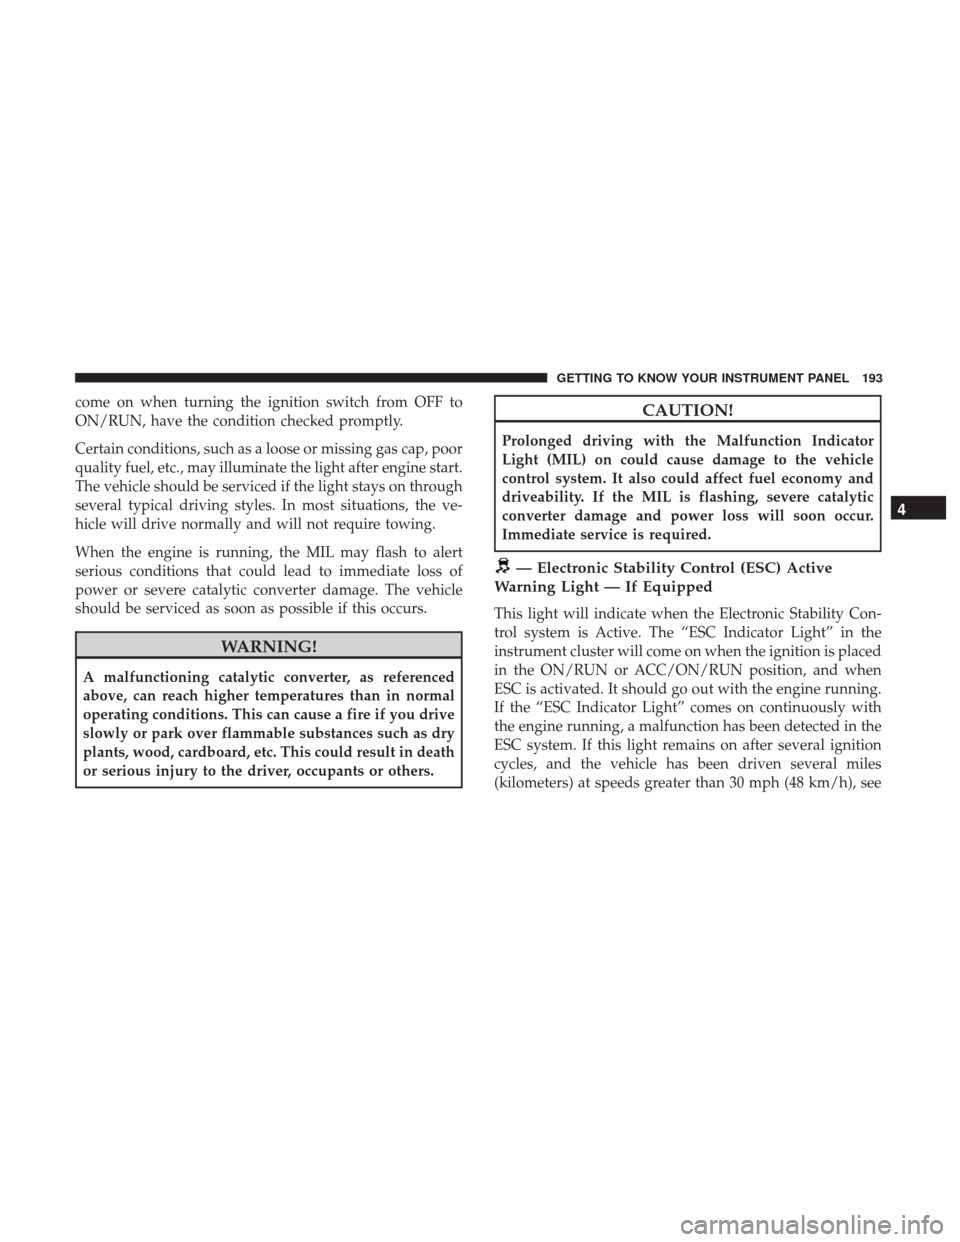
come on when turning the ignition switch from OFF to
ON/RUN, have the condition checked promptly.
Certain conditions, such as a loose or missing gas cap, poor
quality fuel, etc., may illuminate the light after engine start.
The vehicle should be serviced if the light stays on through
several typical driving styles. In most situations, the ve-
hicle will drive normally and will not require towing.
When the engine is running, the MIL may flash to alert
serious conditions that could lead to immediate loss of
power or severe catalytic converter damage. The vehicle
should be serviced as soon as possible if this occurs.
WARNING!
A malfunctioning catalytic converter, as referenced
above, can reach higher temperatures than in normal
operating conditions. This can cause a fire if you drive
slowly or park over flammable substances such as dry
plants, wood, cardboard, etc. This could result in death
or serious injury to the driver, occupants or others.
CAUTION!
Prolonged driving with the Malfunction Indicator
Light (MIL) on could cause damage to the vehicle
control system. It also could affect fuel economy and
driveability. If the MIL is flashing, severe catalytic
converter damage and power loss will soon occur.
Immediate service is required.
— Electronic Stability Control (ESC) Active
Warning Light — If Equipped
This light will indicate when the Electronic Stability Con-
trol system is Active. The “ESC Indicator Light” in the
instrument cluster will come on when the ignition is placed
in the ON/RUN or ACC/ON/RUN position, and when
ESC is activated. It should go out with the engine running.
If the “ESC Indicator Light” comes on continuously with
the engine running, a malfunction has been detected in the
ESC system. If this light remains on after several ignition
cycles, and the vehicle has been driven several miles
(kilometers) at speeds greater than 30 mph (48 km/h), see
4
GETTING TO KNOW YOUR INSTRUMENT PANEL 193