engine light Ram 2500 2018 Owner's Guide
[x] Cancel search | Manufacturer: RAM, Model Year: 2018, Model line: 2500, Model: Ram 2500 2018Pages: 700, PDF Size: 8.86 MB
Page 198 of 700

CAUTION!(Continued)
Monitoring System (TPMS) sensor to become inoper-
able. After using an aftermarket tire sealant it is
recommended that you take your vehicle to your au-
thorized dealer to have your sensor function checked.
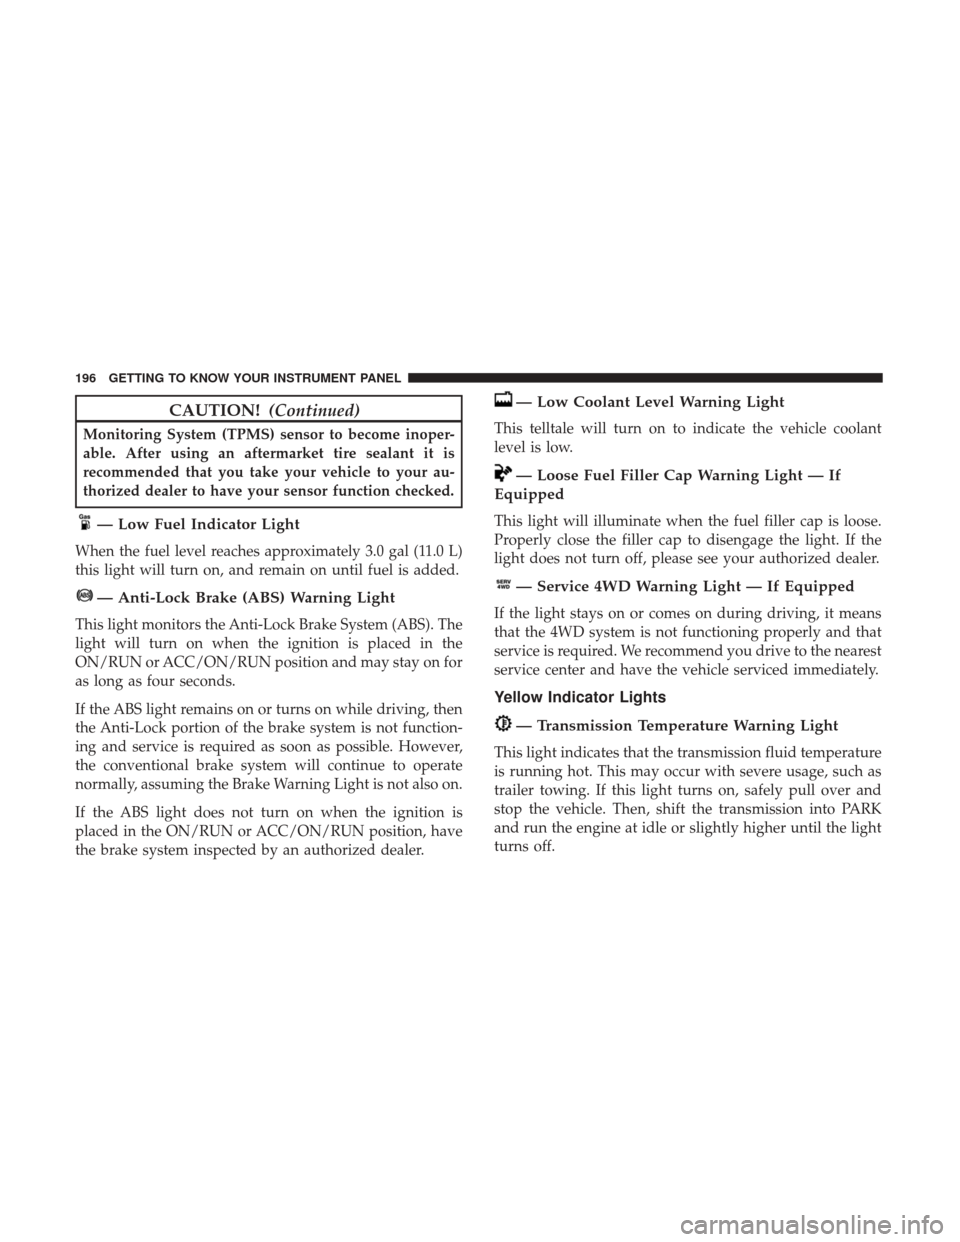
— Low Fuel Indicator Light
When the fuel level reaches approximately 3.0 gal (11.0 L)
this light will turn on, and remain on until fuel is added.
— Anti-Lock Brake (ABS) Warning Light
This light monitors the Anti-Lock Brake System (ABS). The
light will turn on when the ignition is placed in the
ON/RUN or ACC/ON/RUN position and may stay on for
as long as four seconds.
If the ABS light remains on or turns on while driving, then
the Anti-Lock portion of the brake system is not function-
ing and service is required as soon as possible. However,
the conventional brake system will continue to operate
normally, assuming the Brake Warning Light is not also on.
If the ABS light does not turn on when the ignition is
placed in the ON/RUN or ACC/ON/RUN position, have
the brake system inspected by an authorized dealer.
— Low Coolant Level Warning Light
This telltale will turn on to indicate the vehicle coolant
level is low.
— Loose Fuel Filler Cap Warning Light — If
Equipped
This light will illuminate when the fuel filler cap is loose.
Properly close the filler cap to disengage the light. If the
light does not turn off, please see your authorized dealer.
— Service 4WD Warning Light — If Equipped
If the light stays on or comes on during driving, it means
that the 4WD system is not functioning properly and that
service is required. We recommend you drive to the nearest
service center and have the vehicle serviced immediately.
Yellow Indicator Lights
— Transmission Temperature Warning Light
This light indicates that the transmission fluid temperature
is running hot. This may occur with severe usage, such as
trailer towing. If this light turns on, safely pull over and
stop the vehicle. Then, shift the transmission into PARK
and run the engine at idle or slightly higher until the light
turns off.
196 GETTING TO KNOW YOUR INSTRUMENT PANEL
Page 199 of 700

WARNING!
If you continue operating the vehicle when the Trans-
mission Temperature Warning Light is illuminated you
could cause the fluid to boil over, come in contact with
hot engine or exhaust components and cause a fire.
CAUTION!
Continuous driving with the Transmission Tempera-
ture Warning Light illuminated will eventually cause
severe transmission damage or transmission failure.
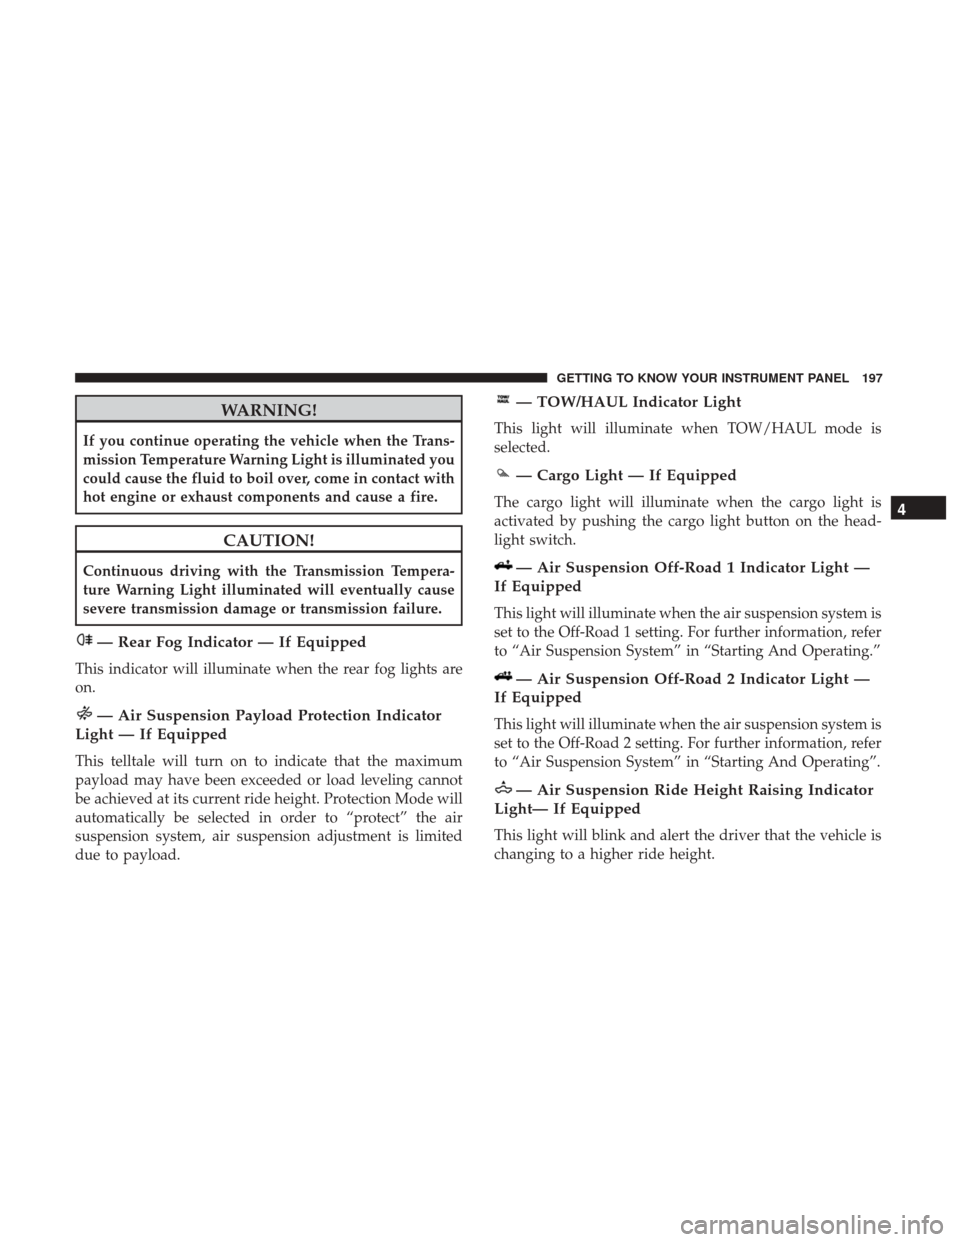
— Rear Fog Indicator — If Equipped
This indicator will illuminate when the rear fog lights are
on.
— Air Suspension Payload Protection Indicator
Light — If Equipped
This telltale will turn on to indicate that the maximum
payload may have been exceeded or load leveling cannot
be achieved at its current ride height. Protection Mode will
automatically be selected in order to “protect” the air
suspension system, air suspension adjustment is limited
due to payload.
— TOW/HAUL Indicator Light
This light will illuminate when TOW/HAUL mode is
selected.
— Cargo Light — If Equipped
The cargo light will illuminate when the cargo light is
activated by pushing the cargo light button on the head-
light switch.
— Air Suspension Off-Road 1 Indicator Light —
If Equipped
This light will illuminate when the air suspension system is
set to the Off-Road 1 setting. For further information, refer
to “Air Suspension System” in “Starting And Operating.”
— Air Suspension Off-Road 2 Indicator Light —
If Equipped
This light will illuminate when the air suspension system is
set to the Off-Road 2 setting. For further information, refer
to “Air Suspension System” in “Starting And Operating”.
— Air Suspension Ride Height Raising Indicator
Light— If Equipped
This light will blink and alert the driver that the vehicle is
changing to a higher ride height.
4
GETTING TO KNOW YOUR INSTRUMENT PANEL 197
Page 202 of 700

ONBOARD DIAGNOSTIC SYSTEM — OBD II
Your vehicle is equipped with a sophisticated Onboard
Diagnostic system called OBD II. This system monitors the
performance of the emissions, engine, and transmission
control systems. When these systems are operating prop-
erly, your vehicle will provide excellent performance and
fuel economy, as well as engine emissions well within
current government regulations.
If any of these systems require service, the OBD II system
will turn on the Malfunction Indicator Light (MIL). It will
also store diagnostic codes and other information to assist
your service technician in making repairs. Although your
vehicle will usually be drivable and not need towing, see
your authorized dealer for service as soon as possible.
CAUTION!
•Prolonged driving with the MIL on could cause
further damage to the emission control system. It
could also affect fuel economy and driveability. The
vehicle must be serviced before any emissions tests
can be performed.
(Continued)
CAUTION! (Continued)
•If the MIL is flashing while the vehicle is running,
severe catalytic converter damage and power loss
will soon occur. Immediate service is required.
Onboard Diagnostic System (OBD II) Cybersecurity
Your vehicle is required to have an Onboard Diagnostic
system (OBD II) and a connection port to allow access to
information related to the performance of your emissions
controls. Authorized service technicians may need to ac-
cess this information to assist with the diagnosis and
service of your vehicle and emissions system.
WARNING!
• ONLY an authorized service technician should con-
nect equipment to the OBD II connection port in
order to diagnose or service your vehicle.
• If unauthorized equipment is connected to the
OBD II connection port, such as a driver-behavior
tracking device, it may:
• Be possible that vehicle systems, including safety
related systems, could be impaired or a loss of
(Continued)
200 GETTING TO KNOW YOUR INSTRUMENT PANEL
Page 203 of 700

WARNING!(Continued)
vehicle control could occur that may result in an
accident involving serious injury or death.
• Access, or allow others to access, information
stored in your vehicle systems, including personal
information.
For further information, refer to “Cybersecurity” in “Mul-
timedia”.
EMISSIONS INSPECTION AND MAINTENANCE
PROGRAMS
In some localities, it may be a legal requirement to pass an
inspection of your vehicle’s emissions control system.
Failure to pass could prevent vehicle registration. For states that require an Inspection and Mainte-
nance (I/M), this check verifies the “Malfunction
Indicator Light (MIL)” is functioning and is not on
when the engine is running, and that the OBD II system is
ready for testing.
Normally, the OBD II system will be ready. The OBD II
system may notbe ready if your vehicle was recently serviced, recently had a dead battery or a battery replace-
ment. If the OBD II system should be determined not ready
for the I/M test, your vehicle may fail the test.
Your vehicle has a simple ignition actuated test, which you
can use prior to going to the test station. To check if your
vehicle’s OBD II system is ready, you must do the follow-
ing:
1. Cycle the ignition switch to the ON position, but do not
crank or start the engine.
NOTE: If you crank or start the engine, you will have to
start this test over.
2. As soon as you cycle the ignition switch to the ON position, you will see the “Malfunction Indicator Light
(MIL)” symbol come on as part of a normal bulb check.
3. Approximately 15 seconds later, one of two things will happen:
• The MIL will flash for about ten seconds and then return
to being fully illuminated until you turn OFF the igni-
tion or start the engine. This means that your vehicle’s
OBD II system is not readyand you should notproceed
to the I/M station.
4
GETTING TO KNOW YOUR INSTRUMENT PANEL 201
Page 210 of 700

WARNING!(Continued)
order to avoid rolling down an incline while resum-
ing acceleration, manually activate the trailer brake
or apply more vehicle brake pressure prior to releas-
ing the brake pedal.
• HSA is not a parking brake. Always apply the
parking brake fully when exiting your vehicle. Also,
be certain to place the transmission in PARK.
• Failure to follow these warnings can result in a
collision or serious personal injury.
Disabling And Enabling HSA
This feature can be turned on or turned off. To change the
current setting, proceed as follows:
• If disabling HSA using your instrument cluster display,
refer to “Instrument Cluster Display” in “Getting To
Know Your Instrument Panel” for further information.
• If disabling HSA using Uconnect Settings, refer to
“Uconnect Settings” in “Multimedia” for further infor-
mation. For vehicles not equipped with an instrument cluster
display, perform the following steps:
1. Center the steering wheel (front wheels pointing
straight forward).
2. Shift the transmission into PARK.
3. Apply the parking brake.
4. Start the engine.
5. Rotate the steering wheel slightly more than one-half turn to the left.
6. Push the “ESC Off” button located in the lower switch bank below the climate control four times within 20
seconds. The “ESC Off Indicator Light” should turn on
and turn off two times.
7. Rotate the steering wheel back to center and then an additional slightly more than one-half turn to the right.
8. Turn the ignition to the OFF mode and then back to ON. If the sequence was completed properly, the “ESC Off
Indicator Light” will blink several times to confirm HSA
is disabled.
9. Repeat these steps if you want to return this feature to its previous setting.
208 SAFETY
Page 211 of 700

Traction Control System (TCS)
This system monitors the amount of wheel spin of each of
the driven wheels. If wheel spin is detected, the TCS may
apply brake pressure to the spinning wheel(s) and/or
reduce engine power to provide enhanced acceleration and
stability. A feature of the TCS, Brake Limited Differential
(BLD), functions similar to a limited slip differential and
controls the wheel spin across a driven axle. If one wheel
on a driven axle is spinning faster than the other, the
system will apply the brake of the spinning wheel. This
will allow more engine torque to be applied to the wheel
that is not spinning. BLD may remain enabled even if TCS
and ESC are in a reduced mode.
Electronic Stability Control (ESC)
This system enhances directional control and stability of
the vehicle under various driving conditions. ESC corrects
for oversteering or understeering of the vehicle by apply-
ing the brake of the appropriate wheel(s) to assist in
counteracting the oversteer or understeer condition. En-
gine power may also be reduced to help the vehicle
maintain the desired path.
ESC uses sensors in the vehicle to determine the vehicle
path intended by the driver and compares it to the actual
path of the vehicle. When the actual path does not matchthe intended path, ESC applies the brake of the appropriate
wheel to assist in counteracting the oversteer or understeer
condition.
•
Oversteer — when the vehicle is turning more than
appropriate for the steering wheel position.
• Understeer — when the vehicle is turning less than
appropriate for the steering wheel position.
The “ESC Activation/Malfunction Indicator Light” located
in the instrument cluster will start to flash as soon as the
ESC system becomes active. The “ESC Activation/
Malfunction Indicator Light” also flashes when the TCS is
active. If the “ESC Activation/Malfunction Indicator
Light” begins to flash during acceleration, ease up on the
accelerator and apply as little throttle as possible. Be sure to
adapt your speed and driving to the prevailing road
conditions.
WARNING!
• Electronic Stability Control (ESC) cannot prevent the
natural laws of physics from acting on the vehicle,
nor can it increase the traction afforded by prevailing
(Continued)
5
SAFETY 209
Page 213 of 700

NOTE:For vehicles with multiple partial ESC modes a
momentary button push will toggle the ESC mode. Mul-
tiple momentary button pushed may be required to return
to ESC On.
WARNING!
• When in “Partial Off” mode, the TCS functionality
of ESC, (except for the limited slip feature described
in the TCS section), has been disabled and the “ESC
Off Indicator Light” will be illuminated. When in
“Partial Off” mode, the engine power reduction
feature of TCS is disabled, and the enhanced vehicle
stability offered by the ESC system is reduced.
• Trailer Sway control (TSC) is disabled when the ESC
system is in the “Partial Off” mode.
Full Off — If Equipped
This mode is intended for off-highway or off-road use only
and should not be used on any public roadways. In this
mode, TCS and ESC features are turned OFF. To enter the
“Full Off” mode, push and hold the “ESC Off” switch for
five seconds while the vehicle is stopped with the engine
running. After five seconds, a chime will sound, the “ESC
Off Indicator Light” will illuminate, and the “ESC OFF” message will display in the instrument cluster. To turn ESC
ON again, momentarily push the “ESC Off” switch.
NOTE:
System may switch from ESC “Full Off” to “Partial
Off” mode when vehicle exceeds a predetermined speed.
When the vehicle speed slows below the predetermined
speed the system will return to ESC “Full Off”.
ESC modes may also be affected by drive modes if so
equipped.
WARNING!
• In the ESC “Full Off” mode, the engine torque
reduction and stability features are disabled. There-
fore, enhanced vehicle stability offered by the ESC
system is unavailable. In an emergency evasive ma-
neuver, the ESC system will not engage to assist in
maintaining stability. ESC “Full Off” mode is in-
tended for off-highway or off-road use only.
•
With the ESC switched off, the enhanced vehicle
stability offered by ESC is unavailable. In an emer-
gency evasive maneuver, the ESC system will not
engage to assist in maintaining stability. ESC “Full
(Continued)
5
SAFETY 211
Page 214 of 700

WARNING!(Continued)
Off” mode is only intended for off-highway or off-
road use.
•The Electronic Stability Control (ESC) cannot pre-
vent the natural laws of physics from acting on the
vehicle, nor can it increase the traction afforded by
prevailing road conditions. ESC cannot prevent all
accidents, including those resulting from excessive
speed in turns, driving on very slippery surfaces, or
hydroplaning. ESC also cannot prevent collisions.
ESC Activation/Malfunction Indicator Light And
ESC OFF Indicator Light
The “ESC Activation/Malfunction Indicator
Light” in the instrument cluster will come on
when the ignition is turned to the ON mode. It
should go out with the engine running. If the
“ESC Activation/Malfunction Indicator Light” comes on
continuously with the engine running, a malfunction has
been detected in the ESC system. If this light remains on after several ignition cycles, and the vehicle has been
driven several miles (kilometers) at speeds greater than
30 mph (48 km/h), see your authorized dealer as soon as
possible to have the problem diagnosed and corrected.
The “ESC Activation/Malfunction Indicator Light” (lo-
cated in the instrument cluster) starts to flash as soon as the
tires lose traction and the ESC system becomes active. The
“ESC Activation/Malfunction Indicator Light” also flashes
when TCS is active. If the “ESC Activation/Malfunction
Indicator Light” begins to flash during acceleration, ease
up on the accelerator and apply as little throttle as possible.
Be sure to adapt your speed and driving to the prevailing
road conditions.
NOTE:
•
The “ESC Activation/Malfunction Indicator Light” and
the “ESC OFF Indicator Light” come on momentarily
each time the ignition is turned ON.
• Each time the ignition is turned ON, the ESC system will
be on even if it was turned off previously.
212 SAFETY
Page 215 of 700

•The ESC system will make buzzing or clicking sounds
when it is active. This is normal; the sounds will stop
when ESC becomes inactive following the maneuver
that caused the ESC activation.
The “ESC OFF Indicator Light” indicates the
customer has elected to have the Electronic Sta-
bility Control (ESC) in a reduced mode.
Electronic Roll Mitigation (ERM)
This system anticipates the potential for wheel lift by
monitoring the driver ’s steering wheel input and the speed
of the vehicle. When ERM determines that the rate of
change of the steering wheel angle and vehicle’s speed are
sufficient to potentially cause wheel lift, it then applies the
appropriate brake and may also reduce engine power to
lessen the chance that wheel lift will occur. ERM can only
reduce the chance of wheel lift occurring during severe or
evasive driving maneuvers; it cannot prevent wheel lift
due to other factors, such as road conditions, leaving the
roadway, or striking objects or other vehicles. NOTE:
ERM is disabled anytime the ESC is in “Full Off”
mode (if equipped). Refer to “Electronic Stability Control
(ESC)” in this section for a complete explanation of the
available ESC modes.
WARNING!
Many factors, such as vehicle loading, road conditions
and driving conditions, influence the chance that
wheel lift or rollover may occur. ERM cannot prevent
all wheel lift or roll overs, especially those that involve
leaving the roadway or striking objects or other ve-
hicles. The capabilities of an ERM-equipped vehicle
must never be exploited in a reckless or dangerous
manner which could jeopardize the user’s safety or the
safety of others.
Trailer Sway Control (TSC)
TSC uses sensors in the vehicle to recognize an excessively
swaying trailer and will take the appropriate actions to
attempt to stop the sway. TSC will become active automati-
cally once an excessively swaying trailer is recognized.
5
SAFETY 213
Page 216 of 700

NOTE:TSC cannot stop all trailers from swaying. Always
use caution when towing a trailer and follow the trailer
tongue weight recommendations. Refer to “Trailer Tow-
ing” in “Starting And Operating” for further information.
When TSC is functioning, the “ESC Activation/
Malfunction Indicator Light” will flash, the engine power
may be reduced and you may feel the brakes being applied
to individual wheels to attempt to stop the trailer from
swaying. TSC is disabled when the ESC system is in the
“Partial Off” or “Full Off” modes.
WARNING!
If TSC activates while driving, slow the vehicle down,
stop at the nearest safe location, and adjust the trailer
load to eliminate trailer sway.
Hill Descent Control (HDC) — If Equipped
HDC is intended for low speed off road driving while in
4WD Low Range. HDC maintains vehicle speed while
descending hills during various driving situations. HDC
controls vehicle speed by actively controlling the brakes.
HDC has three states:
1. Off (feature is not enabled and will not activate). 2. Enabled (feature is enabled and ready but activation
conditions are not met, or driver is actively overriding
with brake or throttle application).
3. Active (feature is enabled and actively controlling ve- hicle speed).
Enabling HDC
HDC is enabled by pushing the HDC switch, but the
following conditions must also be met to enable HDC:
• Driveline is in 4WD Low Range
• Vehicle speed is below 5 mph (8 km/h).
• Parking brake is released.
• Driver door is closed.
Activating HDC
Once HDC is enabled it will activate automatically if
driven down a grade of sufficient magnitude. The set speed
for HDC is selectable by the driver, and can be adjusted by
using the gear shift +/-. The following summarizes the
HDC set speeds:
HDC Target Set Speeds
• P = No set speed. HDC may be enabled but will not
activate
214 SAFETY