start stop button Ram 2500 2020 Owner's Guide
[x] Cancel search | Manufacturer: RAM, Model Year: 2020, Model line: 2500, Model: Ram 2500 2020Pages: 553, PDF Size: 21.99 MB
Page 336 of 553

334STARTING AND OPERATING
NOTE:
With electronic shift transfer case:
Steps 2 through 3 are requirements that
must be met before pushing the N (Neutral)
button, and must continue to be met until the
shift has been completed. If any of these
requirements are not met before pushing the
N (Neutral) button or are no longer met
during the shift, the N (Neutral) indicator light
will flash continuously until all requirements
are met or until the N (Neutral) button is
released.
The ignition must be in the ON/RUN mode for
a shift to take place and for the position indi -
cator lights to be operable. If the ignition is
not in the ON/RUN mode, the shift will not
take place and no position indicator lights will
be on or flashing.
A flashing N (Neutral) position indicator light
indicates that shift requirements have not
been met.
If the vehicle is equipped with air suspension,
the engine should be started and left running
for a minimum of 60 seconds (with all the
doors closed) at least once every 24 hours. This process allows the air suspension to
adjust the vehicle’s ride height to compen
-
sate for temperature effects.
Shifting Out Of (N) NEUTRAL
Use the following procedure to prepare your
vehicle for normal usage:
1. Bring the vehicle to a complete stop,
leaving it connected to the tow vehicle.
2. Firmly apply the parking brake.
3. Press and hold the brake pedal.
4. Start the engine. Shift the transmission into NEUTRAL.
With manual shift transfer case, shift the transfer case lever to the desired posi -
tion.
With electronic shift transfer case with rotary selector switch, push and hold the
transfer case N (Neutral) button until the
N (Neutral) indicator light turns off. After
the N (Neutral) indicator light turns off,
release the N (Neutral) button. After the
N (Neutral) button has been released, the
transfer case will shift to the position indi -
cated by the selector switch.
With electronic shift transfer case with push-button selector switch, push and
hold the switch for the desired transfer
case position, until the N (Neutral) indi -
cator light turns off and the desired posi -
tion indicator light turns on.
NOTE:
When shifting out of transfer case N (Neutral),
turning the engine OFF is not required, but may
be helpful to avoid gear clash. With the 8-speed
automatic transmission, the engine must
remain running, since turning the engine OFF
will shift the transmission to PARK (and the
transmission must be in NEUTRAL for the
transfer case to shift out of NEUTRAL).
5. Turn the engine off. Shift automatic trans -
mission into PARK. On 8-speed transmis -
sions the shifter will automatically select
PARK when the engine is turned off.
6. Release the brake pedal.
7. Disconnect vehicle from the tow vehicle.
8. Start the engine.
9. Press and hold the brake pedal.
20_DJD2_OM_EN_USC_t.book Page 334
Page 468 of 553

466MULTIMEDIA
Doors & Locks
After pressing the Doors & Locks button on the touchscreen, the following settings will be available:
Setting Name Selectable Options
Auto Door Locks — If EquippedOn Off
NOTE:
When the “Auto Door Locks” feature is selected, all doors lock automatically when the vehicle reaches a speed of 15 mph (24 km/h). Auto Unlock On Exit On Off
NOTE:
When the “Auto Unlock On Exit” feature is selected, all doors unlock when the vehicle is stopped, the transmission is in the PARK or NEUTRAL position
and the driver's door is opened. Sound Horn With Lock Off1st Press 2nd Press
Remote Door Unlock All Driver
NOTE:
The “Remote Door Unlock” feature allows you to program your remote door locks to open “All doors” or only the “Driver door” with the first push of
the key fob or grabbing the Passive Entry door handle. Sound Horn With Remote Start On Off
NOTE:
When the “Sound Horn With Remote Start” feature is selected, the horn sounds when the remote start is activated. Memory Linked To Fob — If Equipped On
Off
NOTE:
The “Memory Linked To Fob” feature provides automatic driver seat positioning to enhance driver mobility when entering and exiting the vehicle.
The seat returns to the memorized seat location if “Memory Linked To Fob” is set to On when the key fob is used to unlock the door.
20_DJD2_OM_EN_USC_t.book Page 466
Page 485 of 553

MULTIMEDIA483
Doors & Locks
After pressing the Doors & Locks button on the touchscreen, the following settings will be available:
Setting Name Selectable Options
Auto Door Locks — If EquippedOn Off
NOTE:
When the “Auto Door Locks” feature is selected, all doors lock automatically when the vehicle reaches a speed of 15 mph (24 km/h). Auto Unlock On Exit On Off
NOTE:
When the “Auto Unlock On Exit” feature is selected, all doors unlock when the vehicle is stopped and the transmission is in the PARK or NEUTRAL
position, and the driver's door is opened. Flash Lights With Lock On Off
NOTE:
When the “Flash Lights With Lock” feature is selected, the front and rear turn signals flash when the doors are locked or unlocked with the key fob.
This feature may be selected with or without the “Sound Horn With Lock” feature selected. Sound Horn With Lock Off1st Press 2nd Press
Sound Horn With Remote Start On Off
1st Press Of Key Fob Unlocks Driver Door All Doors
9
20_DJD2_OM_EN_USC_t.book Page 483
Page 504 of 553

502MULTIMEDIA
Doors & Locks
After pressing the Doors & Locks button on the touchscreen, the following settings will be available:
Setting Name Selectable Options
Auto Door LocksOn Off
Auto Unlock On Exit OnOff
NOTE:
When the “Auto Unlock On Exit” feature is selected, all doors unlock when the vehicle is stopped, the transmission is in the PARK or NEUTRAL position,
and the driver's door is opened. Flash Lights With Lock OnOff
NOTE:
When the “Flash Lights With Lock” feature is selected, the front and rear turn signals flash when the doors are locked or unlocked with the key fob.
This feature may be selected with or without the “Sound Horn With Lock” feature selected. Sound Horn with Lock — If Equipped Off1st Press 2nd Press
Sound Horn With Remote Start OnOff
1st Press Of Key Fob Unlocks Driver Door All Doors
20_DJD2_OM_EN_USC_t.book Page 502
Page 516 of 553

514MULTIMEDIA
TUNE/SCROLL Control
Turn the rotary TUNE/SCROLL control knob
clockwise to increase or counterclockwise to
decrease the radio station frequency. Push the
ENTER/BROWSE button to choose a selection.
Seek Functions
Seek Up
Press and release the Seek Up button on the
touchscreen to tune the radio to the next listen -
able station or channel.
During a Seek Up function, if the radio reaches
the starting station after passing through the
entire band two times, the radio will stop at the
station where it began.
Fast Seek Up
Press and hold the Seek Up button on the
touchscreen to advance the radio through the
available stations or channels at a faster rate.
The radio stops at the next available station or
channel when the button on the touchscreen is
released.
Seek Down
Press and release the Seek Down button on the
touchscreen to tune the radio to the next listen -
able station or channel. During a Seek Down function, if the radio
reaches the starting station after passing
through the entire band two times, the radio will
stop at the station where it began.
Fast Seek Down
Press and hold the Seek Down button on the
touchscreen to advance the radio through the
available stations or channels at a faster rate.
The radio stops at the next available station or
channel when the button on the touchscreen is
released.
Direct Tune Functions
Press the Tune button on the touchscreen to
directly tune to a specific radio station. A
keypad will appear. On the keypad, enter in your
desired radio station, and the system will auto
-
matically tune to it.
SiriusXM® Satellite Radio Mode — If
Equipped
SiriusXM® Satellite Radio uses direct satel -
lite-to-receiver broadcasting technology to
provide clear, coast to coast radio content. Siri -
usXM® is a subscription based service.
Get over 160 channels on your satellite radio,
and enjoy all you want, all in one place. Hear
commercial-free music, sports, news, talk, and entertainment. Get all the premium program
-
ming, including Howard Stern, every NFL®
game, every MLB®, every NHL® game, every
NASCAR® race, Martha Stewart, Oprah Radio,
and more. Get 20+ extra channels, including
SiriusXM® Latino, offering 20 channels of
commercial-free music, news, talk, comedy,
sports, and more dedicated to Spanish
language programming.
SiriusXM® services require subscriptions, sold
separately after the trial included with the new
vehicle purchase. If you decide to continue your
service at the end of your trial subscription, the
plan you choose will automatically renew and
bill at then-current rates until you call Siri -
usXM® at 1-866-635-2349 to cancel. See Siri -
usXM® Customer Agreement for complete
terms at www.siriusxm.com (US Residents) or
www.siriusxm.ca (Canadian Residents). All fees
and programming subject to change. Our satel -
lite service is available only to those at least 18
and older in the 48 contiguous USA and D.C.
Our Sirius satellite service is also available in
Puerto Rico (with coverage limitations). Our
Internet radio service is available throughout
our satellite service area and in Alaska and
Hawai. © 2019 SiriusXM® Radio Inc. Siri -
20_DJD2_OM_EN_USC_t.book Page 514
Page 531 of 553

MULTIMEDIA529
VOICE RECOGNITION QUICK TIPS
Introducing Uconnect
Start using Uconnect Voice Recognition (VR)
with these helpful quick tips. It provides the key
Voice Commands and tips you need to know to
control your Uconnect system.
If you see the NAV icon on the bottom bar, or in
the Apps menus, of your touchscreen, you have
the Uconnect 4C NAV With 8.4-inch Display or
the Uconnect 4C NAV With 12-inch Display
system. If not, you have a Uconnect 4C With
8.4-inch Display system.
Get Started
All you need to control your Uconnect system
with your voice are the buttons on your steering
wheel.
1. Visit
UconnectPhone.com
to check mobile
device and feature compatibility and to
find phone pairing instructions.
2. Reduce background noise. Wind noise and passenger conversations are examples of
noise that may impact recognition. 3. Speak clearly at a normal pace and volume
while facing straight ahead. The micro -
phone is located in the headliner and aimed
at the driver.
4. Each time you give a Voice Command, you must first push either the VR or Phone
button, wait until after the beep, then say
your Voice Command.
5. You can interrupt the help message or system prompts by pushing the VR or Phone
button and saying a Voice Command from
current category.
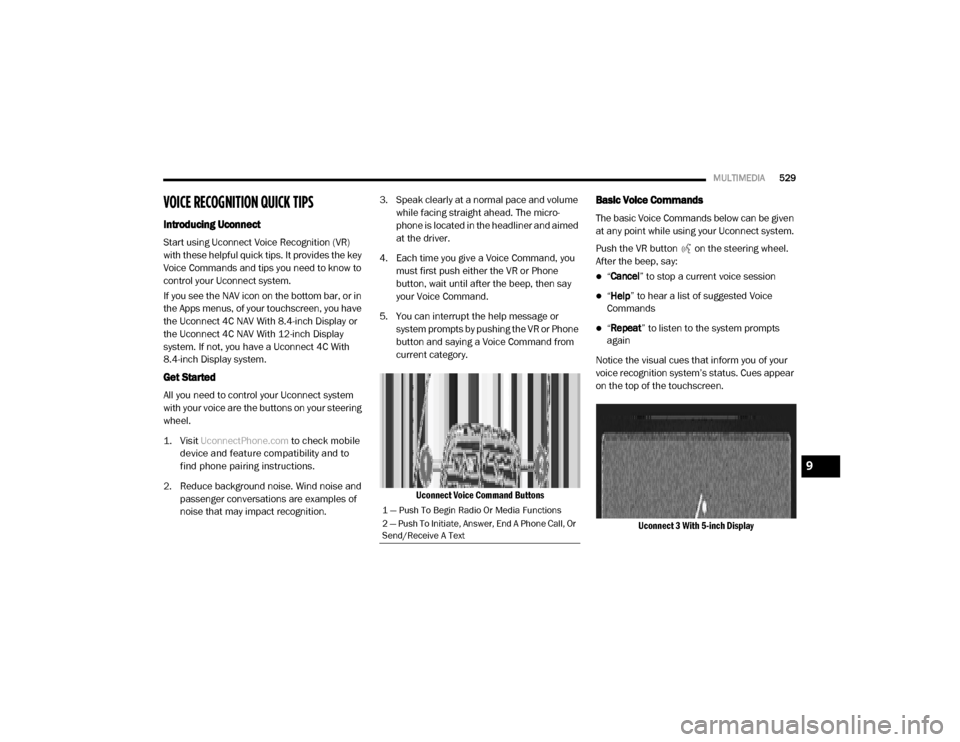
Uconnect Voice Command Buttons
Basic Voice Commands
The basic Voice Commands below can be given
at any point while using your Uconnect system.
Push the VR button on the steering wheel.
After the beep, say:
“Cancel ” to stop a current voice session
“Help ” to hear a list of suggested Voice
Commands
“ Repeat ” to listen to the system prompts
again
Notice the visual cues that inform you of your
voice recognition system’s status. Cues appear
on the top of the touchscreen.
Uconnect 3 With 5-inch Display
1 — Push To Begin Radio Or Media Functions
2 — Push To Initiate, Answer, End A Phone Call, Or
Send/Receive A Text
9
20_DJD2_OM_EN_USC_t.book Page 529