fuel type Ram 3500 2018 User Guide
[x] Cancel search | Manufacturer: RAM, Model Year: 2018, Model line: 3500, Model: Ram 3500 2018Pages: 372, PDF Size: 7.1 MB
Page 77 of 372
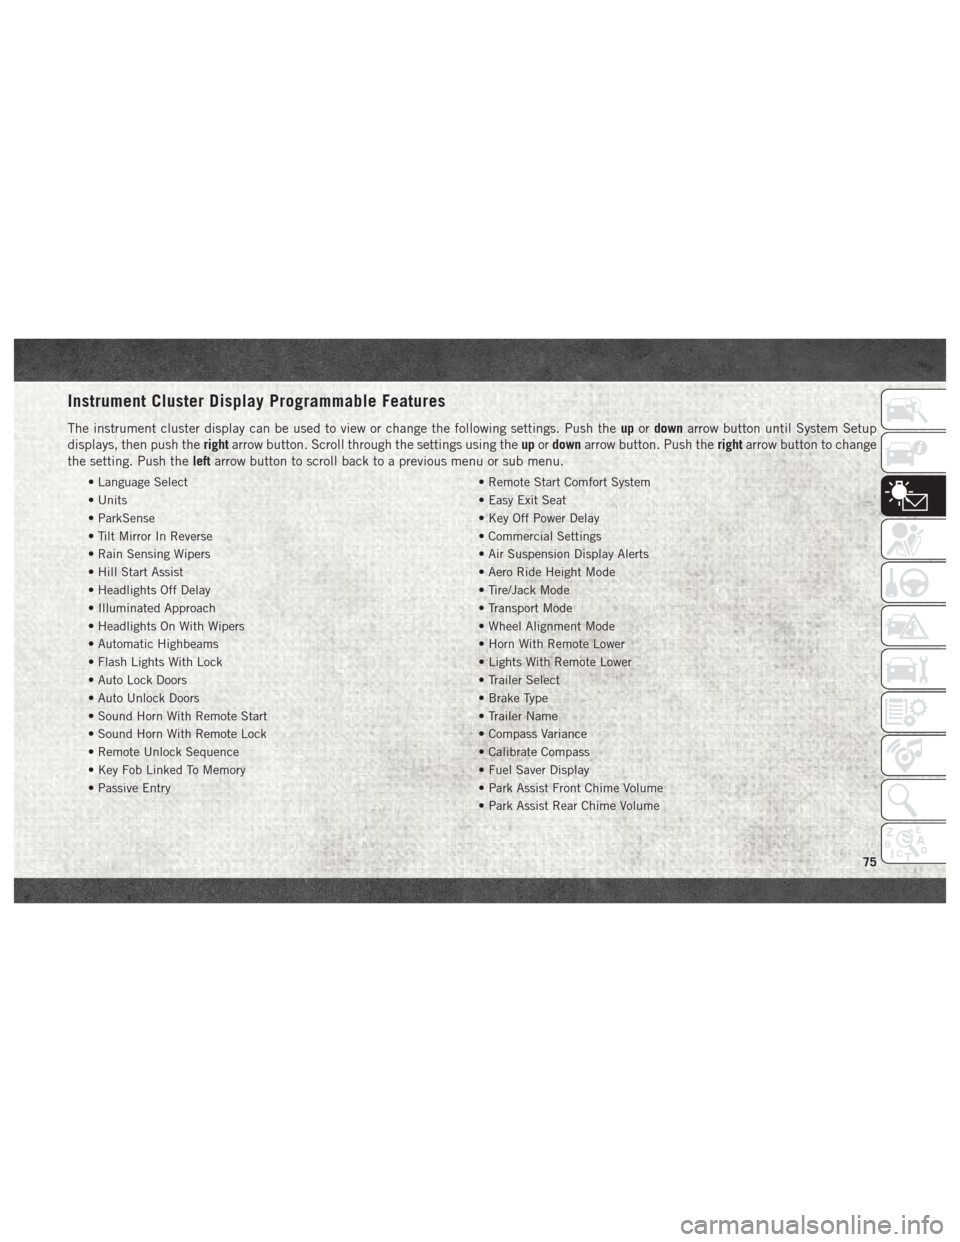
Instrument Cluster Display Programmable Features
The instrument cluster display can be used to view or change the following settings. Push theupordown arrow button until System Setup
displays, then push the rightarrow button. Scroll through the settings using the upordown arrow button. Push the rightarrow button to change
the setting. Push the leftarrow button to scroll back to a previous menu or sub menu.
• Language Select • Remote Start Comfort System
• Units • Easy Exit Seat
• ParkSense • Key Off Power Delay
• Tilt Mirror In Reverse • Commercial Settings
• Rain Sensing Wipers • Air Suspension Display Alerts
• Hill Start Assist • Aero Ride Height Mode
• Headlights Off Delay • Tire/Jack Mode
• Illuminated Approach • Transport Mode
• Headlights On With Wipers • Wheel Alignment Mode
• Automatic Highbeams • Horn With Remote Lower
• Flash Lights With Lock • Lights With Remote Lower
• Auto Lock Doors • Trailer Select
• Auto Unlock Doors • Brake Type
• Sound Horn With Remote Start • Trailer Name
• Sound Horn With Remote Lock • Compass Variance
• Remote Unlock Sequence • Calibrate Compass
• Key Fob Linked To Memory • Fuel Saver Display
• Passive Entry • Park Assist Front Chime Volume
• Park Assist Rear Chime Volume
75
Page 83 of 372
CAUTION!
of the same size, type, and/or style. After-
market wheels can cause sensor damage.
Using aftermarket tire sealants may cause
the Tire Pressure Monitoring System
(TPMS) sensor to become inoperable. Af-
ter using an aftermarket tire sealant it is
recommended that you take your vehicle
to your authorized dealer to have your
sensor function checked.
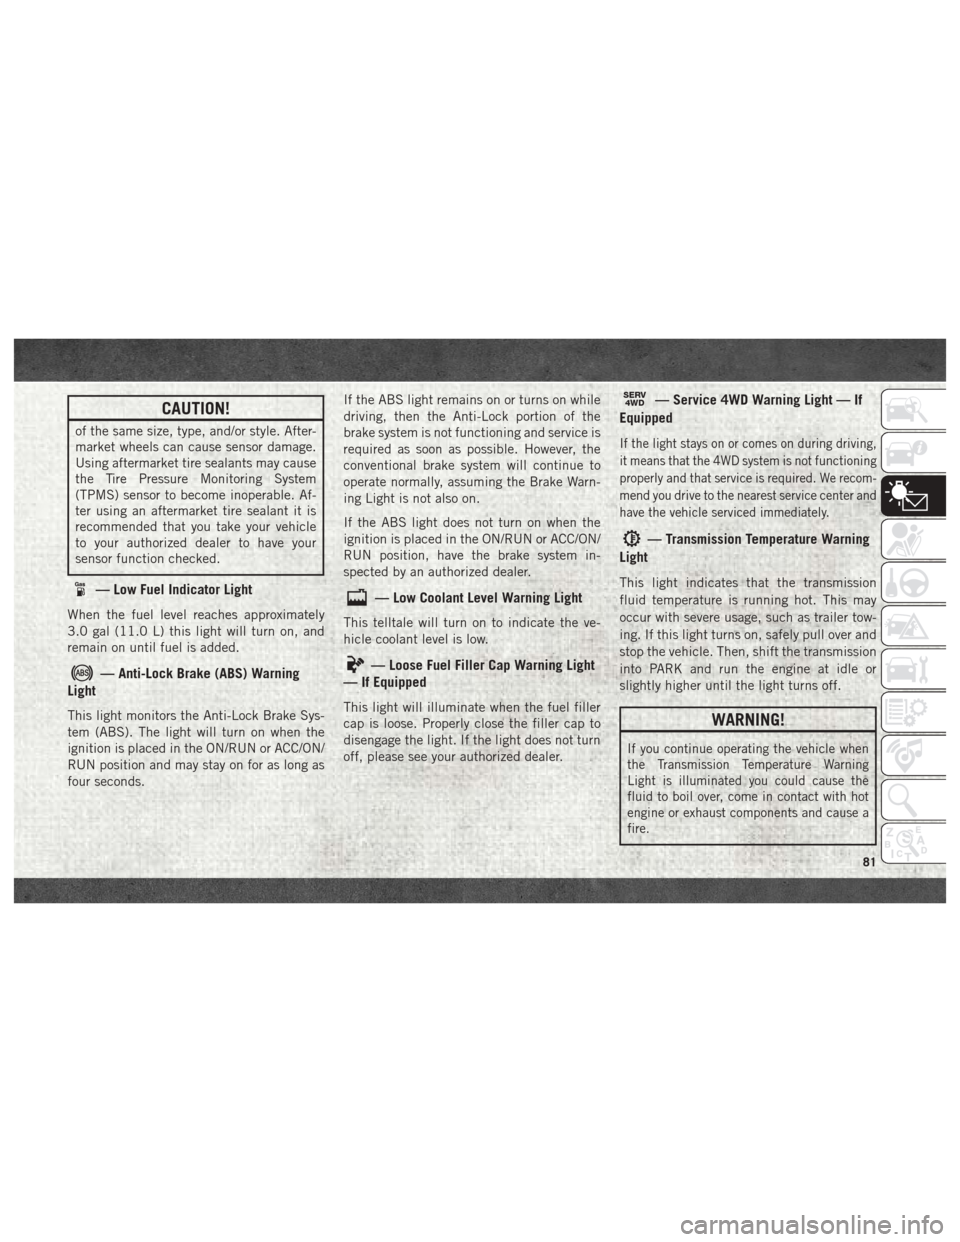
— Low Fuel Indicator Light
When the fuel level reaches approximately
3.0 gal (11.0 L) this light will turn on, and
remain on until fuel is added.
— Anti-Lock Brake (ABS) Warning
Light
This light monitors the Anti-Lock Brake Sys-
tem (ABS). The light will turn on when the
ignition is placed in the ON/RUN or ACC/ON/
RUN position and may stay on for as long as
four seconds. If the ABS light remains on or turns on while
driving, then the Anti-Lock portion of the
brake system is not functioning and service is
required as soon as possible. However, the
conventional brake system will continue to
operate normally, assuming the Brake Warn-
ing Light is not also on.
If the ABS light does not turn on when the
ignition is placed in the ON/RUN or ACC/ON/
RUN position, have the brake system in-
spected by an authorized dealer.
— Low Coolant Level Warning Light
This telltale will turn on to indicate the ve-
hicle coolant level is low.
— Loose Fuel Filler Cap Warning Light
— If Equipped
This light will illuminate when the fuel filler
cap is loose. Properly close the filler cap to
disengage the light. If the light does not turn
off, please see your authorized dealer.
SERV4WD— Service 4WD Warning Light — If
Equipped
If the light stays on or comes on during driving,
it means that the 4WD system is not functioning
properly and that service is required. We recom-
mend you drive to the nearest service center and
have the vehicle serviced immediately.
— Transmission Temperature Warning
Light
This light indicates that the transmission
fluid temperature is running hot. This may
occur with severe usage, such as trailer tow-
ing. If this light turns on, safely pull over and
stop the vehicle. Then, shift the transmission
into PARK and run the engine at idle or
slightly higher until the light turns off.
WARNING!
If you continue operating the vehicle when
the Transmission Temperature Warning
Light is illuminated you could cause the
fluid to boil over, come in contact with hot
engine or exhaust components and cause a
fire.
81
Page 91 of 372
CAUTION!
• The TPMS has been optimized for theoriginal equipment tires and wheels.
TPMS pressures and warning have been
established for the tire size equipped on
your vehicle. Undesirable system opera-
tion or sensor damage may result when
using replacement equipment that is not
of the same size, type, and/or style.
Aftermarket wheels can cause sensor
damage.
• Using aftermarket tire sealants may
cause the Tire Pressure Monitoring Sys-
tem (TPMS) sensor to become inoper-
able. After using an aftermarket tire
sealant it is recommended that you take
your vehicle to an authorized dealership
to have your sensor function checked.
• After inspecting or adjusting the tire
pressure always reinstall the valve stem
cap. This will prevent moisture and dirt
from entering the valve stem, which
could damage the TPMS sensor. NOTE:
• The TPMS is not intended to replace nor-
mal tire care and maintenance or to provide
warning of a tire failure or condition.
• The TPMS should not be used as a tire pressure gauge while adjusting your tire
pressure.
• Driving on a significantly under-inflated tire causes the tire to overheat and can lead to
tire failure. Under-inflation also reduces
fuel efficiency and tire tread life, and may
affect the vehicle’s handling and stopping
ability.
• The TPMS is not a substitute for proper tire maintenance, and it is the driver’s respon-
sibility to maintain correct tire pressure
using an accurate tire pressure gauge, even
if under-inflation has not reached the level
to trigger illumination of the TPM Telltale
Light.
• Seasonal temperature changes will affect tire pressure, and the TPMS will monitor
the actual tire pressure in the tire.
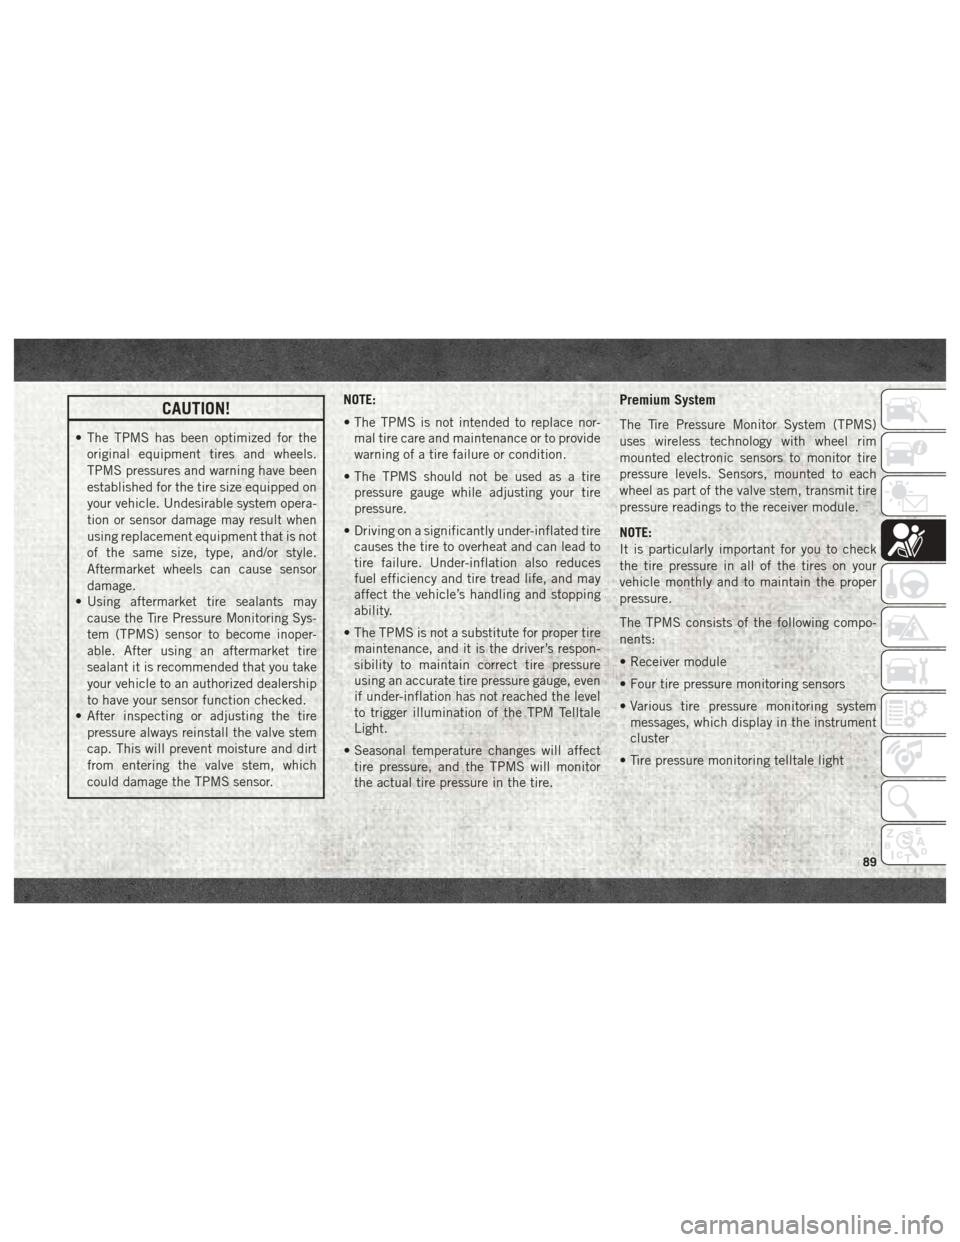
Premium System
The Tire Pressure Monitor System (TPMS)
uses wireless technology with wheel rim
mounted electronic sensors to monitor tire
pressure levels. Sensors, mounted to each
wheel as part of the valve stem, transmit tire
pressure readings to the receiver module.
NOTE:
It is particularly important for you to check
the tire pressure in all of the tires on your
vehicle monthly and to maintain the proper
pressure.
The TPMS consists of the following compo-
nents:
• Receiver module
• Four tire pressure monitoring sensors
• Various tire pressure monitoring systemmessages, which display in the instrument
cluster
• Tire pressure monitoring telltale light
89
Page 156 of 372
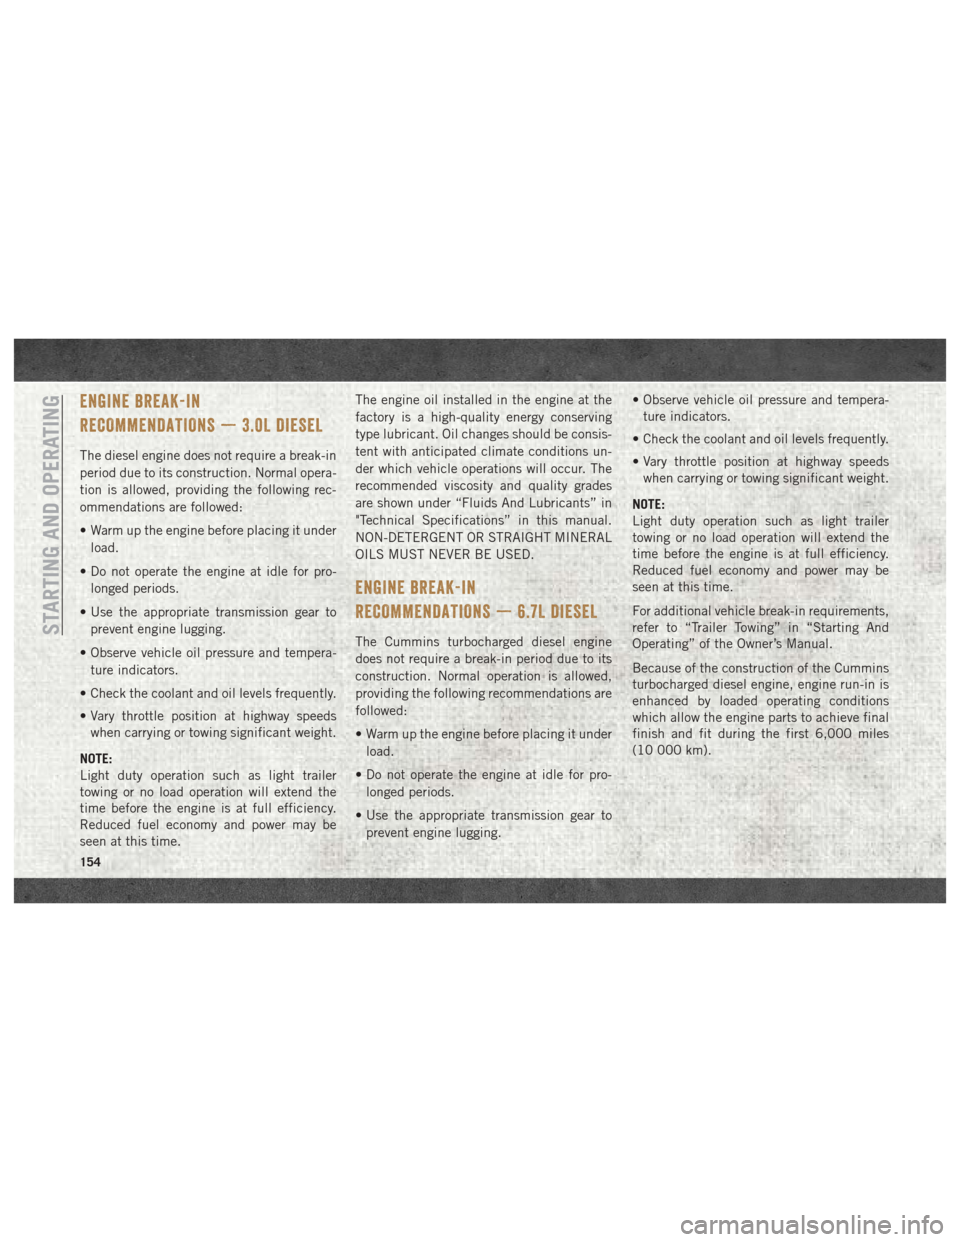
ENGINE BREAK-IN
RECOMMENDATIONS — 3.0L DIESEL
The diesel engine does not require a break-in
period due to its construction. Normal opera-
tion is allowed, providing the following rec-
ommendations are followed:
• Warm up the engine before placing it underload.
• Do not operate the engine at idle for pro- longed periods.
• Use the appropriate transmission gear to prevent engine lugging.
• Observe vehicle oil pressure and tempera- ture indicators.
• Check the coolant and oil levels frequently.
• Vary throttle position at highway speeds when carrying or towing significant weight.
NOTE:
Light duty operation such as light trailer
towing or no load operation will extend the
time before the engine is at full efficiency.
Reduced fuel economy and power may be
seen at this time. The engine oil installed in the engine at the
factory is a high-quality energy conserving
type lubricant. Oil changes should be consis-
tent with anticipated climate conditions un-
der which vehicle operations will occur. The
recommended viscosity and quality grades
are shown under “Fluids And Lubricants” in
"Technical Specifications” in this manual.
NON-DETERGENT OR STRAIGHT MINERAL
OILS MUST NEVER BE USED.
ENGINE BREAK-IN
RECOMMENDATIONS — 6.7L DIESEL
The Cummins turbocharged diesel engine
does not require a break-in period due to its
construction. Normal operation is allowed,
providing the following recommendations are
followed:
• Warm up the engine before placing it under
load.
• Do not operate the engine at idle for pro- longed periods.
• Use the appropriate transmission gear to prevent engine lugging. • Observe vehicle oil pressure and tempera-
ture indicators.
• Check the coolant and oil levels frequently.
• Vary throttle position at highway speeds when carrying or towing significant weight.
NOTE:
Light duty operation such as light trailer
towing or no load operation will extend the
time before the engine is at full efficiency.
Reduced fuel economy and power may be
seen at this time.
For additional vehicle break-in requirements,
refer to “Trailer Towing” in “Starting And
Operating” of the Owner’s Manual.
Because of the construction of the Cummins
turbocharged diesel engine, engine run-in is
enhanced by loaded operating conditions
which allow the engine parts to achieve final
finish and fit during the first 6,000 miles
(10 000 km).STARTING AND OPERATING
154
Page 186 of 372
The DEF injection system consists of the
following components:
• DEF tank
• DEF pump
• DEF injector
• Electronically-heated DEF lines
• NOx sensors
• Temperature sensors
• SCR catalyst
The DEF injection system and SCR catalyst
enable the achievement of diesel emissions
requirements; while maintaining outstanding
fuel economy, drivability, torque and power
ratings.
Refer to “Instrument Cluster Display” in
“Getting To Know Your Instrument Panel” for
system messages and warnings.
NOTE:
• Your vehicle is equipped with a DEF injec-tion system. You may occasionally hear an
audible clicking noise from under the ve-
hicle at a stop. This is normal operation. • The DEF pump will run for a period of time
after engine shutdown to purge the DEF
system. This is normal operation and may
be audible from the rear of the vehicle.
Adding Diesel Exhaust Fluid
The DEF gauge (located on the instrument
cluster) will display the level of DEF remain-
ing in the tank. Refer to “Instrument Cluster”
and “Instrument Cluster Descriptions” in
“Getting To Know Your Instrument Panel” for
further information.
NOTE:
• Driving conditions (altitude, vehicle speed,load, etc.) will effect the amount of DEF
that is used in your vehicle.
• Another factor is that outside temperature can affect DEF consumption. In cold con-
ditions, 12° F (-11° C) and below, the DEF
gauge needle can stay on a fixed position
and may not move for extended periods of
time. This is a normal function of the sys-
tem. • There is an electric heater inside the DEF
tank that automatically works when neces-
sary. And if the DEF supply does freeze, the
truck will operate normally until it thaws.
DEF Fill Procedure
NOTE:
Refer to “Fluids And Lubricants” in “Techni-
cal Specifications” for the correct fluid type.
1. Remove cap from DEF tank (located on
drivers side of the vehicle or in fuel door).
STARTING AND OPERATING
184
Page 191 of 372

Adding Diesel Exhaust Fluid
The DEF gauge (located on the instrument
cluster) will display the level of DEF remain-
ing in the tank. Refer to “Instrument Cluster”
and “Instrument Cluster Descriptions” in
“Getting To Know Your Instrument Panel” for
further information.
NOTE:
• Driving conditions (altitude, vehicle speed,load, etc.) will effect the amount of DEF
that is used in your vehicle.
• Another factor is that outside temperature can affect DEF consumption. In cold con-
ditions, 12° F (-11° C) and below, the DEF
gauge needle can stay on a fixed position
and may not move for extended periods of
time. This is a normal function of the sys-
tem.
• There is an electric heater inside the DEF tank that automatically works when neces-
sary. And if the DEF supply does freeze, the
truck will operate normally until it thaws. DEF Fill Procedure
NOTE:
Refer to “Fluids And Lubricants” in “Techni-
cal Specifications” for the correct fluid type.
1. Remove cap from DEF tank (located on
drivers side of the vehicle or in fuel door). 2. Insert DEF fill adapter/nozzle into DEF
tank filler neck.
NOTE: • The DEF gauge may take up to five seconds to update after adding a gallon
or more of Diesel Exhaust Fluid (DEF)
to the DEF tank. If you have a fault
related to the DEF system, the gauge
may not update to the new level. See
your authorized dealer for service.
• The DEF gauge may also not immedi- ately update after a refill if the tempera-
ture of the DEF fluid is below 12F
(-11C). The DEF line heater will possi-
bly warm up the DEF fluid and allow the
gauge to update after a period of run
time. Under very cold conditions, it is
possible that the gauge may not reflect
the new fill level for several drives.
CAUTION!
•To avoid DEF spillage, and possible dam-
age to the DEF tank from overfilling, do
not “top off” the DEF tank after filling.
Fill Locations
1 — Diesel Exhaust Fluid (DEF) Fill
Location
2 — Diesel Fuel Fill Location
189
Page 231 of 372
SERVICING AND MAINTENANCE
SCHEDULED SERVICING —
GASOLINE ENGINE.............230
Maintenance Plan — Gasoline Engine. .231
Heavy Duty Use Of The Vehicle ......234
SCHEDULED SERVICING —
1500 3.0L DIESEL ENGINE........234
Maintenance Plan — Diesel Fuel Up To
B5 Biodiesel (1500 Diesel) ........235
Additional Maintenance — B6 To
B20 Biodiesel (1500 Diesel) .......237
SCHEDULED MAINTENANCE —
6.7L CUMMINS DIESEL ENGINE .....237
Oil Change Indicator System —
Cummins Diesel...............238
Perform Service Indicator —
Cummins Diesel ..............239
Maintenance Plan — Cummins Diesel
Engine .....................239
ENGINE COMPARTMENT .........243
3.6L Engine.................243
5.7L Engine .................244
6.4L Engine .................245
3.0L Diesel Engine .............246
6.7L Diesel Engine — Six-Speed 68RFE
(2500/3500 Models) ............247
6.7L Diesel Engine — Six-Speed AS69RC
HD (3500/Chassis Cab Models) .....248
DEALER SERVICE — 3.0L DIESEL . . . .249
Engine Air Cleaner Filter.........249
Draining Fuel/Water Separator Filter . .249
Underbody Mounted Fuel Filter
Replacement .................250
Priming If The Engine Has Run Out Of
Fuel ......................251
DEALER SERVICE — 6.7L DIESEL
ENGINE ................... .252
Engine Air Cleaner Filter.........252Draining Fuel/Water Separator Filter . .253
Engine Mounted Fuel Filter
Replacement
.................254
Underbody Mounted Fuel Filter
Replacement .................255
Priming If The Engine Has Run Out Of
Fuel ......................256
HOISTING ................. .257
TIRES .................... .257
Tire Safety Information..........257
Tires — General Information .......264
Tire Types ...................268
Spare Tires — If Equipped .........269
Wheel And Wheel Trim Care .......271
DEPARTMENT OF TRANSPORTATION
UNIFORM TIRE QUALITY GRADES . . . .272
Treadwear...................272
Traction Grades ...............273
Temperature Grades .............273
SERVICING AND MAINTENANCE
229
Page 232 of 372
SCHEDULED SERVICING — GASOLINE
ENGINE
Your vehicle is equipped with an automatic
oil change indicator system. The oil change
indicator system will remind you that it is
time to take your vehicle in for scheduled
maintenance.
Based on engine operation conditions, the oil
change indicator message will illuminate.
This means that service is required for your
vehicle. Operating conditions such as fre-
quent short-trips, trailer tow, extremely hot or
cold ambient temperatures, and E85 fuel
usage will influence when the “Oil Change
Required” message is displayed. Severe Op-
erating Conditions can cause the change oil
message to illuminate as early as
3,500 miles (5,600 km) since last reset.
Have your vehicle serviced as soon as pos-
sible, within the next 500 miles (805 km).Your authorized dealer will reset the oil
change indicator message after completing
the scheduled oil change. If a scheduled oil
change is performed by someone other than
your authorized dealer, the message can be
reset by referring to the steps described un-
der “Instrument Cluster Display” in “Getting
To Know Your Instrument Panel”.
1500 Models Only
NOTE:
Under no circumstances should oil change
intervals exceed 10,000 miles (16,000 km),
twelve months or 350 hours of engine run
time, whichever comes first. The 350 hours
of engine run or idle time is generally only a
concern for fleet customers.
2500 – 3500 Models Only
NOTE:
Under no circumstances should oil change
intervals exceed 8,000 miles (13,000 km),
twelve months or 350 hours of engine run
time, whichever comes first. The 350 hours
of engine run or idle time is generally only a
concern for fleet customers. Severe Duty All Models
NOTE:
Change Engine Oil at 4,000 miles
(6,500 km) or 350 hours of engine run time
if the vehicle is operated in a dusty and off
road environment or is operated predomi-
nantly at idle, or only very low engine RPM’s.
This type of vehicle use is considered Severe
Duty.
Once A Month Or Before A Long Trip:
• Check engine oil level
• Check windshield washer fluid level
• Check tire pressure and look for unusual
wear or damage. Rotate tires at the first
sign of irregular wear, even if it occurs
before the oil indicator system turns on.
• Check the fluid levels of the coolant reser- voir, brake master cylinder, power steering
(2500/3500 Models Only) and automatic
transmission (six-speed only) and fill as
needed
• Check function of all interior and exterior lights
SERVICING AND MAINTENANCE
230
Page 283 of 372
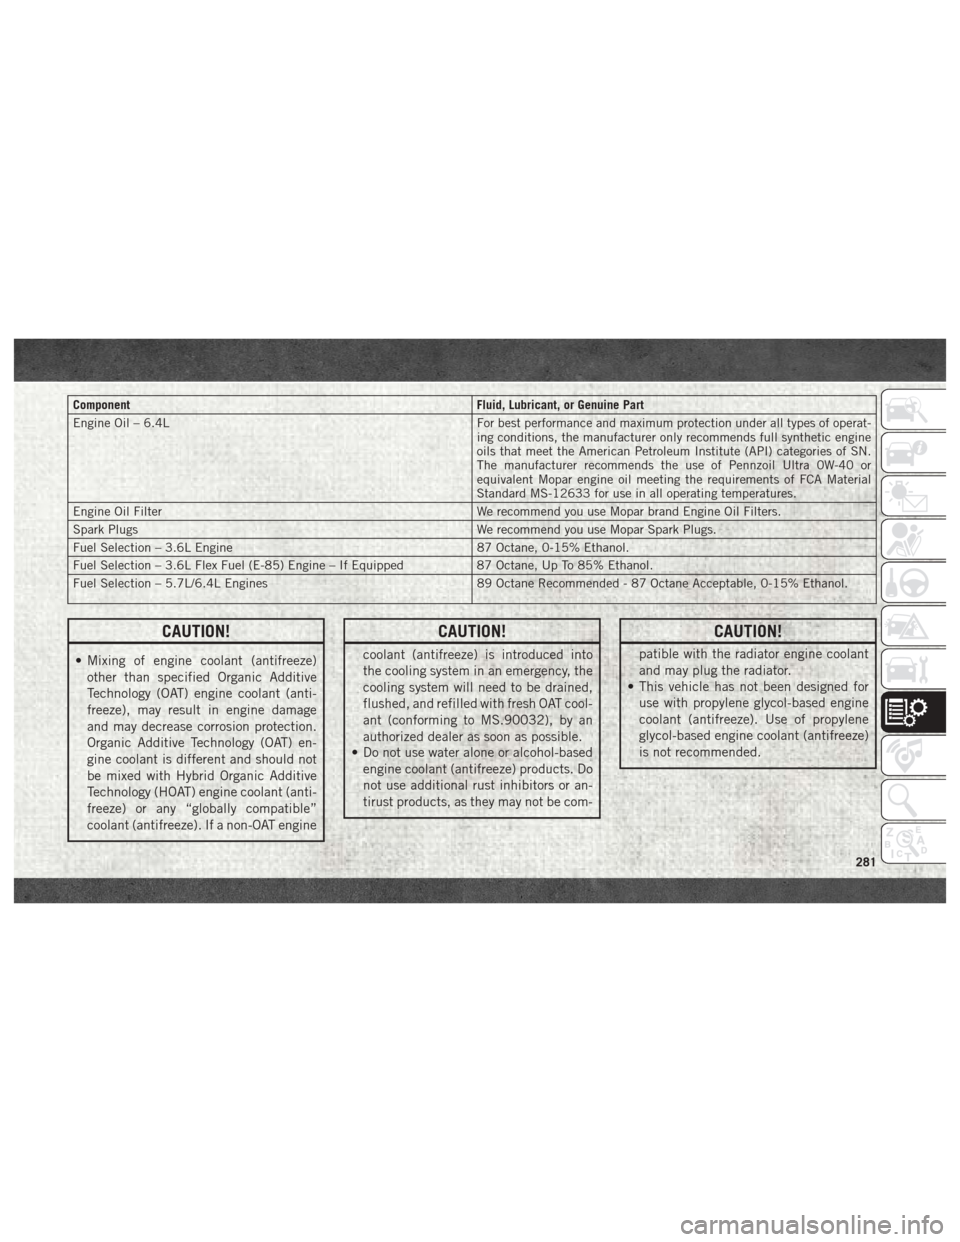
ComponentFluid, Lubricant, or Genuine Part
Engine Oil – 6.4L For best performance and maximum protection under all types of operat-
ing conditions, the manufacturer only recommends full synthetic engine
oils that meet the American Petroleum Institute (API) categories of SN.
The manufacturer recommends the use of Pennzoil Ultra 0W-40 or
equivalent Mopar engine oil meeting the requirements of FCA Material
Standard MS-12633 for use in all operating temperatures.
Engine Oil Filter We recommend you use Mopar brand Engine Oil Filters.
Spark Plugs We recommend you use Mopar Spark Plugs.
Fuel Selection – 3.6L Engine 87 Octane, 0-15% Ethanol.
Fuel Selection – 3.6L Flex Fuel (E-85) Engine – If Equipped 87 Octane, Up To 85% Ethanol.
Fuel Selection – 5.7L/6.4L Engines 89 Octane Recommended - 87 Octane Acceptable, 0-15% Ethanol.
CAUTION!
• Mixing of engine coolant (antifreeze)
other than specified Organic Additive
Technology (OAT) engine coolant (anti-
freeze), may result in engine damage
and may decrease corrosion protection.
Organic Additive Technology (OAT) en-
gine coolant is different and should not
be mixed with Hybrid Organic Additive
Technology (HOAT) engine coolant (anti-
freeze) or any “globally compatible”
coolant (antifreeze). If a non-OAT engine
CAUTION!
coolant (antifreeze) is introduced into
the cooling system in an emergency, the
cooling system will need to be drained,
flushed, and refilled with fresh OAT cool-
ant (conforming to MS.90032), by an
authorized dealer as soon as possible.
• Do not use water alone or alcohol-based
engine coolant (antifreeze) products. Do
not use additional rust inhibitors or an-
tirust products, as they may not be com-
CAUTION!
patible with the radiator engine coolant
and may plug the radiator.
• This vehicle has not been designed for
use with propylene glycol-based engine
coolant (antifreeze). Use of propylene
glycol-based engine coolant (antifreeze)
is not recommended.
281
Page 359 of 372
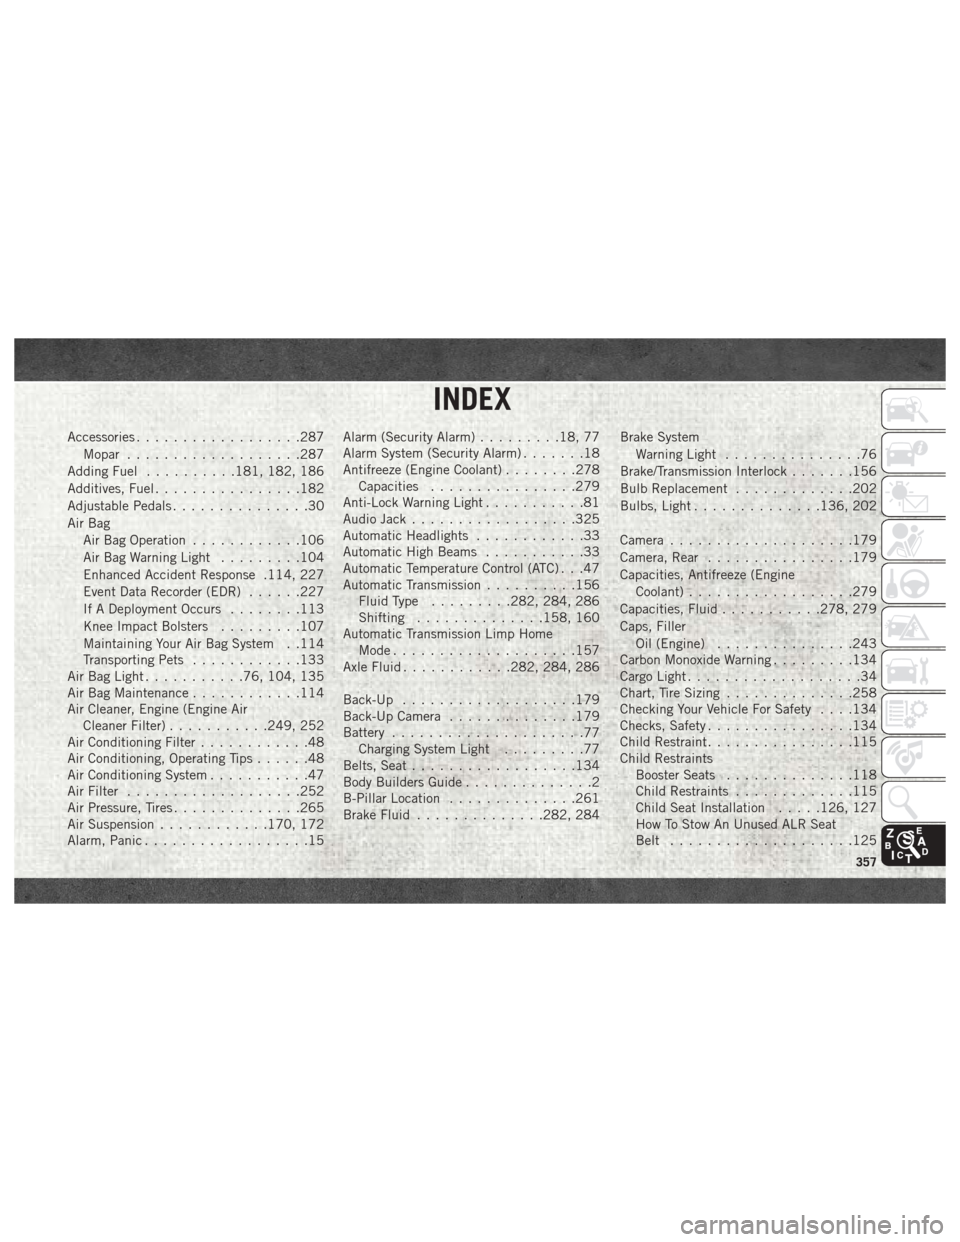
Accessories..................287
Mopar ...................287
Adding Fuel ..........181, 182, 186
Additives, Fuel ................182
Adjustable Pedals ...............30
Air Bag Air Bag Operation ............106
Air Bag Warning Light .........104
Enhanced Accident Response .114, 227
Event Data Recorder (EDR) ......227
If A Deployment Occurs ........113
Knee Impact Bolsters .........107
Maintaining Your Air Bag System . .114
Transporting Pets ............133
Air Bag Light ...........76, 104, 135
Air Bag Maintenance ............114
Air Cleaner, Engine (Engine Air Cleaner Filter) ...........249, 252
Air Conditioning Filter ............48
Air Conditioning, Operating Tips ......48
Air Conditioning System ...........47
Air Filter ...................252
Air Pressure, Tires ..............265
Air Suspension ............170, 172
Alarm, Panic ..................15 Alarm (Security Alarm)
.........18, 77
Alarm System (Security Alarm) .......18
Antifreeze (Engine Coolant) ........278
Capacities ................279
Anti-Lock Warning Light ...........81
Audio Jack ..................325
Automatic Headlights ............33
Automatic High Beams ...........33
Automatic Temperature Control (ATC) . . .47
Automatic Transmission ..........156
Fluid Type .........282, 284, 286
Shifting ..............158, 160
Automatic Transmission Limp Home Mode ....................157
Axle Fluid ............282, 284, 286
Back-Up ...................179
Back-Up Camera ..............179
Battery .....................
77
Charging System Light .........77
Belts, Seat ..................134
Body Builders Guide ..............2
B-Pillar Location ..............261
Brake Fluid ..............282, 284 Brake System
Warning Light ...............76
Brake/Transmission Interlock .......156
Bulb Replacement .............202
Bulbs, Light ..............136, 202
Camera ....................179
Camera, Rear ................179
Capacities, Antifreeze (Engine Coolant) ..................279
Capacities, Fluid ...........278, 279
Caps, Filler Oil (Engine) ...............243
Carbon Monoxide Warning .........134
Cargo Light ...................34
Chart, Tire Sizing ..............258
Checking Your Vehicle For Safety . . . .134
Checks, Safety ................134
Child Restraint ................115
Child Restraints Booster Seats ..............118
Child Restraints .............115
Child Seat Installation .....126, 127
How To Stow An Unused ALR Seat
Belt ....................125
INDEX
357