heating Ram 3500 2018 User Guide
[x] Cancel search | Manufacturer: RAM, Model Year: 2018, Model line: 3500, Model: Ram 3500 2018Pages: 372, PDF Size: 7.1 MB
Page 27 of 372
Each stored memory setting will have an
associated Easy Entry and Easy Exit position.
NOTE:
The Easy Entry/Exit feature is not enabled
when the vehicle is delivered from the fac-
tory. The Easy Entry/Exit feature is enabled
(or later disabled) through the programmable
features in the Uconnect system. Refer to
“Uconnect Settings” in “Multimedia” in the
Owner’s Manual for further information.
Heated Seats
On some models, the front and rear seats may
be equipped with heaters located in the seat
cushions and seat backs.
WARNING!
• Persons who are unable to feel pain tothe skin because of advanced age,
chronic illness, diabetes, spinal cord in-
jury, medication, alcohol use, exhaus-
tion or other physical condition must
exercise care when using the seat
heater. It may cause burns even at low
WARNING!
temperatures, especially if used for long
periods of time.
•
Do not place anything on the seat or
seatback that insulates against heat, such
as a blanket or cushion. This may cause
the seat heater to overheat. Sitting in a
seat that has been overheated could
cause serious burns due to the increased
surface temperature of the seat.
Front Heated Seats
The front heated seats control buttons are
located on the center instrument panel below
the climate controls.
If your vehicle is equipped with a touch-
screen, the front heated seats control buttons
are also located within the climate or controls
screen of the touchscreen.
• Press the heated seat button
once to
turn the HI setting on.
• Press the heated seat button
a second
time to turn the LO setting on.
• Press the heated seat button
a third
time to turn the heating elements off. When the HI-level setting is selected, the
heater will provide a boosted heat level dur-
ing the first four minutes of operation. Then,
the heat output will drop to the normal HI-
level. If the HI-level setting is selected, the
system will automatically switch to LO-level
after approximately 60 minutes of continu-
ous operation. At that time, the display will
change from HI to LO, indicating the change.
The LO-level setting will turn off automati-
cally after approximately 45 minutes.
NOTE:
The engine must be running for the heated
seats to operate.
Vehicles Equipped With Remote Start
On models that are equipped with remote
start, the driver’s seat can be programmed to
come on during a remote start.
If your vehicle is equipped with a touch-
screen, this feature can be programmed
through the Uconnect system. Refer to
“Uconnect Settings” in “Multimedia” in the
Owner’s Manual for further information.
If your vehicle is not equipped with a touch-
screen, this feature can be programmed
through the instrument cluster display. Refer
25
Page 28 of 372
to “Instrument Cluster Display” in “Getting
To Know Your Instrument Panel” in the Own-
er’s Manual for further information.
Rear Heated Seats
On some models, the two outboard seats are
equipped with heated seats. The heated seat
switches for these seats are located on the
rear of the center console.
There are two heated seat switches that allow
the rear passengers to operate the seats in-
dependently. You can choose from HI, LO or
OFF heat settings. Amber indicator lights in
each switch indicate the level of heat in use.
Two indicator lights will illuminate for HI, one
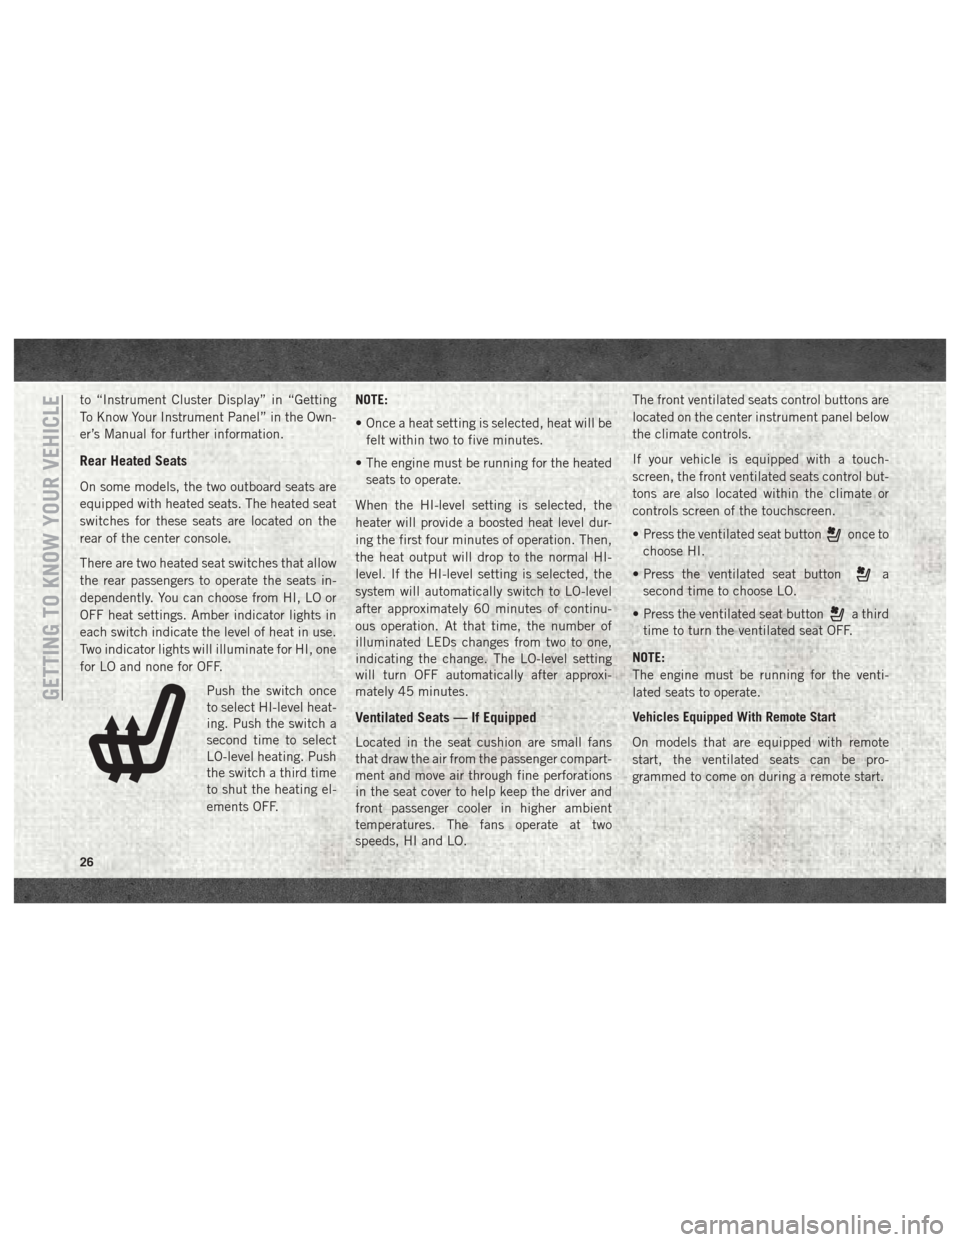
for LO and none for OFF.Push the switch once
to select HI-level heat-
ing. Push the switch a
second time to select
LO-level heating. Push
the switch a third time
to shut the heating el-
ements OFF. NOTE:
• Once a heat setting is selected, heat will be
felt within two to five minutes.
• The engine must be running for the heated seats to operate.
When the HI-level setting is selected, the
heater will provide a boosted heat level dur-
ing the first four minutes of operation. Then,
the heat output will drop to the normal HI-
level. If the HI-level setting is selected, the
system will automatically switch to LO-level
after approximately 60 minutes of continu-
ous operation. At that time, the number of
illuminated LEDs changes from two to one,
indicating the change. The LO-level setting
will turn OFF automatically after approxi-
mately 45 minutes.
Ventilated Seats — If Equipped
Located in the seat cushion are small fans
that draw the air from the passenger compart-
ment and move air through fine perforations
in the seat cover to help keep the driver and
front passenger cooler in higher ambient
temperatures. The fans operate at two
speeds, HI and LO. The front ventilated seats control buttons are
located on the center instrument panel below
the climate controls.
If your vehicle is equipped with a touch-
screen, the front ventilated seats control but-
tons are also located within the climate or
controls screen of the touchscreen.
• Press the ventilated seat button
once to
choose HI.
• Press the ventilated seat button
a
second time to choose LO.
• Press the ventilated seat button
a third
time to turn the ventilated seat OFF.
NOTE:
The engine must be running for the venti-
lated seats to operate.
Vehicles Equipped With Remote Start
On models that are equipped with remote
start, the ventilated seats can be pro-
grammed to come on during a remote start.
GETTING TO KNOW YOUR VEHICLE
26
Page 31 of 372
STEERING WHEEL
Tilt Steering Column
This feature allows you to tilt the steering
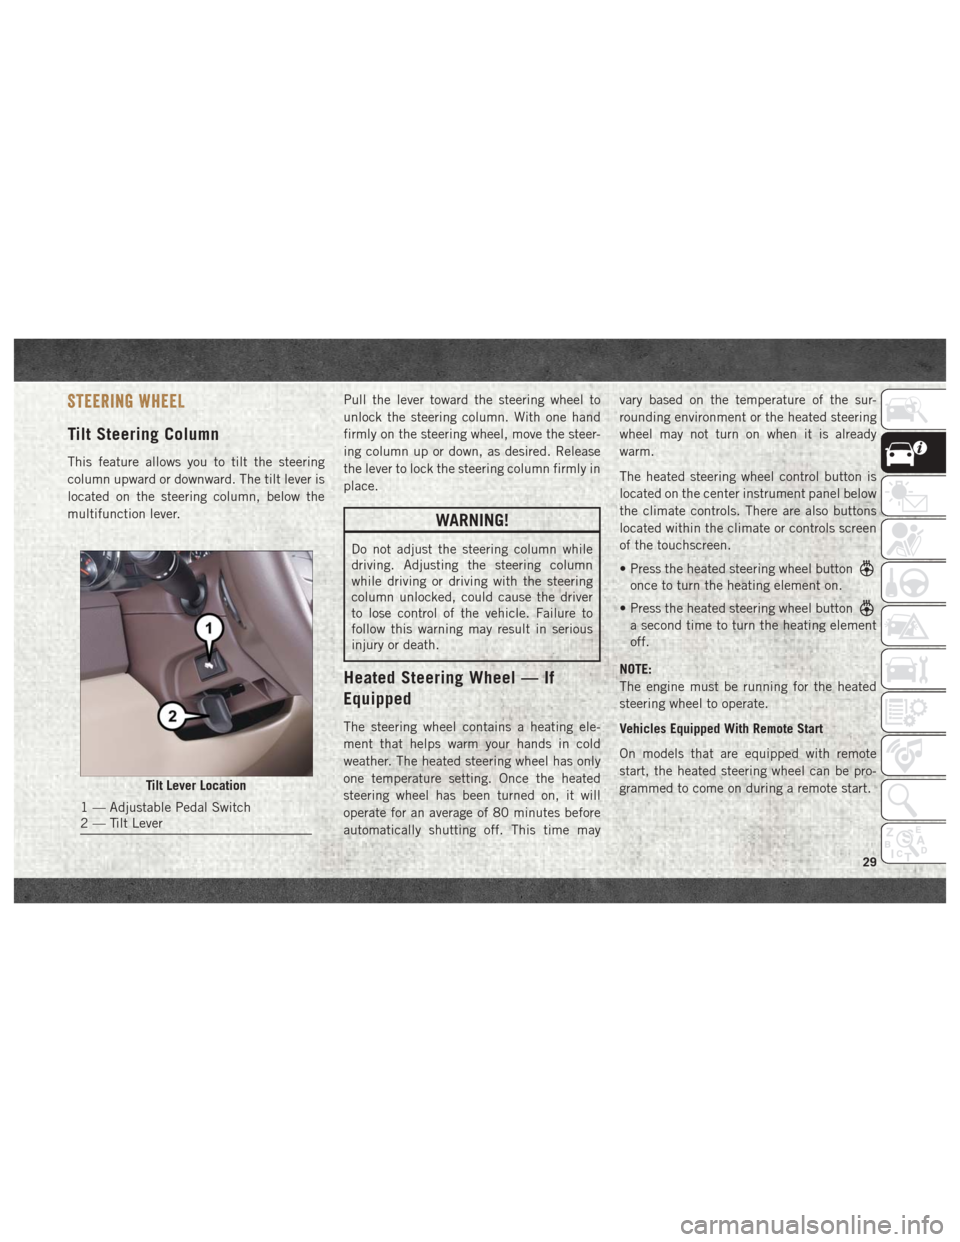
column upward or downward. The tilt lever is
located on the steering column, below the
multifunction lever.Pull the lever toward the steering wheel to
unlock the steering column. With one hand
firmly on the steering wheel, move the steer-
ing column up or down, as desired. Release
the lever to lock the steering column firmly in
place.
WARNING!
Do not adjust the steering column while
driving. Adjusting the steering column
while driving or driving with the steering
column unlocked, could cause the driver
to lose control of the vehicle. Failure to
follow this warning may result in serious
injury or death.
Heated Steering Wheel — If
Equipped
The steering wheel contains a heating ele-
ment that helps warm your hands in cold
weather. The heated steering wheel has only
one temperature setting. Once the heated
steering wheel has been turned on, it will
operate for an average of 80 minutes before
automatically shutting off. This time mayvary based on the temperature of the sur-
rounding environment or the heated steering
wheel may not turn on when it is already
warm.
The heated steering wheel control button is
located on the center instrument panel below
the climate controls. There are also buttons
located within the climate or controls screen
of the touchscreen.
• Press the heated steering wheel button
once to turn the heating element on.
• Press the heated steering wheel button
a second time to turn the heating element
off.
NOTE:
The engine must be running for the heated
steering wheel to operate.
Vehicles Equipped With Remote Start
On models that are equipped with remote
start, the heated steering wheel can be pro-
grammed to come on during a remote start.
Tilt Lever Location
1 — Adjustable Pedal Switch
2 — Tilt Lever
29
Page 33 of 372
CAUTION!
trols. Pedal travel may become limited if
movement is stopped by an obstruction in
the adjustable pedal's path.
MIRRORS
Power Folding Outside Mirrors For
Standard And Trailer Tow — If
Equipped
If equipped with power folding mirrors, they
can be electrically folded rearward and un-
folded into the drive position.
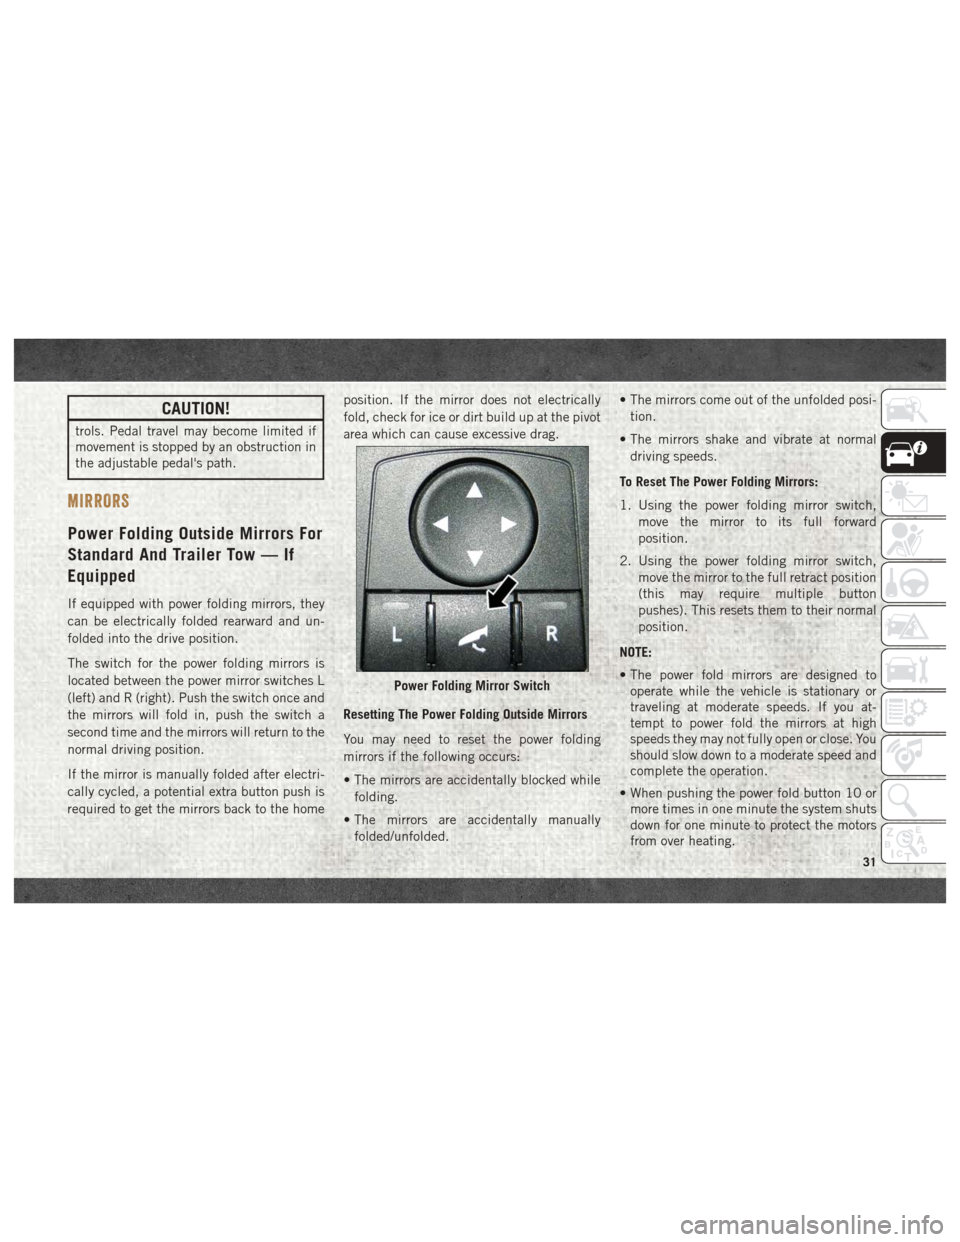
The switch for the power folding mirrors is
located between the power mirror switches L
(left) and R (right). Push the switch once and
the mirrors will fold in, push the switch a
second time and the mirrors will return to the
normal driving position.
If the mirror is manually folded after electri-
cally cycled, a potential extra button push is
required to get the mirrors back to the homeposition. If the mirror does not electrically
fold, check for ice or dirt build up at the pivot
area which can cause excessive drag.
Resetting The Power Folding Outside Mirrors
You may need to reset the power folding
mirrors if the following occurs:
• The mirrors are accidentally blocked while
folding.
• The mirrors are accidentally manually folded/unfolded. • The mirrors come out of the unfolded posi-
tion.
• The mirrors shake and vibrate at normal driving speeds.
To Reset The Power Folding Mirrors:
1. Using the power folding mirror switch, move the mirror to its full forward
position.
2. Using the power folding mirror switch, move the mirror to the full retract position
(this may require multiple button
pushes). This resets them to their normal
position.
NOTE:
• The power fold mirrors are designed to operate while the vehicle is stationary or
traveling at moderate speeds. If you at-
tempt to power fold the mirrors at high
speeds they may not fully open or close. You
should slow down to a moderate speed and
complete the operation.
• When pushing the power fold button 10 or more times in one minute the system shuts
down for one minute to protect the motors
from over heating.
Power Folding Mirror Switch
31
Page 42 of 372
IconDescription
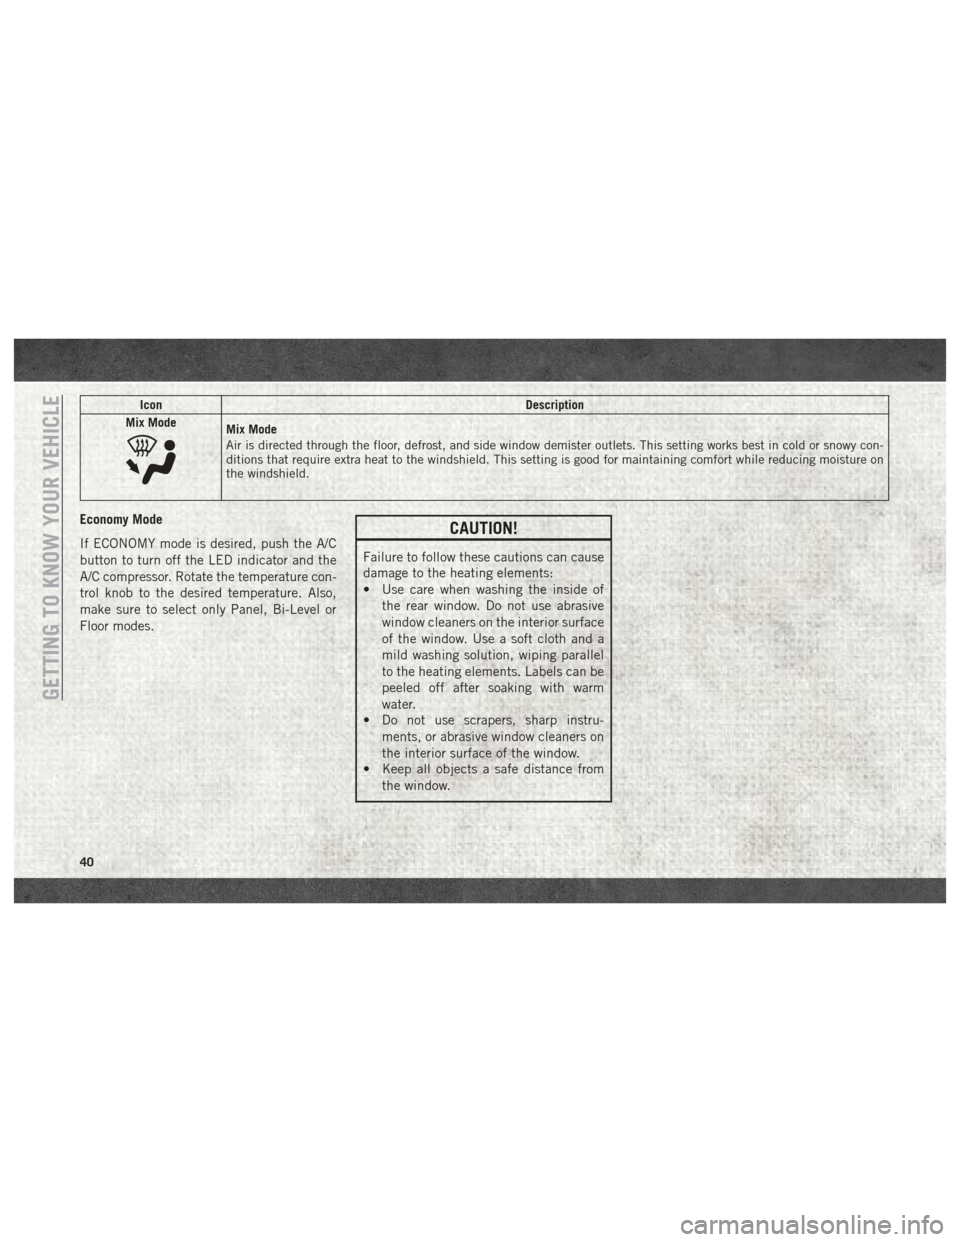
Mix Mode
Mix Mode
Air is directed through the floor, defrost, and side window demister outlets. This setting works best in cold or snowy con-
ditions that require extra heat to the windshield. This setting is good for maintaining comfort while reducing moisture on
the windshield.
Economy Mode
If ECONOMY mode is desired, push the A/C
button to turn off the LED indicator and the
A/C compressor. Rotate the temperature con-
trol knob to the desired temperature. Also,
make sure to select only Panel, Bi-Level or
Floor modes.CAUTION!
Failure to follow these cautions can cause
damage to the heating elements:
• Use care when washing the inside of the rear window. Do not use abrasive
window cleaners on the interior surface
of the window. Use a soft cloth and a
mild washing solution, wiping parallel
to the heating elements. Labels can be
peeled off after soaking with warm
water.
• Do not use scrapers, sharp instru-
ments, or abrasive window cleaners on
the interior surface of the window.
• Keep all objects a safe distance from
the window.
GETTING TO KNOW YOUR VEHICLE
40
Page 48 of 372
IconDescription
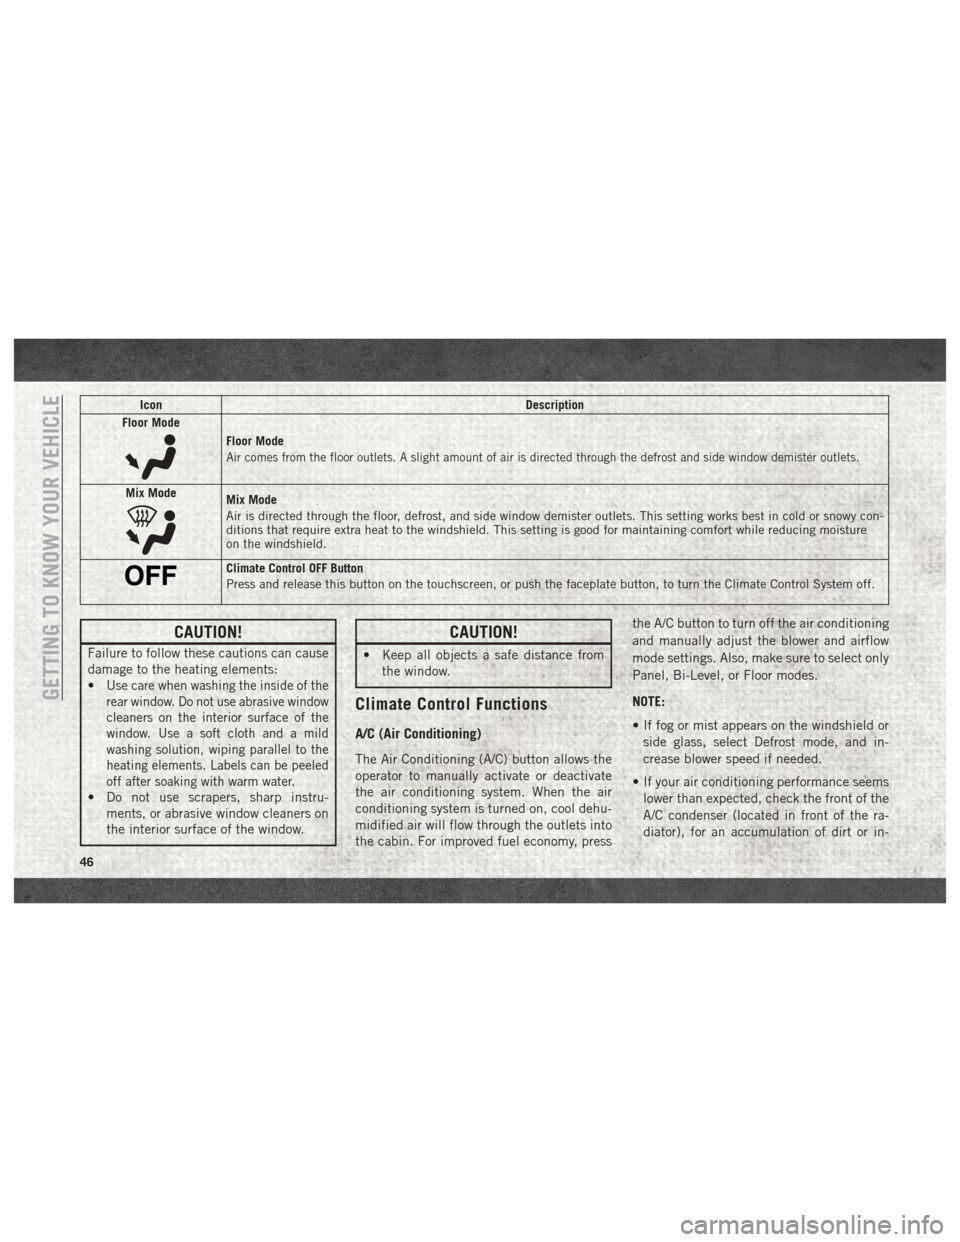
Floor Mode
Floor Mode
Air comes from the floor outlets. A slight amount of air is directed through the defrost and side window demister outlets.
Mix ModeMix Mode
Air is directed through the floor, defrost, and side window demister outlets. This setting works best in cold or snowy con-
ditions that require extra heat to the windshield. This setting is good for maintaining comfort while reducing moisture
on the windshield.
Climate Control OFF Button
Press and release this button on the touchscreen, or push the faceplate button, to turn the Climate Control System off.
CAUTION!
Failure to follow these cautions can cause
damage to the heating elements:
•
Use care when washing the inside of the
rear window. Do not use abrasive window
cleaners on the interior surface of the
window. Use a soft cloth and a mild
washing solution, wiping parallel to the
heating elements. Labels can be peeled
off after soaking with warm water.
• Do not use scrapers, sharp instru- ments, or abrasive window cleaners on
the interior surface of the window.
CAUTION!
• Keep all objects a safe distance from
the window.
Climate Control Functions
A/C (Air Conditioning)
The Air Conditioning (A/C) button allows the
operator to manually activate or deactivate
the air conditioning system. When the air
conditioning system is turned on, cool dehu-
midified air will flow through the outlets into
the cabin. For improved fuel economy, press the A/C button to turn off the air conditioning
and manually adjust the blower and airflow
mode settings. Also, make sure to select only
Panel, Bi-Level, or Floor modes.
NOTE:
• If fog or mist appears on the windshield or
side glass, select Defrost mode, and in-
crease blower speed if needed.
• If your air conditioning performance seems lower than expected, check the front of the
A/C condenser (located in front of the ra-
diator), for an accumulation of dirt or in-
GETTING TO KNOW YOUR VEHICLE
46
Page 50 of 372
Manual Operation Override
This system offers a full complement of
manual override features. The AUTO symbol
in the front ATC display will be turned off
when the system is being used in the manual
mode.
Operating Tips
Summer Operation
The engine cooling system must be protected
with a high-quality antifreeze coolant to pro-
vide proper corrosion protection and to pro-
tect against engine overheating. OAT coolant
(conforming to MS.90032) is recommended.
Winter Operation
To ensure the best possible heater and de-
froster performance, make sure the engine
cooling system is functioning properly and
the proper amount, type, and concentration
of coolant is used. Use of the Air Recircula-
tion mode during Winter months is not rec-
ommended, because it may cause window
fogging.
Vacation/Storage
Before you store your vehicle, or keep it out of
service (i.e., vacation) for two weeks or more,
run the air conditioning system at idle for
about five minutes, in fresh air with the
blower setting on high. This will ensure ad-
equate system lubrication to minimize the
possibility of compressor damage when the
system is started again.
Window Fogging
Vehicle windows tend to fog on the inside in
mild, rainy, and/or humid weather. To clear
the windows, select Defrost or Mix mode and
increase the front blower speed. Do not use
the Recirculation mode without A/C for long
periods, as fogging may occur.
Outside Air Intake
Make sure the air intake, located directly in
front of the windshield, is free of obstruc-
tions, such as leaves. Leaves collected in the
air intake may reduce airflow, and if they
enter the plenum, they could plug the water
drains. In Winter months, make sure the air
intake is clear of ice, slush, and snow.
Cabin Air Filter
The climate control system filters out dust
and pollen from the air. Contact an autho-
rized dealer to service your cabin air filter,
and to have it replaced when needed.
GETTING TO KNOW YOUR VEHICLE
48
Page 136 of 372
SAFETY TIPS
Transporting Passengers
NEVER TRANSPORT PASSENGERS IN THE
CARGO AREA.
WARNING!
• Do not leave children or animals insideparked vehicles in hot weather. Interior
heat build-up may cause serious injury
or death.
• It is extremely dangerous to ride in a
cargo area, inside or outside of a vehicle.
In a collision, people riding in these
areas are more likely to be seriously
injured or killed.
• Do not allow people to ride in any area of
your vehicle that is not equipped with
seats and seat belts.
• Be sure everyone in your vehicle is in a
seat and using a seat belt properly.
Exhaust Gas
WARNING!
Exhaust gases can injure or kill. They con-
tain carbon monoxide (CO), which is col-
orless and odorless. Breathing it can make
you unconscious and can eventually poi-
son you. To avoid breathing (CO), follow
these safety tips:
• Do not run the engine in a closed garageor in confined areas any longer than
needed to move your vehicle in or out of
the area.
• If you are required to drive with the
trunk/liftgate/rear doors open, make
sure that all windows are closed and the
climate control BLOWER switch is set at
high speed. DO NOT use the recircula-
tion mode.
• If it is necessary to sit in a parked
vehicle with the engine running, adjust
your heating or cooling controls to force
outside air into the vehicle. Set the
blower at high speed. The best protection against carbon monoxide
entry into the vehicle body is a properly
maintained engine exhaust system.
Whenever a change is noticed in the sound of
the exhaust system, when exhaust fumes can
be detected inside the vehicle, or when the
underside or rear of the vehicle is damaged,
have a competent mechanic inspect the com-
plete exhaust system and adjacent body ar-
eas for broken, damaged, deteriorated, or
mispositioned parts. Open seams or loose
connections could permit exhaust fumes to
seep into the passenger compartment. In
addition, inspect the exhaust system each
time the vehicle is raised for lubrication or oil
change. Replace as required.
Safety Checks You Should Make
Inside The Vehicle
Seat Belts
Inspect the seat belt system periodically,
checking for cuts, frays, and loose parts.
Damaged parts must be replaced immedi-
ately. Do not disassemble or modify the sys-
tem.
SAFETY
134
Page 141 of 372
STARTING THE ENGINE — GASOLINE
ENGINE
Before starting your vehicle, adjust your seat,
adjust both inside and outside mirrors, and
fasten your seat belt.
The starter should not be operated for more
than 10-second intervals. Waiting a few sec-
onds between such intervals will protect the
starter from overheating.
WARNING!
• When leaving the vehicle, always makesure the keyless ignition node is in the
"OFF" mode, remove the key fob from the
vehicle and lock the vehicle.
• Never leave children alone in a vehicle,
or with access to an unlocked vehicle.
Allowing children to be in a vehicle un-
attended is dangerous for a number of
reasons. A child or others could be seri-
ously or fatally injured. Children should
be warned not to touch the parking
brake, brake pedal or the gear selector.
WARNING!
• Do not leave the key fob in or near thevehicle, or in a location accessible to
children, and do not leave the ignition of
a vehicle equipped with Keyless Enter-
N-Go in the ACC or ON/RUN mode. A
child could operate power windows,
other controls, or move the vehicle.
• Do not leave children or animals inside
parked vehicles in hot weather. Interior
heat build-up may cause serious injury
or death.
Normal Starting Using ENGINE
START/STOP Button
To Turn On The Engine Using The ENGINE START/
STOP Button
1. The transmission must be in PARK.
2. Press and hold the brake pedal while pushing the ENGINE START/STOP button
once.
3. The system takes over and attempts to start the vehicle. If the vehicle fails to
start, the starter will disengage automati-
cally after 10 seconds. 4. If you wish to stop the cranking of the
engine prior to the engine starting, push
the button again.
NOTE:
Normal starting of either a cold or a warm
engine is obtained without pumping or press-
ing the accelerator pedal.
To Turn Off The Engine Using ENGINE START/
STOP Button
1. Place the gear selector in PARK, then push and release the ENGINE START/
STOP button.
2. The ignition will return to the OFF mode.
3. If the gear selector is not in PARK, the ENGINE START/STOP button must be
held for two seconds or three short pushes
in a row with the vehicle speed above
5 MPH (8 km/h) before the engine will
shut off. The ignition will remain in the
ACC mode until the gear selector is in
PARK and the button is pushed twice to
the OFF mode.
4. If the gear selector is not in PARK and the ENGINE START/STOP button is pushed
once with the vehicle speed above 5 MPH
139
Page 144 of 372
STARTING THE ENGINE — 3.0L
DIESEL ENGINE
Before starting your vehicle, adjust your seat,
both inside and outside mirrors, and fasten
your seat belts.
The starter is allowed to crank for up to
30-second intervals. Waiting a few minutes
between such intervals will protect the starter
from overheating.
WARNING!
• Before exiting a vehicle, always come toa complete stop, then shift the auto-
matic transmission into PARK and apply
the parking brake. Always make sure the
keyless ignition node is in the OFF
mode, remove the key fob from the ve-
hicle and lock the vehicle.
• Never leave children alone in a vehicle,
or with access to an unlocked vehicle.
Leaving children in a vehicle unattended
is dangerous for a number of reasons. A
child or others could be seriously or
fatally injured. Children should be
WARNING!
warned not to touch the parking brake,
brake pedal or the gear selector.
• Do not leave the key fob in or near the
vehicle, or in a location accessible to
children, and do not leave the ignition of
a vehicle equipped with Keyless Enter-
N-Go in the ACC or ON/RUN mode. A
child could operate power windows,
other controls, or move the vehicle.
• Do not leave children or animals inside
parked vehicles in hot weather. Interior
heat build-up may cause serious injury
or death.
NOTE:
Engine start up in very low ambient tempera-
ture could result in evident white smoke. This
condition will disappear as the engine warms
up.
CAUTION!
• The engine is allowed to crank as long as 30 seconds. If the engine fails to start
during this period, please wait at least
CAUTION!
two minutes for the starter to cool before
repeating start procedure.
• If the “Water in Fuel Indicator Light”
remains on, DO NOT START engine be-
fore you drain the water from the fuel
filters to avoid engine damage. Refer to
“Draining Fuel/Water Separator Filter”
in “Servicing And Maintenance” in your
Diesel Supplement on www.mopar.com/
en-us/care/owners-manual.html (U.S.
Residents) or www.owners.mopar.ca
(Canadian Residents) for further infor-
mation.
Normal Starting Using ENGINE
STOP/START Button
Observe the instrument panel cluster lights
when starting the engine.
NOTE:
Normal starting of either a cold or a warm
engine is obtained without pumping or press-
ing the accelerator pedal.
STARTING AND OPERATING
142