park assist Ram 3500 2018 User Guide
[x] Cancel search | Manufacturer: RAM, Model Year: 2018, Model line: 3500, Model: Ram 3500 2018Pages: 372, PDF Size: 7.1 MB
Page 11 of 372
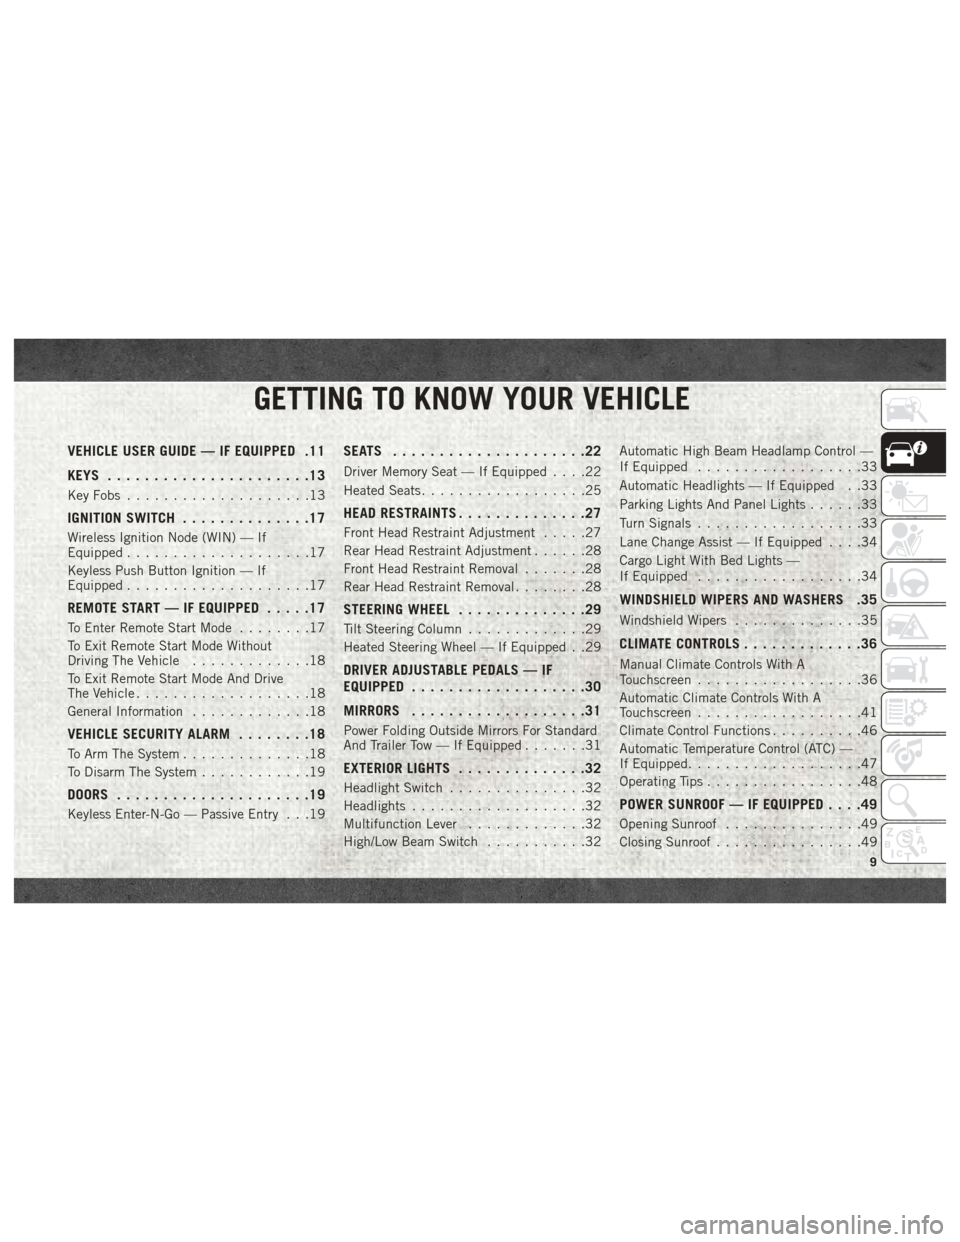
GETTING TO KNOW YOUR VEHICLE
VEHICLE USER GUIDE — IF EQUIPPED .11
KEYS......................13
Key Fobs ....................13
IGNITION SWITCH ..............17
Wireless Ignition Node (WIN) — If
Equipped....................17
Keyless Push Button Ignition — If
Equipped ....................17
REMOTE START — IF EQUIPPED .....17
To Enter Remote Start Mode........17
To Exit Remote Start Mode Without
Driving The Vehicle .............18
To Exit Remote Start Mode And Drive
The Vehicle ...................18
General Information .............18
VEHICLE SECURITY ALARM ........18
To Arm The System..............18
To Disarm The System ............19
DOORS.....................19
Keyless Enter-N-Go — Passive Entry . . .19
SEATS .....................22
Driver Memory Seat — If Equipped ....22
Heated Seats ..................25
HEAD RESTRAINTS ..............27
Front Head Restraint Adjustment .....27
Rear Head Restraint Adjustment ......28
Front Head Restraint Removal .......28
Rear Head Restraint Removal ........28
STEERING WHEEL..............29
Tilt Steering Column .............29
Heated Steering Wheel — If Equipped . .29
DRIVER ADJUSTABLE PEDALS — IF
EQUIPPED ...................30
MIRRORS ...................31
Power Folding Outside Mirrors For Standard
And Trailer Tow — If Equipped .......31
EXTERIOR LIGHTS..............32
Headlight Switch...............32
Headlights ...................32
Multifunction Lever .............32
High/Low Beam Switch ...........32Automatic High Beam Headlamp Control —
If Equipped
..................33
Automatic Headlights — If Equipped . .33
Parking Lights And Panel Lights ......33
Turn Signals ..................33
Lane Change Assist — If Equipped ....34
Cargo Light With Bed Lights —
If Equipped ..................34
WINDSHIELD WIPERS AND WASHERS .35
Windshield Wipers ..............35
CLIMATE CONTROLS .............36
Manual Climate Controls With A
Touchscreen..................36
Automatic Climate Controls With A
Touchscreen ..................41
Climate Control Functions ..........46
Automatic Temperature Control (ATC) —
If Equipped ...................47
Operating Tips .................48
POWER SUNROOF — IF EQUIPPED ....49
Opening Sunroof...............49
Closing Sunroof ................49
GETTING TO KNOW YOUR VEHICLE
9
Page 15 of 372
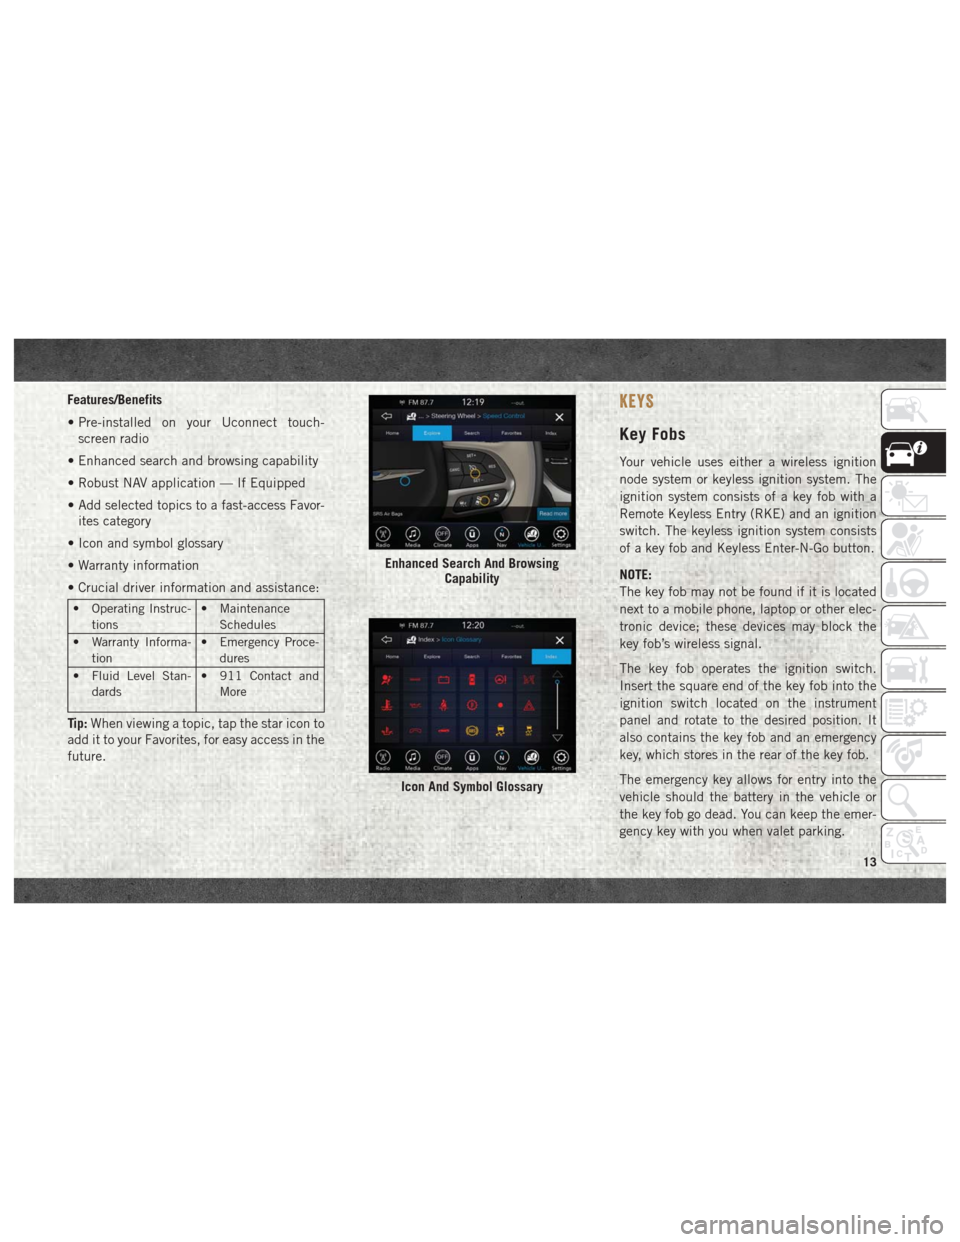
Features/Benefits
• Pre-installed on your Uconnect touch-screen radio
• Enhanced search and browsing capability
• Robust NAV application — If Equipped
• Add selected topics to a fast-access Favor- ites category
• Icon and symbol glossary
• Warranty information
• Crucial driver information and assistance:
• Operating Instruc- tions • Maintenance
Schedules
• Warranty Informa- tion • Emergency Proce-
dures
• Fluid Level Stan- dards • 911 Contact and
More
Tip: When viewing a topic, tap the star icon to
add it to your Favorites, for easy access in the
future.
KEYS
Key Fobs
Your vehicle uses either a wireless ignition
node system or keyless ignition system. The
ignition system consists of a key fob with a
Remote Keyless Entry (RKE) and an ignition
switch. The keyless ignition system consists
of a key fob and Keyless Enter-N-Go button.
NOTE:
The key fob may not be found if it is located
next to a mobile phone, laptop or other elec-
tronic device; these devices may block the
key fob’s wireless signal.
The key fob operates the ignition switch.
Insert the square end of the key fob into the
ignition switch located on the instrument
panel and rotate to the desired position. It
also contains the key fob and an emergency
key, which stores in the rear of the key fob.
The emergency key allows for entry into the
vehicle should the battery in the vehicle or
the key fob go dead. You can keep the emer-
gency key with you when valet parking.
Enhanced Search And Browsing Capability
Icon And Symbol Glossary
13
Page 69 of 372
• Push and release thedownarrow button to
scroll downward through the main menu
items, submenu screen, and vehicle set-
tings.
• Push and release the rightarrow button to
access/select the information screens or
submenu screens of a main menu item.
Push and hold the RIGHT arrow button for
two seconds to reset displayed/selected
features that can be reset.
• Push and release the leftarrow button to
access/select the information screens, sub-
menu screens of a main menu item, or to
return to the main menu.
Diesel Messages And Warnings —
3.0L Diesel Engine
Diesel Particulate Filter (DPF) Messages
WARNING!
A hot exhaust system can start a fire if you
park over materials that can burn. Such
materials might be grass or leaves coming
into contact with your exhaust system. Do
WARNING!
not park or operate your vehicle in areas
where your exhaust system can contact
anything that can burn.
Your vehicle has the ability to alert you to
additional maintenance required on your ve-
hicle or engine. Refer to the following mes-
sages that may be displayed on your instru-
ment cluster:
• Exhaust Filter XX% Full Safely Drive at High-
way Speeds to Remedy — This message will
be displayed in the instrument cluster if the
exhaust particulate filter reaches 80% of
its maximum storage capacity. Under con-
ditions of exclusive short duration and low
speed driving cycles, your diesel engine
and exhaust after-treatment system may
never reach the conditions required to
cleanse the filter to remove the trapped
PM. If this occurs, the “Exhaust Filter XX%
Full Safely Drive at Highway Speeds to
Remedy” message will be displayed in the
instrument cluster display. If this message
is displayed, you will hear one chime to
assist in alerting you of this condition. By simply driving your vehicle at highway
speeds for up to 20 minutes, you can rem-
edy the condition in the particulate filter
system and allow your diesel engine and
exhaust after-treatment system to cleanse
the filter to remove the trapped PM and
restore the system to normal operating con-
dition.
• Exhaust System — Regeneration In Process
Exhaust Filter XX% Full — This message
indicates that the Diesel Particulate Filter
(DPF) is self-cleaning. Maintain your cur-
rent driving condition until regeneration is
completed.
• Exhaust System — Regeneration Completed
— This message indicates that the Diesel
Particulate Filter (DPF) self-cleaning is
completed. If this message is displayed,
you will hear one chime to assist in alerting
you of this condition.
• Exhaust Service Required — See Dealer Now
— This messages indicates regeneration
has been disabled due to a system malfunc-
67
Page 72 of 372
See Dealer message is displayed on the
next subsequent restart. Your engine will
not start unless your vehicle is serviced by
your authorized dealer. The message will be
accompanied by a single chime. Your Mal-
function Indicator Light will be continu-
ously illuminated. If the message appears
and you can not start the engine, we rec-
ommend you have your vehicle towed to
your nearest authorized dealer
immediately.
Diesel Messages And Warnings
— 6.7L Cummins Diesel Engine
Diesel Particulate Filter (DPF) Messages
The Cummins diesel engine meets all diesel
emissions standards, resulting in one of the
lowest emitting diesel engines ever pro-
duced. To achieve these emissions stan-
dards, your vehicle is equipped with a state-
of-the-art engine and exhaust system. These
systems are seamlessly integrated into your
vehicle and managed by the Powertrain Con-
trol Module (PCM). The PCM manages enginecombustion to allow the exhaust system’s
catalyst to trap and burn Particulate Matter
(PM) pollutants, with no input or interaction
on your part.
WARNING!
A hot exhaust system can start a fire if you
park over materials that can burn. Such
materials might be grass or leaves coming
into contact with your exhaust system. Do
not park or operate your vehicle in areas
where your exhaust system can contact
anything that can burn.
Your vehicle has the ability to alert you to
additional maintenance required on your ve-
hicle or engine. The following messages may
display in your instrument cluster display:
• Perform Service — Your vehicle will require
emissions maintenance at a set interval. To
help remind you when this maintenance is
due, the instrument cluster display will
display “Perform Service”. When the “Per-
form Service” message is displayed in the
instrument cluster display it is necessary to
have the emissions maintenance per-
formed. Emissions maintenance may in- clude replacing the Closed Crankcase Ven-
tilation (CCV) filter element. The procedure
for clearing and resetting the "Perform Ser-
vice" indicator message is located in the
appropriate Service Information.
• Exhaust System — Regeneration Required
Now — "Exhaust Filter XX% Full Safely
Drive at Highway Speeds to Remedy" will
be displayed in the instrument cluster dis-
play if the exhaust particulate filter reaches
80% of its maximum storage capacity. Un-
der conditions of exclusive short duration
and low speed driving cycles, your Cum-
mins diesel engine and exhaust after-
treatment system may never reach the con-
ditions required to remove the trapped PM.
If this occurs, the “Exhaust Filter XX% Full
Safely Drive at Highway Speeds to Rem-
edy” message will be displayed in the in-
strument cluster display. If this message is
displayed, you will hear one chime to assist
in alerting you of this condition
By simply driving your vehicle at highway
speeds for as little as 45 minutes, you can
remedy the condition in the particulate filter
system and allow your Cummins diesel en-
gine and exhaust after-treatment system to
GETTING TO KNOW YOUR INSTRUMENT PANEL
70
Page 77 of 372
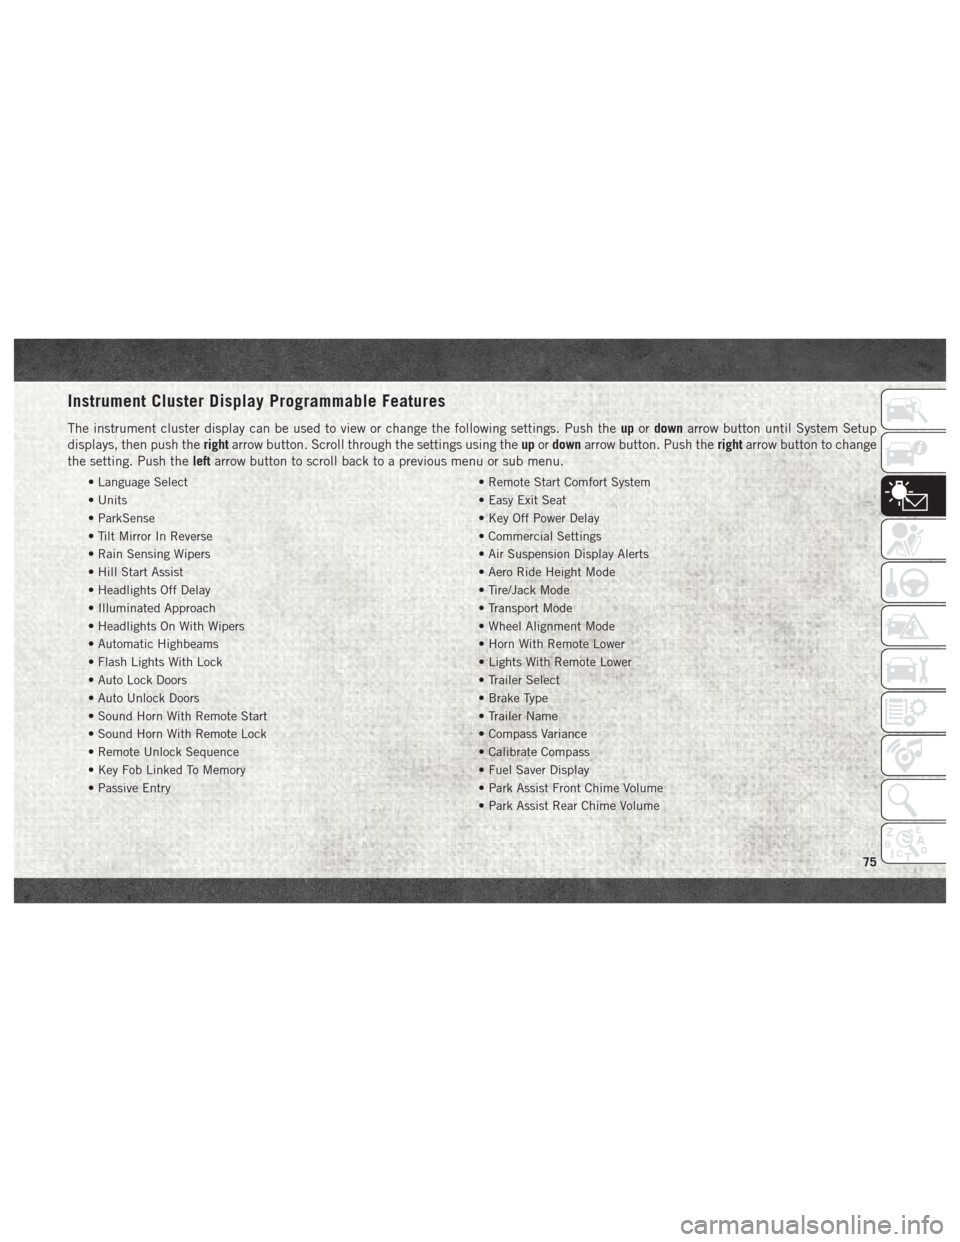
Instrument Cluster Display Programmable Features
The instrument cluster display can be used to view or change the following settings. Push theupordown arrow button until System Setup
displays, then push the rightarrow button. Scroll through the settings using the upordown arrow button. Push the rightarrow button to change
the setting. Push the leftarrow button to scroll back to a previous menu or sub menu.
• Language Select • Remote Start Comfort System
• Units • Easy Exit Seat
• ParkSense • Key Off Power Delay
• Tilt Mirror In Reverse • Commercial Settings
• Rain Sensing Wipers • Air Suspension Display Alerts
• Hill Start Assist • Aero Ride Height Mode
• Headlights Off Delay • Tire/Jack Mode
• Illuminated Approach • Transport Mode
• Headlights On With Wipers • Wheel Alignment Mode
• Automatic Highbeams • Horn With Remote Lower
• Flash Lights With Lock • Lights With Remote Lower
• Auto Lock Doors • Trailer Select
• Auto Unlock Doors • Brake Type
• Sound Horn With Remote Start • Trailer Name
• Sound Horn With Remote Lock • Compass Variance
• Remote Unlock Sequence • Calibrate Compass
• Key Fob Linked To Memory • Fuel Saver Display
• Passive Entry • Park Assist Front Chime Volume
• Park Assist Rear Chime Volume
75
Page 80 of 372
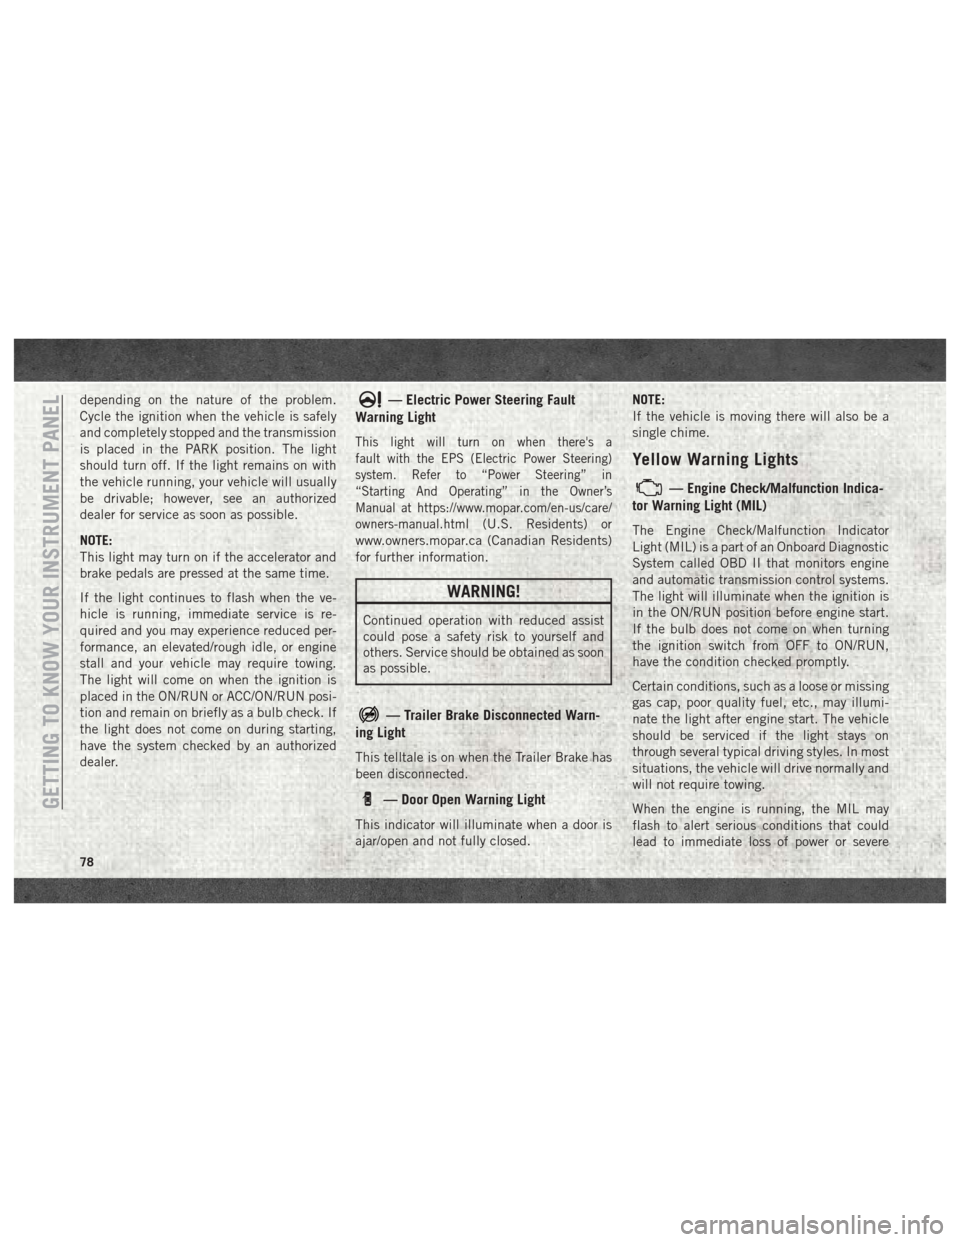
depending on the nature of the problem.
Cycle the ignition when the vehicle is safely
and completely stopped and the transmission
is placed in the PARK position. The light
should turn off. If the light remains on with
the vehicle running, your vehicle will usually
be drivable; however, see an authorized
dealer for service as soon as possible.
NOTE:
This light may turn on if the accelerator and
brake pedals are pressed at the same time.
If the light continues to flash when the ve-
hicle is running, immediate service is re-
quired and you may experience reduced per-
formance, an elevated/rough idle, or engine
stall and your vehicle may require towing.
The light will come on when the ignition is
placed in the ON/RUN or ACC/ON/RUN posi-
tion and remain on briefly as a bulb check. If
the light does not come on during starting,
have the system checked by an authorized
dealer.— Electric Power Steering Fault
Warning Light
This light will turn on when there's a
fault with the EPS (Electric Power Steering)
system. Refer to “Power Steering” in
“Starting And Operating” in the Owner’s
Manual at
https://www.mopar.com/en-us/care/
owners-manual.html
(U.S. Residents) or
www.owners.mopar.ca (Canadian Residents)
for further information.
WARNING!
Continued operation with reduced assist
could pose a safety risk to yourself and
others. Service should be obtained as soon
as possible.
— Trailer Brake Disconnected Warn-
ing Light
This telltale is on when the Trailer Brake has
been disconnected.
— Door Open Warning Light
This indicator will illuminate when a door is
ajar/open and not fully closed. NOTE:
If the vehicle is moving there will also be a
single chime.
Yellow Warning Lights
— Engine Check/Malfunction Indica-
tor Warning Light (MIL)
The Engine Check/Malfunction Indicator
Light (MIL) is a part of an Onboard Diagnostic
System called OBD II that monitors engine
and automatic transmission control systems.
The light will illuminate when the ignition is
in the ON/RUN position before engine start.
If the bulb does not come on when turning
the ignition switch from OFF to ON/RUN,
have the condition checked promptly.
Certain conditions, such as a loose or missing
gas cap, poor quality fuel, etc., may illumi-
nate the light after engine start. The vehicle
should be serviced if the light stays on
through several typical driving styles. In most
situations, the vehicle will drive normally and
will not require towing.
When the engine is running, the MIL may
flash to alert serious conditions that could
lead to immediate loss of power or severe
GETTING TO KNOW YOUR INSTRUMENT PANEL
78
Page 142 of 372
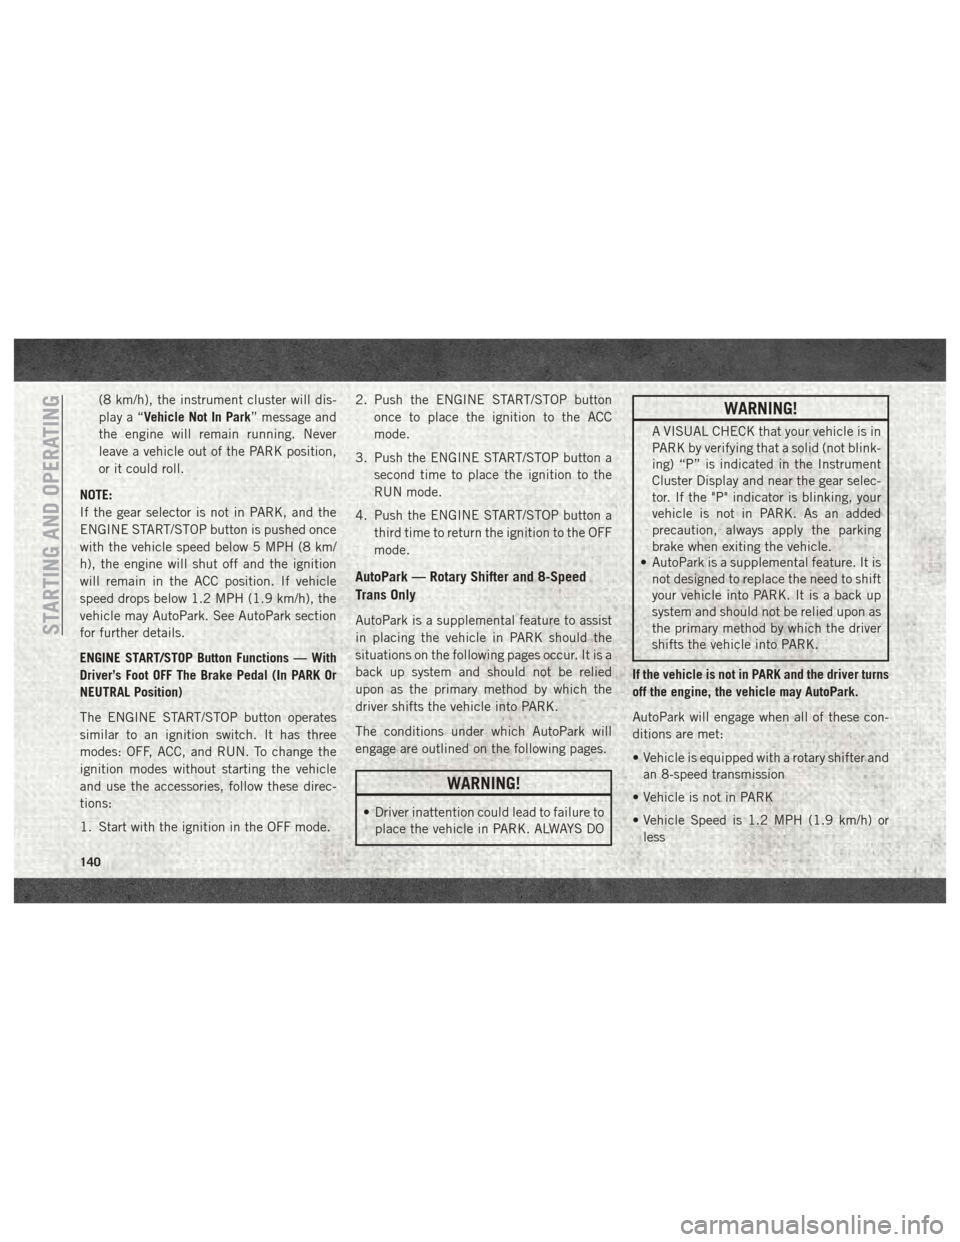
(8 km/h), the instrument cluster will dis-
play a “Vehicle Not In Park” message and
the engine will remain running. Never
leave a vehicle out of the PARK position,
or it could roll.
NOTE:
If the gear selector is not in PARK, and the
ENGINE START/STOP button is pushed once
with the vehicle speed below 5 MPH (8 km/
h), the engine will shut off and the ignition
will remain in the ACC position. If vehicle
speed drops below 1.2 MPH (1.9 km/h), the
vehicle may AutoPark. See AutoPark section
for further details.
ENGINE START/STOP Button Functions — With
Driver’s Foot OFF The Brake Pedal (In PARK Or
NEUTRAL Position)
The ENGINE START/STOP button operates
similar to an ignition switch. It has three
modes: OFF, ACC, and RUN. To change the
ignition modes without starting the vehicle
and use the accessories, follow these direc-
tions:
1. Start with the ignition in the OFF mode. 2. Push the ENGINE START/STOP button
once to place the ignition to the ACC
mode.
3. Push the ENGINE START/STOP button a second time to place the ignition to the
RUN mode.
4. Push the ENGINE START/STOP button a third time to return the ignition to the OFF
mode.
AutoPark — Rotary Shifter and 8-Speed
Trans Only
AutoPark is a supplemental feature to assist
in placing the vehicle in PARK should the
situations on the following pages occur. It is a
back up system and should not be relied
upon as the primary method by which the
driver shifts the vehicle into PARK.
The conditions under which AutoPark will
engage are outlined on the following pages.
WARNING!
• Driver inattention could lead to failure toplace the vehicle in PARK. ALWAYS DO
WARNING!
A VISUAL CHECK that your vehicle is in
PARK by verifying that a solid (not blink-
ing) “P” is indicated in the Instrument
Cluster Display and near the gear selec-
tor. If the "P" indicator is blinking, your
vehicle is not in PARK. As an added
precaution, always apply the parking
brake when exiting the vehicle.
• AutoPark is a supplemental feature. It is
not designed to replace the need to shift
your vehicle into PARK. It is a back up
system and should not be relied upon as
the primary method by which the driver
shifts the vehicle into PARK.
If the vehicle is not in PARK and the driver turns
off the engine, the vehicle may AutoPark.
AutoPark will engage when all of these con-
ditions are met:
• Vehicle is equipped with a rotary shifter and an 8-speed transmission
• Vehicle is not in PARK
• Vehicle Speed is 1.2 MPH (1.9 km/h) or less
STARTING AND OPERATING
140
Page 146 of 372
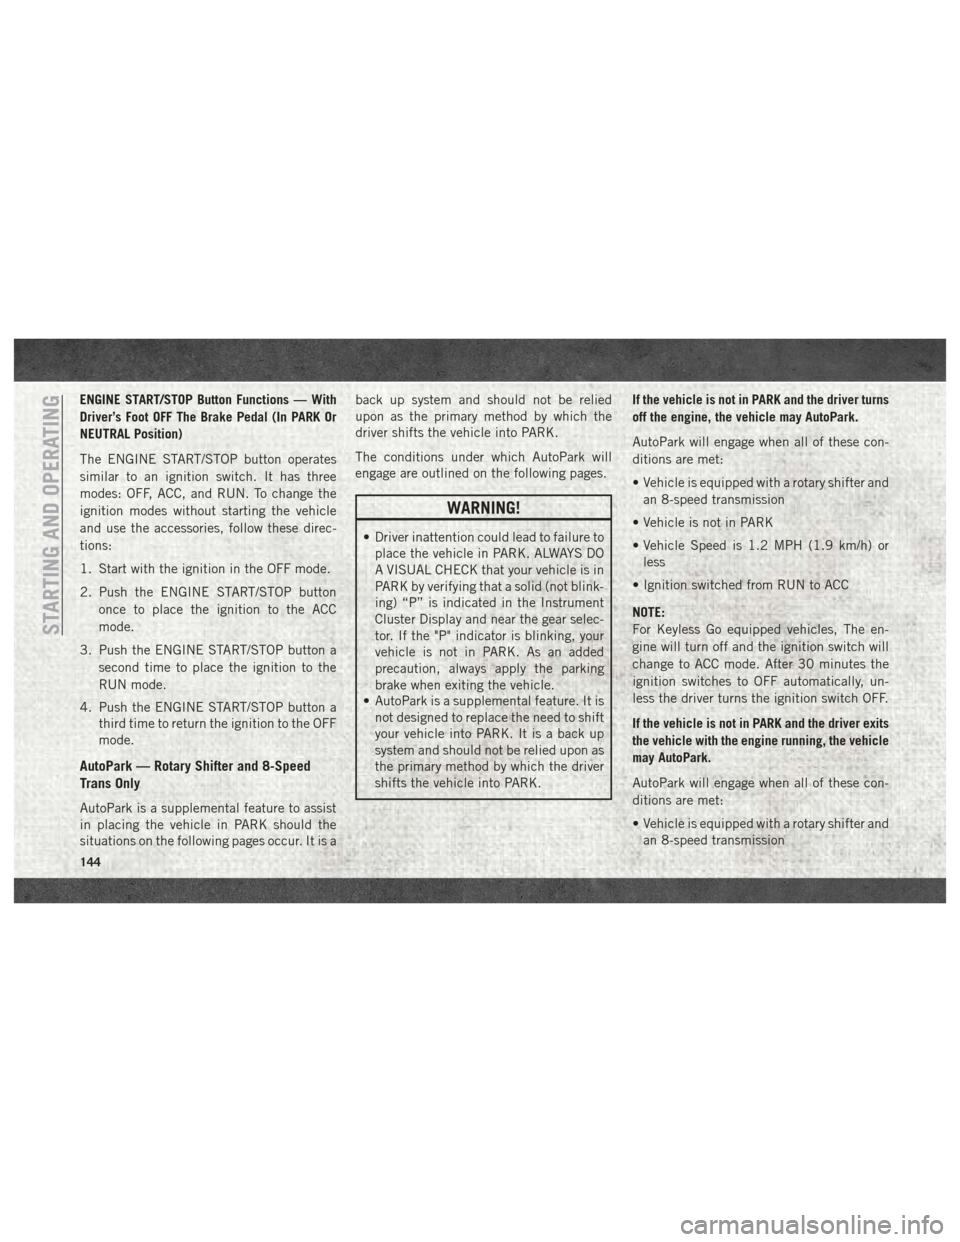
ENGINE START/STOP Button Functions — With
Driver’s Foot OFF The Brake Pedal (In PARK Or
NEUTRAL Position)
The ENGINE START/STOP button operates
similar to an ignition switch. It has three
modes: OFF, ACC, and RUN. To change the
ignition modes without starting the vehicle
and use the accessories, follow these direc-
tions:
1. Start with the ignition in the OFF mode.
2. Push the ENGINE START/STOP buttononce to place the ignition to the ACC
mode.
3. Push the ENGINE START/STOP button a second time to place the ignition to the
RUN mode.
4. Push the ENGINE START/STOP button a third time to return the ignition to the OFF
mode.
AutoPark — Rotary Shifter and 8-Speed
Trans Only
AutoPark is a supplemental feature to assist
in placing the vehicle in PARK should the
situations on the following pages occur. It is a back up system and should not be relied
upon as the primary method by which the
driver shifts the vehicle into PARK.
The conditions under which AutoPark will
engage are outlined on the following pages.
WARNING!
• Driver inattention could lead to failure to
place the vehicle in PARK. ALWAYS DO
A VISUAL CHECK that your vehicle is in
PARK by verifying that a solid (not blink-
ing) “P” is indicated in the Instrument
Cluster Display and near the gear selec-
tor. If the "P" indicator is blinking, your
vehicle is not in PARK. As an added
precaution, always apply the parking
brake when exiting the vehicle.
• AutoPark is a supplemental feature. It is
not designed to replace the need to shift
your vehicle into PARK. It is a back up
system and should not be relied upon as
the primary method by which the driver
shifts the vehicle into PARK. If the vehicle is not in PARK and the driver turns
off the engine, the vehicle may AutoPark.
AutoPark will engage when all of these con-
ditions are met:
• Vehicle is equipped with a rotary shifter and
an 8-speed transmission
• Vehicle is not in PARK
• Vehicle Speed is 1.2 MPH (1.9 km/h) or less
• Ignition switched from RUN to ACC
NOTE:
For Keyless Go equipped vehicles, The en-
gine will turn off and the ignition switch will
change to ACC mode. After 30 minutes the
ignition switches to OFF automatically, un-
less the driver turns the ignition switch OFF.
If the vehicle is not in PARK and the driver exits
the vehicle with the engine running, the vehicle
may AutoPark.
AutoPark will engage when all of these con-
ditions are met:
• Vehicle is equipped with a rotary shifter and an 8-speed transmission
STARTING AND OPERATING
144
Page 150 of 372
ignition from OFF or ACC to RUN, and will
illuminate the "Wait To Start" telltale. The
engine will not immediately crank, this is
normal operation.
2. The “Wait To Start" telltale will remain on for a period of time that varies depending
on the engine temperature.
3. While the "Wait to Start" telltale is on, the instrument cluster will additionally dis-
play a gauge or bar whose initial length
represents the full "Wait to Start" time
period. Its length will decrease until it
disappears when the "Wait to Start" time
has elapsed.
CAUTION!
If the “Water in Fuel Indicator Light” re-
mains on, DO NOT START engine before
you drain the water from the fuel filters to
avoid engine damage. Refer to “Draining
Fuel/Water Separator Filter” in “Dealer
Service” under “Servicing And Mainte-
nance” for further information. 4. After the engine “Wait To Start” telltale
goes off, the engine will automatically
crank.
CAUTION!
Do not crank engine for more than 15 sec-
onds at a time or starter motor damage
may result. Turn the ignition switch to the
OFF position and wait at least two minutes
for the starter to cool before repeating start
procedure.
5. After engine start-up, check to see that there is oil pressure.
6. Allow the engine to idle about three min- utes until the manifold heaters have com-
pleted the post-heat cycle.
7. Release the parking brake and drive.
NOTE:
• Engine idle speed will automatically in- crease to 1,000 RPM and engage the Vari-
able Geometry Turbocharger at low coolant
temperatures to improve engine warm-up. • The engine may not automatically crank
after the engine "Wait To Start" telltale goes
off if a door or the hood is ajar.
• If the engine stalls, or if the ignition switch is left ON for more than two minutes after
the “Wait To Start Light” goes out, reset the
grid heaters by turning the ignition switch
to the OFF position for at least five seconds
and then back ON. Repeat steps 1 through
7 of “Keyless Enter-N-Go Starting Proce-
dure – Engine Manifold Air Temperature
Below 66° F (19° C).”
Extreme Cold Weather
The Cummins diesel engine is equipped with
several features designed to assist cold
weather starting and operation:
• The engine block heater is a resistance
heater installed in the water jacket of the
engine just above and behind the oil filter.
It requires a 110–115 Volt AC electrical
outlet with a grounded, three-wire exten-
sion cord.STARTING AND OPERATING
148
Page 181 of 372
PARKSENSE FRONT AND REAR PARK
ASSIST — IF EQUIPPED
The ParkSense Park Assist system provides
visual and audible indications of the distance
between the rear and/or front fascia and a
detected obstacle when backing up or moving
forward, e.g. during a parking maneuver. Re-
fer to “ParkSense System Usage Precau-
tions” in the Owner’s Manual for limitations
of this system and recommendations.
ParkSense will retain the last system state
(enabled or disabled) from the last ignition
cycle when the ignition is changed to the
ON/RUN position.
ParkSense can be active only when the gear
selector is in REVERSE or DRIVE. If
ParkSense is enabled at one of these gear
selector positions, the system will remain
active until the vehicle speed is increased to
approximately 7 mph (11 km/h) or above. A
warning will appear in the instrument cluster
display indicating the vehicle is aboveParkSense operating speed. The system will
become active again if the vehicle speed is
decreased to speeds less than approximately
6 mph (9 km/h).
Cleaning The ParkSense System
Clean the ParkSense sensors with water, car
wash soap and a soft cloth. Do not use rough
or hard cloths. Do not scratch or poke the
sensors. Otherwise, you could damage the
sensors.
PARKVIEW REAR BACK UP CAMERA —
IF EQUIPPED
Your vehicle may be equipped with the
ParkView Rear Back Up Camera that allows
you to see a image of the rear surroundings of
your vehicle whenever the gear selector is put
into REVERSE or whenever it is initiated
through the "Backup Camera" button in the
"Controls" menu. Whenever the gear selector
is put into REVERSE, the image will be dis-
played in the rearview mirror display (if
equipped) or Uconnect screen (if equipped)along with a caution note to “check entire
surroundings” across the top of the screen.
After five seconds this note will disappear.
The ParkView Camera is located to the left of
the tailgate handle.
When the vehicle is shifted out of REVERSE
(with Camera delay turned off), the rear Cam-
era mode is exited and the navigation or audio
screen appears again.
When the vehicle is shifted out of REVERSE
(with Camera delay turned on), the rear Cam-
era image will be displayed for up to 10 sec-
onds after shifting out of REVERSE unless
the forward vehicle speed exceeds 8 mph
(13 km/h), the transmission is shifted into
PARK or the ignition is switched to the OFF
position.
Whenever the Rear View Camera image is
activated through the "Backup Camera" but-
ton in the "Controls" menu, a display timer for
the image is initiated. The image will con-
tinue to be displayed until the display timer
exceeds 10 seconds and the vehicle speed is
above 8 mph (13 km/h) or the touchscreen
button "X" to disable display of the Rear View
Camera image is pressed.
179