remote start Ram 3500 2020 Owner's Guide
[x] Cancel search | Manufacturer: RAM, Model Year: 2020, Model line: 3500, Model: Ram 3500 2020Pages: 568
Page 276 of 568

274STARTING AND OPERATING
1. Inspect the winch, winch mount, and
synthetic rope for damage. Do not use the
winch if the mount is loose or rope shows
excessive wear, frays, or damage.
Winch Rope
2. Put on gloves.
3. Disengage the clutch to allow free spooling of the winch drum, rotate the clutch lever on
the winch to disengage. Freespooling
conserves battery power.
Free Spool Lever
4. Free the winch hook and attach the hook strap. Free the winch hook from its anchor
point. Attach the hook strap to the hook (if
not attached).
Hook Strap
Always inspect winch installation and
synthetic rope condition before operating
the winch. Frayed, kinked or damaged rope
must be replaced immediately. Loose or
damaged winch installation must be
corrected immediately.
Always be sure any element which can
interfere with safe winching operations is
removed prior to initiating winching.
Always keep remote control lead clear of
the drum, synthetic rope and rigging.
Inspect for cracks, pinches, frayed rope, or
loose connections. Replace if damaged.
Be careful not to pull the winch rope collar
through the rollers. Watch and listen to
winch for proper snugness.
Never power hook through fairlead. Could
cause damage.
CAUTION! (Continued)
20_DJD2_OM_EN_USC_t.book Page 274
Page 278 of 568

276STARTING AND OPERATING
9. Connect the remote control to the winch
control box, located on the front bumper. Be
careful not to let the remote control cord
dangle in front of the winch. If you choose to
control the winch from inside your vehicle,
always pass the remote through a window
to avoid pinching the cord in the door.
Always disconnect the remote control when
not in use.
Winch Box Remote Control Connector
10. Put synthetic rope under tension. Using the remote control switch, slowly wind the rope
until no slack remains. Once the rope is
under tension, stand well clear of it and
never step over it.
Pulling Synthetic Rope Under Tension
11. Check your anchor. Make sure all connections are secured and free of debris
before continuing with the winching
procedure.
12. Check synthetic rope. The rope should be neatly wound around the spooling drum.
Improper winding can cause damage to the
synthetic rope.
Synthetic Rope Neatly Wound Around
The Spooling Drum
Heavy Blanket Over Rope
20_DJD2_OM_EN_USC_t.book Page 276
Page 279 of 568

STARTING AND OPERATING277
In certain situations you may decide to
throw a heavy blanket or similar object over
the rope. A heavy blanket can absorb ener -
gy should the synthetic rope break. Place it
on the rope midway between the winch and
the anchor point. Do this before the rope is
put under tension. Do not approach or move
the blanket once tension is applied. Do not
allow it to get pulled into the fairlead. If it is
necessary to move or remove the blanket,
slack the tension on the rope first.
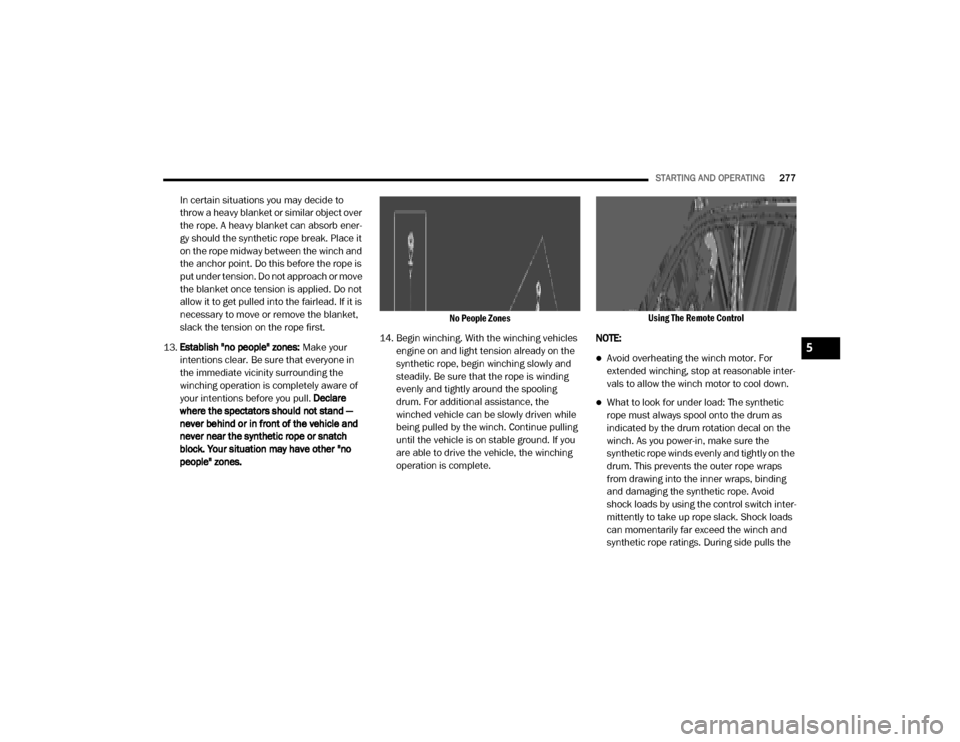
13. Establish "no people" zones: Make your
intentions clear. Be sure that everyone in
the immediate vicinity surrounding the
winching operation is completely aware of
your intentions before you pull. Declare
where the spectators should not stand —
never behind or in front of the vehicle and
never near the synthetic rope or snatch
block. Your situation may have other "no
people" zones.
No People Zones
14. Begin winching. With the winching vehicles engine on and light tension already on the
synthetic rope, begin winching slowly and
steadily. Be sure that the rope is winding
evenly and tightly around the spooling
drum. For additional assistance, the
winched vehicle can be slowly driven while
being pulled by the winch. Continue pulling
until the vehicle is on stable ground. If you
are able to drive the vehicle, the winching
operation is complete.
Using The Remote Control
NOTE:
Avoid overheating the winch motor. For
extended winching, stop at reasonable inter -
vals to allow the winch motor to cool down.
What to look for under load: The synthetic
rope must always spool onto the drum as
indicated by the drum rotation decal on the
winch. As you power-in, make sure the
synthetic rope winds evenly and tightly on the
drum. This prevents the outer rope wraps
from drawing into the inner wraps, binding
and damaging the synthetic rope. Avoid
shock loads by using the control switch inter -
mittently to take up rope slack. Shock loads
can momentarily far exceed the winch and
synthetic rope ratings. During side pulls the
5
20_DJD2_OM_EN_USC_t.book Page 277
Page 280 of 568

278STARTING AND OPERATING
synthetic rope tends to stack up at one end of
the drum. This stack can become large
enough to cause serious damage to the
winch. So, line up pulls as straight ahead as
possible and stop winching if the synthetic
rope comes close to the tie rods or mounting
plate. To fix an uneven stack, spool out that
section of the rope and reposition it to the
opposite end of the drum, which will free up
space for continued winching.
15. Secure vehicle. Once recovery of the vehicle is complete, be sure to secure the vehicle's
brakes and shift the transmission to PARK.
Release tension in the synthetic rope.
16. Disconnect the synthetic rope, and disconnect from the anchor.
17. Rewind the synthetic rope. The person handling the synthetic rope should walk the
rope in and not let it slide through the hand,
control the winch at all times.
Rewinding The Synthetic Rope
NOTE:
How to spool under no load: Arrange the remote
control lead so it cannot be caught in the winch.
Arrange the synthetic rope so it will not kink or
tangle when spooled. Be sure any synthetic
rope already on the spooling drum is wound
tightly and evenly layered. Tighten and
straighten the layer if necessary. Keep the
synthetic rope under light tension and spool the
rope back and onto the winch drum in even
layers. Stop frequently to tighten and straighten
the layers as necessary. Repeat this process until the winch hook is the same distance as the
full length of the remote control from the winch.
Pinch the hook between your thumb and fore
-
finger and attach the hook strap. Hold the hook
strap between the thumb and forefinger to keep
tension on the synthetic rope. Walk the
synthetic rope towards the fairlead, carefully
spooling in the remaining rope by pulsing the
remote control switch.
18. Store the hook on the most outboard loop of
the hawse fairlead.
Hook In Stored Position
19. Disconnect the remote control. Disconnect the remote control cord from the control box
and store in a clean and dry place. Winching
operations are now complete. Put the cap
on the solenoid plug-in.
WARNING!
To prevent serious injury, NEVER put your
fingers inside the hook area as you are
powering-in.
20_DJD2_OM_EN_USC_t.book Page 278
Page 281 of 568

STARTING AND OPERATING279
NOTE:
Always store the remote control in a protected,
clean, dry area.
RIGGING TECHNIQUES
Various winching situations will require
application of other winching techniques. These
could range from too little distance to achieve
maximum pull using straight line rigging, simply
increasing pulling power, or maintaining a
straight-line pulling situation. You will have to
assess what technique is correct for your
situation. Think "safety" at all times.
How To Change The Pulling Direction
Change Pulling Directions
All winching operations should have a straight
line from the winch to the object being pulled. This minimizes the synthetic rope collecting on
one side of the drum affecting pulling efficiency
and damaging synthetic rope. A snatch block,
secured to a point directly in front of the vehicle
will enable you to change your pulling direction
while still allowing the synthetic rope to be at
90° to wind properly onto the spooling drum.
Increasing Pulling Power
In some cases, you may find yourself needing
more pulling power. The use of snatch blocks
increases mechanical advantage and that
increases your pulling power.
Double Line
Wire Rope Routing
Because pulling power decreases with the
number of layers of synthetic rope on the winch drum, you can use a snatch block to double line
out more rope. This decreases the number of
layers of synthetic rope on the drum, and
increases pulling power. Start by feeding out
enough synthetic rope to free the winch hook.
Attach the hook to your vehicle's frame/tow
hook and run the rope through a snatch block.
Disengage the clutch and, using the snatch
block, pull out enough synthetic rope to reach
your anchor point. Do not attach the hook to the
mounting kit. Secure to the anchor point with a
tree trunk protector or choker chain. Attach the
clevis/shackle. Attach the shackle to the two
ends of the strap/chain, being careful not to
over tighten (tighten and back-off 1/2 turn).
FUEL SAVER TECHNOLOGY — GAS ENGINE
(IF EQUIPPED)
This feature offers improved fuel economy by
shutting off four of the engine's eight cylinders
during light load and cruise conditions. The
system is automatic with no driver inputs or
additional driving skills required.
NOTE:
This system may take some time to return to full
functionality after a battery disconnect.
5
20_DJD2_OM_EN_USC_t.book Page 279
Page 478 of 568

476MULTIMEDIA
Doors & Locks
After pressing the Doors & Locks button on the touchscreen, the following settings will be available:
Setting Name Selectable Options
Auto Door Locks — If EquippedOn Off
NOTE:
When the “Auto Door Locks” feature is selected, all doors lock automatically when the vehicle reaches a speed of 15 mph (24 km/h). Auto Unlock On Exit On Off
NOTE:
When the “Auto Unlock On Exit” feature is selected, all doors unlock when the vehicle is stopped, the transmission is in the PARK or NEUTRAL position
and the driver's door is opened. Sound Horn With Lock Off1st Press 2nd Press
Remote Door Unlock All Driver
NOTE:
The “Remote Door Unlock” feature allows you to program your remote door locks to open “All doors” or only the “Driver door” with the first push of
the key fob or grabbing the Passive Entry door handle. Sound Horn With Remote Start On Off
NOTE:
When the “Sound Horn With Remote Start” feature is selected, the horn sounds when the remote start is activated.
20_DJD2_OM_EN_USC_t.book Page 476
Page 480 of 568

478MULTIMEDIA
Power Side Steps — If Equipped
After pressing the Power Side Steps button on the touchscreen, the following setting will be available:
Auto-On Comfort Systems — If Equipped
After pressing the Auto-On Comfort Systems button on the touchscreen, the following settings will be available:
Engine Off Options
After pressing the Engine Off Options button on the touchscreen, the following settings will be available:
Setting Name Selectable Options
Power Side StepsAutomaticStow
Setting Name Selectable Options
Auto-On Driver Heated/Ventilated
Seat & Steering Wheel With Vehicle Start — If Equipped Off
Remote Start Only All Starts
NOTE:
When the “Auto-On Driver Heated/Ventilated Seat & Steering Wheel With Vehicle Start” feature is selected, the driver's heated seat and heated
steering wheel will automatically turn on when temperatures are below 40°F (4.4°C). When temperatures are above 80°F (26.7°C), the driver vented
seat will turn on.
Setting Name Selectable Options
Easy Exit Seats — If EquippedOnOff
Headlight Off Delay 0 sec
30 sec
60 sec 90 sec
20_DJD2_OM_EN_USC_t.book Page 478
Page 497 of 568

MULTIMEDIA495
Auto Unlock On Exit On Off
NOTE:
When the “Auto Unlock On Exit” feature is selected, all doors unlock when the vehicle is stopped and the transmission is in the PARK or NEUTRAL
position, and the driver's door is opened. Flash Lights With Lock On Off
NOTE:
When the “Flash Lights With Lock” feature is selected, the front and rear turn signals flash when the doors are locked or unlocked with the key fob.
This feature may be selected with or without the “Sound Horn With Lock” feature selected. Sound Horn With Lock Off1st Press 2nd Press
Sound Horn With Remote Start On Off
1st Press Of Key Fob Unlocks Driver Door All Doors
NOTE:
When “1st Press Of Key Fob Unlocks: Driver Door” is programmed, only the driver's door unlocks on the first press of the key fob Unlock button.
You must push the key fob unlock button twice to unlock the passengers’ doors.
When “All Doors” is programmed, all of the doors unlock on the first push of the key fob unlock button.
If the vehicle is programmed “1st Press Of Key Fob Unlocks: All Doors”, all doors will unlock no matter which Passive Entry equipped door handle
is grasped. If “1st Press Of Key Fob Unlocks: Driver Door” is programmed, only the driver’s door will unlock when the driver’s door is grasped.
With Passive Entry, if “1st Press Of Key Fob Unlocks: Driver Door” is programmed pushing the handle more than once only results in the driver’s
door opening. If “Driver Door” is programmed, once the driver’s door is opened, the interior door lock/unlock switch can be used to unlock all doors
(or use key fob).
Setting Name Selectable Options
9
20_DJD2_OM_EN_USC_t.book Page 495
Page 499 of 568

MULTIMEDIA497
Auto-On Comfort Systems — If Equipped
After pressing the Auto-On Comfort Systems button on the touchscreen, the following setting will be available:
Engine Off Options
After pressing the Engine Off Options button on the touchscreen, the following settings will be available:
Setting Name Selectable Options
Auto-On Driver Heated/Ventilated
Seat & Steering Wheel With Vehicle Start — If Equipped Off
Remote Start All Starts
NOTE:
When the “Auto-On Driver Heated/Ventilated Seat & Steering Wheel With Vehicle Start” feature is selected, the driver's heated seat and heated
steering wheel will automatically turn on when temperatures are below 40°F (4.4°C). When temperatures are above 80°F (26.7°C), the driver vented
seat will turn on.
Setting Name Selectable Options
Engine Off Power Delay–+
NOTE:
When the “Engine Off Power Delay” feature is selected, the power window switches, radio, Uconnect phone system (if equipped), power sunroof (if
equipped), and power outlets will remain active for up to 10 minutes after the ignition is cycled to OFF. Opening either front door will cancel this
feature.
9
20_DJD2_OM_EN_USC_t.book Page 497
Page 507 of 568

MULTIMEDIA505
UCONNECT 4C NAV WITH 12-INCH
D
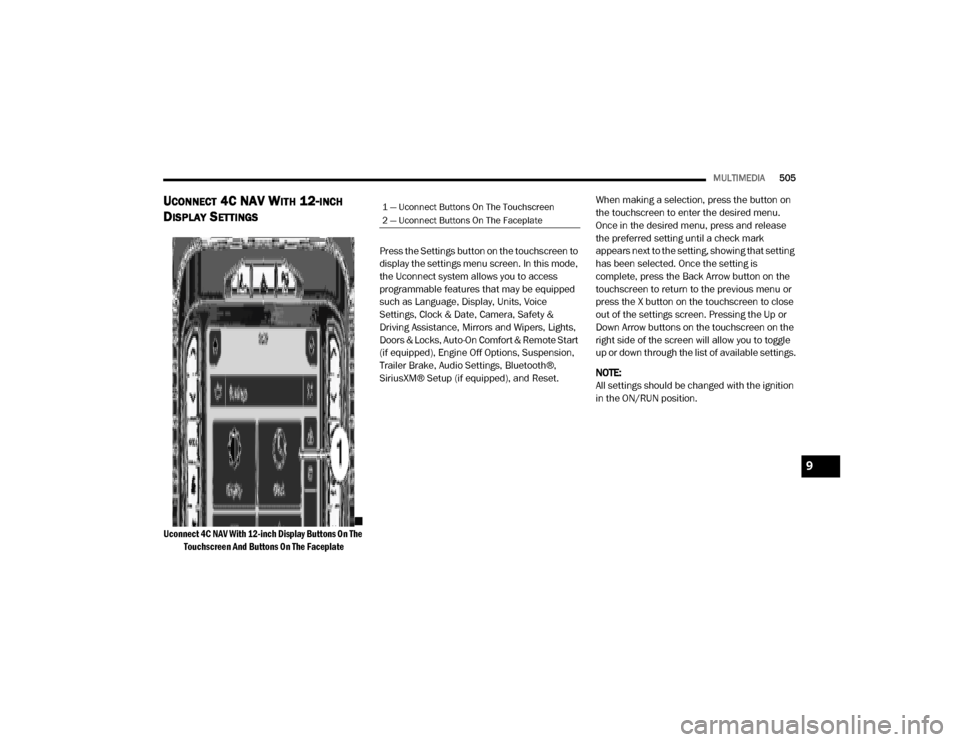
ISPLAY SETTINGS
Uconnect 4C NAV With 12-inch Display Buttons On The
Touchscreen And Buttons On The Faceplate
Press the Settings button on the touchscreen to
display the settings menu screen. In this mode,
the Uconnect system allows you to access
programmable features that may be equipped
such as Language, Display, Units, Voice
Settings, Clock & Date, Camera, Safety &
Driving Assistance, Mirrors and Wipers, Lights,
Doors & Locks, Auto-On Comfort & Remote Start
(if equipped), Engine Off Options, Suspension,
Trailer Brake, Audio Settings, Bluetooth®,
SiriusXM® Setup (if equipped), and Reset.
When making a selection, press the button on
the touchscreen to enter the desired menu.
Once in the desired menu, press and release
the preferred setting until a check mark
appears next to the setting, showing that setting
has been selected. Once the setting is
complete, press the Back Arrow button on the
touchscreen to return to the previous menu or
press the X button on the touchscreen to close
out of the settings screen. Pressing the Up or
Down Arrow buttons on the touchscreen on the
right side of the screen will allow you to toggle
up or down through the list of available settings.
NOTE:
All settings should be changed with the ignition
in the ON/RUN position.
1 — Uconnect Buttons On The Touchscreen
2 — Uconnect Buttons On The Faceplate
9
20_DJD2_OM_EN_USC_t.book Page 505