set clock Ram 3500 2020 Owner's Manual
[x] Cancel search | Manufacturer: RAM, Model Year: 2020, Model line: 3500, Model: Ram 3500 2020Pages: 568
Page 45 of 568
GETTING TO KNOW YOUR VEHICLE43
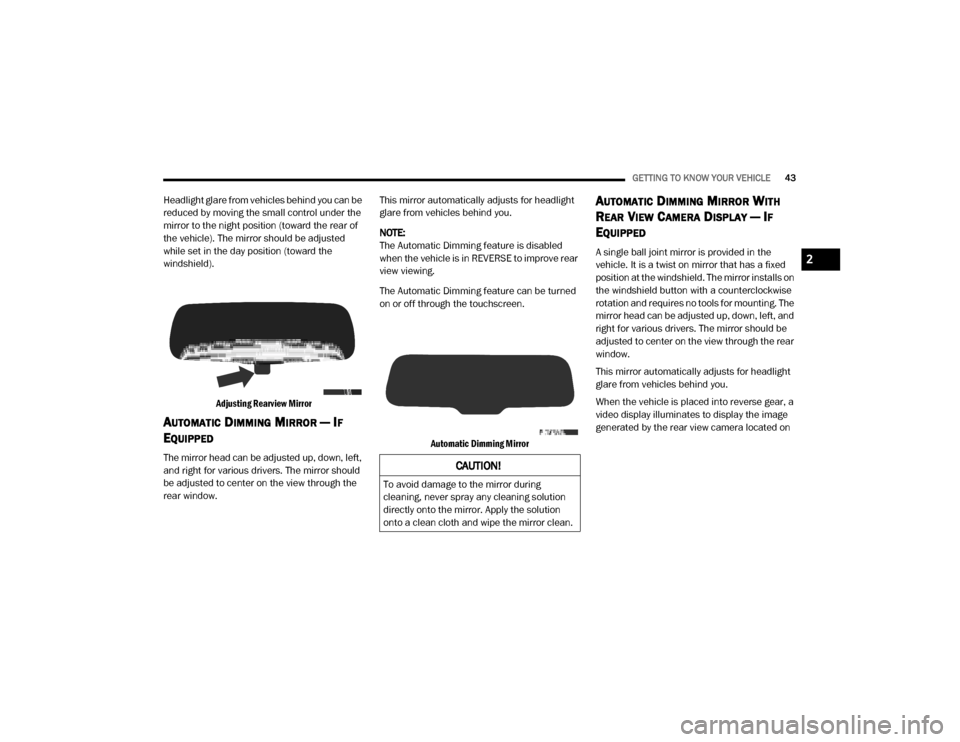
Headlight glare from vehicles behind you can be
reduced by moving the small control under the
mirror to the night position (toward the rear of
the vehicle). The mirror should be adjusted
while set in the day position (toward the
windshield).
Adjusting Rearview Mirror
AUTOMATIC DIMMING MIRROR — IF
E
QUIPPED
The mirror head can be adjusted up, down, left,
and right for various drivers. The mirror should
be adjusted to center on the view through the
rear window. This mirror automatically adjusts for headlight
glare from vehicles behind you.
NOTE:
The Automatic Dimming feature is disabled
when the vehicle is in REVERSE to improve rear
view viewing.
The Automatic Dimming feature can be turned
on or off through the touchscreen.
Automatic Dimming Mirror
AUTOMATIC DIMMING MIRROR WITH
R
EAR VIEW CAMERA DISPLAY — IF
E
QUIPPED
A single ball joint mirror is provided in the
vehicle. It is a twist on mirror that has a fixed
position at the windshield. The mirror installs on
the windshield button with a counterclockwise
rotation and requires no tools for mounting. The
mirror head can be adjusted up, down, left, and
right for various drivers. The mirror should be
adjusted to center on the view through the rear
window.
This mirror automatically adjusts for headlight
glare from vehicles behind you.
When the vehicle is placed into reverse gear, a
video display illuminates to display the image
generated by the rear view camera located on
CAUTION!
To avoid damage to the mirror during
cleaning, never spray any cleaning solution
directly onto the mirror. Apply the solution
onto a clean cloth and wipe the mirror clean.
2
20_DJD2_OM_EN_USC_t.book Page 43
Page 51 of 568
GETTING TO KNOW YOUR VEHICLE49
Rotate the headlight switch clockwise to the first
detent for parking light and instrument panel
light operation. Rotate the headlight switch to the
second detent for headlight, parking light, and
instrument panel light operation.
DAYTIME RUNNING LIGHTS (DRLS) — IF
E
QUIPPED
The headlights on your vehicle will illuminate
when the engine is started and the
transmission is in any gear except PARK. This
provides a constant "lights on" condition until
the ignition is placed in the OFF position. The
lights illuminate at less than half of normal
intensity. If the parking brake is applied, the
Daytime Running Lights (DRLs) will turn off.
Also, if a turn signal is activated, the DRL lamp
on the same side of the vehicle may turn off for
the duration of the turn signal activation. Once
the turn signal is no longer active, the DRL lamp
will illuminate.
NOTE:
If allowed by law in the country in which the
vehicle was purchased, the Daytime Running
Lights can be turned on and off using the Ucon -
nect system, refer to “Uconnect Settings” in
“Multimedia” for further information.
HIGH/LOW BEAM SWITCH
Push the multifunction lever toward the
instrument panel to switch the headlights to
high beam. Pulling the multifunction lever back
toward the steering wheel will turn the low
beams back on, or shut the high beams off.
AUTOMATIC HIGH BEAM HEADLAMP
C
ONTROL — IF EQUIPPED
The Automatic High Beam Headlamp Control
system provides increased forward lighting at
night by automating high beam control through
the use of a digital camera mounted on the inside
rearview mirror or forward facing camera. This
camera detects vehicle specific light and
automatically switches from high beams to low
beams until the approaching vehicle is out of view.
NOTE:
The Automatic High Beam Headlamp Control
can be turned on or off by selecting “ON”
under “Auto Dim High Beams” within your
Uconnect settings, as well as turning the
headlight switch to the AUTO position. Refer
to “Uconnect Settings” in “Multimedia” for
further information.
Broken, muddy, or obstructed headlights
and taillights of vehicles in the field of view
will cause headlights to remain on longer
(closer to the vehicle). Also, dirt, film, and
other obstructions on the windshield or
camera lens will cause the system to func -
tion improperly.
To opt out of the Advanced Auto High Beam
Sensitivity Control (default) and enter
Reduced High Beam Sensitivity Control (not
recommended), on vehicles equipped with
mirror controlled automatic high beams and
without the forward facing camera, toggle the
high beam lever six full on/off cycles within
10 seconds of placing the ignition in the ON
position. The system will return to the default
setting when the ignition is OFF.
If the windshield or Automatic High Beam
Headlamp Control mirror is replaced, the mirror
must be re-aimed to ensure proper
performance. See a local authorized dealer.
2
20_DJD2_OM_EN_USC_t.book Page 49
Page 52 of 568
50GETTING TO KNOW YOUR VEHICLE
To Activate
1. The Automatic High Beams are enabled
through the Uconnect system. Refer to
“Uconnect Settings” in “Multimedia” for
further information.
2. Turn the headlight switch to the AUTO headlight position.
3. Push the multifunction lever away from you (toward front of vehicle) to engage the high
beam mode.
NOTE:
The Automatic High Beams will not activate until
the vehicle is at or above 12 mph (20 km/h).
To Deactivate
1. Pull the multifunction lever toward you (or rearward in vehicle) to manually deactivate
the system (normal operation of low
beams).
2. Push back on the multifunction lever to reactivate the system.
The Automatic High Beams can also be
deactivated through the Uconnect system.
Refer to “Uconnect Settings” in “Multimedia”
for further information.
FLASH-TO-PASS
You can signal another vehicle with your
headlights by lightly pulling the multifunction
lever toward you. This will cause the high beam
headlights to turn on, and remain on, until the
lever is released.
AUTOMATIC HEADLIGHTS — IF EQUIPPED
This system automatically turns your headlights
on or off based on ambient light levels. To turn
the system on, turn the headlight switch to the
extreme clockwise position aligning the
indicator with the AUTO on the headlight switch.
When the system is on, the Headlight Time
Delay feature is also on. This means your
headlights will stay on for up to 90 seconds
after the ignition is placed in the OFF position.
To turn the Automatic System off, turn the
headlight switch counterclockwise to the O (off)
position.
NOTE:
The engine must be running before the head -
lights will come on in the Automatic mode.
DIRECTIONAL LED HEADLAMP SYSTEM
— I
F EQUIPPED
This is a system consisting of LED (low/high
beam) headlights that incorporate dynamic
cornering with 5-degree inboard/15-degree
outboard swivel. The headlights continuously
and automatically adapt to the driving
conditions around bends or when cornering
based on steering wheel angle.
The system directs the headlights to light up the
road in the best way, taking into account the
speed of the vehicle and the bend or corner
angle, as well as the speed of the vehicle while
the steering wheel is being turned.
The adaptive lights are automatically activated
when the vehicle is traveling above
approximately 5 mph (8 km/h).
This system can be turned on/off through the
Uconnect Settings under “Steering Directed
Lights”. Refer to Uconnect Settings in
“Multimedia” for further information.
20_DJD2_OM_EN_USC_t.book Page 50
Page 53 of 568
GETTING TO KNOW YOUR VEHICLE51
PARKING LIGHTS AND PANEL LIGHTS
To turn on the parking lights and instrument
panel lights, from the O (off) position, rotate the
headlight switch clockwise to the first detent. To
turn off the parking lights, rotate the headlight
switch back to the O (off) position.
HEADLIGHTS ON WITH WIPERS
(A
VAILABLE WITH AUTOMATIC
H
EADLIGHTS ONLY)
When this feature is active, the headlights will
turn on approximately 10 seconds after the
wipers are turned on if the headlight switch is
placed in the AUTO position. In addition, the
headlights will turn off when the wipers are
turned off, if they were turned on by this feature.
NOTE:
This feature can be programmed through the
Uconnect system. Refer to “Uconnect Settings”
in “Multimedia” for further information.
HEADLIGHT DELAY
To aid in your exit, your vehicle is equipped with
a headlight delay that will leave the headlights
on for up to 90 seconds. This delay is initiated
when the ignition is turned off while the headlight switch is on, and then the headlight
switch is cycled off. Headlight delay can be
canceled by either turning the headlight switch
on then off, or by placing the ignition in the ON/
RUN position.
NOTE:
This feature can be programmed through the
Uconnect system. Refer to “Uconnect Settings”
in “Multimedia” for further information.
LIGHTS-ON REMINDER
If the headlights, parking lights, or cargo lights
are left on after the ignition is placed in the OFF
position, a chime will sound and a message will
appear in the instrument cluster display when
the driver’s door is opened.
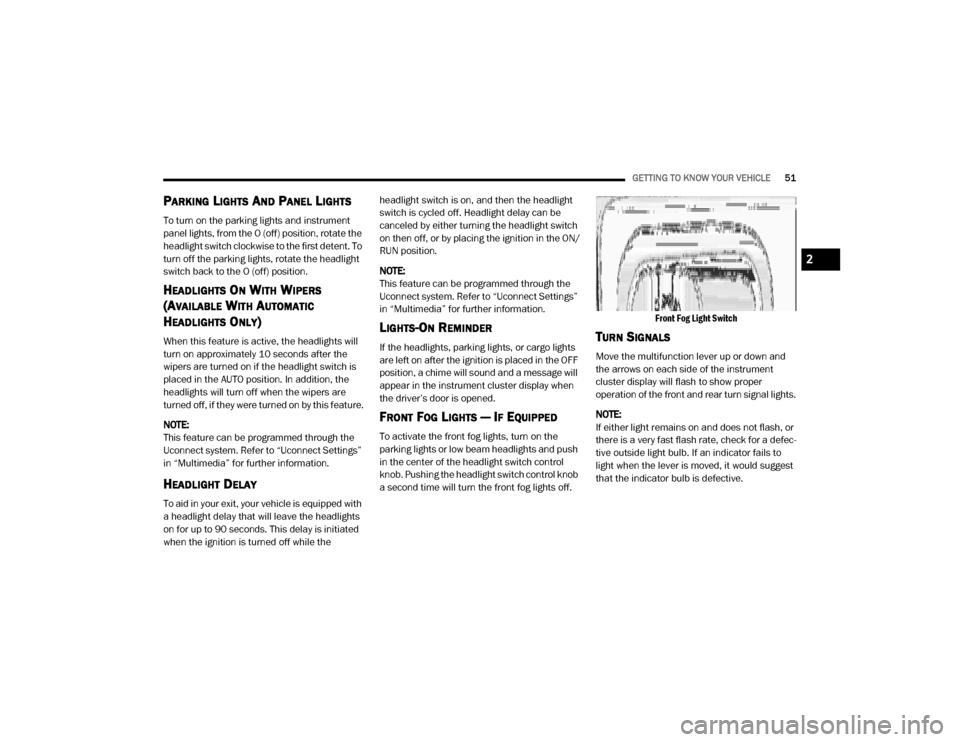
FRONT FOG LIGHTS — IF EQUIPPED
To activate the front fog lights, turn on the
parking lights or low beam headlights and push
in the center of the headlight switch control
knob. Pushing the headlight switch control knob
a second time will turn the front fog lights off.
Front Fog Light Switch
TURN SIGNALS
Move the multifunction lever up or down and
the arrows on each side of the instrument
cluster display will flash to show proper
operation of the front and rear turn signal lights.
NOTE:
If either light remains on and does not flash, or
there is a very fast flash rate, check for a defec
-
tive outside light bulb. If an indicator fails to
light when the lever is moved, it would suggest
that the indicator bulb is defective.
2
20_DJD2_OM_EN_USC_t.book Page 51
Page 60 of 568
58GETTING TO KNOW YOUR VEHICLE
Recirculation Button
Press and release this button on the touchscreen, or push the button on the faceplate, to change the system between
Recirculation mode and outside air mode. The Recirculation indicator and the A/C indicator illuminate when the
Recirculation button is pushed. Recirculation can be used when outside conditions, such as smoke, odors, dust, or
humidity are present. Recirculation can be used in all modes except for Defrost. Recirculation may be unavailable if
conditions exist that could create fogging on the inside of the windshield. The A/C can be deselected manually without
disturbing the mode control selection. Continuous use of the Recirculation mode may make the inside air stuffy and
window fogging may occur. Extended use of this mode is not recommended.
Temperature Control
Temperature Control regulates the temperature of the air forced through the Climate Control system. The temperature
increases as you turn the temperature control knob clockwise. The temperature decreases as you turn the temperature
control knob counterclockwise.
Blower Control
Blower Control regulates the amount of air forced through the Climate Control system. There are seven blower speeds
available. The blower speed increases as you turn the blower control knob clockwise from the lowest blower setting. The
blower speed decreases as you turn the blower control knob counterclockwise.
Icon Description
20_DJD2_OM_EN_USC_t.book Page 58
Page 67 of 568
GETTING TO KNOW YOUR VEHICLE65
Faceplate Blower Knob
Touchscreen Blower Buttons Blower Control
Blower Control regulates the amount of air forced through the climate system. There are seven blower speeds available.
The speeds can be selected using either the blower control knob on the faceplate or the buttons on the touchscreen.
Faceplate: The blower speed increases as you turn the blower control knob clockwise from the lowest blower setting. The
blower speed decreases as you turn the blower control knob counterclockwise.
Touchscreen:
Use the small blower icon to reduce the blower setting and the large blower icon to increase the blower
setting. Blower can also be selected by pressing the blower bar area between the icons.
NOTE:
On Uconnect 4C NAV With 12–inch display radios, pressing the blower control button below one turns the Climate Control
system OFF.
Faceplate Mode Button
Touchscreen Mode Buttons Mode Control
Mode Control regulates the airflow distribution. The airflow distribution outlets are: instrument panel outlets, floor outlets,
defrost outlets, and demist outlets.
Faceplate: Push the Mode Button to change the airflow distribution mode.
Touchscreen:
Press one of the “MODE” buttons to change the airflow distribution mode.
The Mode settings are as follows:
Icon Description
2
20_DJD2_OM_EN_USC_t.book Page 65
Page 367 of 568
IN CASE OF EMERGENCY365
JACKING AND TIRE CHANGING NOTE:
If your vehicle is equipped with an air suspen -
sion system, there is a feature which allows the
automatic leveling to be disabled to assist with
changing a tire.
This feature can be activated through the Ucon -
nect system.
Refer to “Uconnect Settings” in “Multimedia”
for further information.
JACK LOCATION
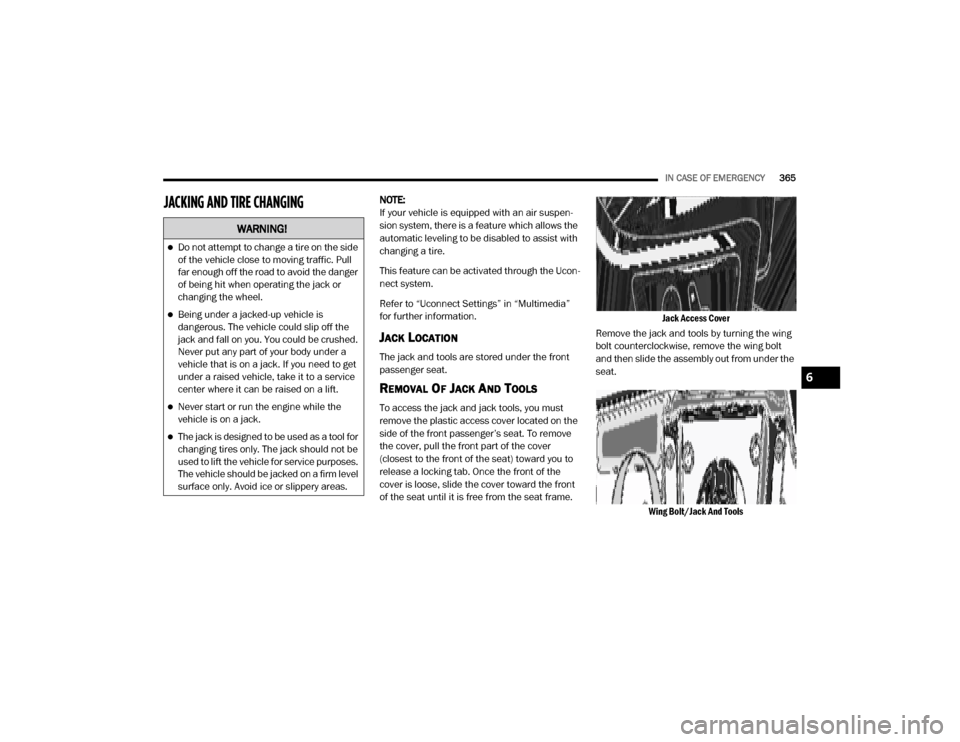
The jack and tools are stored under the front
passenger seat.
REMOVAL OF JACK AND TOOLS
To access the jack and jack tools, you must
remove the plastic access cover located on the
side of the front passenger’s seat. To remove
the cover, pull the front part of the cover
(closest to the front of the seat) toward you to
release a locking tab. Once the front of the
cover is loose, slide the cover toward the front
of the seat until it is free from the seat frame.
Jack Access Cover
Remove the jack and tools by turning the wing
bolt counterclockwise, remove the wing bolt
and then slide the assembly out from under the
seat.
Wing Bolt/Jack And Tools
WARNING!
Do not attempt to change a tire on the side
of the vehicle close to moving traffic. Pull
far enough off the road to avoid the danger
of being hit when operating the jack or
changing the wheel.
Being under a jacked-up vehicle is
dangerous. The vehicle could slip off the
jack and fall on you. You could be crushed.
Never put any part of your body under a
vehicle that is on a jack. If you need to get
under a raised vehicle, take it to a service
center where it can be raised on a lift.
Never start or run the engine while the
vehicle is on a jack.
The jack is designed to be used as a tool for
changing tires only. The jack should not be
used to lift the vehicle for service purposes.
The vehicle should be jacked on a firm level
surface only. Avoid ice or slippery areas.
6
20_DJD2_OM_EN_USC_t.book Page 365
Page 470 of 568
468MULTIMEDIA
Privacy of any wireless and wired
communications cannot be assured. Third
parties may unlawfully intercept information
and private communications without your
consent. For further information, refer to “Data
Collection & Privacy” in your Uconnect Owner’s
Manual Supplement or “Onboard Diagnostic
System (OBD II) Cybersecurity” in “Getting To
Know Your Instrument Panel”.
UCONNECT SETTINGS
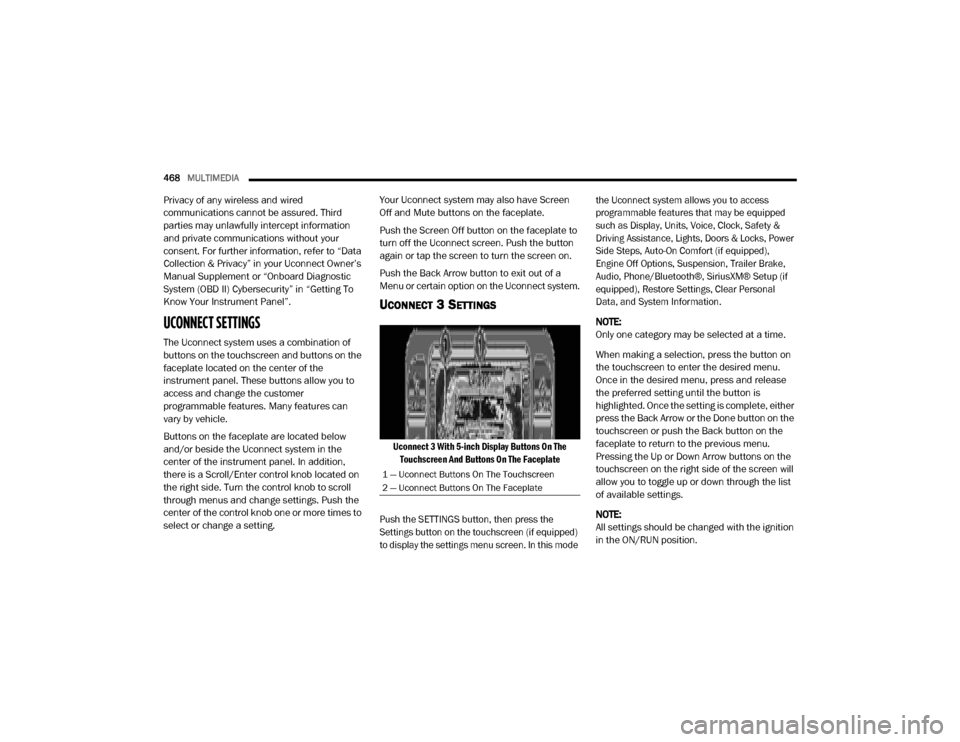
The Uconnect system uses a combination of
buttons on the touchscreen and buttons on the
faceplate located on the center of the
instrument panel. These buttons allow you to
access and change the customer
programmable features. Many features can
vary by vehicle.
Buttons on the faceplate are located below
and/or beside the Uconnect system in the
center of the instrument panel. In addition,
there is a Scroll/Enter control knob located on
the right side. Turn the control knob to scroll
through menus and change settings. Push the
center of the control knob one or more times to
select or change a setting. Your Uconnect system may also have Screen
Off and Mute buttons on the faceplate.
Push the Screen Off button on the faceplate to
turn off the Uconnect screen. Push the button
again or tap the screen to turn the screen on.
Push the Back Arrow button to exit out of a
Menu or certain option on the Uconnect system.
UCONNECT 3 SETTINGS
Uconnect 3 With 5-inch Display Buttons On The
Touchscreen And Buttons On The Faceplate
Push the SETTINGS button, then press the
Settings button on the touchscreen (if equipped)
to display the settings menu screen. In this mode the Uconnect system allows you to access
programmable features that may be equipped
such as Display, Units, Voice, Clock, Safety &
Driving Assistance, Lights, Doors & Locks, Power
Side Steps, Auto-On Comfort (if equipped),
Engine Off Options, Suspension, Trailer Brake,
Audio, Phone/Bluetooth®, SiriusXM® Setup (if
equipped), Restore Settings, Clear Personal
Data, and System Information.
NOTE:
Only one category may be selected at a time.
When making a selection, press the button on
the touchscreen to enter the desired menu.
Once in the desired menu, press and release
the preferred setting until the button is
highlighted. Once the setting is complete, either
press the Back Arrow or the Done button on the
touchscreen or push the Back button on the
faceplate to return to the previous menu.
Pressing the Up or Down Arrow buttons on the
touchscreen on the right side of the screen will
allow you to toggle up or down through the list
of available settings.
NOTE:
All settings should be changed with the ignition
in the ON/RUN position.
1 — Uconnect Buttons On The Touchscreen
2 — Uconnect Buttons On The Faceplate
20_DJD2_OM_EN_USC_t.book Page 468
Page 473 of 568
MULTIMEDIA471
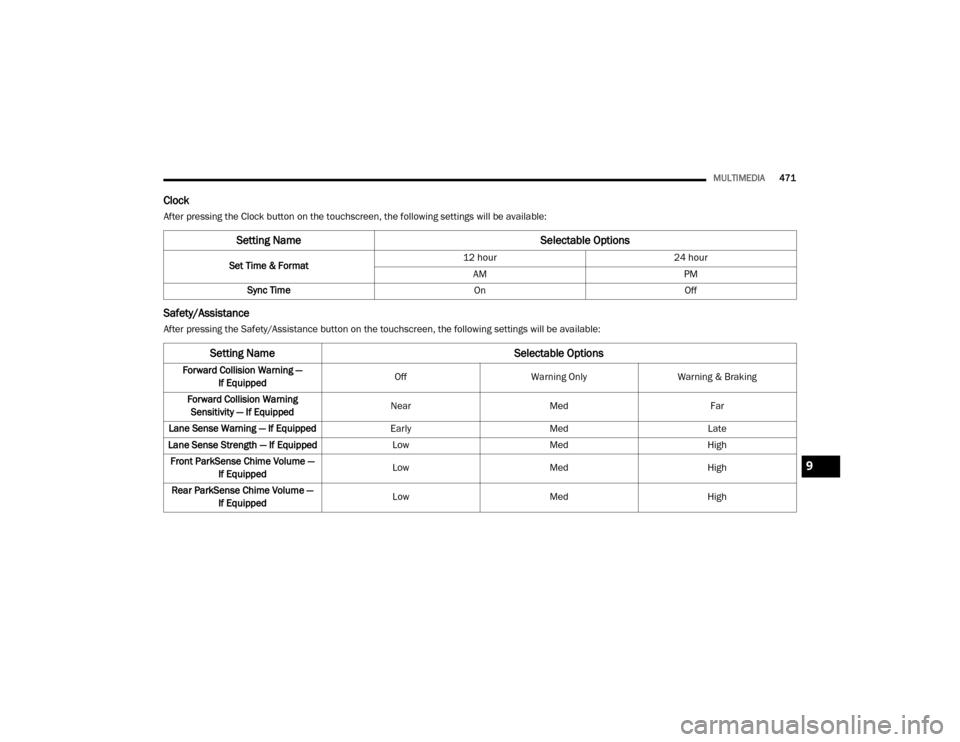
Clock
After pressing the Clock button on the touchscreen, the following settings will be available:
Safety/Assistance
After pressing the Safety/Assistance button on the touchscreen, the following settings will be available:
Setting Name Selectable Options
Set Time & Format12 hour
24 hour
AM PM
Sync Time OnOff
Setting Name Selectable Options
Forward Collision Warning —
If Equipped Off
Warning Only Warning & Braking
Forward Collision Warning Sensitivity — If Equipped Near
Med Far
Lane Sense Warning — If Equipped EarlyMedLate
Lane Sense Strength — If Equipped LowMed High
Front ParkSense Chime Volume — If Equipped Low
Med High
Rear ParkSense Chime Volume — If Equipped Low
Med High
9
20_DJD2_OM_EN_USC_t.book Page 471
Page 485 of 568
MULTIMEDIA483
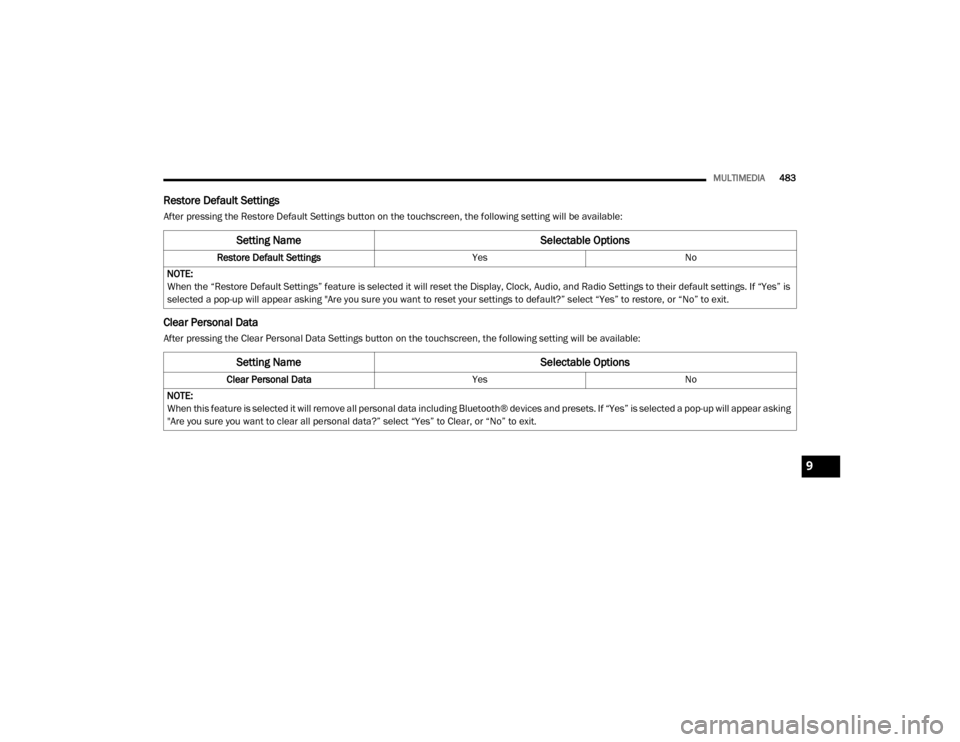
Restore Default Settings
After pressing the Restore Default Settings button on the touchscreen, the following setting will be available:
Clear Personal Data
After pressing the Clear Personal Data Settings button on the touchscreen, the following setting will be available:
Setting Name Selectable Options
Restore Default SettingsYesNo
NOTE:
When the “Restore Default Settings” feature is selected it will reset the Display, Clock, Audio, and Radio Settings to their default settings. If “Yes” is
selected a pop-up will appear asking "Are you sure you want to reset your settings to default?” select “Yes” to restore, or “No” to exit.
Setting Name Selectable Options
Clear Personal DataYesNo
NOTE:
When this feature is selected it will remove all personal data including Bluetooth® devices and presets. If “Yes” is selected a pop-up will appear asking
"Are you sure you want to clear all personal data?” select “Yes” to Clear, or “No” to exit.
9
20_DJD2_OM_EN_USC_t.book Page 483