Ram 3500 Chassis Cab 2018 Owner's Manual
Manufacturer: RAM, Model Year: 2018, Model line: 3500 Chassis Cab, Model: Ram 3500 Chassis Cab 2018Pages: 527, PDF Size: 5.83 MB
Page 441 of 527
UCONNECT RADIOS
For detailed information about your Uconnect radio, refer
to your Uconnect Owner ’s Manual Supplement.
NOTE:Uconnect screen images are for illustration pur-
poses only and may not reflect exact software for your
vehicle.
PERSONALIZED MENU BAR
The Uconnect features and services in the main menu bar
are easily changed for your convenience. Simply follow
these steps:
1. Press the “Apps
” button to open the App screen.
2. Press and hold, then drag the selected App to replace anexisting shortcut in the main menu bar.
The new shortcut will now be an active App/shortcut on
the main menu bar.
Uconnect 4/4C/4C NAV Main Menu10
MULTIMEDIA 439
Page 442 of 527
CYBERSECURITY
Your vehicle may be a connected vehicle and may be
equipped with both wired and wireless networks. These
networks allow your vehicle to send and receive informa-
tion. This information allows systems and features in your
vehicle to function properly.
Your vehicle may be equipped with certain security fea-
tures to reduce the risk of unauthorized and unlawful
access to vehicle systems and wireless communications.
Vehicle software technology continues to evolve over time
and FCA US LLC, working with its suppliers, evaluates
and takes appropriate steps as needed. Similar to a com-
puter or other devices, your vehicle may require software
updates to improve the usability and performance of your
systems or to reduce the potential risk of unauthorized and
unlawful access to your vehicle systems.
The risk of unauthorized and unlawful access to your
vehicle systems may still exist, even if the most recent
version of vehicle software (such as Uconnect software) is
installed.
WARNING!
•It is not possible to know or to predict all of the
possible outcomes if your vehicle’s systems are
breached. It may be possible that vehicle systems,
including safety related systems, could be impaired
or a loss of vehicle control could occur that may
result in an accident involving serious injury or
death.
• ONLY insert media (e.g., USB, SD card, or CD) into
your vehicle if it came from a trusted source. Media
of unknown origin could possibly contain malicious
software, and if installed in your vehicle, it may
increase the possibility for vehicle systems to be
breached.
• As always, if you experience unusual vehicle behav-
ior, take your vehicle to your nearest authorized
dealer immediately.
440 MULTIMEDIA
Page 443 of 527
NOTE:
•FCA US LLC or your dealer may contact you directly
regarding software updates.
• To help further improve vehicle security and minimize
the potential risk of a security breach, vehicle owners
should:
• Routinely check www.driveuconnect.com/software-
update to learn about available Uconnect software
updates.
• Only connect and use trusted media devices (e.g.
personal mobile phones, USBs, CDs).
Privacy of any wireless and wired communications cannot
be assured. Third parties may unlawfully intercept infor-
mation and private communications without your consent.
For further information, refer to “Data Collection & Pri-
vacy” in “Uconnect + SiriusXM Guardian” in your
Uconnect Owner’s Manual Supplement and “Onboard
Diagnostic System (OBD II) Cybersecurity” in “Getting To
Know Your Instrument Panel”.UCONNECT SETTINGS
The Uconnect system uses a combination of buttons on the
touchscreen and buttons on the faceplate located on the
center of the instrument panel that allows you to access
and change the customer programmable features. Many
features can vary by vehicle.
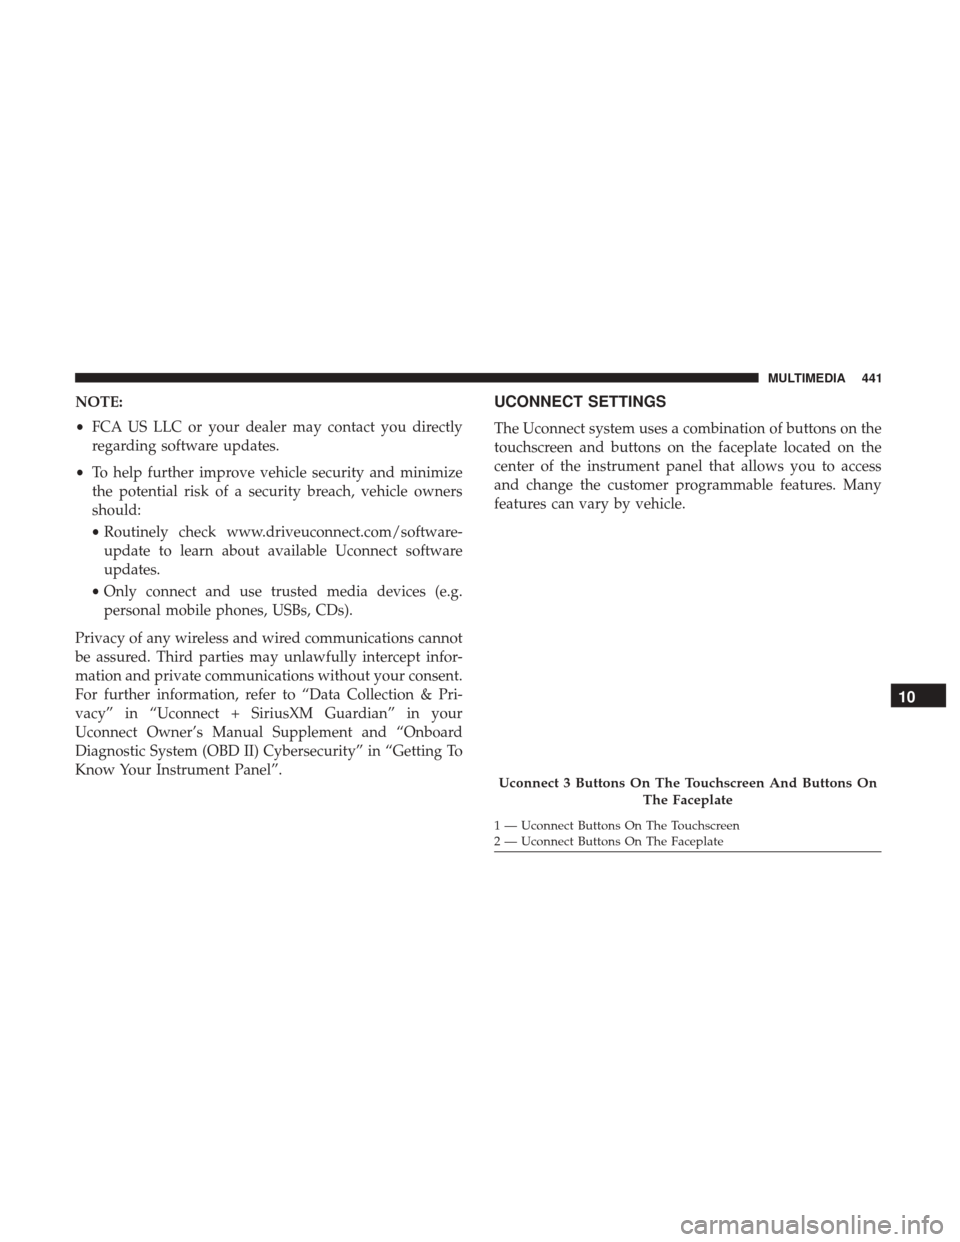
Uconnect 3 Buttons On The Touchscreen And Buttons On The Faceplate
1 — Uconnect Buttons On The Touchscreen
2 — Uconnect Buttons On The Faceplate
10
MULTIMEDIA 441
Page 444 of 527
Customer Programmable Features — Uconnect 3
Personal Settings
Push the MORE or SETTINGS button on the faceplate, then
press the “Settings” button on the touchscreen (if
equipped) to display the settings menu screen. In this
mode the Uconnect system allows you to access program-
mable features that may be equipped such as Display,Units, Voice, Clock, Safety & Driving Assistance, Lights,
Doors & Locks, Auto-On Comfort (if equipped), Engine Off
Options, Trailer Brake, Audio, Compass Settings, Phone/
Bluetooth, SiriusXM Setup (if equipped), Restore Settings,
Clear Personal Data and System Information.
NOTE:
Only one category may be selected at a time.
When making a selection, press the button on the touch-
screen to enter the desired mode. Once in the desired
mode, press and release the preferred setting until the
button is highlighted. Once the setting is complete, either
press the back arrow or the “Done” button on the touch-
screen or the Back button on the faceplate to return to the
previous menu. Pressing the Up or Down Arrow buttons
on the touchscreen on the right side of the screen will allow
you to toggle up or down through the list of available
settings.
NOTE: All settings should be changed with the ignition in
the RUN position.Display
After pressing the “Display” button on the touchscreen, the
following settings will be available.
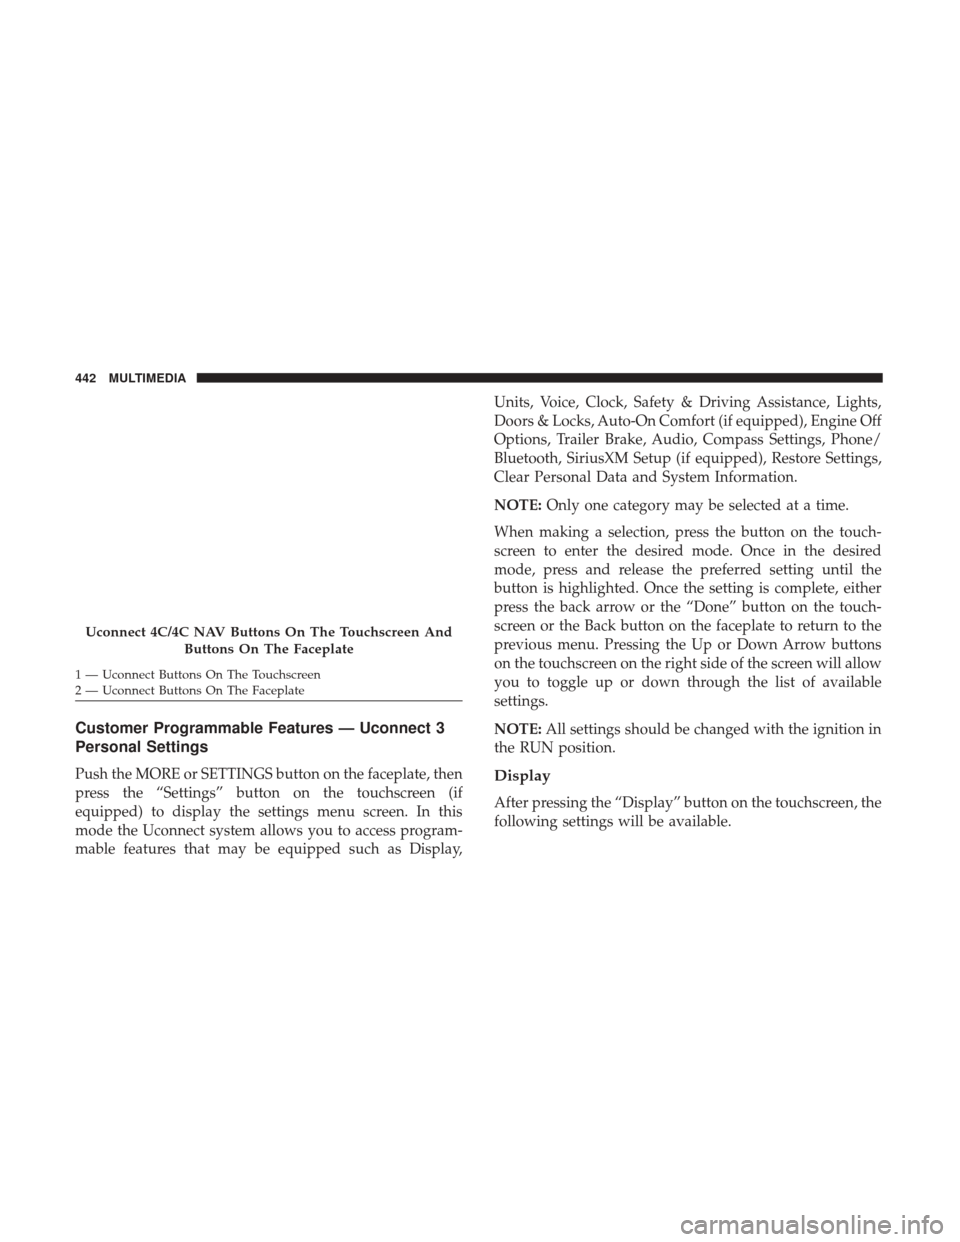
Uconnect 4C/4C NAV Buttons On The Touchscreen And
Buttons On The Faceplate
1 — Uconnect Buttons On The Touchscreen
2 — Uconnect Buttons On The Faceplate 442 MULTIMEDIA
Page 445 of 527
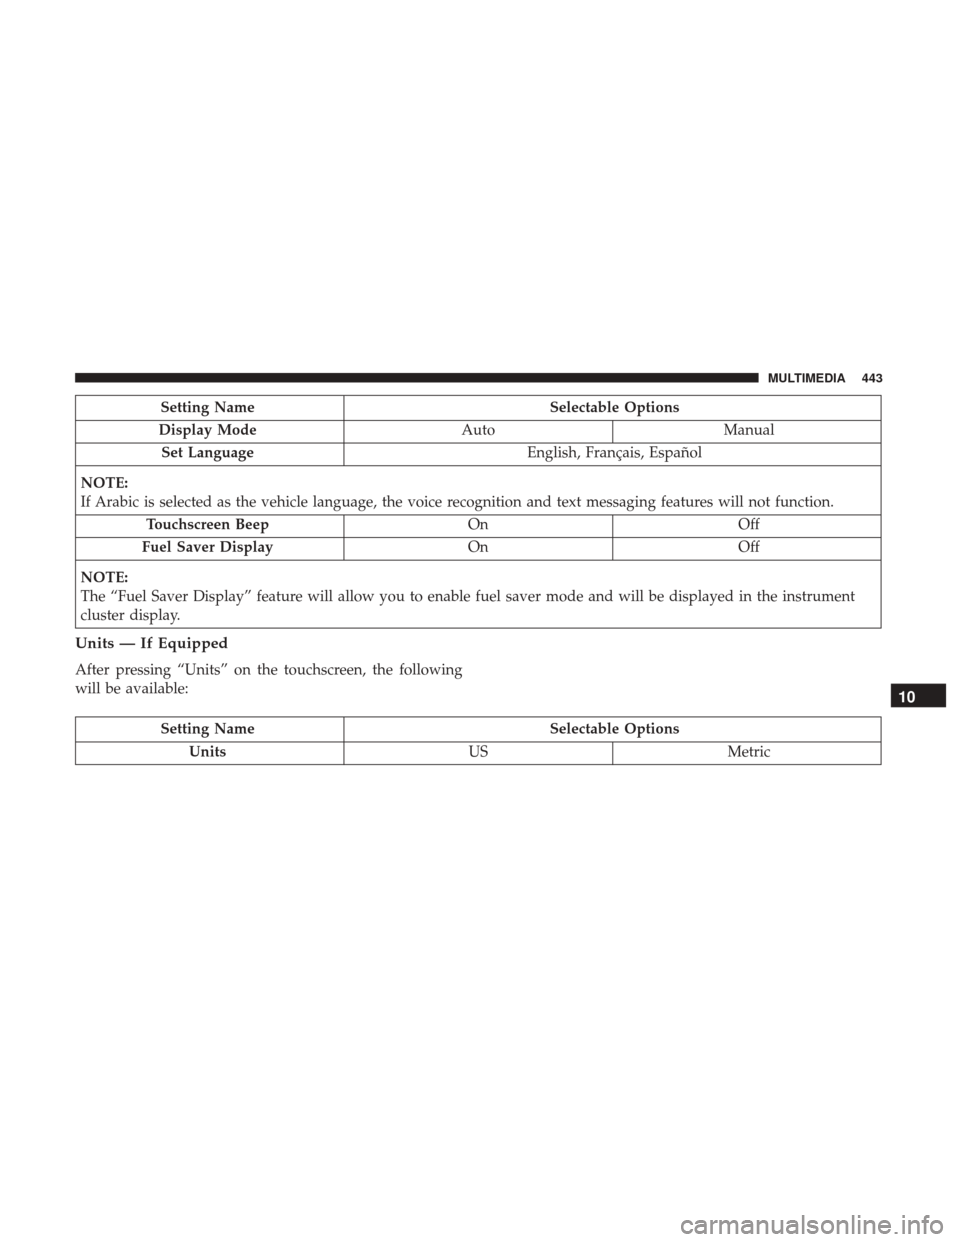
Setting NameSelectable Options
Display Mode AutoManual
Set Language English, Français, Español
NOTE:
If Arabic is selected as the vehicle language, the voice recognition and text messaging features will not function. Touchscreen Beep OnOff
Fuel Saver Display OnOff
NOTE:
The “Fuel Saver Display” feature will allow you to enable fuel saver mode and will be displayed in the instrument
cluster display.
Units — If Equipped
After pressing “Units” on the touchscreen, the following
will be available:
Setting Name Selectable Options
Units USMetric
10
MULTIMEDIA 443
Page 446 of 527

Voice
After pressing the “Voice” button on the touchscreen, the
following settings will be available:
Setting NameSelectable Options
Voice Response Length Brief Detailed
Show Command List AlwaysWith Help Never
Clock & Date
After pressing the “Clock & Date” button on the touch-
screen, the following settings will be available:
Setting Name Selectable Options
Set Time 12 hour24 hour
NOTE:
Within the “Set Time” feature, press the corresponding arrow above and below the current time to adjust, then select
“AM” or “PM.” Set Date Up ArrowDown Arrow
444 MULTIMEDIA
Page 447 of 527
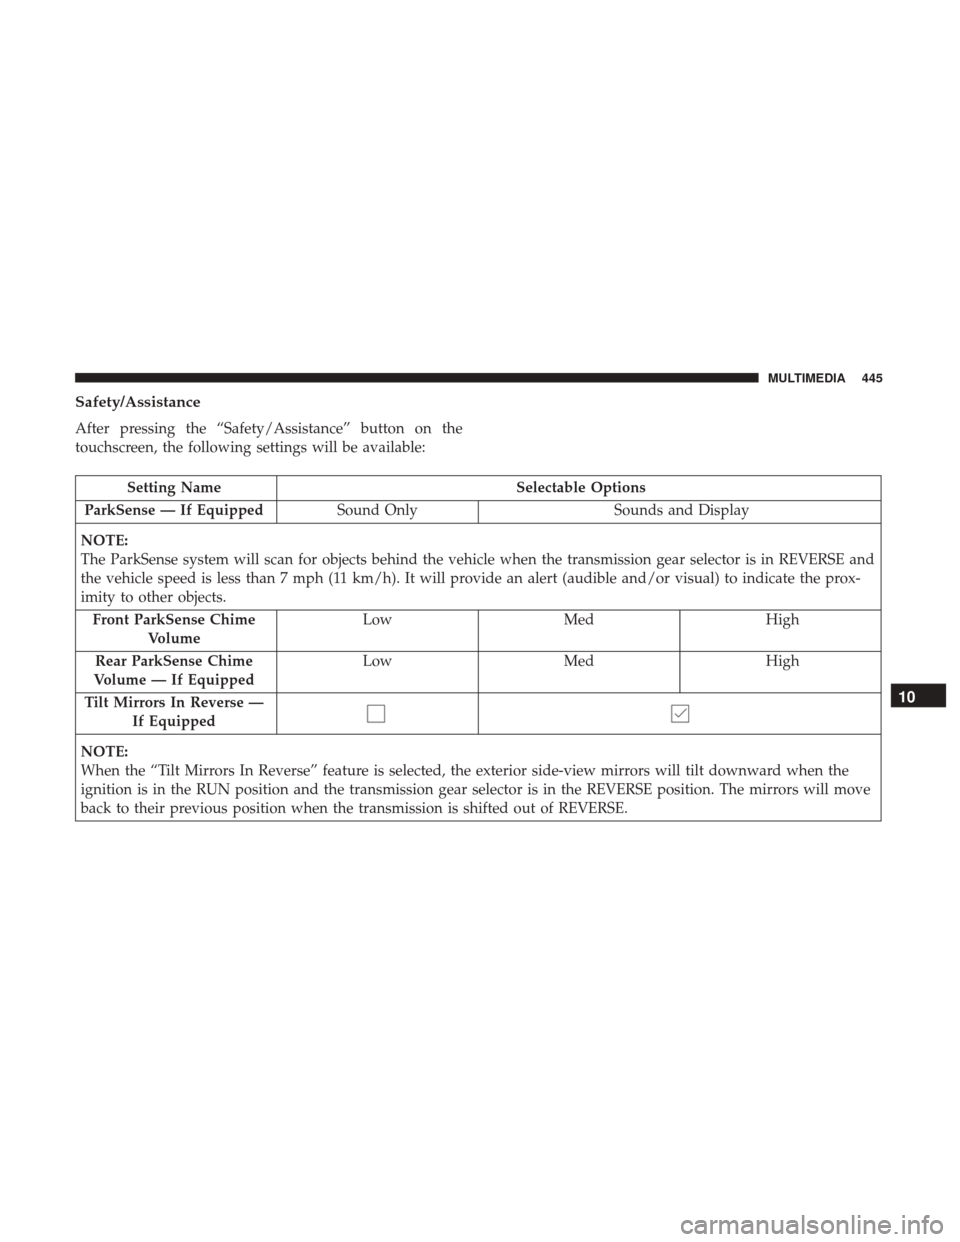
Safety/Assistance
After pressing the “Safety/Assistance” button on the
touchscreen, the following settings will be available:
Setting NameSelectable Options
ParkSense — If Equipped Sound Only Sounds and Display
NOTE:
The ParkSense system will scan for objects behind the vehicle when the transmission gear selector is in REVERSE and
the vehicle speed is less than 7 mph (11 km/h). It will provide an alert (audible and/or visual) to indicate the prox-
imity to other objects. Front ParkSense Chime Volume Low
Med High
Rear ParkSense Chime
Volume — If Equipped Low
Med High
Tilt Mirrors In Reverse — If Equipped
NOTE:
When the “Tilt Mirrors In Reverse” feature is selected, the exterior side-view mirrors will tilt downward when the
ignition is in the RUN position and the transmission gear selector is in the REVERSE position. The mirrors will move
back to their previous position when the transmission is shifted out of REVERSE.
10
MULTIMEDIA 445
Page 448 of 527

Setting NameSelectable Options
ParkView Backup Camera Active Guidelines
NOTE:
Your vehicle may be equipped with the ParkView Rear Back Up Camera Active Guidelines that allows you to see ac-
tive guidelines over the ParkView Back up camera display whenever the gear selector is put into REVERSE. The im-
age will be displayed on the radio touchscreen display along with a caution note to “check entire surroundings”
across the top of the screen. After five seconds, this note will disappear.
ParkView Backup Camera Delay
NOTE:
When the vehicle is shifted out of REVERSE (with camera delay turned OFF), the rear camera mode is exited and the
navigation or audio screen appears again. When the vehicle is shifted out of REVERSE (with camera delay turned
ON), the rear view image with dynamic grid lines will be displayed for up to ten seconds after shifting out of RE-
VERSE unless the forward vehicle speed exceeds 8 mph (12 km/h), the transmission is shifted into PARK or the igni-
tion is switched to the OFF position.
Rain Sensing Auto Wipers — If Equipped
NOTE:
When the “Rain Sensing Auto Wipers” feature is selected, the system will automatically activate the windshield wip-
ers if it senses moisture on the windshield.
446 MULTIMEDIA
Page 449 of 527
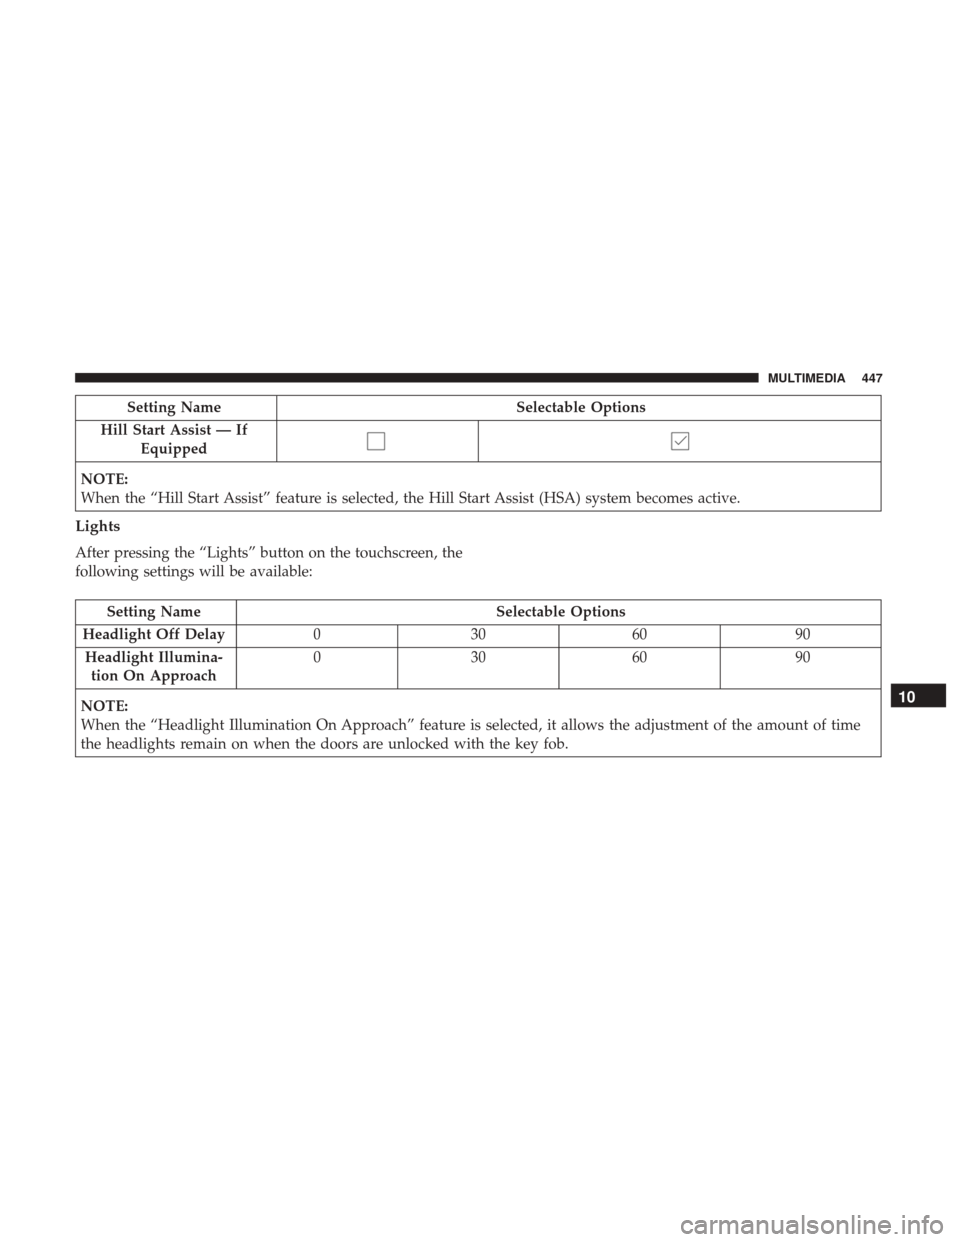
Setting NameSelectable Options
Hill Start Assist — If Equipped
NOTE:
When the “Hill Start Assist” feature is selected, the Hill Start Assist (HSA) system becomes active.
Lights
After pressing the “Lights” button on the touchscreen, the
following settings will be available:
Setting Name Selectable Options
Headlight Off Delay 030609 0
Headlight Illumina- tion On Approach 03
0609 0
NOTE:
When the “Headlight Illumination On Approach” feature is selected, it allows the adjustment of the amount of time
the headlights remain on when the doors are unlocked with the key fob.
10
MULTIMEDIA 447
Page 450 of 527
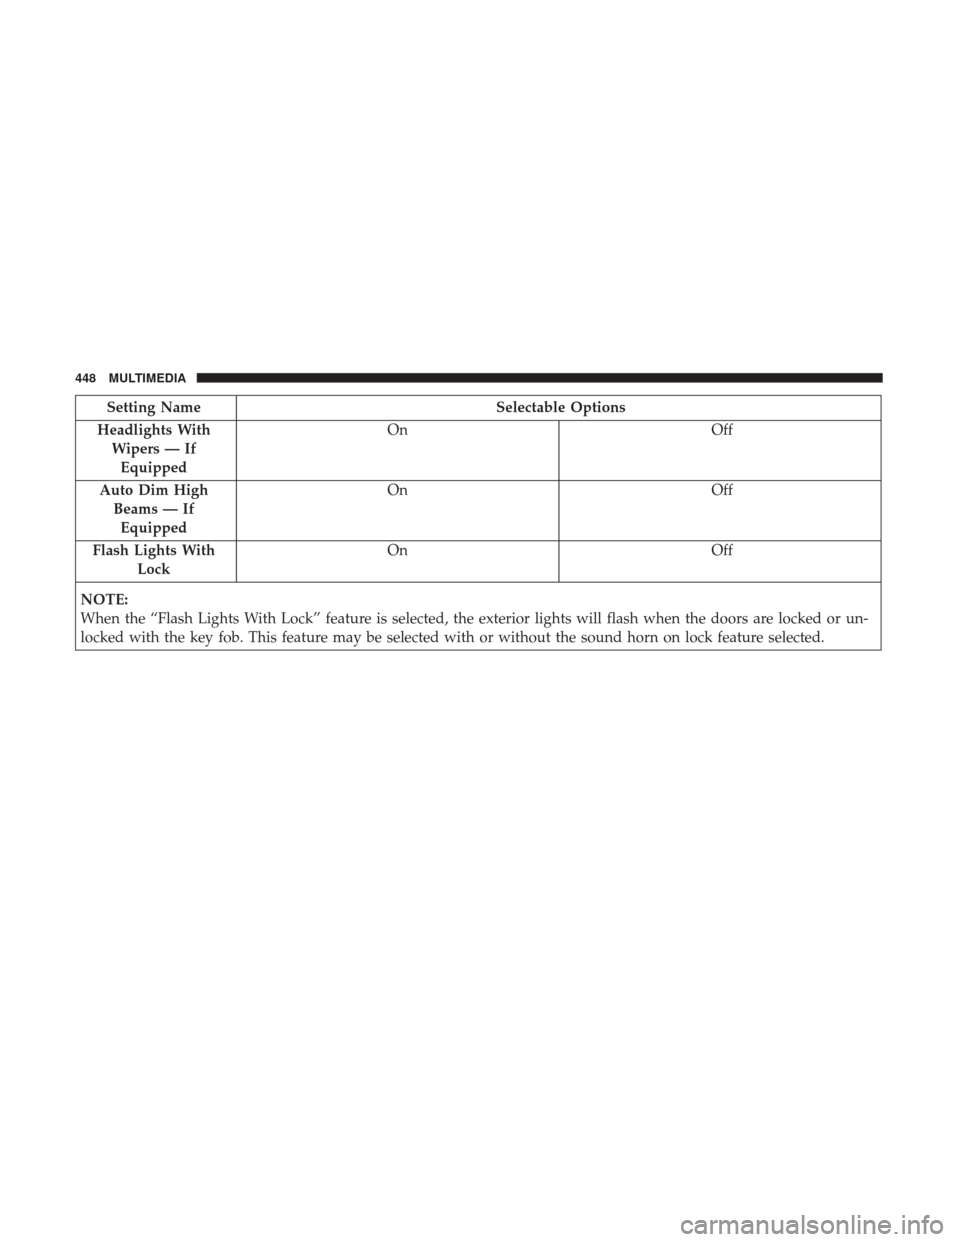
Setting NameSelectable Options
Headlights With Wipers — IfEquipped On
Off
Auto Dim High Beams — IfEquipped On
Off
Flash Lights With Lock On
Off
NOTE:
When the “Flash Lights With Lock” feature is selected, the exterior lights will flash when the doors are locked or un-
locked with the key fob. This feature may be selected with or without the sound horn on lock feature selected.
448 MULTIMEDIA