window Ram 3500 Chassis Cab 2020 Owner's Manual
[x] Cancel search | Manufacturer: RAM, Model Year: 2020, Model line: 3500 Chassis Cab, Model: Ram 3500 Chassis Cab 2020Pages: 516, PDF Size: 29.24 MB
Page 5 of 516
3
EXTERIOR LIGHTS ...............................................44 Multifunction Lever ...................................... 44
Headlight Switch .......................................... 44
Daytime Running Lights (DRLs) ................. 45
High/Low Beam Switch ............................... 45
Automatic High Beam Headlamp
Control — If Equipped .................................. 45 Flash-To-Pass ............................................. 46
Automatic Headlights — If Equipped .......... 46
Parking Lights And Panel Lights ................. 46
Directional LED Headlamp System —
If Equipped ................................................... 46 Headlights On With Wipers (Available With
Automatic Headlights Only) ......................... 46 Headlight Delay ............................................ 47
Lights-On Reminder ..................................... 47
Front Fog Lights — If Equipped .................. 47
Turn Signals ............................................. 47
Lane Change Assist — If Equipped ............. 47
Cargo Lights/Trailer Spotter Lights —
If Equipped ................................................... 47 Battery Saver................................................ 48
INTERIOR LIGHTS ................................................48
Courtesy Lights ............................................ 48
Illuminated Entry ......................................... 49
WINDSHIELD WIPERS AND WASHERS ............50
Windshield Wipers ..................................... 50
Rain Sensing Wipers — If Equipped ........... 51 CLIMATE CONTROLS ........................................... 51
Manual Climate Control Overview ............ 52
Automatic Climate Control Overview .......... 55
Climate Control Functions........................... 62
Automatic Temperature Control (ATC) ...... 62
Operating Tips ............................................. 63
WINDOWS ............................................................ 64
Power Windows — If Equipped .................... 64
Wind Buffeting ............................................ 66
HOOD .................................................................... 66
To Open The Hood ...................................... 66
To Close The Hood ....................................... 67
GARAGE DOOR OPENER — IF EQUIPPED ........ 67
Before You Begin Programming
HomeLink® .................................................. 68 Canadian/Gate Operator Programming ..... 70
Using HomeLink®........................................ 71
Security......................................................... 71
Troubleshooting Tips ................................... 71
General Information .................................... 72
INTERNAL EQUIPMENT ........................................ 72
Storage ......................................................... 72
Cupholders .................................................. 77
Electrical Power Outlets ............................ 78
Power Inverter — If Equipped ..................... 80
Wireless Charging Pad — If Equipped ........ 81
Overhead Sunglass Storage ....................... 81
GETTING TO KNOW YOUR INSTRUMENT PANEL
BASE / MIDLINE INSTRUMENT CLUSTER..........82Base / Midline Instrument Cluster
Descriptions ................................................. 83
PREMIUM INSTRUMENT CLUSTER .....................85
Premium Instrument Cluster
Descriptions ................................................. 86
DIESEL INSTRUMENT CLUSTER .........................87
DIESEL INSTRUMENT CLUSTER ................ 88
INSTRUMENT CLUSTER .......................................90
Diesel INSTRUMENT CLUSTER .................. 91
INSTRUMENT CLUSTER DISPLAY .......................92
Instrument Cluster Display Controls .......... 92
Oil Life Reset ............................................... 93
Display Menu Items ..................................... 94
Diesel Messages And Warnings —
6.7L Cummins Diesel Engine ................... 103 Battery Saver On/Battery Saver Mode
Message — Electrical Load Reduction Actions
— If Equipped .......................................... 107
WARNING LIGHTS AND MESSAGES ............... 108
Red Warning Lights ................................... 108
Yellow Warning Lights ............................... 111Yellow Indicator Lights .............................. 115
Green Indicator Lights ............................... 116White Indicator Lights ............................... 117Blue Indicator Lights ................................. 118
2020_RAM_CHASSIS_CAB_OM_USA=GUID-6C67832B-7839-4CCF-BEFC-CDF988F949EA=1=en=.book Page 3
Page 19 of 516
GETTING TO KNOW YOUR VEHICLE17
(Continued)
IGNITION SWITCH
Keyless Push Button Ignition
This feature allows the driver to operate the igni -
tion switch with the push of a button as long as
the Remote Keyless Entry key fob is in the
passenger compartment.
The Keyless Push Button Ignition has four oper -
ating positions; three of which are labeled and
will illuminate when in position. The three posi -
tions are OFF, ACC, and ON/RUN. The fourth
position is START. During START, RUN will illumi -
nate.
NOTE:
In case the ignition switch does not change with
the push of a button, the key fob may have a low
or depleted battery. In this situation, a back up
method can be used to operate the ignition
switch. Put the nose side (side opposite of the
emergency key) of the key fob against the
START/STOP ignition button, with your foot
applied on the brake pedal, and push to operate
the ignition switch.
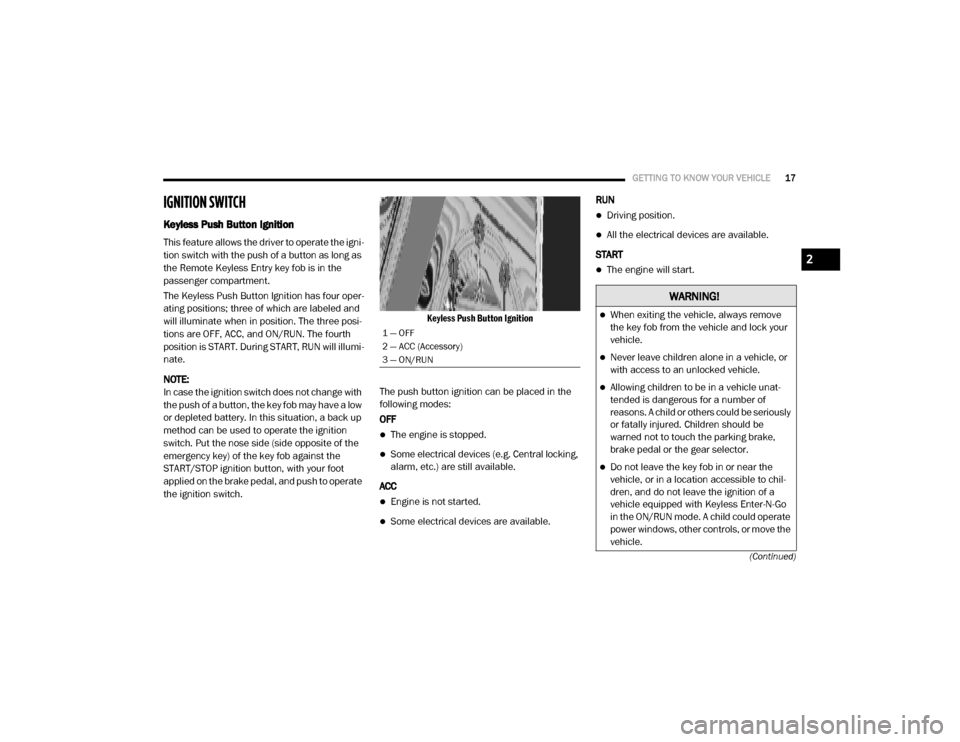
Keyless Push Button Ignition
The push button ignition can be placed in the
following modes:
OFF
The engine is stopped.
Some electrical devices (e.g. Central locking,
alarm, etc.) are still available.
ACC
Engine is not started.
Some electrical devices are available. RUN
Driving position.
All the electrical devices are available.
START
The engine will start.
1 — OFF
2 — ACC (Accessory)
3 — ON/RUN
WARNING!
When exiting the vehicle, always remove
the key fob from the vehicle and lock your
vehicle.
Never leave children alone in a vehicle, or
with access to an unlocked vehicle.
Allowing children to be in a vehicle unat -
tended is dangerous for a number of
reasons. A child or others could be seriously
or fatally injured. Children should be
warned not to touch the parking brake,
brake pedal or the gear selector.
Do not leave the key fob in or near the
vehicle, or in a location accessible to chil -
dren, and do not leave the ignition of a
vehicle equipped with Keyless Enter-N-Go
in the ON/RUN mode. A child could operate
power windows, other controls, or move the
vehicle.
2
2020_RAM_CHASSIS_CAB_OM_USA=GUID-6C67832B-7839-4CCF-BEFC-CDF988F949EA=1=en=.book Page 17
Page 21 of 516
GETTING TO KNOW YOUR VEHICLE19
System not disabled from previous remote
start event
Vehicle security alarm not active
Malfunction Indicator Light is not illuminated
Remote Start Abort Message
The following messages will display in the
instrument cluster display if the vehicle fails to
remote start or exits remote start prematurely:
Remote Start Cancelled — Door Open
Remote Start Cancelled — Hood Open
Remote Start Cancelled — Fuel Low
Remote Start Cancelled — System Fault
Remote Start Disabled — Start Vehicle to
Reset
The instrument cluster display message stays
active until the ignition is placed in the ON/RUN
position.
To Enter Remote Start Mode
Push and release the Remote Start
button on the key fob twice within five
seconds. The parking lights will flash,
vehicle doors will lock, and the horn
will chirp twice (if programmed). Once the
vehicle has started, the engine will run for
15 minutes.
NOTE:
If your power door locks were unlocked,
Remote Start will automatically lock the
doors.
If an engine fault is present or fuel level is
low, the vehicle will start and then shut down
in 10 seconds.
The park lamps will turn on and remain on
during Remote Start mode.
For security, power window and power
sunroof operation (if equipped) are disabled
when the vehicle is in the Remote Start
mode.
The engine can be started two consecutive
times (two 15 minute cycles) with the key
fob. However, the ignition must be placed in
the ON/RUN position before you can repeat
the start sequence for a third cycle.
To Exit Remote Start Mode Without Driving
The Vehicle
Push and release the remote start button one
time or allow the engine to run for the entire
15 minute cycle.
NOTE:
To avoid unintentional shutdowns, the system
will disable for two seconds after receiving a
valid Remote Start request.
WARNING!
Do not start or run an engine in a closed
garage or confined area. Exhaust gas
contains Carbon Monoxide (CO) which is
odorless and colorless. Carbon Monoxide is
poisonous and can cause serious injury or
death when inhaled.
Keep key fobs away from children. Opera -
tion of the Remote Start System, windows,
door locks or other controls could cause
serious injury or death.
2
2020_RAM_CHASSIS_CAB_OM_USA=GUID-6C67832B-7839-4CCF-BEFC-CDF988F949EA=1=en=.book Page 19
Page 23 of 516
GETTING TO KNOW YOUR VEHICLE21
The Remote Start system will wait for the
“Wait To Start” Indicator Light to extinguish
before cranking the engine. This allows time
for the intake heater to preheat the incoming
air, and is normal operation in cold weather.
Refer to “Wait To Start Light,” located in
“Warning Lights And Messages” within
“Getting To Know Your Instrument Panel” for
more information.
How To Use Remote Start
All of the following conditions must be met
before the engine will remote start:
Transmission in PARK
Doors closed
Hood closed
Hazard switch off
Brake switch inactive (brake pedal not
pushed)
Battery at an acceptable charge level
PANIC button not pushed
Fuel meets minimum requirement
Water In Fuel Indicator Light is not illumi -
nated
Wait To Start Light Indicator Light is not illu -
minated
Malfunction Indicator Light is not illuminated
Remote Start Abort Message
The following messages will display in the
instrument cluster display if the vehicle fails to
remote start or exits remote start prematurely:
Remote Start Aborted — Door Open
Remote Start Aborted — Hood Open
Remote Start Aborted — Fuel Low
Remote Start Aborted — System Fault The instrument cluster display message is
stored until the ignition is placed in the ON/RUN
position.
To Enter Remote Start Mode
Push and release the Remote Start button on
the key fob twice, within five seconds. The
parking lights will flash and the horn will chirp
twice (if programmed). In cold ambient
temperature conditions, the diesel vehicle may
delay crank up to 30 seconds for the Intake Air
Heater. Once the vehicle has started, the
engine will run for 15 minutes.
NOTE:
Crank may be delayed up to 75 seconds for
intake air heater operation at high altitudes,
and/or extreme cold.
The park lamps will turn on and remain on
during Remote Start mode.
For security, power window and power
sunroof operation (if equipped) are disabled
when the vehicle is in the Remote Start
mode.
WARNING!
Do not start or run an engine in a closed
garage or confined area. Exhaust gas
contains Carbon Monoxide (CO) which is
odorless and colorless. Carbon Monoxide is
poisonous and can cause serious injury or
death when inhaled.
Keep key fobs away from children. Opera
-
tion of the Remote Start System, windows,
door locks or other controls could cause
serious injury or death.
2
2020_RAM_CHASSIS_CAB_OM_USA=GUID-6C67832B-7839-4CCF-BEFC-CDF988F949EA=1=en=.book Page 21
Page 28 of 516
26GETTING TO KNOW YOUR VEHICLE
Power Door Locks — If Equipped
The power door lock switches are on each front
door trim panel. Use these switches to lock or
unlock the doors.
NOTE:
The key fob may not be able to be detected by
the vehicle Keyless Enter-N-Go system if it is
located next to a mobile phone, laptop or other
electronic device; these devices may block the
key fob’s wireless signal and prevent the
Keyless Enter-N-Go system from starting the
vehicle.
Power Door Lock Switches
While in the ACC or ON/RUN positions, if you
push the power door lock switch, and any front
door is open, the power locks will not operate.
This prevents you from accidentally locking your
key fob in the vehicle. Removing the key fob or
closing the door will allow the locks to operate.
A chime will sound if the key fob is in the vehicle
and a door is open, as a reminder to remove the
key fob.
Keyless Enter-N-Go — Passive Entry
The Passive Entry system is an enhancement to
the vehicle’s Remote Keyless Entry system and
a feature of Keyless Enter-N-Go. This feature
allows you to lock and unlock the vehicle’s
door(s) without having to push the key fob lock
or unlock buttons. NOTE:
Passive Entry may be programmed on/off.
Refer to “Uconnect Settings” in “Multimedia”
for further information.
If wearing gloves on your hands, or if it has
been raining/snowing on the Passive Entry
door handle, the unlock sensitivity can be
affected, resulting in a slower response time.
If the vehicle is unlocked by Passive Entry
and no door is opened within 60 seconds, the
vehicle will re-lock and if equipped will arm
the security alarm.
The vehicles security alarm can be armed/
disarmed by pushing the Passive Entry key
fob lock/unlock buttons (if equipped).
The key fob may not be able to be detected by
the vehicle Passive Entry system if it is
located next to a mobile phone, laptop or
other electronic device; these devices may
block the key fob's wireless signal and
prevent the Passive Entry door handle from
locking/unlocking the vehicle.
Do not leave the key fob in or near the
vehicle, or in a location accessible to chil-
dren, and do not leave the ignition of a
vehicle equipped with Keyless Enter-N-Go
in the ACC or ON/RUN mode. A child could
operate power windows, other controls, or
move the vehicle.
WARNING!
(Continued)
2020_RAM_CHASSIS_CAB_OM_USA=GUID-6C67832B-7839-4CCF-BEFC-CDF988F949EA=1=en=.book Page 26
Page 31 of 516
GETTING TO KNOW YOUR VEHICLE29
Automatic Door Locks — If Equipped
The auto door lock feature default condition is
enabled. When enabled, the door locks will lock
automatically when the vehicle's speed exceeds
15 mph (24 km/h). The auto door lock feature
can be enabled or disabled by an authorized
dealer per written request of the customer.
Please see an authorized dealer for service.
Automatic Doors Unlock — If Equipped
This feature unlocks all of the doors of the
vehicle when either front door is opened. This
will occur only after the vehicle has been shifted
into the PARK position after the vehicle has
been driven (shifted out of PARK and all doors
closed).
Automatic Doors Unlock Programming — If
Equipped
The Automatic Doors Unlock feature can be
enabled or disabled as follows:
For vehicles not equipped with a touchscreen
radio, refer to “Instrument Cluster Display” in
“Getting To Know Your Instrument Panel” for
further information.
For vehicles equipped with a touchscreen
radio, refer to “Uconnect Settings” in “Multi -
media” for further information.
NOTE:
Use the Auto Unlock Doors feature in accor -
dance with local laws.
Child-Protection Door Lock
To provide a safer environment for children
riding in the rear seat, the rear doors (if
equipped) of your vehicle have the Child-Protec -
tion Door Lock system.
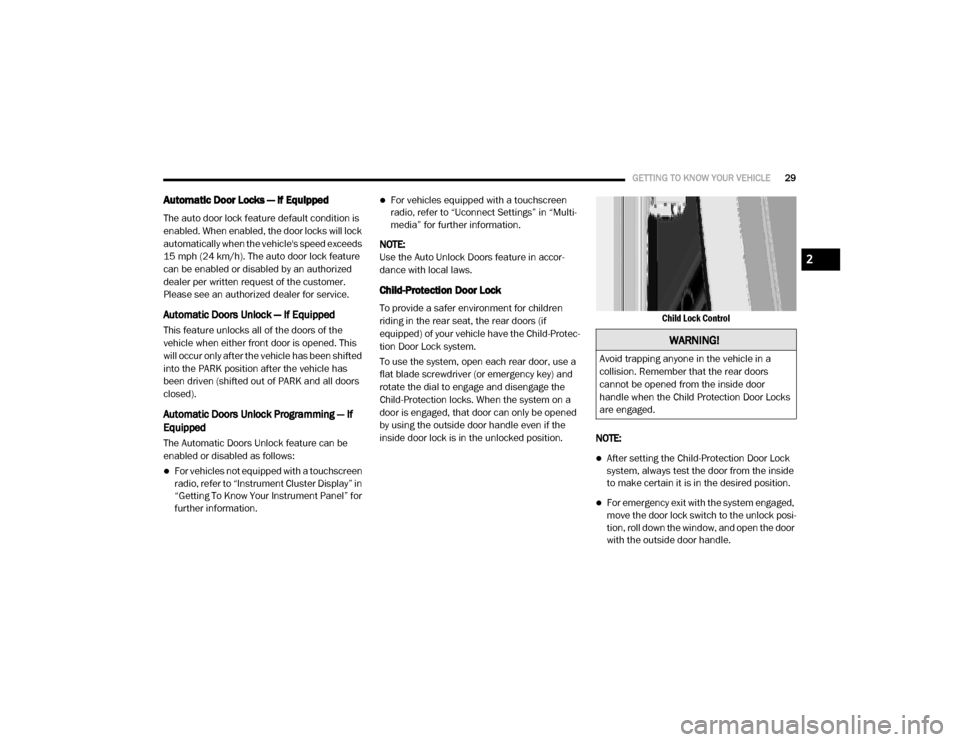
To use the system, open each rear door, use a
flat blade screwdriver (or emergency key) and
rotate the dial to engage and disengage the
Child-Protection locks. When the system on a
door is engaged, that door can only be opened
by using the outside door handle even if the
inside door lock is in the unlocked position.
Child Lock Control
NOTE:
After setting the Child-Protection Door Lock
system, always test the door from the inside
to make certain it is in the desired position.
For emergency exit with the system engaged,
move the door lock switch to the unlock posi -
tion, roll down the window, and open the door
with the outside door handle.
WARNING!
Avoid trapping anyone in the vehicle in a
collision. Remember that the rear doors
cannot be opened from the inside door
handle when the Child Protection Door Locks
are engaged.
2
2020_RAM_CHASSIS_CAB_OM_USA=GUID-6C67832B-7839-4CCF-BEFC-CDF988F949EA=1=en=.book Page 29
Page 42 of 516
40GETTING TO KNOW YOUR VEHICLE
MIRRORS
Inside Day/Night Mirror — If Equipped
The mirror head can be adjusted up, down, left,
and right for various drivers. The mirror should
be adjusted to center on the view through the
rear window.
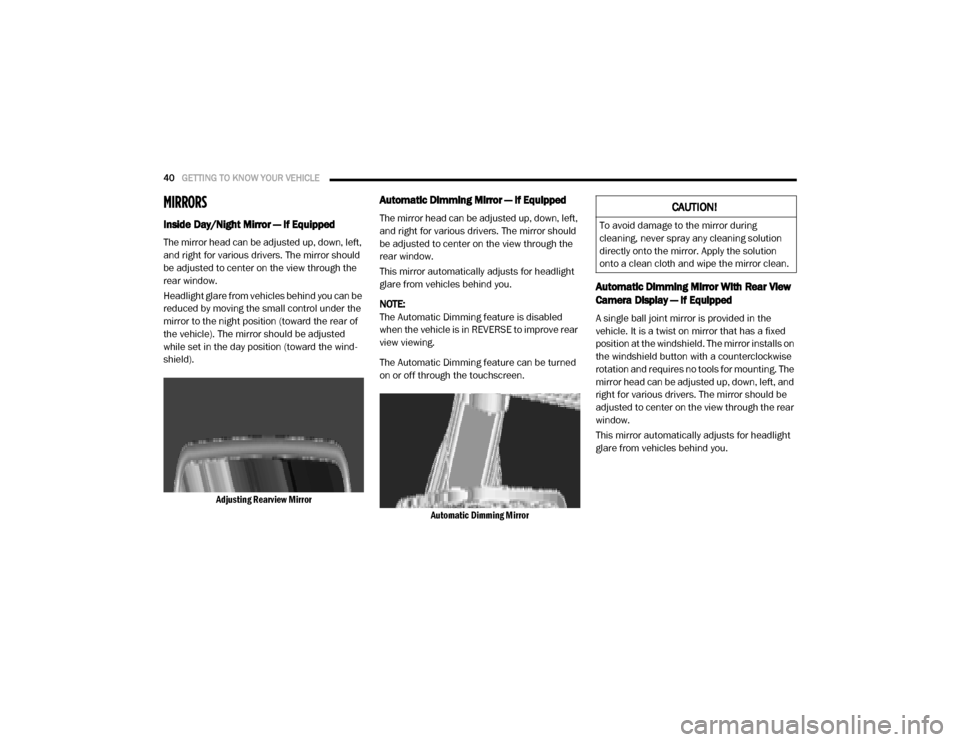
Headlight glare from vehicles behind you can be
reduced by moving the small control under the
mirror to the night position (toward the rear of
the vehicle). The mirror should be adjusted
while set in the day position (toward the wind -
shield).
Adjusting Rearview Mirror
Automatic Dimming Mirror — If Equipped
The mirror head can be adjusted up, down, left,
and right for various drivers. The mirror should
be adjusted to center on the view through the
rear window.
This mirror automatically adjusts for headlight
glare from vehicles behind you.
NOTE:
The Automatic Dimming feature is disabled
when the vehicle is in REVERSE to improve rear
view viewing.
The Automatic Dimming feature can be turned
on or off through the touchscreen.
Automatic Dimming Mirror
Automatic Dimming Mirror With Rear View
Camera Display — If Equipped
A single ball joint mirror is provided in the
vehicle. It is a twist on mirror that has a fixed
position at the windshield. The mirror installs on
the windshield button with a counterclockwise
rotation and requires no tools for mounting. The
mirror head can be adjusted up, down, left, and
right for various drivers. The mirror should be
adjusted to center on the view through the rear
window.
This mirror automatically adjusts for headlight
glare from vehicles behind you.
CAUTION!
To avoid damage to the mirror during
cleaning, never spray any cleaning solution
directly onto the mirror. Apply the solution
onto a clean cloth and wipe the mirror clean.
2020_RAM_CHASSIS_CAB_OM_USA=GUID-6C67832B-7839-4CCF-BEFC-CDF988F949EA=1=en=.book Page 40
Page 45 of 516
GETTING TO KNOW YOUR VEHICLE43
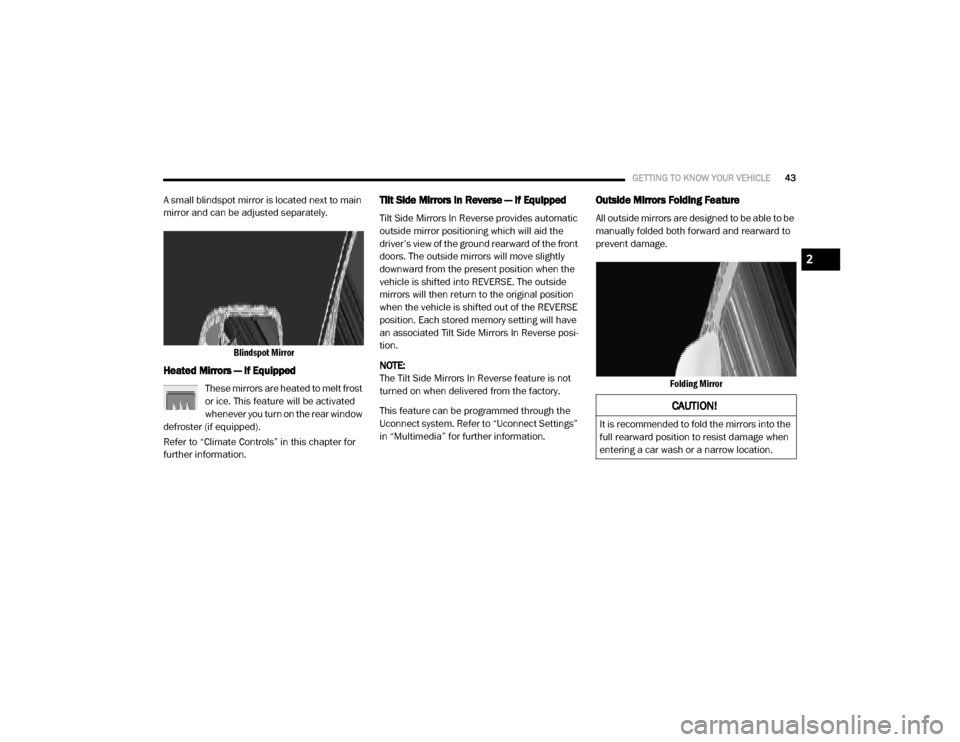
A small blindspot mirror is located next to main
mirror and can be adjusted separately.
Blindspot Mirror
Heated Mirrors — If Equipped
These mirrors are heated to melt frost
or ice. This feature will be activated
whenever you turn on the rear window
defroster (if equipped).
Refer to “Climate Controls” in this chapter for
further information.
Tilt Side Mirrors In Reverse — If Equipped
Tilt Side Mirrors In Reverse provides automatic
outside mirror positioning which will aid the
driver’s view of the ground rearward of the front
doors. The outside mirrors will move slightly
downward from the present position when the
vehicle is shifted into REVERSE. The outside
mirrors will then return to the original position
when the vehicle is shifted out of the REVERSE
position. Each stored memory setting will have
an associated Tilt Side Mirrors In Reverse posi -
tion.
NOTE:
The Tilt Side Mirrors In Reverse feature is not
turned on when delivered from the factory.
This feature can be programmed through the
Uconnect system. Refer to “Uconnect Settings”
in “Multimedia” for further information.
Outside Mirrors Folding Feature
All outside mirrors are designed to be able to be
manually folded both forward and rearward to
prevent damage.
Folding Mirror
CAUTION!
It is recommended to fold the mirrors into the
full rearward position to resist damage when
entering a car wash or a narrow location.
2
2020_RAM_CHASSIS_CAB_OM_USA=GUID-6C67832B-7839-4CCF-BEFC-CDF988F949EA=1=en=.book Page 43
Page 54 of 516
52GETTING TO KNOW YOUR VEHICLE
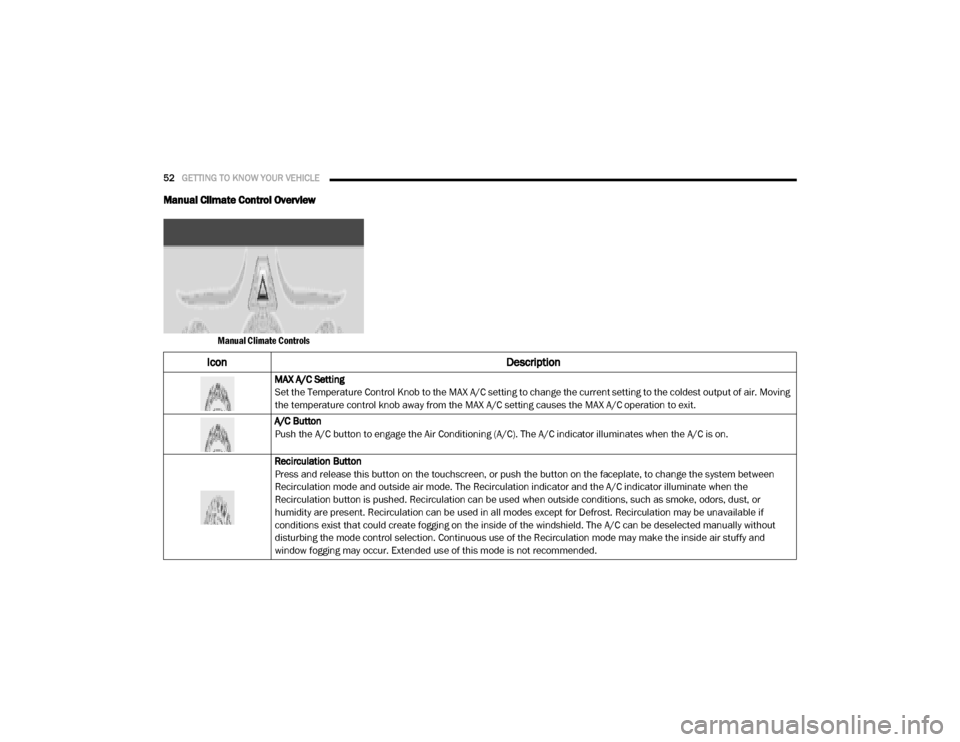
Manual Climate Control Overview
Manual Climate Controls
Icon Description
MAX A/C Setting
Set the Temperature Control Knob to the MAX A/C setting to change the current setting to the coldest output of air. Moving
the temperature control knob away from the MAX A/C setting causes the MAX A/C operation to exit.
A/C Button
Push the A/C button to engage the Air Conditioning (A/C). The A/C indicator illuminates when the A/C is on.
Recirculation Button
Press and release this button on the touchscreen, or push the button on the faceplate, to change the system between
Recirculation mode and outside air mode. The Recirculation indicator and the A/C indicator illuminate when the
Recirculation button is pushed. Recirculation can be used when outside conditions, such as smoke, odors, dust, or
humidity are present. Recirculation can be used in all modes except for Defrost. Recirculation may be unavailable if
conditions exist that could create fogging on the inside of the windshield. The A/C can be deselected manually without
disturbing the mode control selection. Continuous use of the Recirculation mode may make the inside air stuffy and
window fogging may occur. Extended use of this mode is not recommended.
2020_RAM_CHASSIS_CAB_OM_USA=GUID-6C67832B-7839-4CCF-BEFC-CDF988F949EA=1=en=.book Page 52
Page 55 of 516
GETTING TO KNOW YOUR VEHICLE53
Temperature Control
Temperature Control regulates the temperature of the air forced through the Climate Control system. The temperature
increases as you turn the temperature control knob clockwise. The temperature decreases as you turn the temperature
control knob counterclockwise.
Blower Control
Blower Control regulates the amount of air forced through the Climate Control system. There are seven blower speeds
available. The blower speed increases as you turn the blower control knob clockwise from the lowest blower setting. The
blower speed decreases as you turn the blower control knob counterclockwise.
Mode Control
Turn the Mode Control knob to adjust the airflow distribution. The airflow distribution mode can be adjusted so air comes
from the instrument panel outlets, floor outlets, defrost outlets and demist outlets. The Mode settings are as follows:
Panel Mode Panel Mode Air comes from the outlets in the instrument panel. Each of these outlets can be individually adjusted to direct the flow of
air. The air vanes of the center outlets and outboard outlets can be moved up and down or side to side to regulate airflow
direction. There is a shut off wheel located below the air vanes to shut off or adjust the amount of airflow from these
outlets.
Bi-Level Mode Bi-Level Mode Air comes from the instrument panel outlets and floor outlets. A slight amount of air is directed through the defrost and
side window demister outlets.
NOTE:
Bi-Level mode is designed under comfort conditions to provide cooler air out of the panel outlets and warmer air from the
floor outlets.
Icon Description
2
2020_RAM_CHASSIS_CAB_OM_USA=GUID-6C67832B-7839-4CCF-BEFC-CDF988F949EA=1=en=.book Page 53