fuel Ram 4500 Chassis Cab 2018 Owner's Manual
[x] Cancel search | Manufacturer: RAM, Model Year: 2018, Model line: 4500 Chassis Cab, Model: Ram 4500 Chassis Cab 2018Pages: 529, PDF Size: 5.89 MB
Page 32 of 529
•Fuel meets minimum requirement
• System not disabled from previous remote start event
• Vehicle security alarm not active
WARNING!
•Do not start or run an engine in a closed garage or
confined area. Exhaust gas contains Carbon Monox-
ide (CO) which is odorless and colorless. Carbon
Monoxide is poisonous and can cause serious injury
or death when inhaled.
• Keep key fobs away from children. Operation of the
Remote Start System, windows, door locks or other
controls could cause serious injury or death.
Remote Start Abort Message
The following messages will display in the instrument
cluster display if the vehicle fails to remote start or exits
remote start prematurely:
• Remote Start Cancelled — Door Open
• Remote Start Cancelled — Hood Open
• Remote Start Cancelled — Fuel Low
• Remote Start Cancelled — System Fault •
Remote Start Disabled — Start Vehicle to Reset
The instrument cluster display message stays active until
the ignition is turned to the ON/RUN position.
To Enter Remote Start Mode
Push and release the Remote Start button on the key fob
twice within five seconds. The parking lights will flash,
vehicle doors will lock, and the horn will chirp twice (if
programmed). Once the vehicle has started, the engine will
run for 15 minutes.
NOTE:
• If your power door locks were unlocked, Remote Start
will automatically lock the doors.
• If an engine fault is present or fuel level is low, the
vehicle will start and then shut down in 10 seconds.
• The park lamps will turn on and remain on during
Remote Start mode.
• For security, power window and power sunroof opera-
tion (if equipped) are disabled when the vehicle is in the
Remote Start mode.
30 GETTING TO KNOW YOUR VEHICLE
Page 97 of 529
CAUTION!
Failure to follow these cautions can cause damage to
the heating elements:
•Use care when washing the inside of the rear win-
dow. Do not use abrasive window cleaners on the
interior surface of the window. Use a soft cloth and a
mild washing solution, wiping parallel to the heat-
ing elements. Labels can be peeled off after soaking
with warm water.
• Do not use scrapers, sharp instruments, or abrasive
window cleaners on the interior surface of the win-
dow.
• Keep all objects a safe distance from the window.
Climate Control Functions
A/C (Air Conditioning)
The Air Conditioning (A/C) button allows the operator to
manually activate or deactivate the air conditioning sys-
tem. When the air conditioning system is turned on, cool
dehumidified air will flow through the outlets into the
cabin. For improved fuel economy, press the A/C button to
turn off the air conditioning and manually adjust the
blower and airflow mode settings. Also, make sure to select
only Panel, Bi-Level, or Floor modes. NOTE:
•
If fog or mist appears on the windshield or side glass,
select Defrost mode, and increase blower speed if
needed.
• If your air conditioning performance seems lower than
expected, check the front of the A/C condenser (located
in front of the radiator), for an accumulation of dirt or
insects. Clean with a gentle water spray from the front of
the radiator and through the condenser.
MAX A/C
MAX A/C sets the control for maximum cooling perfor-
mance.
Press and release to toggle between MAX A/C and the
prior settings. The button illuminates when MAX A/C is
on.
In MAX A/C, the blower level and mode position can be
adjusted to desired user settings. Pressing other settings
will cause the MAX A/C operation to switch to the selected
setting and MAX A/C to exit.
Recirculation
When outside air contains smoke, odors, or high humidity,
or if rapid cooling is desired, you may wish to recirculate
3
GETTING TO KNOW YOUR VEHICLE 95
Page 133 of 529

3. Speedometer•Indicates vehicle speed.
4. Fuel Gauge •The pointer shows the level of fuel in the fuel tank
when the ignition is in the ON/RUN position.
•
The fuel pump symbol points to the side of the
vehicle where the fuel door is located.
5. Temperature Gauge
•The temperature gauge shows engine coolant tem-
perature. Any reading within the normal range indi-
cates that the engine cooling system is operating
satisfactorily.
• The gauge pointer will likely indicate a higher tem-
perature when driving in hot weather, up mountain
grades, or when towing a trailer. It should not be
allowed to exceed the upper limits of the normal
operating range.
WARNING!
A hot engine cooling system is dangerous. You or
others could be badly burned by steam or boiling
coolant. You may want to call an authorized dealer for
service if your vehicle overheats. If you decide to look
under the hood yourself, see “Servicing And Mainte-
nance.” Follow the warnings under the Cooling System
Pressure Cap paragraph.
CAUTION!
Driving with a hot engine cooling system could dam-
age your vehicle. If the temperature gauge reads “H,”
pull over and stop the vehicle. Idle the vehicle with the
air conditioner turned off until the pointer drops back
into the normal range. If the pointer remains on the
“H,” turn the engine off immediately and call an
authorized dealer for service.
4
GETTING TO KNOW YOUR INSTRUMENT PANEL 131
Page 135 of 529

pointer moves to either extreme left or right and
remains there during normal driving, the electrical
system should be serviced.
NOTE: The voltmeter may show a gauge fluctuation at
various engine temperatures. This cycling operation is
caused by the post-heat cycle of the intake manifold heater
system. The number of cycles and the length of the cycling
operation is controlled by the engine control module.
Post-heat operation can run for several minutes, and then
the electrical system and voltmeter needle will stabilize.
3. Oil Pressure Gauge
•The pointer should always indicate some oil pressure
when the engine is running. A continuous high or low
reading under normal driving conditions may indicate
a lubrication system malfunction. Immediate service
should be obtained from an authorized dealer.
4. Speedometer •Indicates vehicle speed.
5. Fuel Gauge •The pointer shows the level of fuel in the fuel tank
when the ignition is in the ON/RUN position. •The fuel pump symbol points to the side of the
vehicle where the fuel door is located.
6. Instrument Cluster Display
•When the appropriate conditions exist, this display
shows the instrument cluster display messages. Refer
to “Instrument Cluster Display” in “Getting To Know
Your Instrument Panel” for further information.
7. Temperature Gauge •The temperature gauge shows engine coolant tem-
perature. Any reading within the normal range indi-
cates that the engine cooling system is operating
satisfactorily.
• The gauge pointer will likely indicate a higher tem-
perature when driving in hot weather, up mountain
grades, or when towing a trailer. It should not be
allowed to exceed the upper limits of the normal
operating range.
WARNING!
A hot engine cooling system is dangerous. You or
others could be badly burned by steam or boiling
coolant. You may want to call an authorized dealer for
(Continued)
4
GETTING TO KNOW YOUR INSTRUMENT PANEL 133
Page 137 of 529
Instrument Cluster Display Controls
The instrument cluster display features a driver-interactive
display that is located in the instrument cluster.The instrument cluster display menu items may consist of
the following:
•Speedometer
• Vehicle Info
• Fuel Economy Info
• Trip A
• Trip B
• Audio
• Trailer Tow
Base Instrument Cluster Display
Premium Instrument Cluster Display
4
GETTING TO KNOW YOUR INSTRUMENT PANEL 135
Page 140 of 529
The instrument cluster display screens are located in the
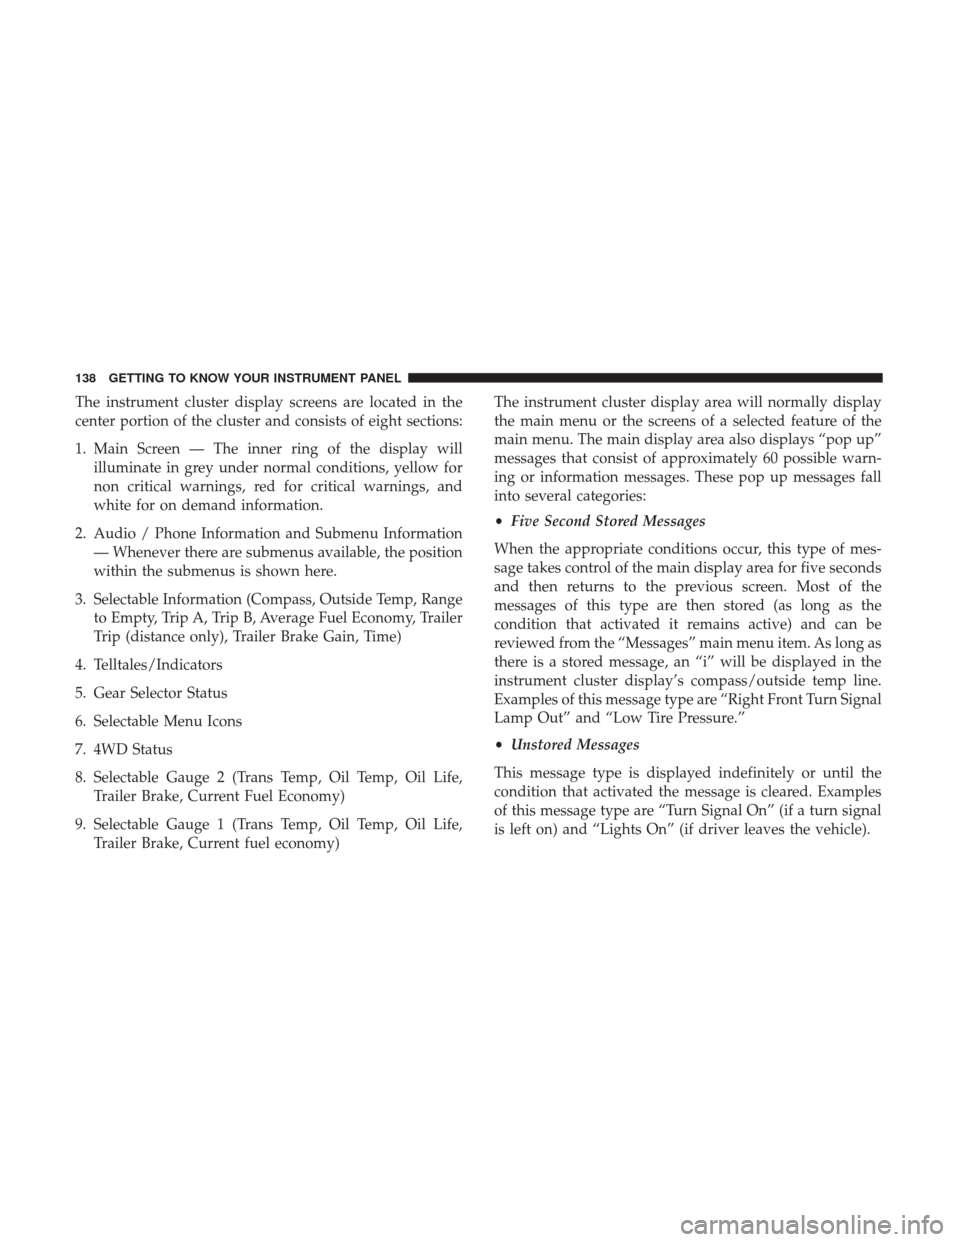
center portion of the cluster and consists of eight sections:
1. Main Screen — The inner ring of the display willilluminate in grey under normal conditions, yellow for
non critical warnings, red for critical warnings, and
white for on demand information.
2. Audio / Phone Information and Submenu Information — Whenever there are submenus available, the position
within the submenus is shown here.
3. Selectable Information (Compass, Outside Temp, Range to Empty, Trip A, Trip B, Average Fuel Economy, Trailer
Trip (distance only), Trailer Brake Gain, Time)
4. Telltales/Indicators
5. Gear Selector Status
6. Selectable Menu Icons
7. 4WD Status
8. Selectable Gauge 2 (Trans Temp, Oil Temp, Oil Life, Trailer Brake, Current Fuel Economy)
9. Selectable Gauge 1 (Trans Temp, Oil Temp, Oil Life, Trailer Brake, Current fuel economy) The instrument cluster display area will normally display
the main menu or the screens of a selected feature of the
main menu. The main display area also displays “pop up”
messages that consist of approximately 60 possible warn-
ing or information messages. These pop up messages fall
into several categories:
•
Five Second Stored Messages
When the appropriate conditions occur, this type of mes-
sage takes control of the main display area for five seconds
and then returns to the previous screen. Most of the
messages of this type are then stored (as long as the
condition that activated it remains active) and can be
reviewed from the “Messages” main menu item. As long as
there is a stored message, an “i” will be displayed in the
instrument cluster display’s compass/outside temp line.
Examples of this message type are “Right Front Turn Signal
Lamp Out” and “Low Tire Pressure.”
• Unstored Messages
This message type is displayed indefinitely or until the
condition that activated the message is cleared. Examples
of this message type are “Turn Signal On” (if a turn signal
is left on) and “Lights On” (if driver leaves the vehicle).
138 GETTING TO KNOW YOUR INSTRUMENT PANEL
Page 142 of 529
3. Push and release therightarrow button to access the
“Vehicle Info” screen then scroll up or down to select
“Oil Life.”
4. Push and hold the rightarrow button to select “YES” by
pushing the rightarrow then push and release the right
arrow button to select reset of the Oil Life to 100%.
5. Push and release the uparrow button to exit the
instrument cluster display screen.
NOTE: If the indicator message illuminates when you start
the vehicle, the Oil Life indicator system did not reset. If
necessary, repeat this procedure.
Display Messages
• Front Seatbelts Unbuckled
• Driver Seatbelt Unbuckled
• Passenger Seatbelt Unbuckled
• Service Airbag System
• Traction Control Off
• Washer Fluid Low
• Oil Pressure Low
• Oil Change Due •
Fuel Low
• Service Antilock Brake System
• Service Electronic Throttle Control
• Service Power Steering
• Cruise Off
• Cruise Ready
• Cruise Set To XXX MPH
• Tire Pressure Screen With Low Tire(s) “Inflate Tire To
XX”
• Tire Pressure Information System (TPIS)
• Service Tire Pressure System
• Parking Brake Engaged
• Brake Fluid Low
• Service Electronic Braking System
• Engine Temperature Hot
• Battery Voltage Low
• Service Electronic Throttle Control
• Lights On
140 GETTING TO KNOW YOUR INSTRUMENT PANEL
Page 143 of 529

•Right Turn Signal Light Out
• Left Turn Signal Light Out
• Turn Signal On
• Sound Horn With Remote Lock: Off; 1st Press; 2nd Press
• Vehicle Not In Park
• Key In Ignition
• Key In Ignition Lights On
• Remote Start Active Key To Run
• Remote Start Active Push Start Button
• Remote Start Aborted Fuel Low
• Remote Start Aborted Too Cold
• Remote Start Aborted Door Open
• Remote Start Aborted Hood Open
• Remote Start Aborted Trunk Open
• Remote Start Aborted Time Expired
• Remote Start Disabled Start To Reset
• Service Airbag System
• Service Airbag Warning Light •
Driver Seatbelt Unbuckled
• Passenger Seatbelt Unbuckled
• Front Seatbelts Unbuckled
• Door Open
• Doors Open
• Gear Not Available
• Shift Not Allowed
• Shift to Neutral Then Drive Or Reverse
• Autostick Unavailable Service Required
• Automatic Unavailable Use Autostick Service Req.
• Transmission Getting Hot Push Brake
• Trans. Hot Stop Safely Shift To Park Wait To Cool
• Transmission Cool Ready To Drive
• Trailer Brake Disconnected
• Service Transmission
• Service Shifter
• Engage Park Brake To Prevent Rolling
• Transmission Too Cold Idle With Engine On
4
GETTING TO KNOW YOUR INSTRUMENT PANEL 141
Page 144 of 529
•Washer Fluid Low
The Reconfigurable Telltales section is divided into the
white telltales area on the right, yellow telltales in the
middle, and red telltales on the left.
Display Menu Items
Push and release the upordown arrow button until the
desired selectable menu icon is highlighted in the instru-
ment cluster display.
Speedometer
Push and release the upordown arrow button until the
speedometer menu item is highlighted in the instrument
cluster display. Push and release the rightarrow button to
cycle the display between mph and km/h.
Vehicle Info
Push and release the upordown arrow button until the
Vehicle Info menu item is highlighted in the instrument
cluster display. Push and release the rightarrow button to
enter the submenus items of Vehicle Info. Follow the
directional prompts to access or reset any of the following
Vehicle Info submenu items:
• Tire Pressure
• Transmission Temp (Automatic only) •
Oil Temp
• Oil Life
• Coolant Temp — If Equipped
• Oil Pressure — If Equipped
• Battery Voltage — If Equipped
• Gauge Summary — If Equipped
• Engine Hours
Fuel Economy
Push and release the upordown arrow button until the
Fuel Economy menu item is highlighted in the instrument
cluster display. Push and Hold the rightarrow button to
reset Average Fuel Economy.
• Current Fuel Economy Gauge
• Average Fuel Economy Value
• Range To Empty
• Dual Fuel Tank levels — If Equipped
• Push and release the rightarrow button to display the
Fuel Tank Level submenu item. Your instrument cluster
display will display the fuel levels of the Front and Rear
fuel tanks. The fuel is automatically transferred from the
142 GETTING TO KNOW YOUR INSTRUMENT PANEL
Page 145 of 529
Rear tank to the Front tank based on both tank levels.
Fuel transfer is complete once the Front Fuel Level is
greater than the Rear Fuel Level.
Trip A/Trip B
Push and release theupordown arrow button until the
Trip menu item is highlighted in the instrument cluster
display. Push and release the rightarrow button to enter
the submenus of Trip A and Trip B. The Trip A or Trip B
information will display the following:
• Distance
• Average Fuel Economy
• Elapsed Time
Push and hold rightarrow button to reset all information.
Trailer Tow
Push and release the upordown arrow button until the
Trailer Tow menu item is highlighted in the instrument
cluster display. Push and release the rightarrow button
and the next screen will display the following trailer trip
information:
• Trip (trailer specific) Distance: Push and hold the right
arrow button to reset the distance. •
Trailer Brake
• Output
• Type
• Gain
Audio
Push and release the upordown arrow button until the
Audio display icon is highlighted in the instrument cluster
display. Push and release the rightarrow button to display
the active source.
Stored Messages
Push and release the upordown arrow button until the
Messages Menu item is highlighted. This feature shows the
number of stored warning messages. Pushing the right
arrow button will allow you to see what the stored
messages are.
When no messages are present, main menu icon will be a
closed envelope.
Screen Setup Menu Item
Push and release the upordown arrow button until the
Screen Setup menu item is highlighted in the instrument
cluster display. Push and release the rightarrow button to
enter the Screen Setup submenu. The Screen Setup feature
4
GETTING TO KNOW YOUR INSTRUMENT PANEL 143