keyless Ram Cargo Van 2012 User Guide
[x] Cancel search | Manufacturer: RAM, Model Year: 2012, Model line: Cargo Van, Model: Ram Cargo Van 2012Pages: 642, PDF Size: 9.7 MB
Page 50 of 642
NOTE:
•After setting the Child Protection Door Lock system,
always test the door from the inside to make certain it
is in the desired position.
•The power sliding side door switches will not open the
power sliding doors if the vehicle is in gear or the
vehicle speed is above 0 mph (0 km/h).
•The power sliding door will operate from the outside
door handle, the RKE transmitter, the switches on the
overhead console, or the switches located on the trim
panel just in front of the power sliding door when the
shift lever is in PARK, regardless of the child lock lever
position.
LIFTGATE
On vehicles equipped with power locks, the liftgate can
be unlocked using the Remote Keyless Entry (RKE)
transmitter button, or by activating the power door lock
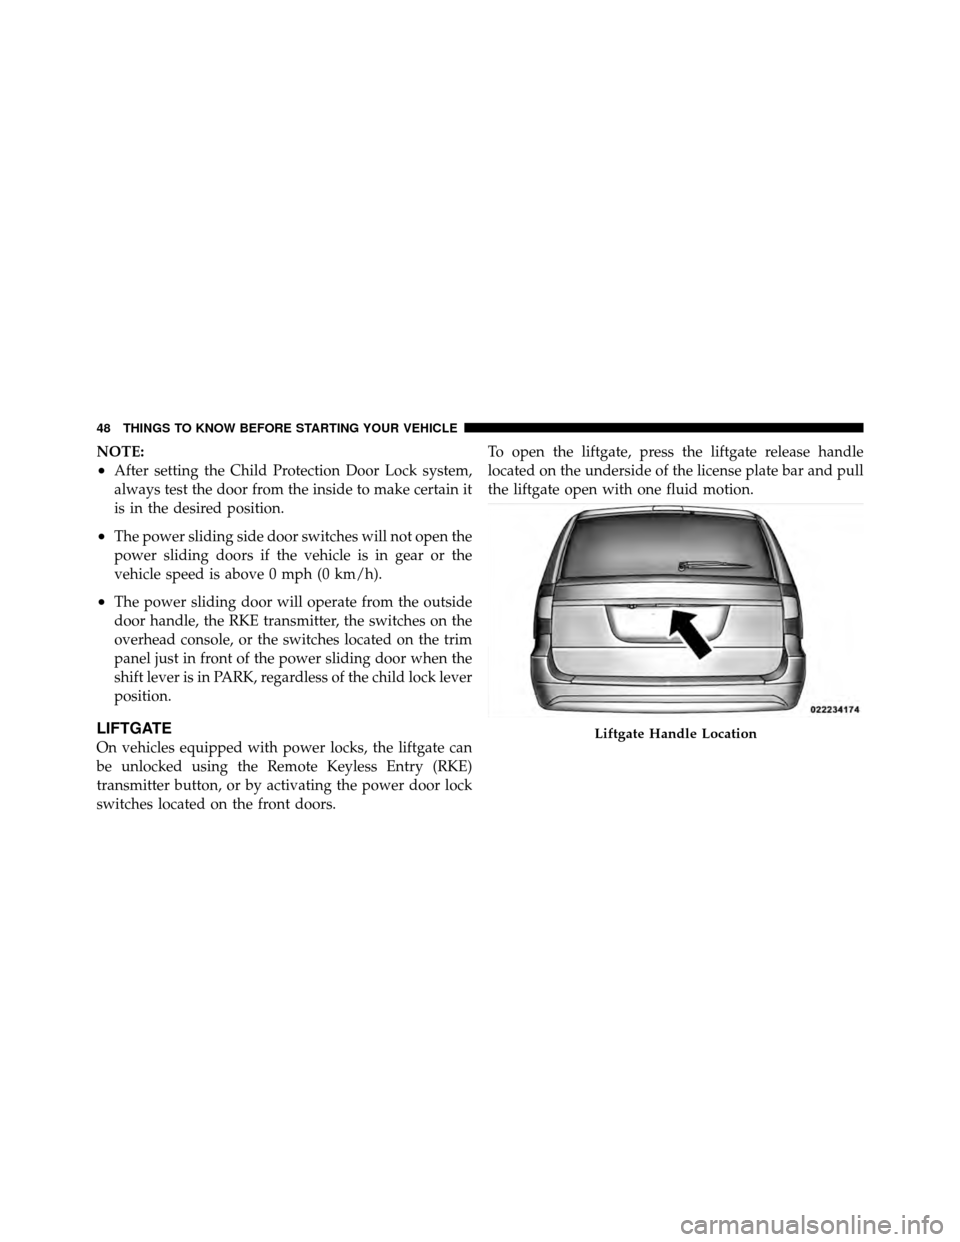
switches located on the front doors.To open the liftgate, press the liftgate release handle
located on the underside of the license plate bar and pull
the liftgate open with one fluid motion.Liftgate Handle Location
48 THINGS TO KNOW BEFORE STARTING YOUR VEHICLE
Page 51 of 642

Power Liftgate — If Equipped
The power liftgate may be opened manually or by using
the button on the Remote Keyless Entry (RKE) transmit-
ter. Press the button on the transmitter twice within five
seconds, to open the power liftgate. When the liftgate is
fully open, pressing the button twice within five seconds,
a second time, will close the liftgate.
The power liftgate may also be opened and closed by
pressing the button located on the overhead console.
Overhead Console Master Power Switch
1 — Left Door3 — Right Door
2 — Liftgate 4 — Master Lock
2
THINGS TO KNOW BEFORE STARTING YOUR VEHICLE 49
Page 194 of 642
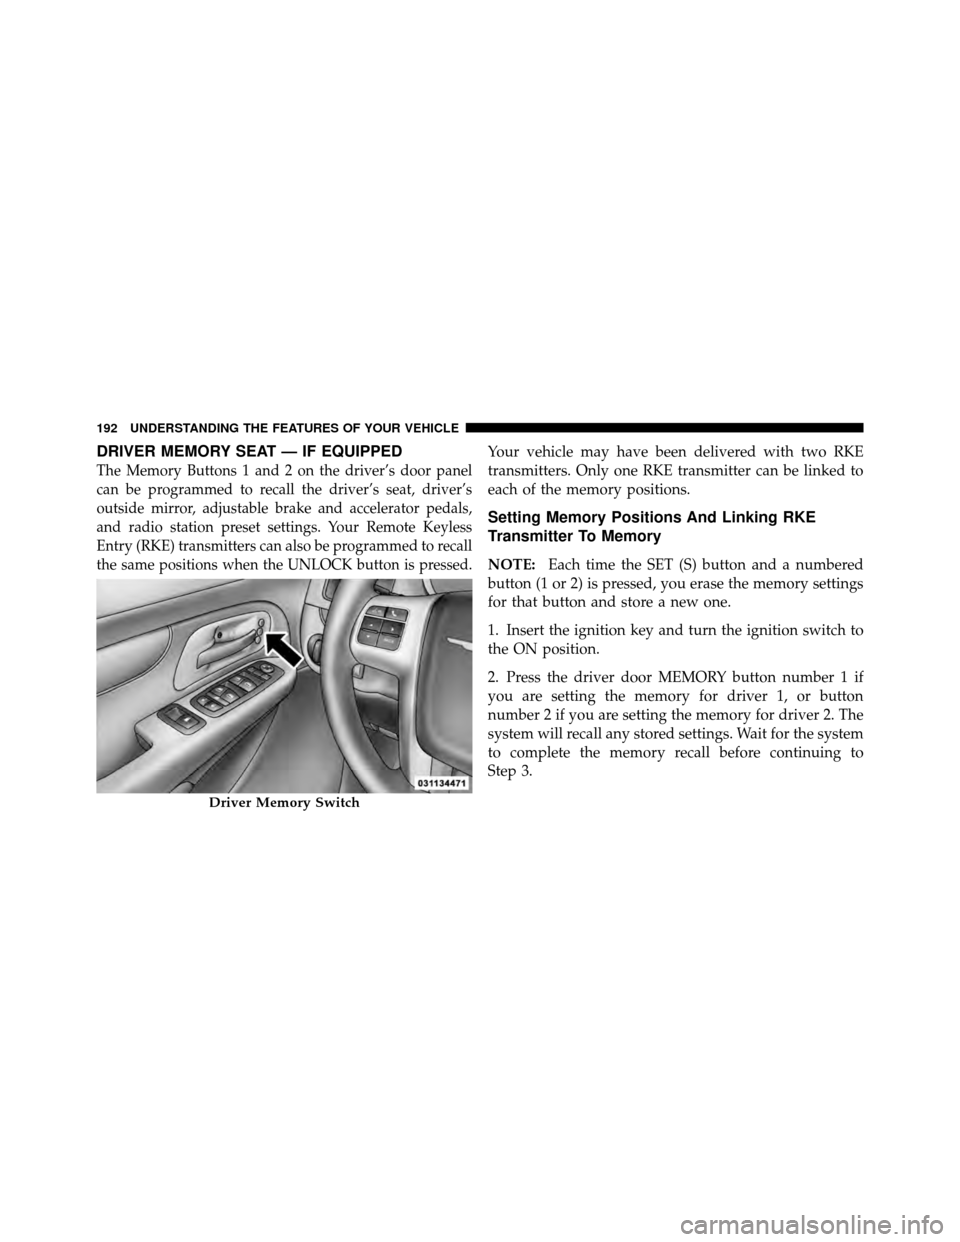
DRIVER MEMORY SEAT — IF EQUIPPED
The Memory Buttons 1 and 2 on the driver’s door panel
can be programmed to recall the driver’s seat, driver’s
outside mirror, adjustable brake and accelerator pedals,
and radio station preset settings. Your Remote Keyless
Entry (RKE) transmitters can also be programmed to recall
the same positions when the UNLOCK button is pressed.
Your vehicle may have been delivered with two RKE
transmitters. Only one RKE transmitter can be linked to
each of the memory positions.
Setting Memory Positions And Linking RKE
Transmitter To Memory
NOTE:Each time the SET (S) button and a numbered
button (1 or 2) is pressed, you erase the memory settings
for that button and store a new one.
1. Insert the ignition key and turn the ignition switch to
the ON position.
2. Press the driver door MEMORY button number 1 if
you are setting the memory for driver 1, or button
number 2 if you are setting the memory for driver 2. The
system will recall any stored settings. Wait for the system
to complete the memory recall before continuing to
Step 3.
Driver Memory Switch
192 UNDERSTANDING THE FEATURES OF YOUR VEHICLE
Page 203 of 642
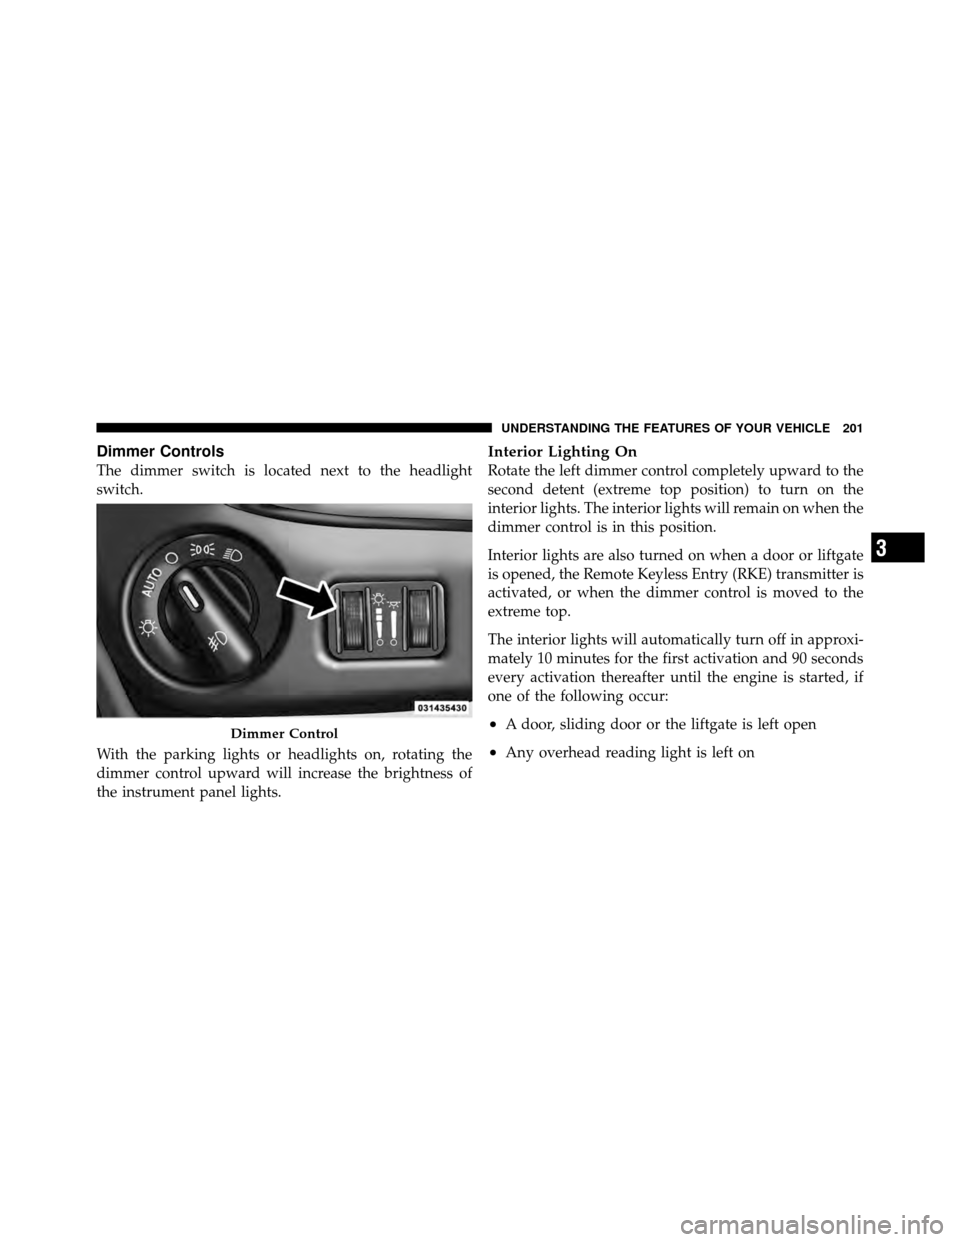
Dimmer Controls
The dimmer switch is located next to the headlight
switch.
With the parking lights or headlights on, rotating the
dimmer control upward will increase the brightness of
the instrument panel lights.
Interior Lighting On
Rotate the left dimmer control completely upward to the
second detent (extreme top position) to turn on the
interior lights. The interior lights will remain on when the
dimmer control is in this position.
Interior lights are also turned on when a door or liftgate
is opened, the Remote Keyless Entry (RKE) transmitter is
activated, or when the dimmer control is moved to the
extreme top.
The interior lights will automatically turn off in approxi-
mately 10 minutes for the first activation and 90 seconds
every activation thereafter until the engine is started, if
one of the following occur:
•A door, sliding door or the liftgate is left open
•Any overhead reading light is left on
Dimmer Control
3
UNDERSTANDING THE FEATURES OF YOUR VEHICLE 201
Page 230 of 642
Courtesy/Interior Lighting
At the forward end of the console are two courtesy lights
(standard dome light has two buttons). The lights turn on
when a front door, a sliding door or the liftgate is opened.
If your vehicle is equipped with Remote Keyless Entry
(RKE) the lights will also turn on when the UNLOCK
button on the RKE transmitter is pressed.
The courtesy lights also function as reading lights. Press
in on each lens to turn these lights on while inside the
vehicle. Press a second time to turn each light off. You
may adjust the direction of these lights by pressing the
outside ring, which is identified with four directional
arrows (LED lamps only).
The area around the instrument panel cupholders is also
illuminated from a light in the overhead console (pre-
mium console only). This light is turned on when the
headlight switch is on, and will adjust in brightness when
the dimmer control is rotated up or down.
Sunglass Storage (Non-Sunroof Only)
At the front of the overhead console, a compartment is
provided for the storage of two pairs of sunglasses.
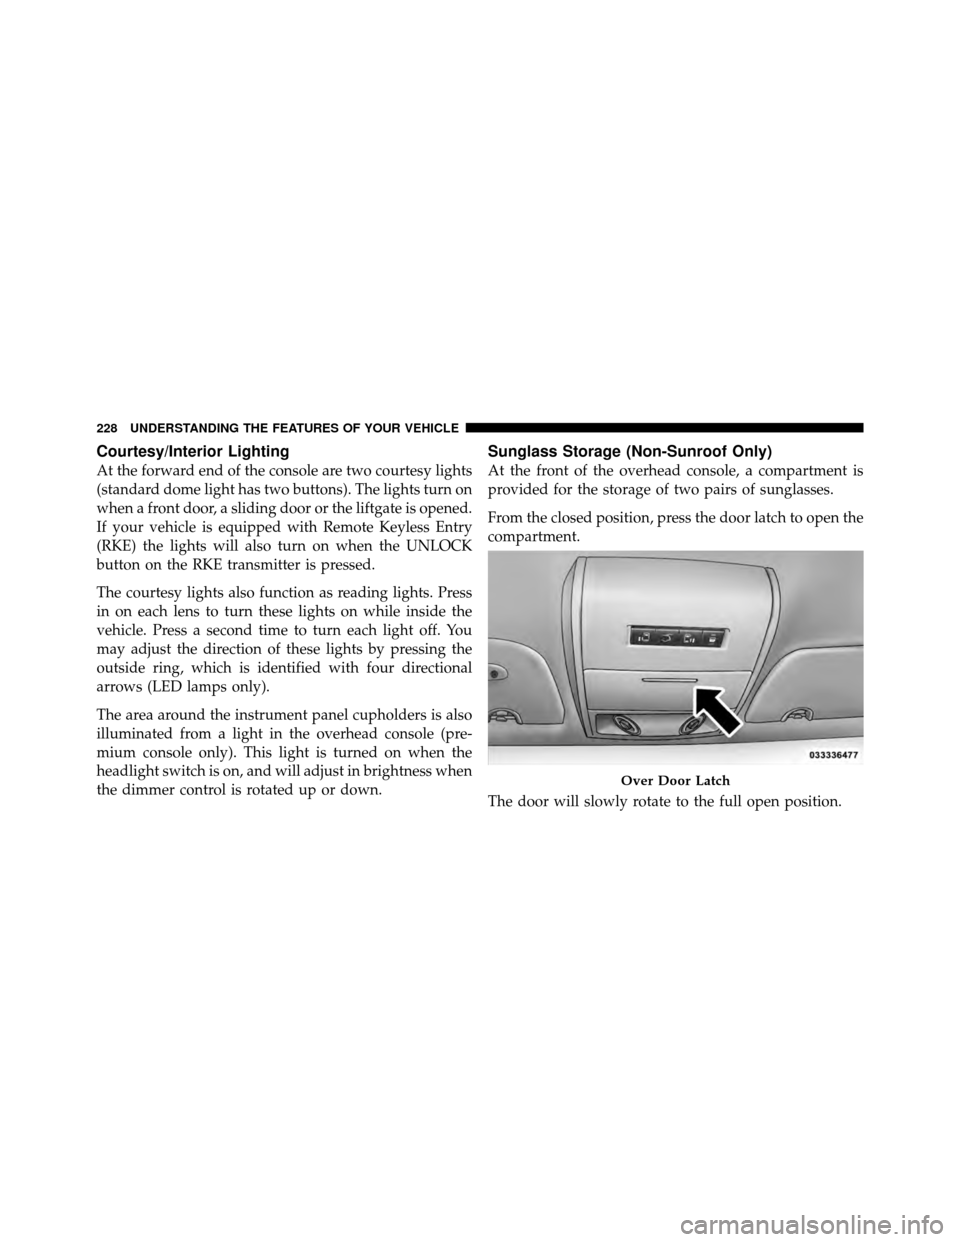
From the closed position, press the door latch to open the
compartment.
The door will slowly rotate to the full open position.
Over Door Latch
228 UNDERSTANDING THE FEATURES OF YOUR VEHICLE
Page 232 of 642
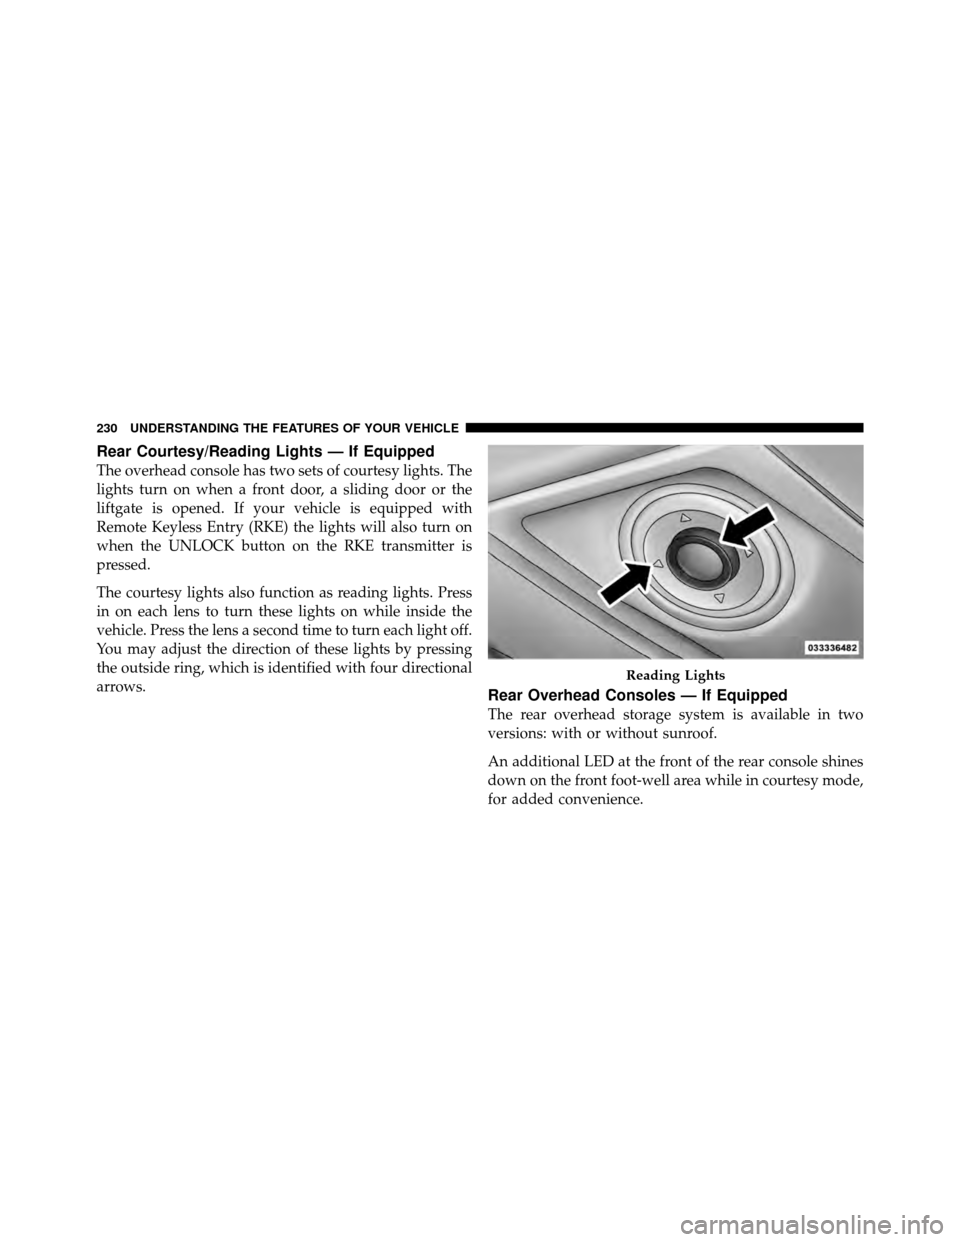
Rear Courtesy/Reading Lights — If Equipped
The overhead console has two sets of courtesy lights. The
lights turn on when a front door, a sliding door or the
liftgate is opened. If your vehicle is equipped with
Remote Keyless Entry (RKE) the lights will also turn on
when the UNLOCK button on the RKE transmitter is
pressed.
The courtesy lights also function as reading lights. Press
in on each lens to turn these lights on while inside the
vehicle. Press the lens a second time to turn each light off.
You may adjust the direction of these lights by pressing
the outside ring, which is identified with four directional
arrows.
Rear Overhead Consoles — If Equipped
The rear overhead storage system is available in two
versions: with or without sunroof.
An additional LED at the front of the rear console shines
down on the front foot-well area while in courtesy mode,
for added convenience.
Reading Lights
230 UNDERSTANDING THE FEATURES OF YOUR VEHICLE
Page 319 of 642
Auto Unlock Doors
When ON is selected, all doors will unlock when the
vehicle is stopped and the transmission is in the PARK or
NEUTRAL position and the driver’s door is opened. To
make your selection, press and release the SELECT
button until a check-mark appears next to the feature
showing the system has been activated or the check-mark
is removed showing the system has been deactivated.
Remote Unlock Sequence
WhenDriver Door 1st Press is selected, only the driver’s
door will unlock on the first press of the Remote Keyless
Entry (RKE) transmitter UNLOCK button. When Driver
Door 1st Press is selected, you must press the RKE
transmitter UNLOCK button twice, to unlock the passen-
ger’s doors. When All Doors 1st Press is selected, all of
the doors will unlock on the first press of the RKE
transmitter UNLOCK button. To make your selection,
press and release the SELECT button until a check-mark appears next to the feature showing the system has been
activated or the check-mark is removed showing the
system has been deactivated.
RKE Linked To Memory
When this feature is selected the memory seat, mirror,
and radio settings will return to the memory set position
when the RKE transmitter UNLOCK button is pressed. If
this feature is not selected then the memory seat, mirror,
and radio settings can only return to the memory set
position using the door mounted switch. To make your
selection, press and release the SELECT button until a
check-mark appears next to the feature showing the
system has been activated or the check-mark is removed
showing the system has been deactivated.
Remote Start Comfort Sys.
When this feature is selected and the remote start is
activated, the heated steering wheel and driver heated
seat features will automatically turn on in cold weather.
4
UNDERSTANDING YOUR INSTRUMENT PANEL 317
Page 442 of 642
NOTE:
•When the parking brake is applied and the automatic
transmission is placed in gear, the “Brake Warning
Light” will flash. If vehicle speed is detected, a chime
will sound to alert the driver. Fully release the parking
brake before attempting to move the vehicle.
•This light only shows that the parking brake is ap-
plied. It does not show the degree of brake application.
When parking on a hill, it is important to turn the front
wheels toward the curb on a downhill grade and away
from the curb on an uphill grade. For vehicles equipped
with an automatic transmission, apply the parking brake
before placing the shift lever in PARK, otherwise the load
on the transmission locking mechanism may make it
difficult to move the shift lever out of PARK. The parking
brake should always be applied whenever the driver is
not in the vehicle.
WARNING!
•When leaving the vehicle, always remove the key
fob from the ignition and lock your vehicle.
•Never leave children alone in a vehicle, or with
access to an unlocked vehicle.
•Allowing children to be in a vehicle unattended is
dangerous for a number of reasons. A child or
others could be seriously or fatally injured. Chil-
dren should be warned not to touch the parking
brake, brake pedal or the shift lever.
•Do not leave the key fob in or near the vehicle, and
do not leave Keyless Enter-N-Go in the ACC or
ON/RUN mode. A child could operate power win-
dows, other controls, or move the vehicle. (Continued)
440 STARTING AND OPERATING
Page 585 of 642
CavityCartridge
Fuse Mini-
Fuse Description
M19 — 25 Amp NaturalPowertrain
M20 — 15 Amp BlueInstrument Cluster
Interior Light, Switch
Bank, Steering Col-
umn Module, Switch
Steering Wheel
M21 — 20 Amp YellowPowertrain
M22 — 10 Amp RedHorn
M23 — 10 Amp RedHorn
M24 — 25 Amp NaturalRear WiperCavity
Cartridge
Fuse Mini-
Fuse Description
M25 — 20 Amp YellowFuel Pump, Diesel
Lift Pump – If
Equipped
M26 — 10 Amp RedPower Mirror Switch,
Driver Window
Switch
M27 — 10 Amp RedWireless Control
Module, Keyless
Entry Module
M28 — 10 Amp RedPowertrain, Transmis-
sion Control Module
M29 — 10 Amp RedOccupant Classifica-
tion Module
M30 — 15 Amp BlueRear Wiper Module,
Power Folding Mirror
M31 — 20 Amp YellowBack-Up Lamps
7
MAINTAINING YOUR VEHICLE 583
Page 623 of 642

Automatic Headlights.................... 199
Automatic Temperature Control (ATC) ......... 400
Automatic Transaxle Selection Of Lubricant ................. 591
Automatic Transmission ................422,569
Adding Fluid ....................... 571
Fluid and Filter Changes ............... 571
Fluid Change ....................... 571
Fluid Level Check .................... 571
Fluid Type ...................... 570,591
Gear Ranges ........................ 427
Special Additives ..................... 570
B-Pillar Location ........................ 457
Battery ............................... 556
Jump Starting ....................... 532
Keyless Transmitter Replacement (RKE) ..... 26
Saving Feature (Protection) .............. 204
Belts, Seat ............................. 101 Blind Spot Monitoring
.................... 117
Body Mechanism Lubrication ............... 560
Brake Assist System ...................... 444
Brake Control System, Electronic ............. 443
Brake Fluid ............................ 591
Brake System ........................... 567
Fluid Check ........................ 568
Parking ........................... 439
Warning Light ....................... 294
Brake/Transmission Interlock ............... 424
Brakes ............................... 567
Break-In Recommendations, New Vehicle ........ 98
Bulb Replacement ....................... 586
Bulbs, Light ......................... 103,585
Calibration, Compass ..................... 314
Camera, Rear ........................... 224
Capacities, Fluid ........................ 589
10
INDEX 621