jump start RAM CHASSIS CAB 2020 Owners Manual
[x] Cancel search | Manufacturer: RAM, Model Year: 2020, Model line: CHASSIS CAB, Model: RAM CHASSIS CAB 2020Pages: 516, PDF Size: 16.57 MB
Page 8 of 516

6
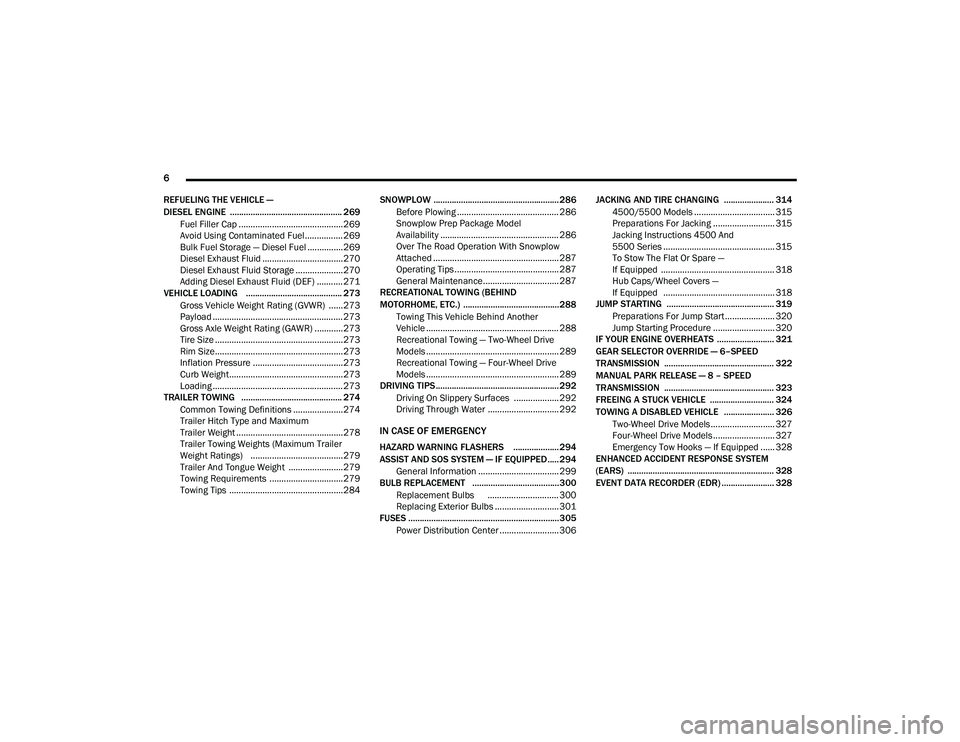
REFUELING THE VEHICLE —
DIESEL ENGINE ................................................. 269 Fuel Filler Cap ............................................269
Avoid Using Contaminated Fuel ................269Bulk Fuel Storage — Diesel Fuel ...............269
Diesel Exhaust Fluid ..................................270Diesel Exhaust Fluid Storage ....................270
Adding Diesel Exhaust Fluid (DEF) ........... 271
VEHICLE LOADING .......................................... 273
Gross Vehicle Weight Rating (GVWR) ......273Payload .......................................................273Gross Axle Weight Rating (GAWR) ............273
Tire Size ......................................................273
Rim Size......................................................273
Inflation Pressure ......................................273
Curb Weight................................................273
Loading .......................................................273
TRAILER TOWING ............................................ 274
Common Towing Definitions .....................274Trailer Hitch Type and Maximum
Trailer Weight .............................................278 Trailer Towing Weights (Maximum Trailer
Weight Ratings) .......................................279 Trailer And Tongue Weight .......................279
Towing Requirements ...............................279
Towing Tips ................................................284 SNOWPLOW ....................................................... 286
Before Plowing ........................................... 286
Snowplow Prep Package Model
Availability .................................................. 286 Over The Road Operation With Snowplow
Attached ..................................................... 287 Operating Tips ............................................ 287General Maintenance................................ 287
RECREATIONAL TOWING (BEHIND
MOTORHOME, ETC.) .......................................... 288
Towing This Vehicle Behind Another
Vehicle ........................................................ 288 Recreational Towing — Two-Wheel Drive
Models ........................................................ 289 Recreational Towing — Four-Wheel Drive
Models ........................................................ 289
DRIVING TIPS ...................................................... 292
Driving On Slippery Surfaces ................... 292
Driving Through Water .............................. 292
IN CASE OF EMERGENCY
HAZARD WARNING FLASHERS .................... 294
ASSIST AND SOS SYSTEM — IF EQUIPPED..... 294General Information .................................. 299
BULB REPLACEMENT ......................................300
Replacement Bulbs .............................. 300
Replacing Exterior Bulbs ........................... 301
FUSES ..................................................................305
Power Distribution Center ......................... 306 JACKING AND TIRE CHANGING ...................... 314
4500/5500 Models .................................. 315
Preparations For Jacking .......................... 315
Jacking Instructions 4500 And
5500 Series ............................................... 315 To Stow The Flat Or Spare —
If Equipped ................................................ 318 Hub Caps/Wheel Covers —
If Equipped ............................................... 318
JUMP STARTING ............................................... 319
Preparations For Jump Start ..................... 320
Jump Starting Procedure .......................... 320
IF YOUR ENGINE OVERHEATS ......................... 321
GEAR SELECTOR OVERRIDE — 6–SPEED
TRANSMISSION ................................................ 322
MANUAL PARK RELEASE — 8 – SPEED
TRANSMISSION ................................................ 323
FREEING A STUCK VEHICLE ............................ 324
TOWING A DISABLED VEHICLE ...................... 326
Two-Wheel Drive Models ........................... 327
Four-Wheel Drive Models .......................... 327
Emergency Tow Hooks — If Equipped ...... 328
ENHANCED ACCIDENT RESPONSE SYSTEM
(EARS) ................................................................ 328
EVENT DATA RECORDER (EDR) ....................... 328
2020_RAM_CHASSIS_CAB_OM_USA=GUID-6C67832B-7839-4CCF-BEFC-CDF988F949EA=1=en=.book Page 6
Page 188 of 516

186STARTING AND OPERATING
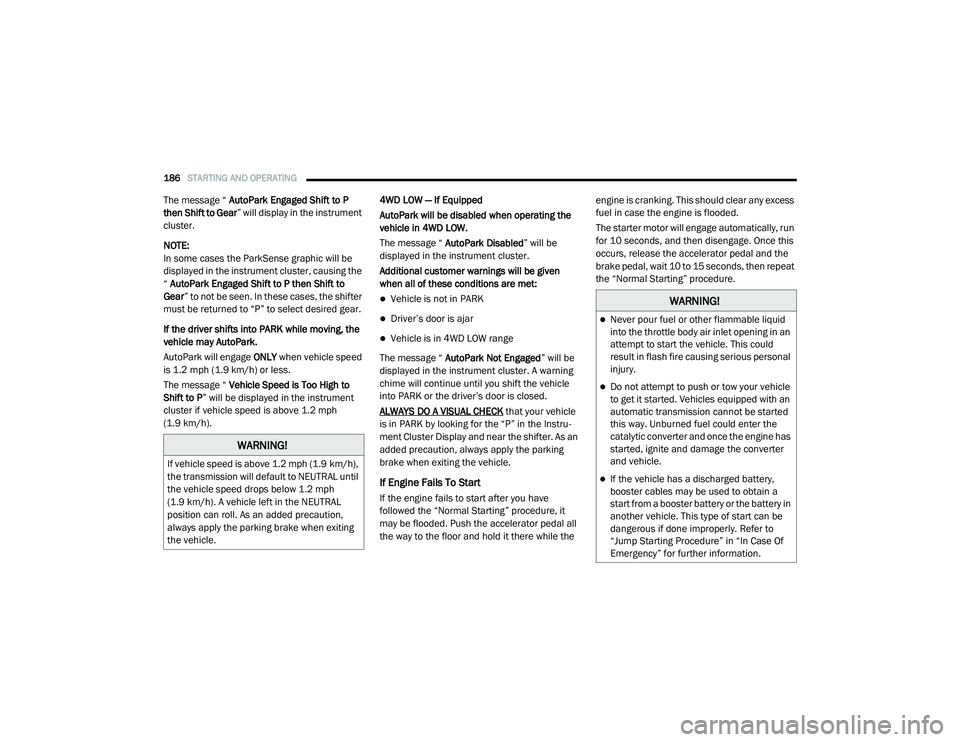
The message “ AutoPark Engaged Shift to P
then Shift to Gear ” will display in the instrument
cluster.
NOTE:
In some cases the ParkSense graphic will be
displayed in the instrument cluster, causing the
“ AutoPark Engaged Shift to P then Shift to
Gear ” to not be seen. In these cases, the shifter
must be returned to “P” to select desired gear.
If the driver shifts into PARK while moving, the
vehicle may AutoPark.
AutoPark will engage ONLY when vehicle speed
is 1.2 mph (1.9 km/h) or less.
The message “ Vehicle Speed is Too High to
Shift to P ” will be displayed in the instrument
cluster if vehicle speed is above 1.2 mph
(1.9 km/h). 4WD LOW — If Equipped
AutoPark will be disabled when operating the
vehicle in 4WD LOW.
The message “
AutoPark Disabled ” will be
displayed in the instrument cluster.
Additional customer warnings will be given
when all of these conditions are met:
Vehicle is not in PARK
Driver’s door is ajar
Vehicle is in 4WD LOW range
The message “ AutoPark Not Engaged ” will be
displayed in the instrument cluster. A warning
chime will continue until you shift the vehicle
into PARK or the driver’s door is closed.
ALWAYS DO A VISUAL CHECK
that your vehicle
is in PARK by looking for the “P” in the Instru -
ment Cluster Display and near the shifter. As an
added precaution, always apply the parking
brake when exiting the vehicle.
If Engine Fails To Start
If the engine fails to start after you have
followed the “Normal Starting” procedure, it
may be flooded. Push the accelerator pedal all
the way to the floor and hold it there while the engine is cranking. This should clear any excess
fuel in case the engine is flooded.
The starter motor will engage automatically, run
for 10 seconds, and then disengage. Once this
occurs, release the accelerator pedal and the
brake pedal, wait 10 to 15 seconds, then repeat
the “Normal Starting” procedure.
WARNING!
If vehicle speed is above 1.2 mph (1.9 km/h),
the transmission will default to NEUTRAL until
the vehicle speed drops below 1.2 mph
(1.9 km/h). A vehicle left in the NEUTRAL
position can roll. As an added precaution,
always apply the parking brake when exiting
the vehicle.
WARNING!
Never pour fuel or other flammable liquid
into the throttle body air inlet opening in an
attempt to start the vehicle. This could
result in flash fire causing serious personal
injury.
Do not attempt to push or tow your vehicle
to get it started. Vehicles equipped with an
automatic transmission cannot be started
this way. Unburned fuel could enter the
catalytic converter and once the engine has
started, ignite and damage the converter
and vehicle.
If the vehicle has a discharged battery,
booster cables may be used to obtain a
start from a booster battery or the battery in
another vehicle. This type of start can be
dangerous if done improperly. Refer to
“Jump Starting Procedure” in “In Case Of
Emergency” for further information.
2020_RAM_CHASSIS_CAB_OM_USA=GUID-6C67832B-7839-4CCF-BEFC-CDF988F949EA=1=en=.book Page 186
Page 321 of 516

IN CASE OF EMERGENCY319
On 3500 models with Dual Rear-Wheels (DRW),
you must first remove the hub caps—use the
procedure noted for the single rear wheel. For
the wheel covers (wheel skins), insert the flat
end of the lug wrench between the outer edge
of the wheel cover and the wheel. Pry against
the wheel to remove the wheel cover. Repeat
this procedure around the wheel until the cover
pops off.
Lug Wrench Insertion Location — Wheel Cover
Replace the wheel covers using a rubber mallet
to ease the installation. Align the wheel cover
vent holes to the wheel vent holes. Tap on the
wheel cover as needed to firmly seat it evenly
around the wheel.
JUMP STARTING
If your vehicle has a discharged battery, it can
be jump started using a set of jumper cables
and a battery in another vehicle, or by using a
portable battery booster pack. Jump starting
can be dangerous if done improperly, so please
follow the procedures in this section carefully. NOTE:
When using a portable battery booster pack,
follow the manufacturer's operating instruc
-
tions and precautions.
CAUTION!
Use a pulling motion to remove the hub
cap. Do not use a twisting motion when
removing the hub cap, damage to the hub
cap; finish may occur.
The rear hub caps on the dual rear wheel
has two pull off notches. Make sure that the
hook of the jack handle driver is located
squarely in the cap notch before attempting
to pull off.
WARNING!
Do not attempt jump starting if the battery is
frozen. It could rupture or explode and cause
personal injury.
CAUTION!
Do not use a portable battery booster pack or
any other booster source with a system
voltage greater than 12 Volts or damage to
the battery, starter motor, alternator or
electrical system may occur.
6
2020_RAM_CHASSIS_CAB_OM_USA=GUID-6C67832B-7839-4CCF-BEFC-CDF988F949EA=1=en=.book Page 319
Page 322 of 516

320IN CASE OF EMERGENCY
Preparations For Jump Start
The battery in your vehicle is located in the front
of the engine compartment, behind the left
headlight assembly.
NOTE:
The positive battery post may be covered with a
protective cap if equipped. Lift up on the cap to
gain access to the positive battery post. Do not
jump off fuses. Only jump directly off positive
post which has a positive (+) symbol on or
around the post.
Positive Battery Post
1. Apply the parking brake, shift the auto
-
matic transmission into PARK and turn the
ignition OFF.
2. Turn off the heater, radio, and all unneces -
sary electrical accessories.
3. If using another vehicle to jump start the battery, park the vehicle within the jumper
cables’ reach, apply the parking brake and
make sure the ignition is OFF.
Jump Starting Procedure
Connecting The Jumper Cables
1. Connect the positive
(+) end of the jumper
cable to the positive (+)
post of the
discharged vehicle.
NOTE:
Do not jump off fuses. Only jump directly off
positive post.
WARNING!
Take care to avoid the radiator cooling fan
whenever the hood is raised. It can start
anytime the ignition switch is ON. You can
be injured by moving fan blades.
Remove any metal jewelry such as rings,
watch bands and bracelets that could
make an inadvertent electrical contact. You
could be seriously injured.
Batteries contain sulfuric acid that can
burn your skin or eyes and generate
hydrogen gas which is flammable and
explosive. Keep open flames or sparks
away from the battery.
WARNING!
Do not allow vehicles to touch each other as
this could establish a ground connection and
personal injury could result.
WARNING!
Failure to follow this jump starting procedure
could result in personal injury or property
damage due to battery explosion.
CAUTION!
Failure to follow these procedures could
result in damage to the charging system of
the booster vehicle or the discharged vehicle.
2020_RAM_CHASSIS_CAB_OM_USA=GUID-6C67832B-7839-4CCF-BEFC-CDF988F949EA=1=en=.book Page 320
Page 323 of 516

IN CASE OF EMERGENCY321
2. Connect the opposite end of the positive (+)
jumper cable to the positive (+) post of the
booster battery.
3. Connect the negative (-) end of the jumper
cable to the negative (-) post of the booster
battery.
4. Connect the opposite end of the negative (-)
jumper cable to a good engine ground
(exposed metal part of the discharged
vehicle’s engine) away from the battery and
the fuel injection system.
5. Start the engine in the vehicle that has the booster battery, let the engine idle a few
minutes, and then start the engine in the
vehicle with the discharged battery. 6. Once the engine is started, remove the
jumper cables in the reverse sequence.
Disconnecting The Jumper Cables
1. Disconnect the negative
(-)
end of the
jumper cable from the engine ground of
the vehicle with the discharged battery.
2. Disconnect the opposite end of the negative (-) jumper cable from the negative (-) post of
the booster battery.
3. Disconnect the positive (+) end of the
jumper cable from the positive (+) post of
the booster battery.
4. Disconnect the opposite end of the positive (+) jumper cable from the positive (+) post
of the vehicle with the discharged battery. If frequent jump starting is required to start your
vehicle you should have the battery and
charging system inspected at an authorized
dealer.
IF YOUR ENGINE OVERHEATS
In any of the following situations, you can
reduce the potential for overheating by taking
the appropriate action.
On the highways — slow down.
In city traffic — while stopped, place the trans
-
mission in NEUTRAL, but do not increase the
engine idle speed while preventing vehicle
motion with the brakes.
WARNING!
Do not connect the jumper cable to the
negative (-) post of the discharged battery.
The resulting electrical spark could cause the
battery to explode and could result in
personal injury. Only use the specific ground
point, do not use any other exposed metal
parts.
CAUTION!
Do not connect jumper cable to any of the
fuses on the positive battery terminal. The
resulting electrical current will blow the fuse.
CAUTION!
Accessories plugged into the vehicle power
outlets draw power from the vehicle’s battery,
even when not in use (i.e., cellular devices,
etc.). Eventually, if plugged in long enough
without engine operation, the vehicle’s
battery will discharge sufficiently to degrade
battery life and/or prevent the engine from
starting.
6
2020_RAM_CHASSIS_CAB_OM_USA=GUID-6C67832B-7839-4CCF-BEFC-CDF988F949EA=1=en=.book Page 321
Page 348 of 516

346SERVICING AND MAINTENANCE
After the engine has warmed up, operate the
defroster for a few minutes to reduce the possi -
bility of smearing or freezing the fluid on the
cold windshield. Windshield washer solution
used with water as directed on the container,
aids cleaning action, reduces the freezing point
to avoid line clogging, and is not harmful to
paint or trim.
Maintenance-Free Battery
Your vehicle is equipped with a mainte-
nance-free battery. You will never have to add
water, nor is periodic maintenance required.
NOTE:
Replacement batteries should both be of equal
capacity to prevent damage to the vehicle's
charging system.
Pressure Washing
WARNING!
Commercially available windshield washer
solvents are flammable. They could ignite and
burn you. Care must be exercised when filling
or working around the washer solution.
WARNING!
Battery fluid is a corrosive acid solution and
can burn or even blind you. Do not allow
battery fluid to contact your eyes, skin, or
clothing. Do not lean over a battery when
attaching clamps. If acid splashes in eyes
or on skin, flush the area immediately with
large amounts of water. Refer to “Jump
Starting Procedure” in “In Case Of Emer -
gency” for further information.
Battery gas is flammable and explosive.
Keep flame or sparks away from the
battery. Do not use a booster battery or any
other booster source with an output greater
than 12 Volts. Do not allow cable clamps to
touch each other.
Battery posts, terminals, and related acces -
sories contain lead and lead compounds.
Wash hands after handling.
CAUTION!
It is essential when replacing the cables on
the battery that the positive cable is
attached to the positive post and the nega -
tive cable is attached to the negative post.
Battery posts are marked positive (+) and
negative (-) and are identified on the battery
case. Cable clamps should be tight on the
terminal posts and free of corrosion.
If a “fast charger” is used while the battery
is in the vehicle, disconnect both vehicle
battery cables before connecting the
charger to the battery. Do not use a “fast
charger” to provide starting voltage.
CAUTION!
Cleaning the engine compartment with a high
pressure washer is not recommended.
Precautions have been taken to safeguard all
parts and connections however, the
pressures generated by these machines is
such that complete protection against water
ingress cannot be guaranteed.
2020_RAM_CHASSIS_CAB_OM_USA=GUID-6C67832B-7839-4CCF-BEFC-CDF988F949EA=1=en=.book Page 346
Page 356 of 516

354SERVICING AND MAINTENANCE
NOTE:
Ensure the glove compartment door hinges and
glove compartment travel stops are fully
engaged.
9. Reattach the glove compartment tension
tether by inserting the tether clip in the
glove compartment and sliding the clip
away from the face of the glove compart -
ment door.
Accessory Drive Belt Inspection
When inspecting accessory drive belts, small
cracks that run across ribbed surface of belt
from rib to rib, are considered normal. These
are not a reason to replace belt. However,
cracks running along a rib (not across) are not
normal. Any belt with cracks running along a rib
must be replaced. Also have the belt replaced if
it has excessive wear, frayed cords or severe
glazing.
Accessory Belt (Serpentine Belt)
Conditions that would require replacement:
Rib chunking (one or more ribs has sepa -
rated from belt body)
Rib or belt wear
Longitudinal belt cracking (cracks between
two ribs)
Belt slips
“Groove jumping" (belt does not maintain
correct position on pulley)
Belt broken (note: identify and correct
problem before new belt is installed)
Noise (objectionable squeal, squeak, or
rumble is heard or felt while drive belt is in
operation)
Some conditions can be caused by a faulty
component such as a belt pulley. Belt pulleys
should be carefully inspected for damage and
proper alignment.
Belt replacement on some models requires the
use of special tools, we recommend having your
vehicle serviced at an authorized dealer.
Draining Fuel/Water Separator Filter
There are two fuel filter assemblies. One is
located on the driver's side of the engine. The
best access to this water drain valve is from
under the hood. The second one is on the under
body, located in front of the rear axle above the
drive shaft on pick-up models. The Chassis Cab
models second filter location is on the frame
behind the front axle. The best access to this
water drain valve is from under the vehicle.
WARNING!
Do not attempt to inspect an accessory
drive belt with vehicle running.
When working near the radiator cooling fan,
disconnect the fan motor lead. The fan is
temperature controlled and can start at any
time regardless of ignition mode. You could
be injured by the moving fan blades.
You can be badly injured working on or
around a motor vehicle. Only do service
work for which you have the knowledge and
the proper equipment. If you have any
doubt about your ability to perform a
service job, take your vehicle to a compe -
tent mechanic.
2020_RAM_CHASSIS_CAB_OM_USA=GUID-6C67832B-7839-4CCF-BEFC-CDF988F949EA=1=en=.book Page 354
Page 475 of 516

MULTIMEDIA473
Repeat
Press the Repeat button on the touchscreen to
repeat the song selection. To cancel Repeat,
press the Repeat button on the touchscreen a
second time.
Shuffle
Press the Shuffle button on the touchscreen to
play the selections on the USB/iPod® or Blue -
tooth® device in random order to provide an
interesting change of pace. Press the Shuffle
button on the touchscreen a second time to
turn this feature off.
Track Info
Press the Info button on the touchscreen to
display the current track information. Press the
X button on the touchscreen to cancel this
feature.
Audio
Refer to “Audio Settings” for the adjustable
audio settings.
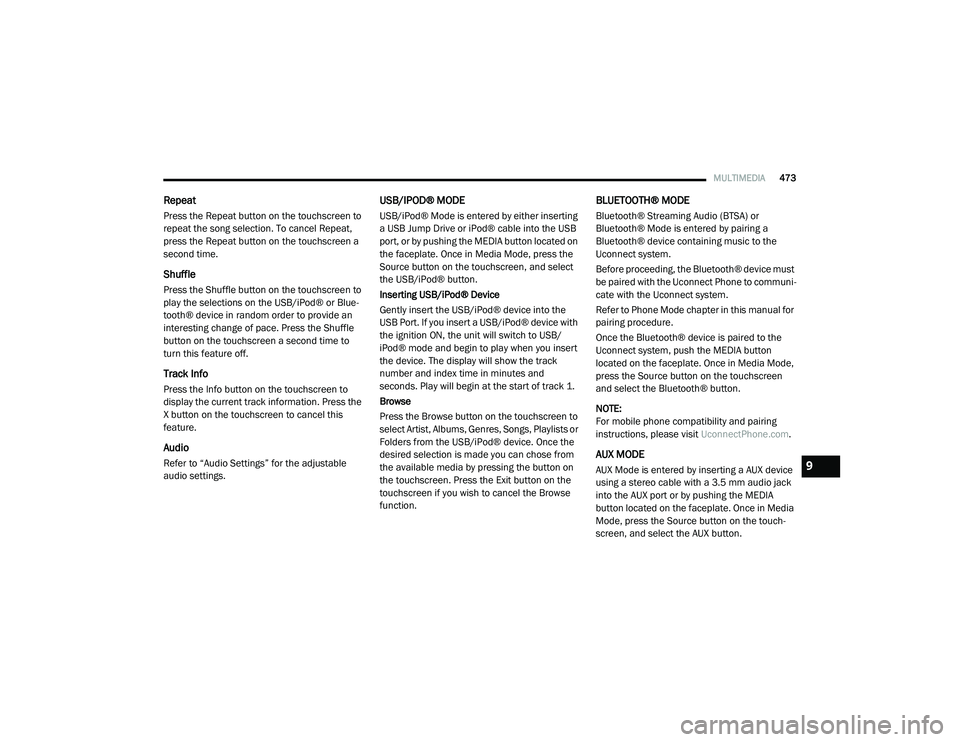
USB/IPOD® MODE
USB/iPod® Mode is entered by either inserting
a USB Jump Drive or iPod® cable into the USB
port, or by pushing the MEDIA button located on
the faceplate. Once in Media Mode, press the
Source button on the touchscreen, and select
the USB/iPod® button.
Inserting USB/iPod® Device
Gently insert the USB/iPod® device into the
USB Port. If you insert a USB/iPod® device with
the ignition ON, the unit will switch to USB/
iPod® mode and begin to play when you insert
the device. The display will show the track
number and index time in minutes and
seconds. Play will begin at the start of track 1.
Browse
Press the Browse button on the touchscreen to
select Artist, Albums, Genres, Songs, Playlists or
Folders from the USB/iPod® device. Once the
desired selection is made you can chose from
the available media by pressing the button on
the touchscreen. Press the Exit button on the
touchscreen if you wish to cancel the Browse
function.
BLUETOOTH® MODE
Bluetooth® Streaming Audio (BTSA) or
Bluetooth® Mode is entered by pairing a
Bluetooth® device containing music to the
Uconnect system.
Before proceeding, the Bluetooth® device must
be paired with the Uconnect Phone to communi -
cate with the Uconnect system.
Refer to Phone Mode chapter in this manual for
pairing procedure.
Once the Bluetooth® device is paired to the
Uconnect system, push the MEDIA button
located on the faceplate. Once in Media Mode,
press the Source button on the touchscreen
and select the Bluetooth® button.
NOTE:
For mobile phone compatibility and pairing
instructions, please visit UconnectPhone.com.
AUX MODE
AUX Mode is entered by inserting a AUX device
using a stereo cable with a 3.5 mm audio jack
into the AUX port or by pushing the MEDIA
button located on the faceplate. Once in Media
Mode, press the Source button on the touch -
screen, and select the AUX button.9
2020_RAM_CHASSIS_CAB_OM_USA=GUID-6C67832B-7839-4CCF-BEFC-CDF988F949EA=1=en=.book Page 473
Page 508 of 516

506
Dipsticks Power Steering
..................................229Disabled Vehicle Towing..........................326DisposalAntifreeze (Engine Coolant)...................365Do Not Disturb......................................496Door Ajar.............................................111Door Ajar Light......................................111Door LocksAutomatic...........................................29Doors....................................................25Draining Fuel/Water Separator Filter..........354Driver’s Seat Back Tilt...............................30DrivingThrough Flowing, Rising, Or Shallow Standing Water
..........................................292Dual Rear Wheels.................. 317, 391, 398
E
Electric Brake Control System...................121Anti-Lock Brake System.......................120Electronic Roll Mitigation..............124, 127Electrical Power Outlets.............................78Electronic Range Select (ERS)........... 211, 217Electronic Stability Control (ESC)...............124Electronic Throttle Control Warning Light.....110Electronically Shifted Transfer Case...219, 222Emergency Braking................................204Emergency, In Case OfFreeing Vehicle When Stuck..................324
Hazard Warning Flasher...................... 294Jacking............................................ 314Jump Starting................................... 319Emission Control System Maintenance....... 119Engine........................................ 343, 344Air Cleaner....................................... 349Block Heater..................................... 190Break-In Recommendations................. 202Compartment.................................... 344Compartment Identification.................. 343Coolant (Antifreeze).................... 407, 410Exhaust Gas Caution.................. 180, 401Fails To Start.................................... 186Flooded, Starting............................... 186Fuel Requirements............................. 399Identifcation..................................... 344Idling.............................................. 197Jump Starting................................... 319Oil.................................. 347, 407, 410Oil Filler Cap............................. 343, 348Oil Filter........................................... 349Oil Reset............................................ 93Oil Selection..................................... 347Oil Synthetic..................................... 349Overheating...................................... 321Runaway.......................................... 267Starting........................................... 184Engine Oil Viscosity................................ 348Enhanced Accident Response
Feature....................................... 158, 328
Entry System, Illuminated.......................... 49Ethanol............................................... 400Exhaust Brake...................................... 203Exhaust Gas Cautions.................... 180, 401Exhaust System.................... 180, 362, 371Exterior Lighting...................................... 44Exterior Lights................................ 44, 182
F
FiltersAir Cleaner
....................................... 349Air Conditioning........................... 64, 352Engine Fuel.............................. 354, 407Engine Oil........................ 349, 407, 410Engine Oil Disposal............................ 349FlashersTurn Signals....................... 47, 117, 182Flash-To-Pass......................................... 46Flat Tire Stowage.................................. 318Fluid Capacities.................................... 405Fluid Leaks.......................................... 182Fluid Level ChecksBrake............................................. 367Power Steering.................................. 229Fluids And Lubricants..................... 407, 410Fog Lights..................................... 47, 303Fold Flat Load Floor................................. 76Fold-Flat Seats....................................... 30Forward Collision Warning....................... 129Four Wheel Drive.................................. 218
2020_RAM_CHASSIS_CAB_OM_USA=GUID-6C67832B-7839-4CCF-BEFC-CDF988F949EA=1=en=.book Page 506
Page 510 of 516

508
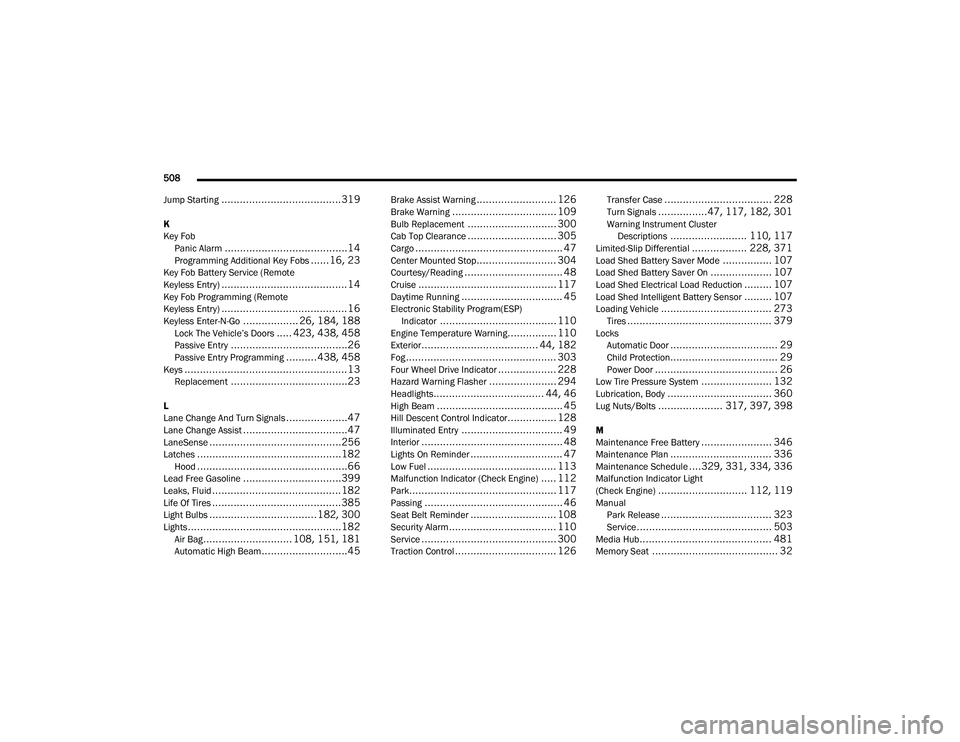
Jump Starting
.......................................319
K
Key Fob Panic Alarm
........................................14Programming Additional Key Fobs...... 16, 23Key Fob Battery Service (Remote
Keyless Entry).........................................14Key Fob Programming (Remote
Keyless Entry).........................................16Keyless Enter-N-Go.................. 26, 184, 188Lock The Vehicle’s Doors..... 423, 438, 458Passive Entry......................................26Passive Entry Programming..........438, 458Keys.....................................................13Replacement......................................23
L
Lane Change And Turn Signals....................47Lane Change Assist..................................47LaneSense...........................................256Latches...............................................182Hood.................................................66Lead Free Gasoline................................399Leaks, Fluid..........................................182Life Of Tires..........................................385Light Bulbs...................................182, 300Lights..................................................182Air Bag............................. 108, 151, 181Automatic High Beam............................45
Brake Assist Warning.......................... 126Brake Warning.................................. 109Bulb Replacement............................. 300Cab Top Clearance............................. 305Cargo................................................ 47Center Mounted Stop.......................... 304Courtesy/Reading................................ 48Cruise............................................. 117Daytime Running................................. 45Electronic Stability Program(ESP)Indicator...................................... 110Engine Temperature Warning................ 110Exterior...................................... 44, 182Fog................................................. 303Four Wheel Drive Indicator................... 228Hazard Warning Flasher...................... 294Headlights.................................... 44, 46High Beam......................................... 45Hill Descent Control Indicator................ 128Illuminated Entry................................. 49Interior.............................................. 48Lights On Reminder.............................. 47Low Fuel.......................................... 113Malfunction Indicator (Check Engine)..... 112Park................................................ 117Passing............................................. 46Seat Belt Reminder............................ 108Security Alarm................................... 110Service............................................ 300Traction Control................................. 126
Transfer Case................................... 228Turn Signals................47, 117, 182, 301Warning Instrument ClusterDescriptions......................... 110, 117Limited-Slip Differential.................. 228, 371Load Shed Battery Saver Mode................ 107Load Shed Battery Saver On.................... 107Load Shed Electrical Load Reduction......... 107Load Shed Intelligent Battery Sensor......... 107Loading Vehicle.................................... 273Tires............................................... 379LocksAutomatic Door................................... 29Child Protection................................... 29Power Door........................................ 26Low Tire Pressure System....................... 132Lubrication, Body.................................. 360Lug Nuts/Bolts..................... 317, 397, 398
M
Maintenance Free Battery....................... 346Maintenance Plan................................. 336Maintenance Schedule....329, 331, 334, 336Malfunction Indicator Light
(Check Engine)............................. 112, 119ManualPark Release.................................... 323Service............................................ 503Media Hub........................................... 481Memory Seat......................................... 32
2020_RAM_CHASSIS_CAB_OM_USA=GUID-6C67832B-7839-4CCF-BEFC-CDF988F949EA=1=en=.book Page 508