clock setting Ram ProMaster 2018 User Guide
[x] Cancel search | Manufacturer: RAM, Model Year: 2018, Model line: ProMaster, Model: Ram ProMaster 2018Pages: 204, PDF Size: 4 MB
Page 23 of 204
IconDescription
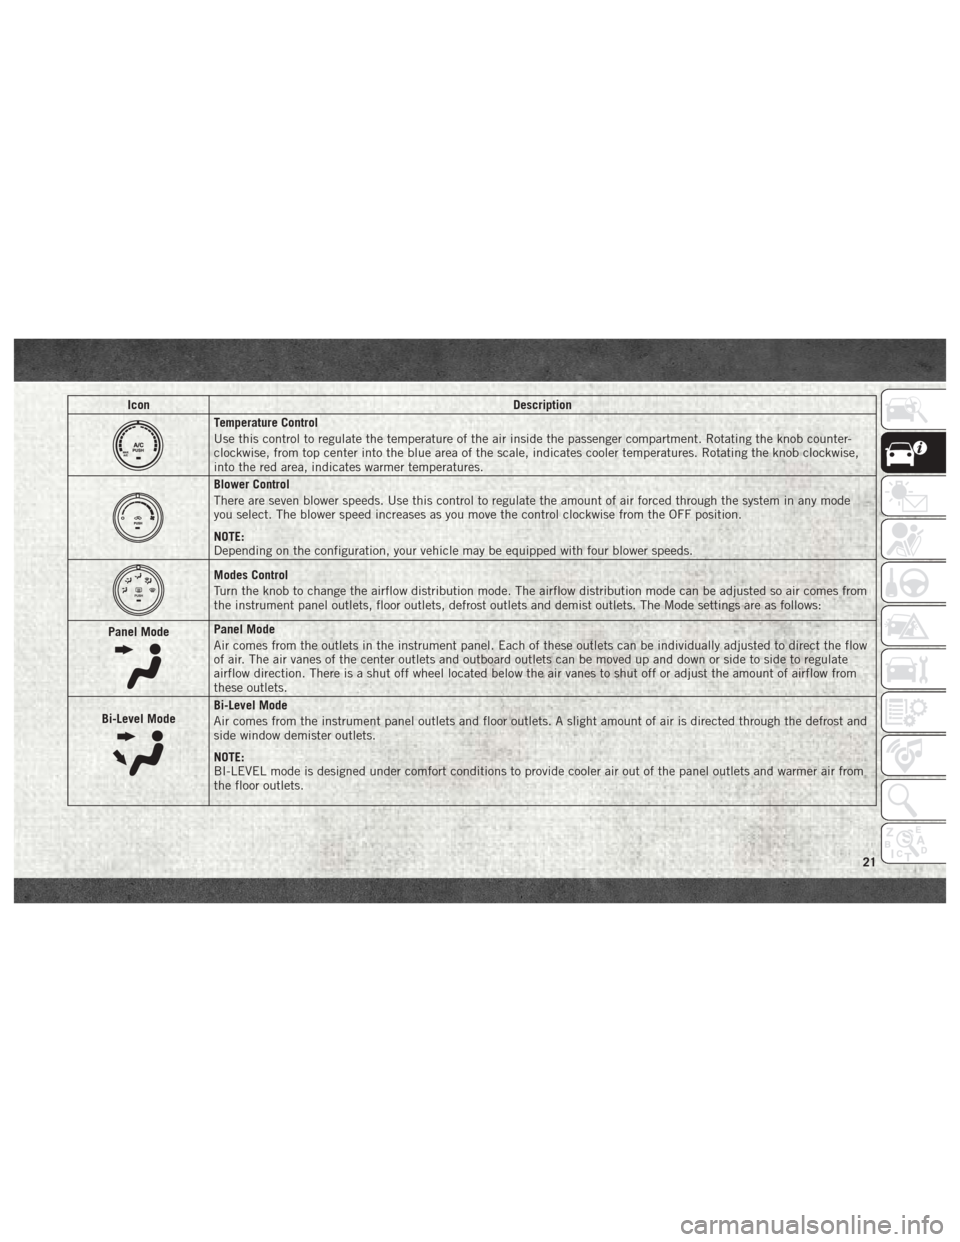
Temperature Control
Use this control to regulate the temperature of the air inside the passenger compartment. Rotating the knob counter-
clockwise, from top center into the blue area of the scale, indicates cooler temperatures. Rotating the knob clockwise,
into the red area, indicates warmer temperatures.
Blower Control
There are seven blower speeds. Use this control to regulate the amount of air forced through the system in any mode
you select. The blower speed increases as you move the control clockwise from the OFF position.
NOTE:
Depending on the configuration, your vehicle may be equipped with four blower speeds.
Modes Control
Turn the knob to change the airflow distribution mode. The airflow distribution mode can be adjusted so air comes from
the instrument panel outlets, floor outlets, defrost outlets and demist outlets. The Mode settings are as follows:
Panel Mode
Panel Mode
Air comes from the outlets in the instrument panel. Each of these outlets can be individually adjusted to direct the flow
of air. The air vanes of the center outlets and outboard outlets can be moved up and down or side to side to regulate
airflow direction. There is a shut off wheel located below the air vanes to shut off or adjust the amount of airflow from
these outlets.
Bi-Level Mode
Bi-Level Mode
Air comes from the instrument panel outlets and floor outlets. A slight amount of air is directed through the defrost and
side window demister outlets.
NOTE:
BI-LEVEL mode is designed under comfort conditions to provide cooler air out of the panel outlets and warmer air from
the floor outlets.
21
Page 163 of 204
MULTIMEDIA
CYBERSECURITY..............162
UCONNECT 3/3 NAV WITH
5-INCH DISPLAY ..............163
Clock Setting.................164
Equalizer, Balance And Fade .......164
Radio Operation ...............166
USB/Audio Jack (AUX)/Bluetooth
Operation ...................167
Navigation ..................168
UCONNECT SETTINGS ...........169
STEERING WHEEL AUDIO CONTROLS . .170
Left Switch ..................170
Right Switch .................170
UCONNECT PHONE ............171
Uconnect Phone (Bluetooth Hands
Free Calling).................171
Pairing (Wirelessly Connecting)
Your Mobile Phone To The Uconnect
System ....................172
Common Phone Commands
(Examples) ..................175
Mute (Or Unmute) Microphone
During Call ..................175
Transfer Ongoing Call Between
Handset And Vehicle ............175
Phonebook ..................175
Voice Command Tips ............176
Changing The Volume ............176
Using Do Not Disturb ...........176
Incoming Text Messages ..........176Helpful Tips And Common Questions To
Improve Bluetooth Performance With Your
Uconnect System
..............178
Regulatory And Safety Information
USA/CANADA ................178
UCONNECT VOICE RECOGNITION QUICK
TIPS..................... .179
Introducing Uconnect............179
Get Started ..................180
Basic Voice Commands ...........182
Radio .....................182
Media .....................182
Phone .....................183
Voice Text Reply ...............183
Additional Information ...........184
MULTIMEDIA
161
Page 166 of 204
Clock Setting
1. To start the clock setting procedure, pushthe SETTINGS
button on the right
side of the display, then “Clock” button
on the touchscreen, and then “Set Time &
Format” button on the touchscreen. Se-
lect the up or down arrows as appropriate.
2. Press the up or down arrows to adjust the hours or minutes, next select the AM or
PM button on the touchscreen. You can
also select 12hr or 24hr format by press-
ing the desired button on the
touchscreen.
3. Once the time is set, press the “Done” or “back arrow” button on the touchscreen
to exit the time screen.
NOTE:
Once the time has been set on the radio, the
time will also appear in the instrument clus-
ter display.
Equalizer, Balance And Fade
1. Push the SETTINGSbutton on the
right side of the display.
2. Scroll down and press the “Audio” button on the touchscreen to open the Audio
menu.
3. The Audio Menu shows the following op- tions for you to customize your audio
settings.
Equalizer — If Equipped
• Press the “Equalizer” button on the touch- screen to adjust the Bass, Mid and Treble.
Use the “+” or “-” buttons on the touch-
screen to adjust the equalizer to your de-
sired settings.
Balance/Fade — If Equipped
• Press the “Balance/Fade” button on the touchscreen to adjust the sound from the
speakers. Use the “arrow” buttons on the
touchscreen to adjust the sound level from
the front and rear or right and left side
speakers. Press the Center “C” button on
the touchscreen to reset the balance and
fade to the factory setting. Speed Adjusted Volume — If Equipped
• Press the “Speed Adjusted Volume” button
on the touchscreen to select between OFF,
1, 2 or 3. This decreases the radio volume
relative to a decrease in vehicle speed.
AUX Volume Offset
• Press the “AUX Volume Offset” button on the touchscreen to activate the AUX Vol-
ume Offset screen.
• The AUX Volume Offset is adjusted by pressing of the “+” and “–” buttons. This
alters the AUX input audio volume. The
level value, which spans between plus or
minus three, is displayed above the adjust-
ment bar.
Auto Play
• Press the “Auto Play” button on the touch- screen to activate the Auto Play screen.
• The Auto Play feature begins playing music as soon as a USB Media device is con-
nected to one of the vehicle’s Media USB
ports, when it is turned on. Press “Off” to
turn the setting off.
MULTIMEDIA
164
Page 171 of 204
UCONNECT SETTINGS
The Uconnect system allows you to access
Customer Programmable feature settings
such as Display, Clock & Date, Safety/
Assistance, Lights, Doors & Locks, Audio,
Phone/Bluetooth, SiriusXM Setup, Restore
Default Settings and Clear Personal Data
through buttons on the touchscreen.To change a setting:
1. Push the SETTINGSbutton located
on the right side of the display.
2. Select a programmable feature you would like to adjust.
3. Make your selection highlighting the button.
Depending on the vehicles options, the following feature settings are available:
• Language • Doors & Locks
• Display • Engine Off Options
• Units (If Equipped) • Audio
• Voice • Phone
• Clock • SiriusXM Setup
• Safety/Assistance • Radio Setup
• Lights • Restore Settings
• Brakes • Clear Personal Data
Refer to “Uconnect Settings” in “Multime-
dia” in your Owner’s Manual. For U.S. resi-
dents, visit: www.mopar.com/en-us/care/
owners-manual.html. For Canadian resi-
dents, visit: www.owners.mopar.ca.
169
Page 191 of 204
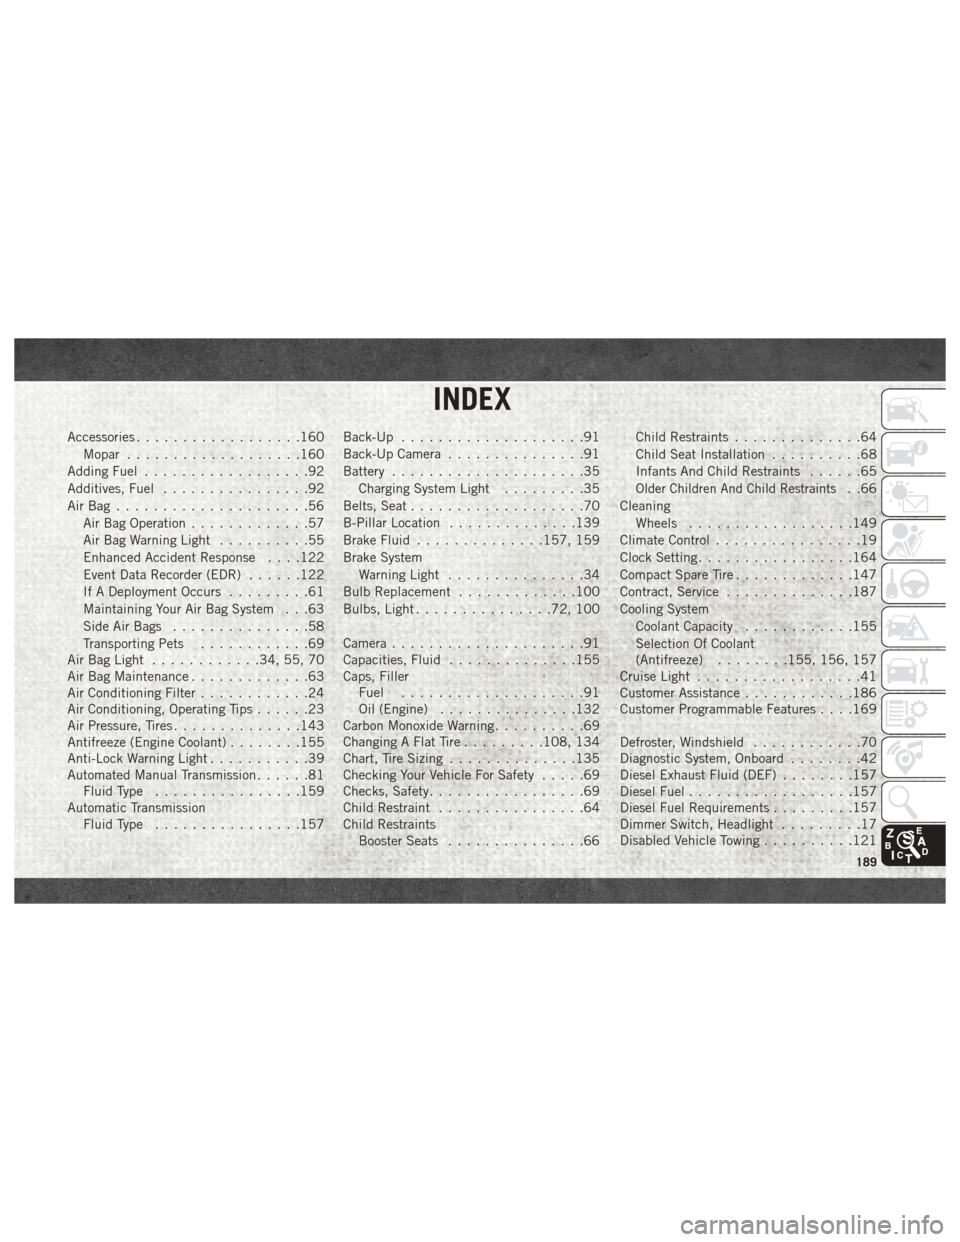
Accessories..................160
Mopar ...................160
Adding Fuel ..................92
Additives, Fuel ................92
AirBag .....................56 Air Bag Operation .............57
Air Bag Warning Light ..........55
Enhanced Accident Response . . . .122
Event Data Recorder (EDR) ......122
If A Deployment Occurs .........61
Maintaining Your Air Bag System . . .63
Side Air Bags ...............58
Transporting Pets ............69
Air Bag Light ............34, 55, 70
Air Bag Maintenance .............63
Air Conditioning Filter ............24
Air Conditioning, Operating Tips ......23
Air Pressure, Tires ..............143
Antifreeze (Engine Coolant) ........155
Anti-Lock Warning Light ...........39
Automated Manual Transmission ......81
Fluid Type ................159
Automatic Transmission Fluid Type ................157 Back-Up
....................91
Back-Up Camera ...............91
Battery .....................35
Charging System Light .........35
Belts, Seat ...................70
B-Pillar Location ..............139
Brake Fluid ..............157, 159
Brake System Warning Light ...............34
Bulb Replacement .............100
Bulbs, Light ...............72, 100
Camera .....................91
Capacities, Fluid ..............155
Caps, Filler Fuel ....................91
Oil (Engine) ...............132
Carbon Monoxide Warning ..........69
Changing A Flat Tire .........108, 134
Chart, Tire Sizing ..............135
Checking Your Vehicle For Safety .....69
Checks, Safety .................69
Child Restraint ................64
Child
Restraints
Booster Seats ...............66 Child Restraints
..............64
Child Seat Installation ..........68
Infants And Child Restraints ......65
Older Children And Child Restraints. .66
Cleaning Wheels ..................149
Climate Control ................19
Clock Setting .................164
Compact Spare Tire .............147
Contract, Service ..............187
Cooling System Coolant Capacity ............155
Selection Of Coolant
(Antifreeze) ........155, 156, 157
Cruise Light ..................41
Customer Assistance ............186
Customer Programmable Features . . . .169
Defroster, Windshield ............70
Diagnostic System, Onboard ........42
Diesel Exhaust Fluid (DEF) ........157
Diesel Fuel ..................157
Diesel Fuel Requirements .........157
Dimmer Switch, Headlight .........17
Disabled Vehicle Towing ..........121
INDEX
189