reset Ram ProMaster 2020 User Guide
[x] Cancel search | Manufacturer: RAM, Model Year: 2020, Model line: ProMaster, Model: Ram ProMaster 2020Pages: 264, PDF Size: 10.11 MB
Page 154 of 264

152
SERVICING AND MAINTENANCE
SCHEDULED SERVICING
Your vehicle is equipped with an automatic oil
change indicator system. The oil change indi-
cator system will remind you that it is time to
take your vehicle in for scheduled maintenance.
Based on engine operation conditions, the oil
change indicator message will illuminate in the
instrument cluster. This means that service is
required for your vehicle. Operating conditions
such as frequent short-trips, trailer tow, and
extremely hot or cold ambient temperatures will
influence when the “Oil Change Required”
message is displayed. Severe Operating Condi-
tions can cause the change oil message to illu -
minate as early as 3,500 miles (5,600 km)
since last reset. Have the vehicle serviced as
soon as possible, within the next 500 miles
(805 km). An authorized dealer will reset the oil change
indicator message after completing the sched
-
uled oil change. If a scheduled oil change is
performed by someone other than an autho -
rized dealer, the message can be reset by refer -
ring to the steps described under “Instrument
Cluster Display” in “Getting To Know Your
Instrument Panel” for further information.
NOTE:
Under no circumstances should oil change
intervals exceed 10,000 miles (16,000 km),
12 months or 350 hours of engine run time,
whichever comes first. The 350 hours of engine
run or idle time is generally only a concern for
fleet customers.
Severe Duty All Models
Change Engine Oil at 4,000 miles (6,500 km) or
350 hours of engine run time if the vehicle is
operated in a dusty and off road environment or
is operated predominately at idle or only very
low engine RPM. This type of vehicle use is
considered Severe Duty. Once A Month Or Before A Long Trip:Check engine oil level
Check windshield washer fluid level
Check the tire inflation pressures and look
for unusual wear or damage. Rotate at the
first sign of irregular wear, even if it occurs
before the oil indicator system turns on
Check the fluid levels of the coolant reservoir,
brake master cylinder, and power steering
and fill as needed
Check function of all interior and exterior
lights
Maintenance Plan
Required Maintenance Intervals
Refer to the maintenance plan on the following
pages for the required maintenance intervals.
20_VF_OM_EN_US_t.book Page 152
Page 170 of 264
168SERVICING AND MAINTENANCE
Fluid Level Check
The fluid level is preset at the factory and does
not require adjustment under normal operating
conditions. Routine fluid level checks are not
required, therefore the transmission filler tube
is capped and no dipstick is provided. Your
authorized dealer can check your transmission
fluid level using a special service dipstick. If you
notice fluid leakage or transmission malfunc-
tion, visit your authorized dealer immediately to
have the transmission fluid level checked. Oper -
ating the vehicle with an improper fluid level can
cause severe transmission damage.
Fluid And Filter Changes
Refer to the “Maintenance Plan” in this section
for the proper maintenance intervals.
In addition, change the fluid and filter if the fluid
becomes contaminated (with water, etc.), or if
the transmission is disassembled for any
reason.
RAISING THE VEHICLE
In the case where it is necessary to raise the
vehicle, go to an authorized dealer or service
station.
TIRES
Tire Safety Information
Tire safety information will cover aspects of the
following information: Tire Markings, Tire Identi -
fication Numbers, Tire Terminology and Defini -
tions, Tire Pressures, and Tire Loading.
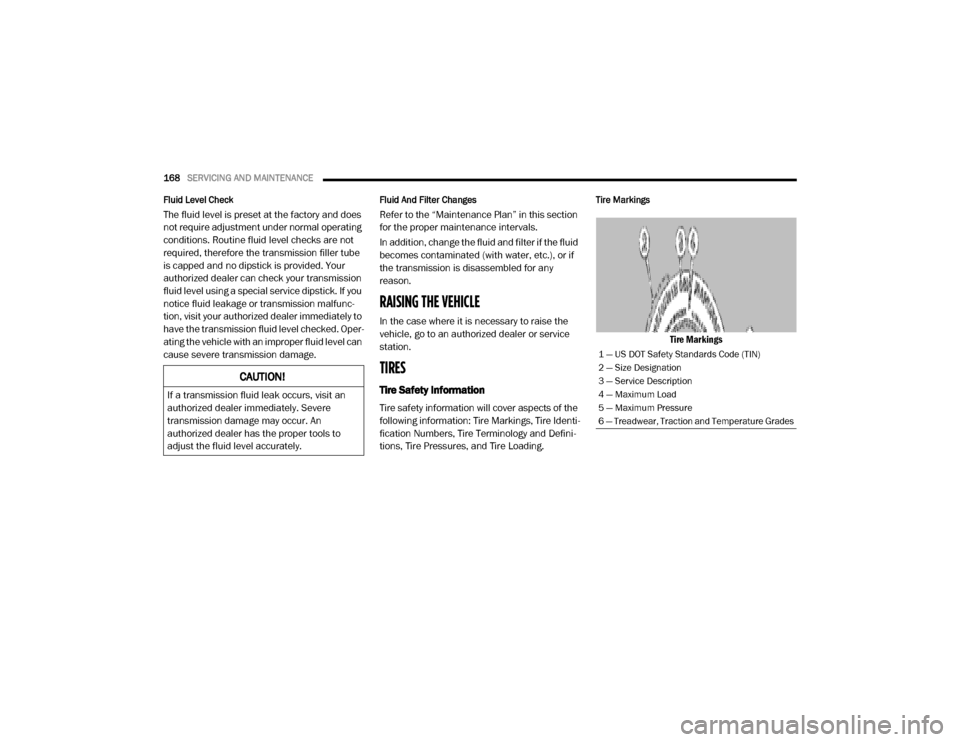
Tire Markings
Tire Markings
CAUTION!
If a transmission fluid leak occurs, visit an
authorized dealer immediately. Severe
transmission damage may occur. An
authorized dealer has the proper tools to
adjust the fluid level accurately.
1 — US DOT Safety Standards Code (TIN)
2 — Size Designation
3 — Service Description
4 — Maximum Load
5 — Maximum Pressure
6 — Treadwear, Traction and Temperature Grades
20_VF_OM_EN_US_t.book Page 168
Page 206 of 264

204MULTIMEDIA
Audio
After pressing the Audio button on the touchscreen, the following settings will be available:
Setting Name Selectable Options
Equalizer+ –
NOTE:
When in this display, you may adjust the “Bass”, “Mid”, and “Treble” settings. Adjust the settings with the + and – setting buttons on the touchscreen
or by selecting any point on the scale between the + and – buttons on the touchscreen. Bass/Mid/Treble also allow you to simply slide your finger up
or down to change the setting as well as press directly on the desired setting.
Balance — If Equipped Speaker Icon Arrow Buttons
NOTE:
When in this display, you may adjust the “Balance” (if equipped) of the audio by using the Arrow button on the touchscreen to adjust the sound level
of the right and left side speakers. Press the Speaker icon on the touchscreen to reset the balance to the factory setting.
Speed Adjusted Volume Off 12 3
NOTE:
The “Speed Adjusted Volume” feature increases or decreases volume relative to vehicle speed.
Surround Sound — If Equipped On Off
Loudness — If Equipped On Off
NOTE:
The “Loudness” feature improves sound quality at lower volumes when enabled.
Auto-On Radio — If Equipped On Off Recall Last
NOTE:
Press the Auto-On Radio button on the touchscreen to set how the radio behaves when the ignition is switched to ON/RUN.
20_VF_OM_EN_US_t.book Page 204
Page 208 of 264

206MULTIMEDIA
SiriusXM® Setup — If Equipped
After pressing the SiriusXM® Setup button on the touchscreen, the following settings will be available:
Setting Name Selectable Options
Tune StartOnOff
NOTE:
The “Tune Start” feature begins playing the current song from the beginning when you tune to a music channel using one of the 12 presets, so you
can enjoy the complete song. This feature occurs the first time the preset is selected during that current song. Tune Start works in the background,
so you will not even realize it's on, except that you will miss the experience of joining your favorite song with only a few seconds left to play.
Channel Skip List of Channels
NOTE:
SiriusXM® can be programmed to designate a group of channels that are the most desirable to listen to or to exclude undesirable channels while
scanning. This feature allows you to select the channels you would like to skip.
Subscription Information Sirius ID
NOTE:
New vehicle purchasers or lessees will receive a free, limited-time subscription to SiriusXM® Satellite Radio with your radio. Following the expiration
of the free services, it will be necessary to access the information on the Subscription Information screen to re-subscribe.
1. Press the Subscription Information button on the touchscreen to access the Subscription Information screen.
2. Write down the Sirius ID numbers for your receiver. To reactivate your service, either call the number listed on the screen or visit the provider online.
20_VF_OM_EN_US_t.book Page 206
Page 209 of 264

MULTIMEDIA207
Restore Settings — If Equipped
After pressing the Restore Settings button on the touchscreen, the following settings will be available:
Clear Personal Data
After pressing the Clear Personal Data button
on the touchscreen, the following settings will
be available:
Setting Name Selectable Options
Restore Settings to DefaultYesNo
NOTE:
When this feature is selected, it will reset the Display, Clock, Audio, and Radio Settings to their default settings. Once the settings are restored, a
pop-up appears stating “settings reset to default”. Press the okay button on the touchscreen to exit.
Setting Name Selectable Options
Clear Personal DataYesNo
NOTE:
When this feature is selected, it will remove personal data including Bluetooth® devices and presets.
9
20_VF_OM_EN_US_t.book Page 207
Page 212 of 264

210MULTIMEDIA
1 — SETTINGS
Push the settings button to access the Ucon -
nect setting features.
2 — BACK
Push the BACK button to return to a previous
menu or screen.
3 — ENTER/BROWSE & TUNE/SCROLL
Push the ENTER/BROWSE button to accept a
highlighted selection on the screen. Rotate the
TUNE/SCROLL rotary knob to scroll through a
list or tune a radio station.
4 — MORE
Push the MORE button on the faceplate to
access additional options such as Trip and
Clock.
5 — PHONE
Push the PHONE button to access the Uconnect
Phone feature. 6 — NAV or TRIP
Push the NAV button on the faceplate to display
the current direction of the vehicle.
NOTE:
The NAV button in the middle of your Uconnect
system may also contain the word TRIP.
7 — MEDIA
Pushing the MEDIA button will allow you to
switch to Media mode (USB/iPod®, AUX, Blue
-
tooth®).
8 — RADIO
Push the RADIO button on the faceplate to enter
Radio Mode. The different tuner modes, AM, FM
and SXM (if equipped), can be selected by
pushing the corresponding button on the touch -
screen while in the Radio Mode.
9 — ON/VOLUME
Rotate the rotary knob to adjust the Volume.
Push the ON/VOLUME button to turn on the
system. Push the ON/VOLUME button a second
time to turn off the system. 10 — MUTE
Push the MUTE button for activation/deactiva
-
tion of the volume.
11 — SCREEN ON/OFF
Push the SCREEN ON/OFF button on the face -
plate to turn the touchscreen on or off.
More Button
Push the MORE button on the faceplate to
display the More Main Menu. The More Main
Menu contains the following options:
Trip Computer — If Equipped
Press the Trip button located on the touch-
screen to display the trip information of the
vehicle.
This function allows you to display the consump -
tion levels and define two separate trips called
Trip A and Trip B for monitoring the vehicle’s
complete journey in a similarly independent
manner.
Both functions can be reset (start of a new
journey): To reset the desired Trip, hold down
the Trip A or Trip B buttons.
Clock
Show the Clock in full screen mode.
20_VF_OM_EN_US_t.book Page 210
Page 213 of 264
MULTIMEDIA211
Radio Mode
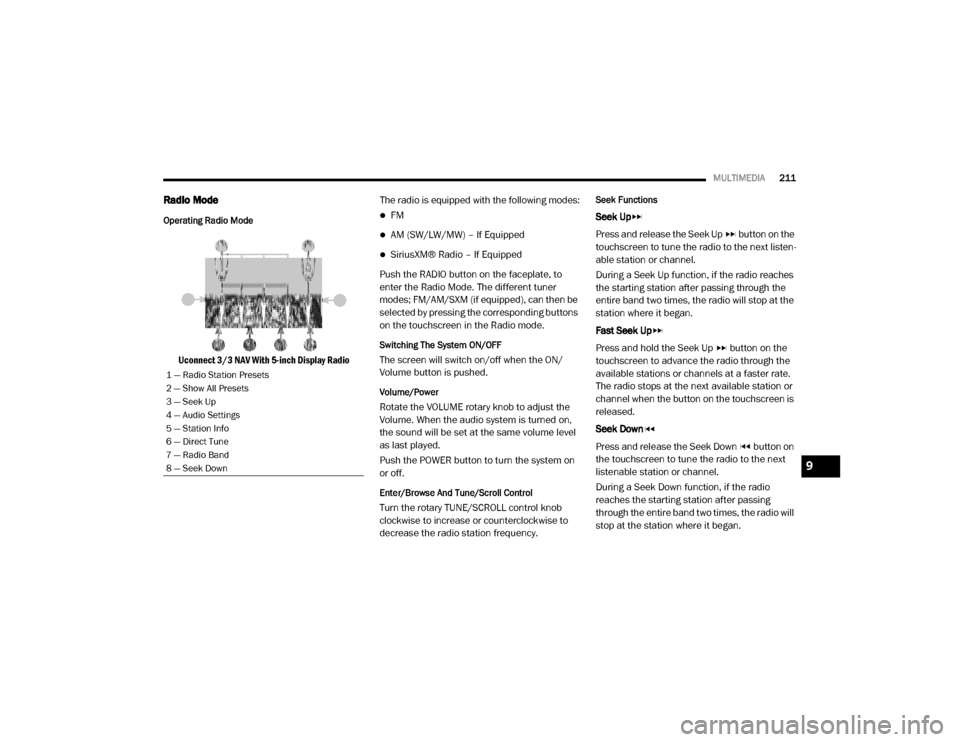
Operating Radio Mode
Uconnect 3/3 NAV With 5-inch Display Radio The radio is equipped with the following modes:
FM
AM (SW/LW/MW) – If Equipped
SiriusXM® Radio – If Equipped
Push the RADIO button on the faceplate, to
enter the Radio Mode. The different tuner
modes; FM/AM/SXM (if equipped), can then be
selected by pressing the corresponding buttons
on the touchscreen in the Radio mode.
Switching The System ON/OFF
The screen will switch on/off when the ON/
Volume button is pushed.
Volume/Power
Rotate the VOLUME rotary knob to adjust the
Volume. When the audio system is turned on,
the sound will be set at the same volume level
as last played.
Push the POWER button to turn the system on
or off.
Enter/Browse And Tune/Scroll Control
Turn the rotary TUNE/SCROLL control knob
clockwise to increase or counterclockwise to
decrease the radio station frequency.
Seek Functions
Seek Up
Press and release the Seek Up button on the
touchscreen to tune the radio to the next listen -
able station or channel.
During a Seek Up function, if the radio reaches
the starting station after passing through the
entire band two times, the radio will stop at the
station where it began.
Fast Seek Up
Press and hold the Seek Up button on the
touchscreen to advance the radio through the
available stations or channels at a faster rate.
The radio stops at the next available station or
channel when the button on the touchscreen is
released.
Seek Down
Press and release the Seek Down button on
the touchscreen to tune the radio to the next
listenable station or channel.
During a Seek Down function, if the radio
reaches the starting station after passing
through the entire band two times, the radio will
stop at the station where it began.
1 — Radio Station Presets
2 — Show All Presets
3 — Seek Up
4 — Audio Settings
5 — Station Info
6 — Direct Tune
7 — Radio Band
8 — Seek Down
9
20_VF_OM_EN_US_t.book Page 211
Page 215 of 264
MULTIMEDIA213
If the screen displays Acquiring Signal, you may
need to change the vehicle’s position to receive
a signal. In most cases, the satellite radio does
not receive a signal in underground parking
garages or tunnels.
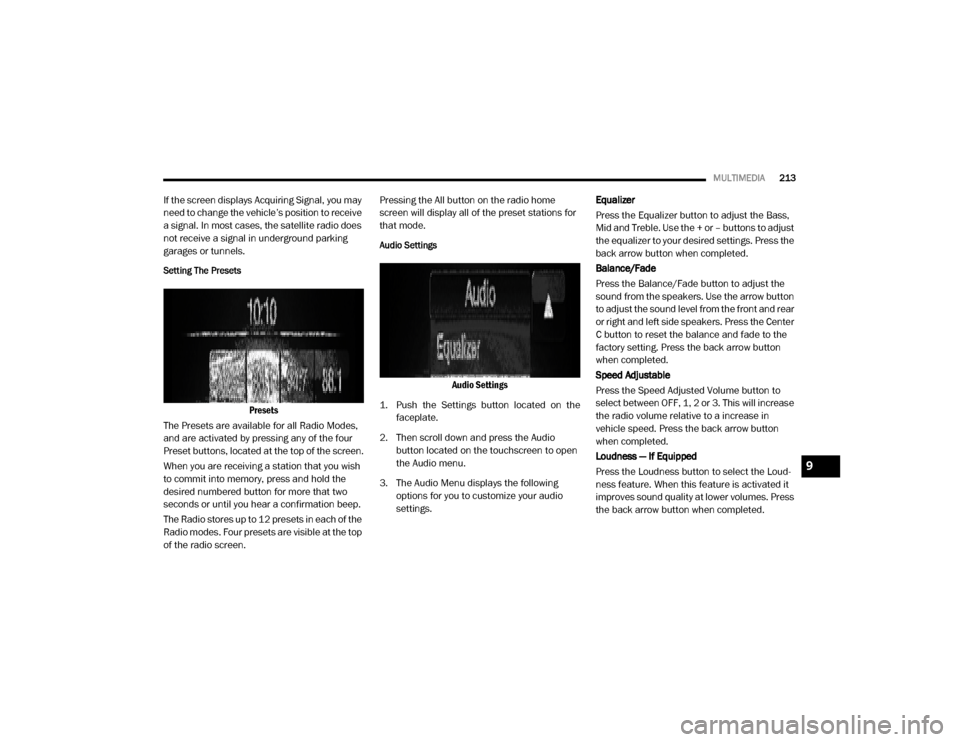
Setting The Presets
Presets
The Presets are available for all Radio Modes,
and are activated by pressing any of the four
Preset buttons, located at the top of the screen.
When you are receiving a station that you wish
to commit into memory, press and hold the
desired numbered button for more that two
seconds or until you hear a confirmation beep.
The Radio stores up to 12 presets in each of the
Radio modes. Four presets are visible at the top
of the radio screen. Pressing the All button on the radio home
screen will display all of the preset stations for
that mode.
Audio Settings
Audio Settings
1. Push the Settings button located on the faceplate.
2. Then scroll down and press the Audio button located on the touchscreen to open
the Audio menu.
3. The Audio Menu displays the following options for you to customize your audio
settings. Equalizer
Press the Equalizer button to adjust the Bass,
Mid and Treble. Use the + or – buttons to adjust
the equalizer to your desired settings. Press the
back arrow button when completed.
Balance/Fade
Press the Balance/Fade button to adjust the
sound from the speakers. Use the arrow button
to adjust the sound level from the front and rear
or right and left side speakers. Press the Center
C button to reset the balance and fade to the
factory setting. Press the back arrow button
when completed.
Speed Adjustable
Press the Speed Adjusted Volume button to
select between OFF, 1, 2 or 3. This will increase
the radio volume relative to a increase in
vehicle speed. Press the back arrow button
when completed.
Loudness — If Equipped
Press the Loudness button to select the Loud
-
ness feature. When this feature is activated it
improves sound quality at lower volumes. Press
the back arrow button when completed.
9
20_VF_OM_EN_US_t.book Page 213
Page 216 of 264
214MULTIMEDIA
Auto On Radio — If Equipped
Press the Auto On Radio button to set how the
radio behaves when the Ignition is switched to
ON. The options are: On, Off or Recall Last to the
last turned to stop condition. Press the back
arrow button when completed.
Radio Off Delay
Press the Radio Off Delay button to keep the
radio on for a preset amount of time after the
Ignition is switched OFF. Press the back arrow
button when completed.
AUX Volume Offset
Press the AUX Volume Offset button on the
touchscreen to activate the AUX Volume Offset
screen.
The AUX Volume Offset is adjusted by pressing
the + and - buttons. This alters the AUX input
audio volume. The level value, which spans
between plus or minus three, is displayed above
the adjustment bar.Media Mode
Operating Media Mode
Media Mode is entered by pushing the MEDIA
button located on the faceplate.
Audio Source Selection
Once in MEDIA mode, press the Source button
and the desired mode button. USB, AUX and
Bluetooth® are the Media sources available.
You can select the Browse button to be given
these options:
Now Playing
Artists
Albums
Genres
Songs
Playlists
Folders
You can select the Source button, Pause/Play
button or the Info button for artist information
on current song playing.
Seek Up/Seek Down
Seek Up /Seek Down
Press and release the Right Arrow button on
the touchscreen for the next selection. Press
and release the Left Arrow button on the
touchscreen to return to the beginning of the
current selection, or return to the beginning of
the previous selection if the track is within the
first few seconds of the current selection.
Fast Seek Up
Press and hold the Right Arrow button on the
touchscreen and the desired mode will begin to
fast forward through the current track until the
button on the touchscreen is released.
Fast Seek Down
Press and hold the Left Arrow button on the
touchscreen and the desired mode will begin to
rewind through the current track until the
button on the touchscreen is released.
Track Selection (Browse)
Rotate the Browse button on the touchscreen to
scroll through and select a desired track on the
iPod®, MP3 player, phone, or USB. Press the
Exit button on the touchscreen if you wish to
cancel the browse function.
20_VF_OM_EN_US_t.book Page 214
Page 223 of 264
MULTIMEDIA221
SMS Message Reader Activation/Deactivation
The SMS message automatic reading function
can be activated/deactivated by pressing the
corresponding button on the display, which is
shown after pressing the phone selection
button.
NOTE:
On some mobile phones, to make the SMS
voice reading function available, the SMS notifi -
cation option on the phone must be enabled,
this option is usually available on the phone, in
the Bluetooth® connections menu for a device
registered as Uconnect. After enabling this func -
tion on the mobile phone, it must be discon -
nected and reconnected with the system to
make it effective.
SMS Message Options
Preset SMS messages are stored in the system
and can be sent to answer a received message
or as a new message.Navigation Mode — If Equipped
Operating Navigation Mode — If Equipped
Planning A Route
Using the search bar provides a wide range of
ways to find places and then navigate to them.
You can search your destination in different
ways:
A specific address
A partial address
A type of place
A zip code
A city to navigate to a city center
A Point of Interest (POI) near your current
location
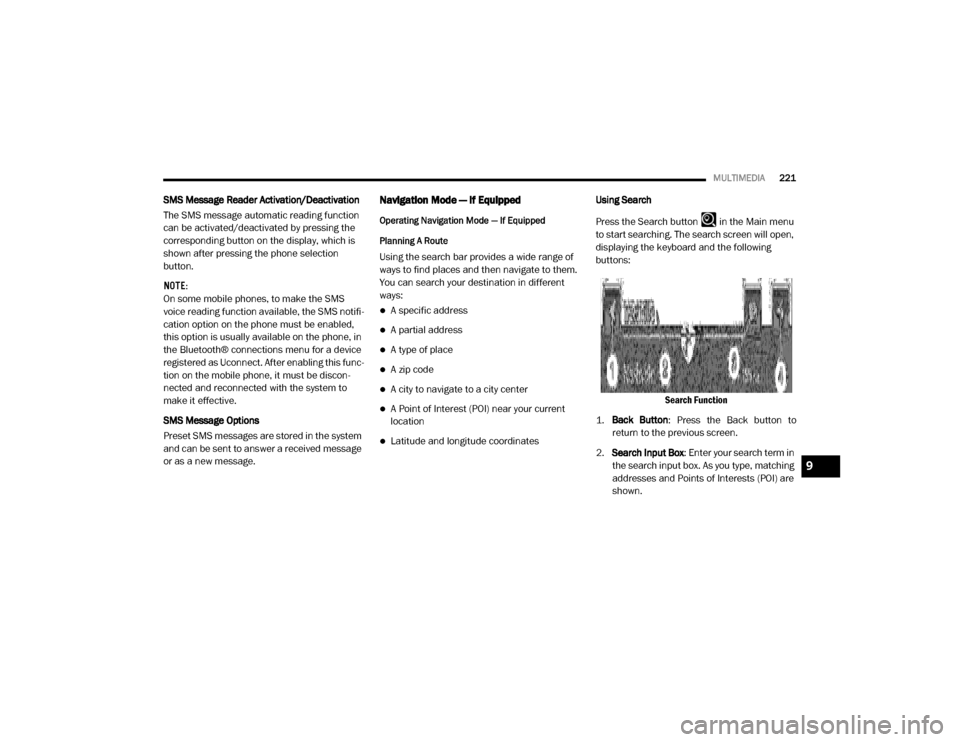
Latitude and longitude coordinates Using Search
Press the Search button in the Main menu
to start searching. The search screen will open,
displaying the keyboard and the following
buttons:
Search Function
1. Back Button : Press the Back button to
return to the previous screen.
2. Search Input Box : Enter your search term in
the search input box. As you type, matching
addresses and Points of Interests (POI) are
shown.
9
20_VF_OM_EN_US_t.book Page 221