radio controls Ram ProMaster 2020 Owner's Manual
[x] Cancel search | Manufacturer: RAM, Model Year: 2020, Model line: ProMaster, Model: Ram ProMaster 2020Pages: 264, PDF Size: 10.11 MB
Page 7 of 264

5
TIRES .....................................................................168
Tire Safety Information ....................................168
Tires — General Information ........................... 176
Tire Types .......................................................... 180
Spare Tires — If Equipped ............................... 181
Wheel And Wheel Trim Care ........................... 183
Tire Chains And Traction Devices ................... 184
Tire Rotation Recommendations..................... 185
DEPARTMENT OF TRANSPORTATION
UNIFORM TIRE QUALITY GRADES .....................185
Treadwear .........................................................186
Traction Grades ................................................ 186
Temperature Grades ........................................186
STORING THE VEHICLE ........................................186
BODYWORK ...........................................................187
Protection From Atmospheric Agents.............. 187
Body And Underbody Maintenance ................. 187
Preserving The Bodywork................................. 187
INTERIORS ............................................................188
Seats And Fabric Parts ..................................... 188
Plastic And Coated Parts..................................189
Leather Parts .................................................... 190Glass Surfaces ................................................. 190
Cleaning The Instrument Panel Cupholders ...190
TECHNICAL SPECIFICATIONS
IDENTIFICATION DATA ......................................... 191
Vehicle Identification Number ........................ 191
BRAKE SYSTEM .................................................... 191
WHEEL AND TIRE TORQUE SPECIFICATIONS ... 191
Torque Specifications ...................................... 191
FUEL REQUIREMENTS.......................................... 192
3.6L Engine....................................................... 192
Reformulated Gasoline ................................... 192
Materials Added To Fuel .................................. 193
Gasoline/Oxygenate Blends ............................ 193
Do Not Use E-85 In Non-Flex Fuel Vehicles .... 193
CNG And LP Fuel System Modifications ......... 193
MMT In Gasoline .............................................. 194Fuel System Cautions ...................................... 194
Carbon Monoxide Warnings ............................ 194
FLUID CAPACITIES................................................ 195
FLUIDS AND LUBRICANTS .................................. 195
Engine ............................................................... 195Chassis ............................................................. 197
MULTIMEDIA
CYBERSECURITY .................................................. 198
UCONNECT SETTINGS ......................................... 199
Uconnect 3/3 NAV Settings............................. 199
SAFETY AND GENERAL INFORMATION ............. 208
Safety Guidelines ............................................. 208
UCONNECT 3/3 NAV WITH 5-INCH DISPLAY ....209
Introduction To The Uconnect 3/3 NAV
With 5-Inch Display System ............................. 209 Radio Mode ...................................................... 211
Media Mode ..................................................... 214
Phone Mode ..................................................... 216
Navigation Mode — If Equipped ...................... 221
STEERING WHEEL AUDIO CONTROLS ............... 238
Radio Operation ............................................... 238
Player Operation............................................... 238
IPOD®/USB/MP3 CONTROL —
IF EQUIPPED ......................................................... 238
USB Charging Port............................................ 239
RAM TELEMATICS - IF EQUIPPED ....................... 239
Ram Telematics General Information............. 239
RADIO OPERATION AND MOBILE PHONES ......240
Regulatory And Safety Information ................. 240
UCONNECT VOICE RECOGNITION ......................241
Introducing Uconnect....................................... 241
Get Started ....................................................... 241
Basic Voice Commands ................................... 242
Radio ................................................................. 242
Media ................................................................ 243
Phone................................................................ 243
Voice Text Reply ............................................... 244
General Information......................................... 245
Additional Information ..................................... 245
20_VF_OM_EN_US_t.book Page 5
Page 30 of 264

28GETTING TO KNOW YOUR VEHICLE
Intermittent Wiper System
Push the lever downward to the first detent and
rotate the center ring to use one of the four
intermittent wiper settings when weather condi -
tions make a single wiping cycle, with a variable
delay between cycles, desirable.
Low Speed
Push the lever downward to the second detent.
The wipers will operate at low speed.
High Speed
Push the lever downward to the third detent.
The wipers will operate at high speed.
Windshield Washer Operation
To use the washer, pull the windshield wiper/
washer lever toward the steering wheel to acti -
vate. The wipers will activate automatically for
three cycles after the lever is released, and then
resume the intermittent interval previously
selected.
If the lever is pulled while in the off position, the
wipers will operate for three cycles and then
turn off.
Mist Feature
Use the Mist feature when weather conditions
make occasional usage of the wipers neces -
sary. Push the lever upward to the MIST position
and release for a single wiping cycle.
NOTE:
The mist feature does not activate the washer
pump; therefore, no washer fluid will be sprayed
on the windshield. The wash function must be
used in order to spray the windshield with
washer fluid.
CLIMATE CONTROLS
The Climate Control System allows you to regu -
late the temperature, air flow, and direction of
air circulating throughout the vehicle. The
controls are located on the touchscreen (if
equipped) and on the instrument panel below
the radio.
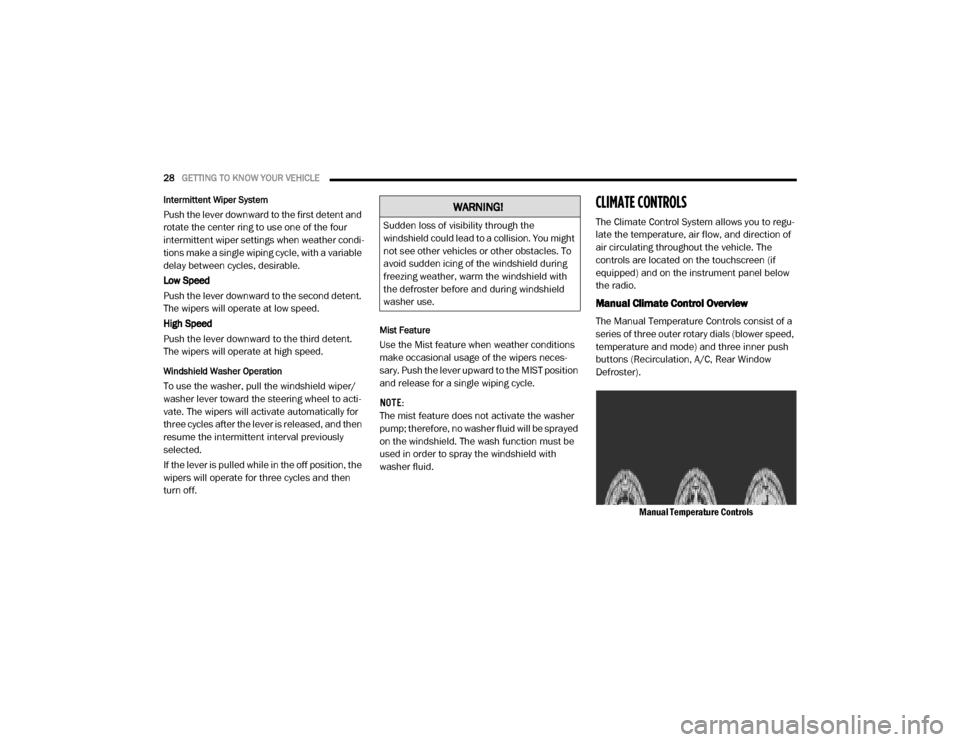
Manual Climate Control Overview
The Manual Temperature Controls consist of a
series of three outer rotary dials (blower speed,
temperature and mode) and three inner push
buttons (Recirculation, A/C, Rear Window
Defroster).
Manual Temperature Controls
WARNING!
Sudden loss of visibility through the
windshield could lead to a collision. You might
not see other vehicles or other obstacles. To
avoid sudden icing of the windshield during
freezing weather, warm the windshield with
the defroster before and during windshield
washer use.
20_VF_OM_EN_US_t.book Page 28
Page 45 of 264

GETTING TO KNOW YOUR INSTRUMENT PANEL43
5. Fuel Gauge
The pointer shows the level of fuel in the
fuel tank when the ignition switch is in
the ON/RUN position.
The fuel pump symbol points to the
side of the vehicle where the fuel door is
located.
INSTRUMENT CLUSTER DISPLAY
Your vehicle will be equipped with an instru -
ment cluster display, which offers useful infor -
mation to the driver. With the ignition in the
STOP (OFF/LOCK) mode, opening/closing of a
door will activate the display for viewing, and
display the total miles, or kilometers, in the
odometer. Your instrument cluster display is
designed to display important information
about your vehicle’s systems and features.
Using a driver interactive display located on the
instrument panel, your instrument cluster
display can show you how systems are working
and give you warnings when they are not. The
steering wheel mounted controls allow you to
scroll through the main menus and submenus.
You can access the specific information you
want and make selections and adjustments.
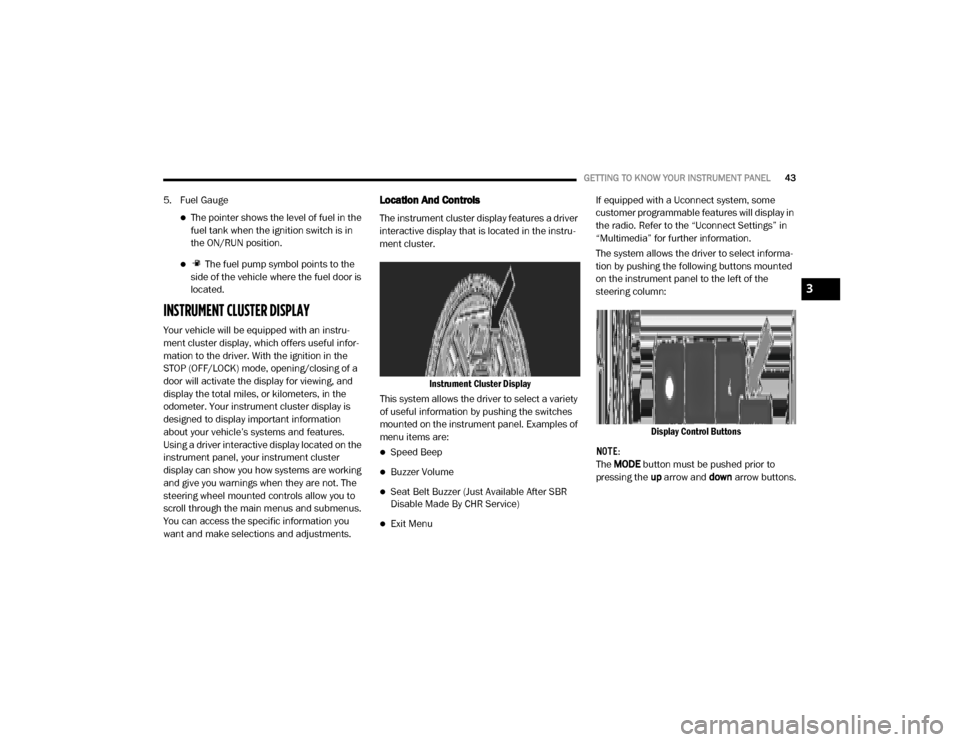
Location And Controls
The instrument cluster display features a driver
interactive display that is located in the instru -
ment cluster.
Instrument Cluster Display
This system allows the driver to select a variety
of useful information by pushing the switches
mounted on the instrument panel. Examples of
menu items are:
Speed Beep
Buzzer Volume
Seat Belt Buzzer (Just Available After SBR
Disable Made By CHR Service)
Exit Menu If equipped with a Uconnect system, some
customer programmable features will display in
the radio. Refer to the “Uconnect Settings” in
“Multimedia” for further information.
The system allows the driver to select informa
-
tion by pushing the following buttons mounted
on the instrument panel to the left of the
steering column:
Display Control Buttons
NOTE:
The MODE button must be pushed prior to
pressing the up arrow and down arrow buttons.
3
20_VF_OM_EN_US_t.book Page 43
Page 218 of 264

216MULTIMEDIA
AUX Mode
AUX Mode is entered by inserting a AUX device
using a stereo cable with a 3.5 mm audio jack
into the AUX port, or by pushing the MEDIA
button located on the faceplate. Once in Media
Mode, press the Source button on the touch -
screen and select AUX.
Inserting Auxiliary Device
Gently insert the Auxiliary device cable into the
AUX Port. If you insert a Auxiliary device with the
ignition ON, the unit will switch to AUX mode and
begin to play when you insert the device cable.
Controlling The Auxiliary Device
The control of the Auxiliary device (e.g.,
selecting playlists, play, fast forward, etc.)
cannot be provided by the radio; use the device
controls instead. Adjust the volume with the
VOLUME rotary knob, or with the volume of the
attached device.
The radio unit is acting as the amplifier for audio
output from the Auxiliary device. Therefore if the
volume control on the Auxiliary device is set too
low, there will be insufficient audio signal for the
radio unit to play the music on the device.
Phone Mode
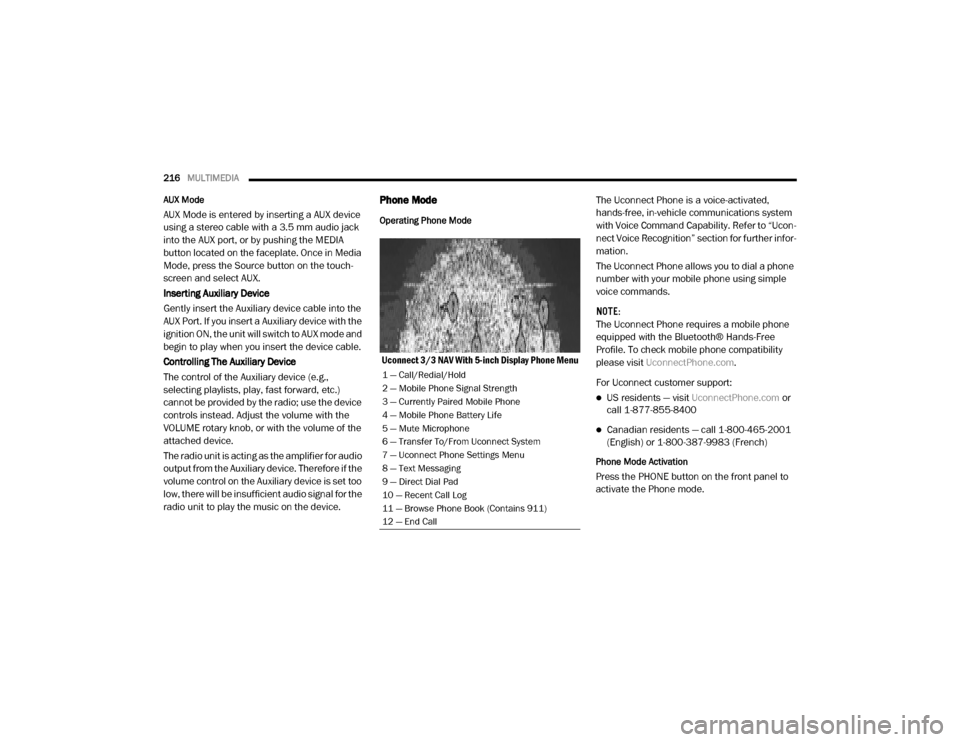
Operating Phone Mode
Uconnect 3/3 NAV With 5-inch Display Phone Menu The Uconnect Phone is a voice-activated,
hands-free, in-vehicle communications system
with Voice Command Capability. Refer to “Ucon
-
nect Voice Recognition” section for further infor -
mation.
The Uconnect Phone allows you to dial a phone
number with your mobile phone using simple
voice commands.
NOTE:
The Uconnect Phone requires a mobile phone
equipped with the Bluetooth® Hands-Free
Profile. To check mobile phone compatibility
please visit UconnectPhone.com .
For Uconnect customer support:
US residents — visit UconnectPhone.com or
call 1-877-855-8400
Canadian residents — call 1-800-465-2001
(English) or 1-800-387-9983 (French)
Phone Mode Activation
Press the PHONE button on the front panel to
activate the Phone mode.
1 — Call/Redial/Hold
2 — Mobile Phone Signal Strength
3 — Currently Paired Mobile Phone
4 — Mobile Phone Battery Life
5 — Mute Microphone
6 — Transfer To/From Uconnect System
7 — Uconnect Phone Settings Menu
8 — Text Messaging
9 — Direct Dial Pad
10 — Recent Call Log
11 — Browse Phone Book (Contains 911)
12 — End Call
20_VF_OM_EN_US_t.book Page 216
Page 240 of 264

238MULTIMEDIA
STEERING WHEEL AUDIO CONTROLS
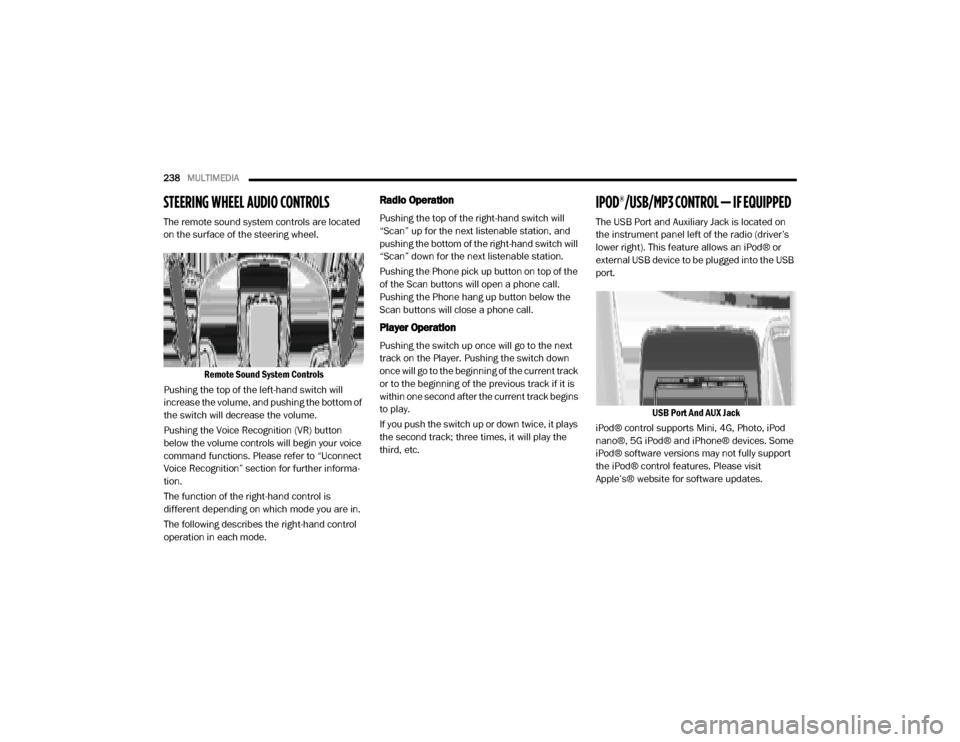
The remote sound system controls are located
on the surface of the steering wheel.
Remote Sound System Controls
Pushing the top of the left-hand switch will
increase the volume, and pushing the bottom of
the switch will decrease the volume.
Pushing the Voice Recognition (VR) button
below the volume controls will begin your voice
command functions. Please refer to “Uconnect
Voice Recognition” section for further informa -
tion.
The function of the right-hand control is
different depending on which mode you are in.
The following describes the right-hand control
operation in each mode.
Radio Operation
Pushing the top of the right-hand switch will
“Scan” up for the next listenable station, and
pushing the bottom of the right-hand switch will
“Scan” down for the next listenable station.
Pushing the Phone pick up button on top of the
of the Scan buttons will open a phone call.
Pushing the Phone hang up button below the
Scan buttons will close a phone call.
Player Operation
Pushing the switch up once will go to the next
track on the Player. Pushing the switch down
once will go to the beginning of the current track
or to the beginning of the previous track if it is
within one second after the current track begins
to play.
If you push the switch up or down twice, it plays
the second track; three times, it will play the
third, etc.
IPOD®/USB/MP3 CONTROL — IF EQUIPPED
The USB Port and Auxiliary Jack is located on
the instrument panel left of the radio (driver’s
lower right). This feature allows an iPod® or
external USB device to be plugged into the USB
port.
USB Port And AUX Jack
iPod® control supports Mini, 4G, Photo, iPod
nano®, 5G iPod® and iPhone® devices. Some
iPod® software versions may not fully support
the iPod® control features. Please visit
Apple’s® website for software updates.
20_VF_OM_EN_US_t.book Page 238