oil level Ram ProMaster City 2017 Owner's Manual
[x] Cancel search | Manufacturer: RAM, Model Year: 2017, Model line: ProMaster City, Model: Ram ProMaster City 2017Pages: 345, PDF Size: 3.25 MB
Page 121 of 345
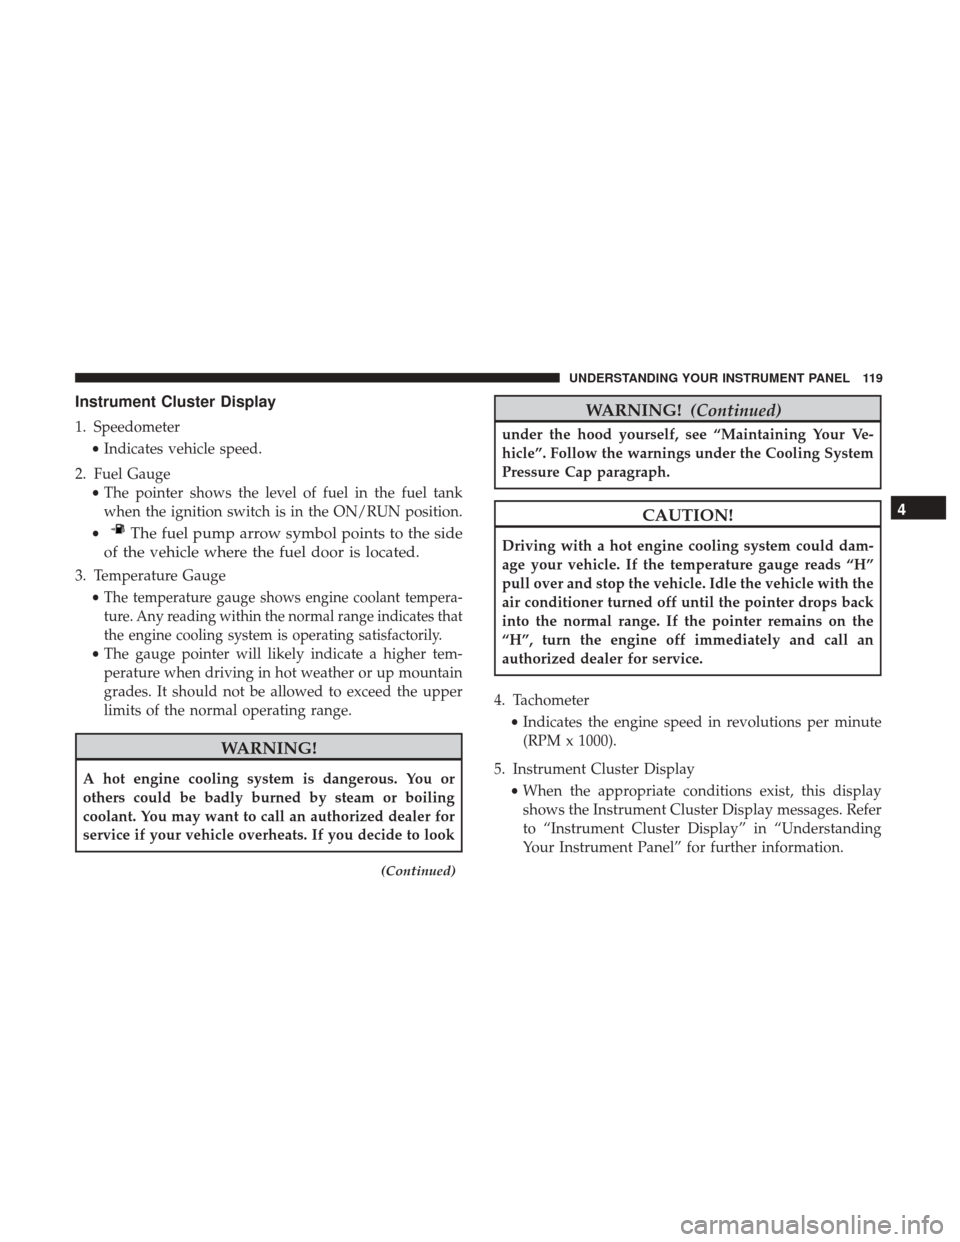
Instrument Cluster Display
1. Speedometer•Indicates vehicle speed.
2. Fuel Gauge •The pointer shows the level of fuel in the fuel tank
when the ignition switch is in the ON/RUN position.
•
The fuel pump arrow symbol points to the side
of the vehicle where the fuel door is located.
3. Temperature Gauge
•
The temperature gauge shows engine coolant tempera-
ture. Any reading within the normal range indicates that
the engine cooling system is operating satisfactorily.
• The gauge pointer will likely indicate a higher tem-
perature when driving in hot weather or up mountain
grades. It should not be allowed to exceed the upper
limits of the normal operating range.
WARNING!
A hot engine cooling system is dangerous. You or
others could be badly burned by steam or boiling
coolant. You may want to call an authorized dealer for
service if your vehicle overheats. If you decide to look
(Continued)
WARNING! (Continued)
under the hood yourself, see “Maintaining Your Ve-
hicle”. Follow the warnings under the Cooling System
Pressure Cap paragraph.
CAUTION!
Driving with a hot engine cooling system could dam-
age your vehicle. If the temperature gauge reads “H”
pull over and stop the vehicle. Idle the vehicle with the
air conditioner turned off until the pointer drops back
into the normal range. If the pointer remains on the
“H”, turn the engine off immediately and call an
authorized dealer for service.
4. Tachometer •Indicates the engine speed in revolutions per minute
(RPM x 1000).
5. Instrument Cluster Display •When the appropriate conditions exist, this display
shows the Instrument Cluster Display messages. Refer
to “Instrument Cluster Display” in “Understanding
Your Instrument Panel” for further information.
4
UNDERSTANDING YOUR INSTRUMENT PANEL 119
Page 132 of 345
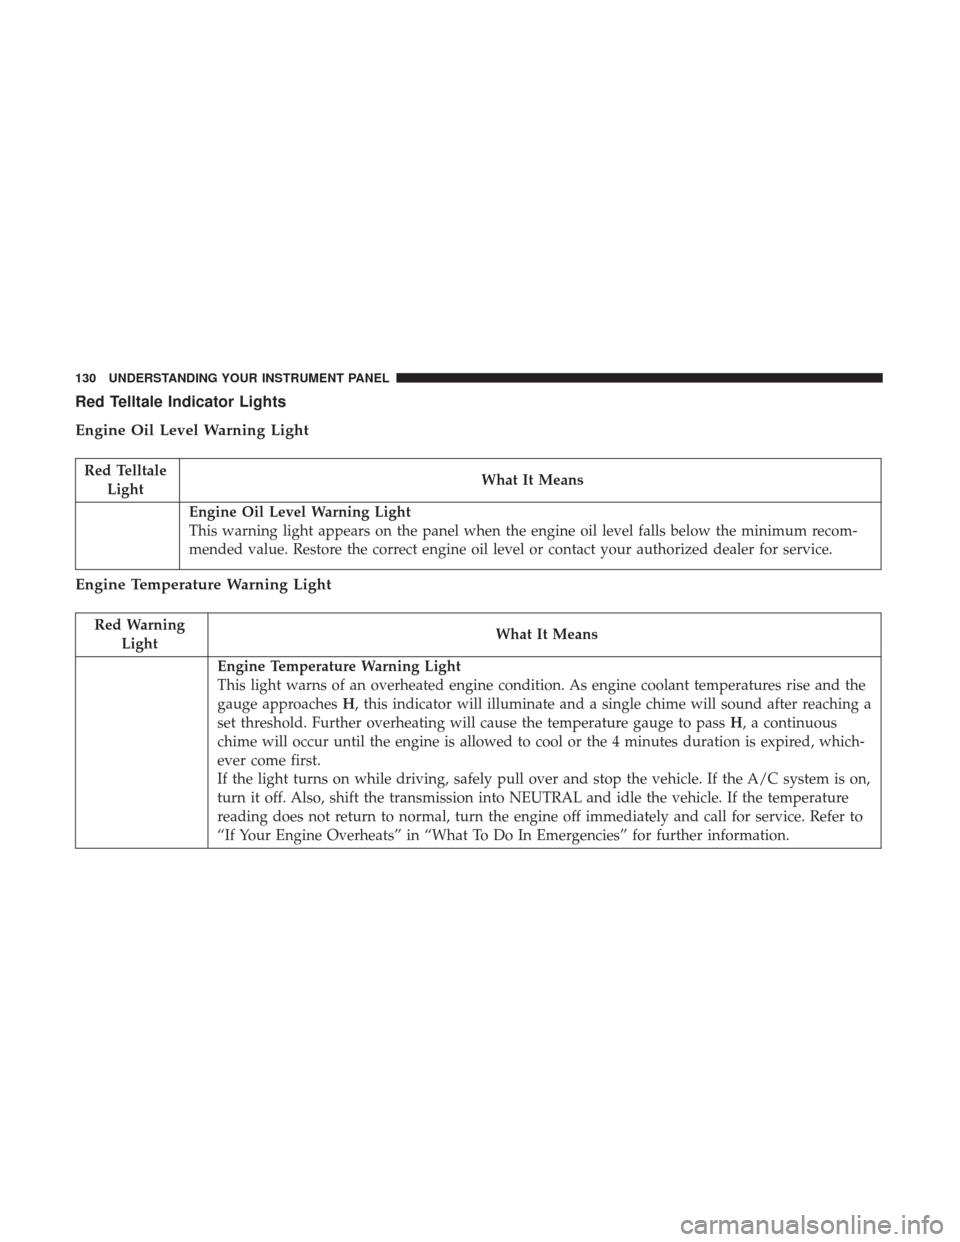
Red Telltale Indicator Lights
Engine Oil Level Warning Light
Red TelltaleLight What It Means
Engine Oil Level Warning Light
This warning light appears on the panel when the engine oil level falls below the minimum recom-
mended value. Restore the correct engine oil level or contact your authorized dealer for service.
Engine Temperature Warning Light
Red Warning
Light What It Means
Engine Temperature Warning Light
This light warns of an overheated engine condition. As engine coolant temperatures rise and the
gauge approaches
H, this indicator will illuminate and a single chime will sound after reaching a
set threshold. Further overheating will cause the temperature gauge to pass H, a continuous
chime will occur until the engine is allowed to cool or the 4 minutes duration is expired, which-
ever come first.
If the light turns on while driving, safely pull over and stop the vehicle. If the A/C system is on,
turn it off. Also, shift the transmission into NEUTRAL and idle the vehicle. If the temperature
reading does not return to normal, turn the engine off immediately and call for service. Refer to
“If Your Engine Overheats” in “What To Do In Emergencies” for further information.
130 UNDERSTANDING YOUR INSTRUMENT PANEL
Page 135 of 345
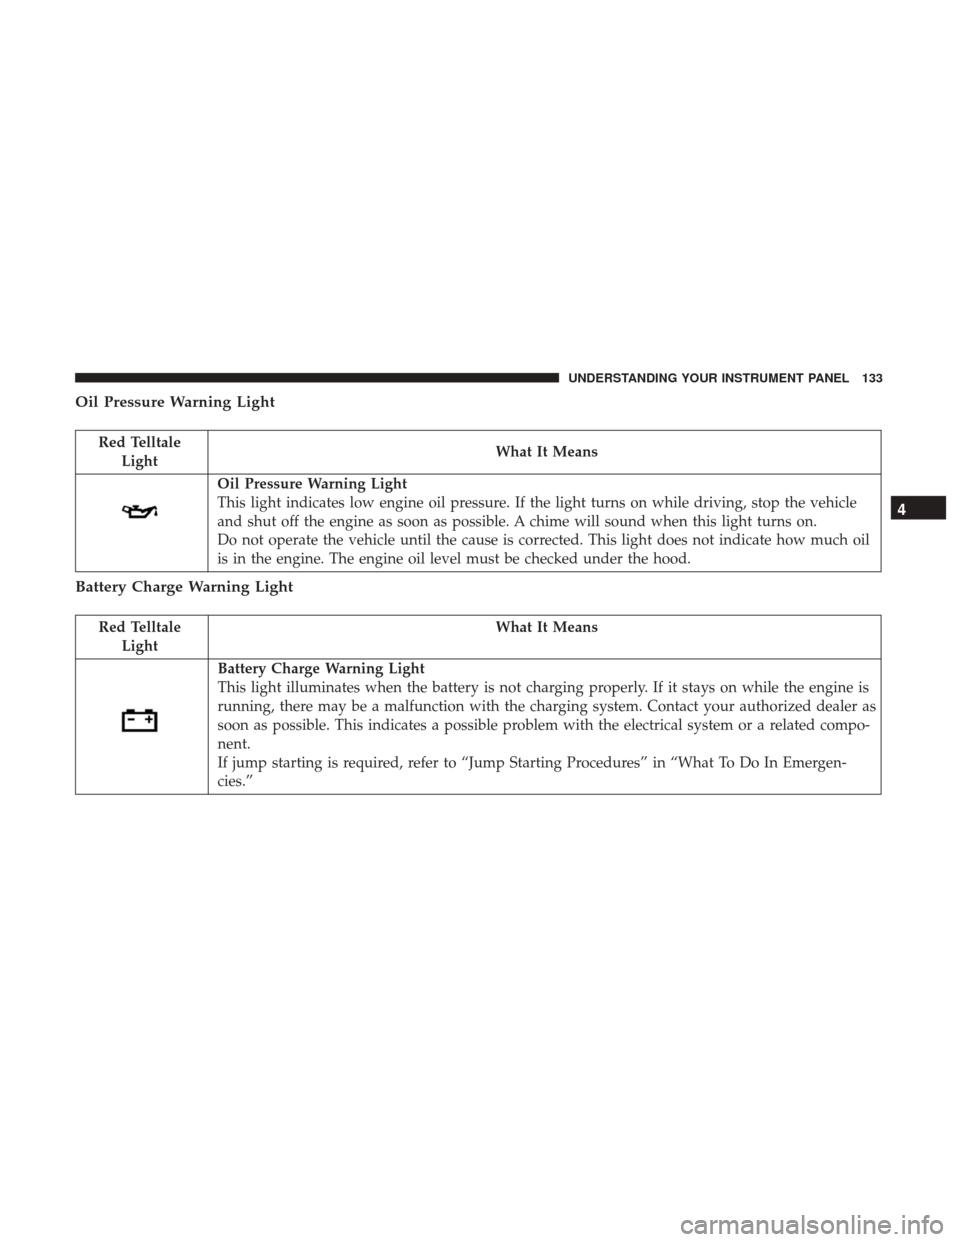
Oil Pressure Warning Light
Red TelltaleLight What It Means
Oil Pressure Warning Light
This light indicates low engine oil pressure. If the light turns on while driving, stop the vehicle
and shut off the engine as soon as possible. A chime will sound when this light turns on.
Do not operate the vehicle until the cause is corrected. This light does not indicate how much oil
is in the engine. The engine oil level must be checked under the hood.
Battery Charge Warning Light
Red Telltale
Light What It Means
Battery Charge Warning Light
This light illuminates when the battery is not charging properly. If it stays on while the engine is
running, there may be a malfunction with the charging system. Contact your authorized dealer as
soon as possible. This indicates a possible problem with the electrical system or a related compo-
nent.
If jump starting is required, refer to “Jump Starting Procedures” in “What To Do In Emergen-
cies.”
4
UNDERSTANDING YOUR INSTRUMENT PANEL 133
Page 281 of 345
WARNING!
You can be badly injured working on or around a
motor vehicle. Only do service work for which you
have the knowledge and the proper equipment. If you
have any doubt about your ability to perform a service
job, take your vehicle to a competent mechanic.
MAINTENANCE PROCEDURES
The pages that follow contain therequiredmaintenance
services determined by the engineers who designed your
vehicle.
Besides those maintenance items specified in the fixed
“Maintenance Schedule”, there are other components
which may require servicing or replacement in the future.
CAUTION!
• Failure to properly maintain your vehicle or perform
repairs and service when necessary could result in
more costly repairs, damage to other components or
negatively impact vehicle performance. Immediately
(Continued)
CAUTION! (Continued)
have potential malfunctions examined by an autho-
rized dealer or qualified repair center.
• Your vehicle has been built with improved fluids
that protect the performance and durability of your
vehicle and also allow extended maintenance inter-
vals. Do not use chemical flushes in these compo-
nents as the chemicals can damage your engine,
transmission or air conditioning. Such damage is not
covered by the New Vehicle Limited Warranty. If a
flush is needed because of component malfunction,
use only the specified fluid for the flushing proce-
dure.
Engine Oil
Checking Oil Level
To assure proper engine lubrication, the engine oil must be
maintained at the correct level. Check the oil level at
regular intervals, such as every month. The best time to
check the engine oil level is about five minutes after a fully
warmed up engine is shut off.
Checking the oil while the vehicle is on level ground will
improve the accuracy of the oil level readings.
7
MAINTAINING YOUR VEHICLE 279
Page 282 of 345
There are three possible dipstick types,
•Crosshatched zone.
• Crosshatched zone marked SAFE.
• Crosshatched zone marked with MIN at the low end of
the range and MAX at the high end of the range.
NOTE: Always maintain the oil level within the crosshatch
markings on the dipstick.
Adding 1 quart (1.0 liters) of oil when the reading is at the
low end of the dipstick range will raise the oil level to the
high end of the range marking.
CAUTION!
Overfilling or underfilling the crankcase will cause
aeration or loss of oil pressure. This could damage your
engine.
Change Engine Oil
The oil change indicator system will remind you that it is
time to take your vehicle in for scheduled maintenance.
Refer to the “Maintenance Schedule” for further informa-
tion. NOTE:
Under no circumstances should oil change inter-
vals exceed 10,000 miles (16,000 km), twelve months or 350
hours of engine run time, whichever comes first. The 350
hours of engine run or idle time is generally only a concern
for fleet customers.
Engine Oil Selection
For best performance and maximum protection under all
types of operating conditions, the manufacturer only rec-
ommends engine oils that are API Certified and meet the
requirements of FCA Material Standard MS-6395.
American Petroleum Institute (API) Engine Oil
Identification Symbol
This symbol means that the oil has been
certified by the American Petroleum In-
stitute (API). The manufacturer only rec-
ommends API Certified engine oils.
This symbol certifies 0W-20, 5W-20, 0W-
30, 5W-30 and 10W-30 engine oils.
280 MAINTAINING YOUR VEHICLE
Page 295 of 345
Brake System
In order to assure brake system performance, all brake system
components should be inspected periodically. Refer to the
“Maintenance Schedule” for the proper maintenance intervals.
WARNING!
Riding the brakes can lead to brake failure and possi-
bly a collision. Driving with your foot resting or riding
on the brake pedal can result in abnormally high brake
temperatures, excessive lining wear, and possible
brake damage. You would not have your full braking
capacity in an emergency.
Brake Master Cylinder
The fluid in the master cylinder should be checked when
performing under hood services or immediately if the
“Brake Warning Light” is illuminated.
Be sure to clean the top of the master cylinder area before
removing the cap. If necessary, add fluid to bring the fluid
level up to the requirements described on the brake fluid
reservoir. With disc brakes, fluid level can be expected to
fall as the brake pads wear. Brake fluid level should be
checked when pads are replaced. However, low fluid level
may be caused by a leak and a checkup may be needed.Use only manufacturer’s recommended brake fluid. Refer
to “Fluids, Lubricants, And Genuine Parts” in “Maintain-
ing Your Vehicle” for further information.
WARNING!
•
Use only manufacturer’s recommended brake fluid.
Refer to “Fluids, Lubricants, And Genuine Parts” in
“Maintaining Your Vehicle” for further information.
Using the wrong type of brake fluid can severely
damage your brake system and/or impair its perfor-
mance. The proper type of brake fluid for your
vehicle is also identified on the original factory
installed hydraulic master cylinder reservoir.
• To avoid contamination from foreign matter or mois-
ture, use only new brake fluid or fluid that has been
in a tightly closed container. Keep the master cylin-
der reservoir cap secured at all times. Brake fluid in
a open container absorbs moisture from the air
resulting in a lower boiling point. This may cause it
to boil unexpectedly during hard or prolonged brak-
ing, resulting in sudden brake failure. This could
result in a collision.
(Continued)
7
MAINTAINING YOUR VEHICLE 293
Page 296 of 345
WARNING!(Continued)
•Overfilling the brake fluid reservoir can result in
spilling brake fluid on hot engine parts, causing the
brake fluid to catch fire. Brake fluid can also damage
painted and vinyl surfaces, care should be taken to
avoid its contact with these surfaces.
• Do not allow petroleum based fluid to contaminate
the brake fluid. Brake seal components could be
damaged, causing partial or complete brake failure.
This could result in a collision.
Power Steering Fluid
Check the fluid level with the vehicle on flat ground and
engine cold. Fluid should be between MIN and MAX
references on the reservoir body.
The level may go over the MAX line when oil is hot.
If topping off is required, make sure the oil you use is
approved. Refer to “Fluids, Lubricants and Genuine Parts”
in the section for further information.
WARNING!
Because it is flammable, do not allow the power
steering fluid to come into contact with hot engine
parts
NOTE: Power steering fluid consumption is very low. If
you need to top off your fluid often and multiple times
have your system inspected by your authorized dealer.
Automatic Transmission
Selection Of Lubricant
It is important to use the proper transmission fluid to
ensure optimum transmission performance and life. Use
only the manufacturer’s specified transmission fluid. Refer
to “Fluids, Lubricants, And Genuine Parts” in this section
for fluid specifications. It is important to maintain the
transmission fluid at the correct level using the recom-
mended fluid.
NOTE: No chemical flushes should be used in any trans-
mission; only the approved lubricant should be used.
294 MAINTAINING YOUR VEHICLE
Page 315 of 345
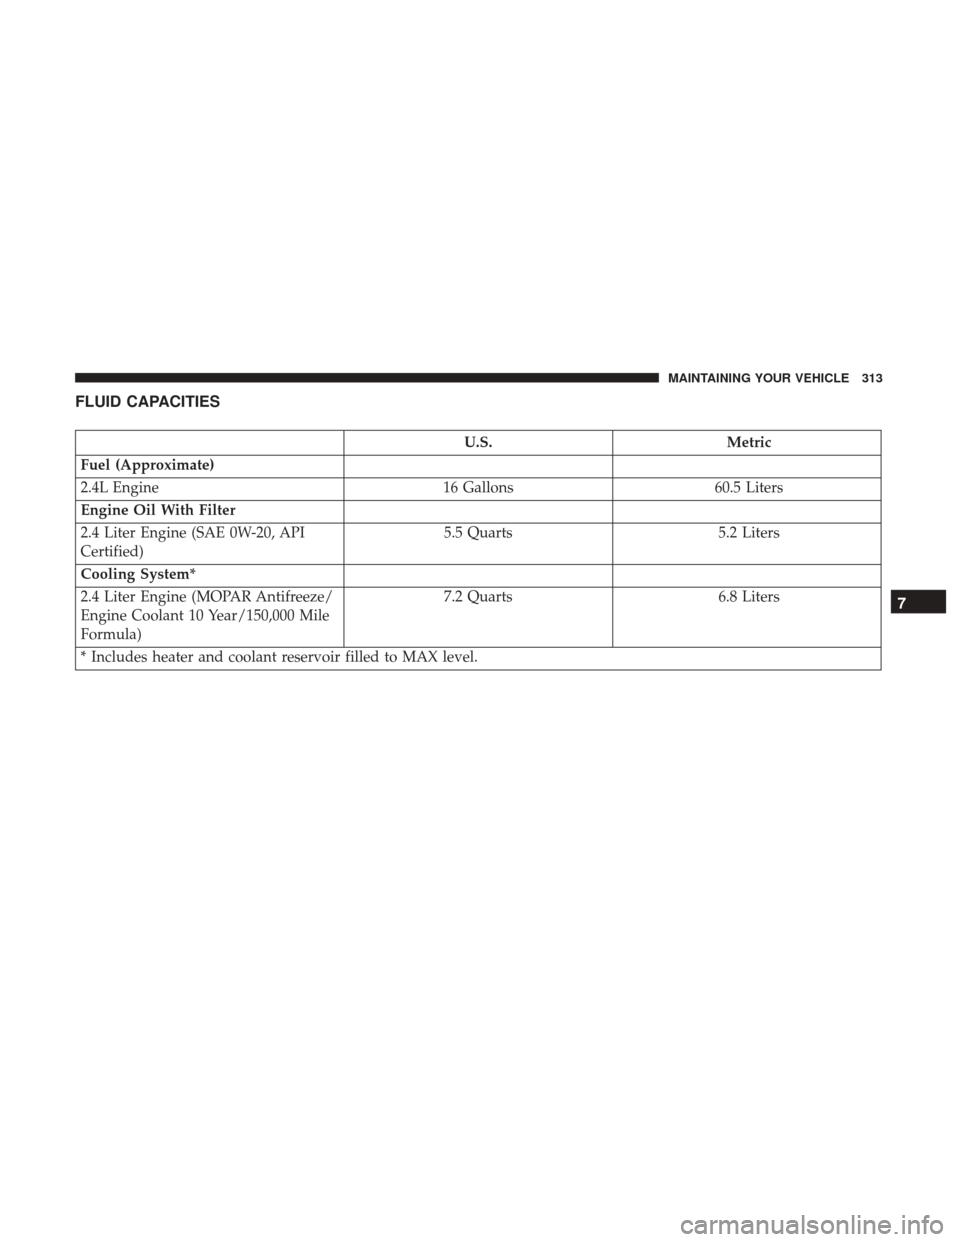
FLUID CAPACITIES
U.S.Metric
Fuel (Approximate)
2.4L Engine 16 Gallons60.5 Liters
Engine Oil With Filter
2.4 Liter Engine (SAE 0W-20, API
Certified) 5.5 Quarts
5.2 Liters
Cooling System*
2.4 Liter Engine (MOPAR Antifreeze/
Engine Coolant 10 Year/150,000 Mile
Formula) 7.2 Quarts
6.8 Liters
* Includes heater and coolant reservoir filled to MAX level.
7
MAINTAINING YOUR VEHICLE 313
Page 321 of 345
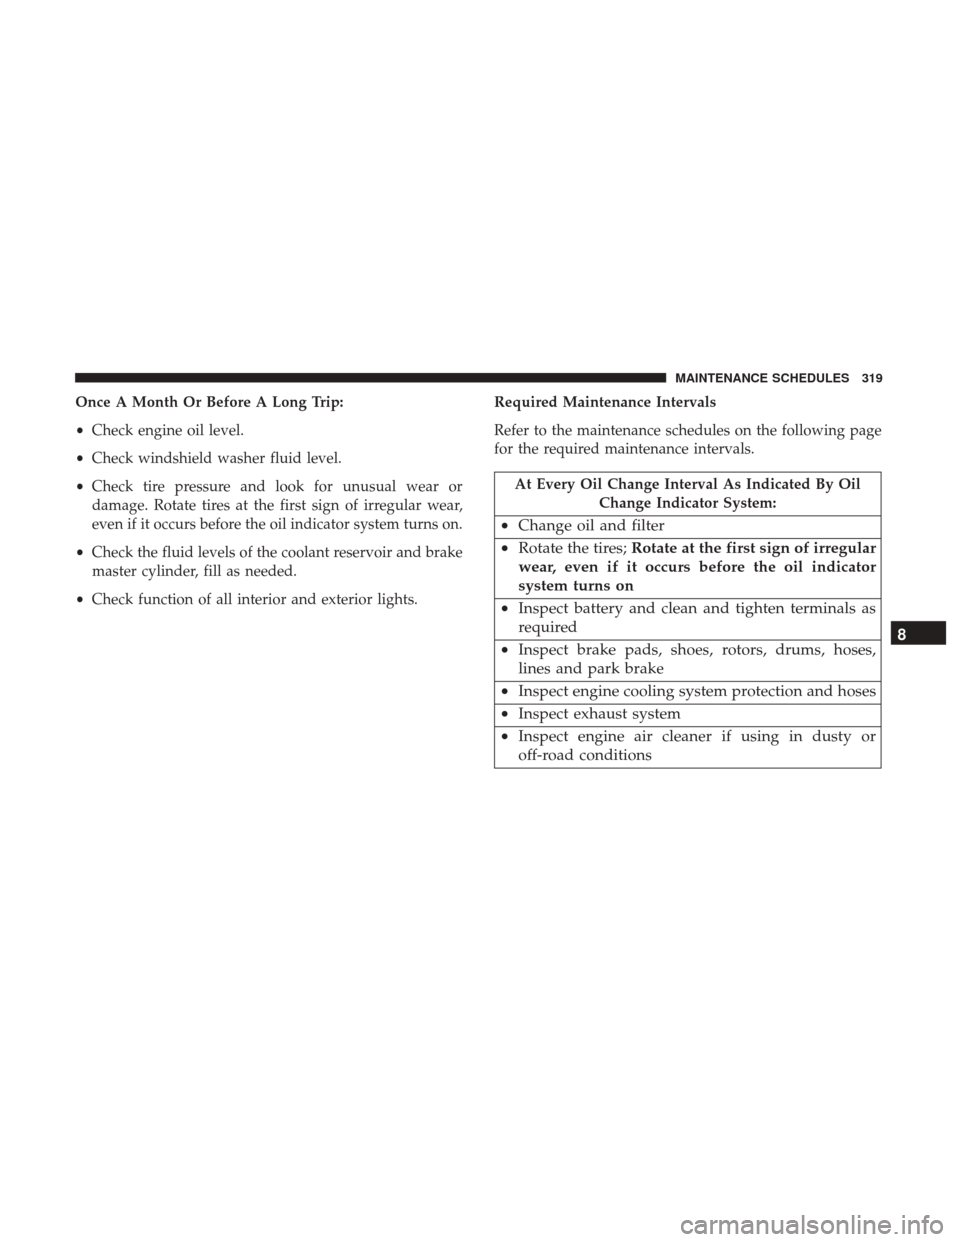
Once A Month Or Before A Long Trip:
•Check engine oil level.
• Check windshield washer fluid level.
• Check tire pressure and look for unusual wear or
damage. Rotate tires at the first sign of irregular wear,
even if it occurs before the oil indicator system turns on.
• Check the fluid levels of the coolant reservoir and brake
master cylinder, fill as needed.
• Check function of all interior and exterior lights. Required Maintenance Intervals
Refer to the maintenance schedules on the following page
for the required maintenance intervals.
At Every Oil Change Interval As Indicated By Oil
Change Indicator System:
•Change oil and filter
• Rotate the tires; Rotate at the first sign of irregular
wear, even if it occurs before the oil indicator
system turns on
• Inspect battery and clean and tighten terminals as
required
• Inspect brake pads, shoes, rotors, drums, hoses,
lines and park brake
• Inspect engine cooling system protection and hoses
• Inspect exhaust system
• Inspect engine air cleaner if using in dusty or
off-road conditions 8
MAINTENANCE SCHEDULES 319
Page 334 of 345
Coolant Pressure Cap (Radiator Cap).............291
Cooling System ........................... .288
Adding Coolant (Antifreeze) .................290
Coolant Capacity ........................ .313
Coolant Level .......................... .291
Disposal Of Used Coolant ..................291
Drain, Flush, And Refill ....................289
Inspection ......................... .288, 291
Points To Remember ..................... .292
Pressure Cap ........................... .291
Radiator Cap .......................... .291
Selection Of Coolant (Antifreeze) .......289, 313, 314
Corrosion Protection ....................... .296
Cruise Light ............................. .145
Cupholders .............................. .106
Customer Assistance ....................... .324
Customer Programmable Features ...............147
Daytime Running Lights ......................88
Dealer Service ............................ .278
Defroster, Rear Window ......................112
Defroster, Windshield ........................69
Diagnostic System, Onboard ...................276
Dipsticks Oil (Engine) ........................... .279Power Steering
......................... .191
Disabled Vehicle Towing .....................268
Disposal Antifreeze (Engine Coolant) .................291
Door Ajar ............................... .134
Door Ajar Light ........................... .134
Door Locks ................................17
Doors ....................................17
Driving Through Flowing, Rising, Or Shallow Standing
Water ................................ .189
Electrical Outlet, Auxiliary (Power Outlet) .........104
Electric Rear Window Defrost ..................112
Electric Remote Mirrors .......................77
Electronic Brake Control System ................194
Brake Assist System ...................... .195
Electr
onic Range Select (ERS)..................188
Electronic Roll Mitigation (ERM) ................199
Electronic Speed Control (Cruise Control) ..........95
Electronic Stability Control (ESC) ...............197
Electronic Throttle Control Warning Light .........131
Electronic Vehicle Information Center (EVIC) Electronic Vehicle Information Center (EVIC) .....120
Trip Functions .......................... .128
332 INDEX