clock Ram ProMaster City 2020 User Guide
[x] Cancel search | Manufacturer: RAM, Model Year: 2020, Model line: ProMaster City, Model: Ram ProMaster City 2020Pages: 350, PDF Size: 13.27 MB
Page 229 of 350

226 IN CASE OF EMERGENCY
Vehicles Equipped With Wheel Covers
1. Mount the road tire on the axle.
2. To ease the installation process for steel wheels withwheel covers, install two wheel bolts on the wheel. Install
the wheel bolts with the threaded end of the bolt toward
the wheel. Lightly tighten the wheel bolts.
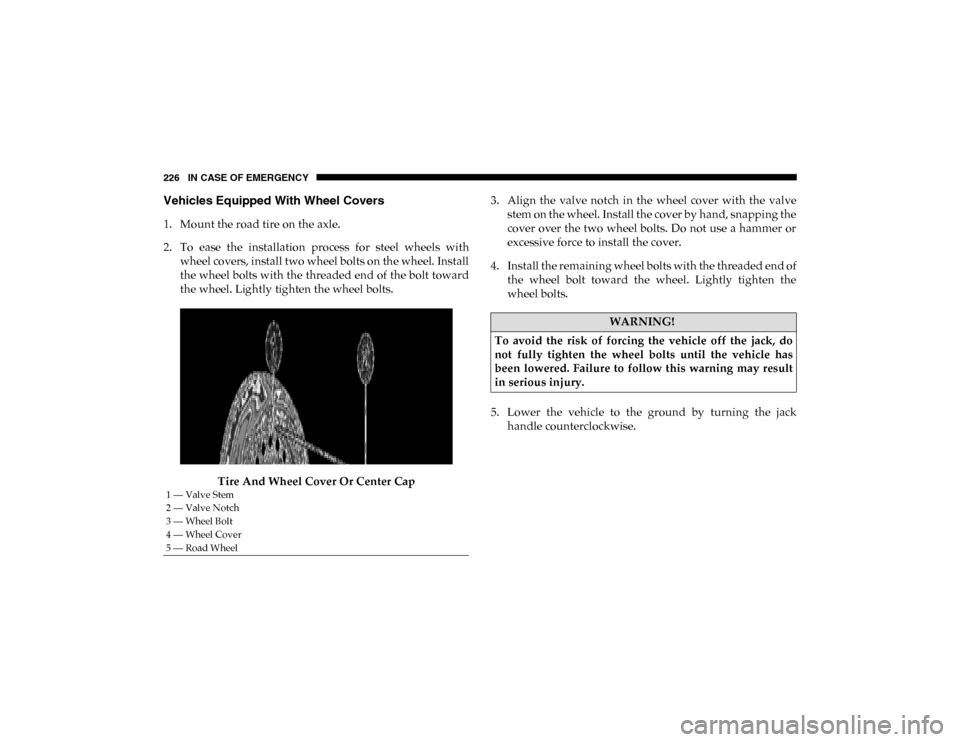
Tire And Wheel Cover Or Center Cap 3. Align the valve notch in the wheel cover with the valve
stem on the wheel. Install the cover by hand, snapping the
cover over the two wheel bolts. Do not use a hammer or
excessive force to install the cover.
4. Install the remaining wheel bolts with the threaded end of the wheel bolt toward the wheel. Lightly tighten the
wheel bolts.
5. Lower the vehicle to the ground by turning the jack handle counterclockwise.
1 — Valve Stem
2 — Valve Notch
3 — Wheel Bolt
4 — Wheel Cover
5 — Road Wheel
WARNING!
To avoid the risk of forcing the vehicle off the jack, do
not fully tighten the wheel bolts until the vehicle has
been lowered. Failure to follow this warning may result
in serious injury.
2020_RAM_PROMASTER_CITY_OM_USA=GUID-7B6A7FCA-79B0-423F-95C5-ED2A949C3D13=1=en=.book Page 226
Page 310 of 350

MULTIMEDIA 307
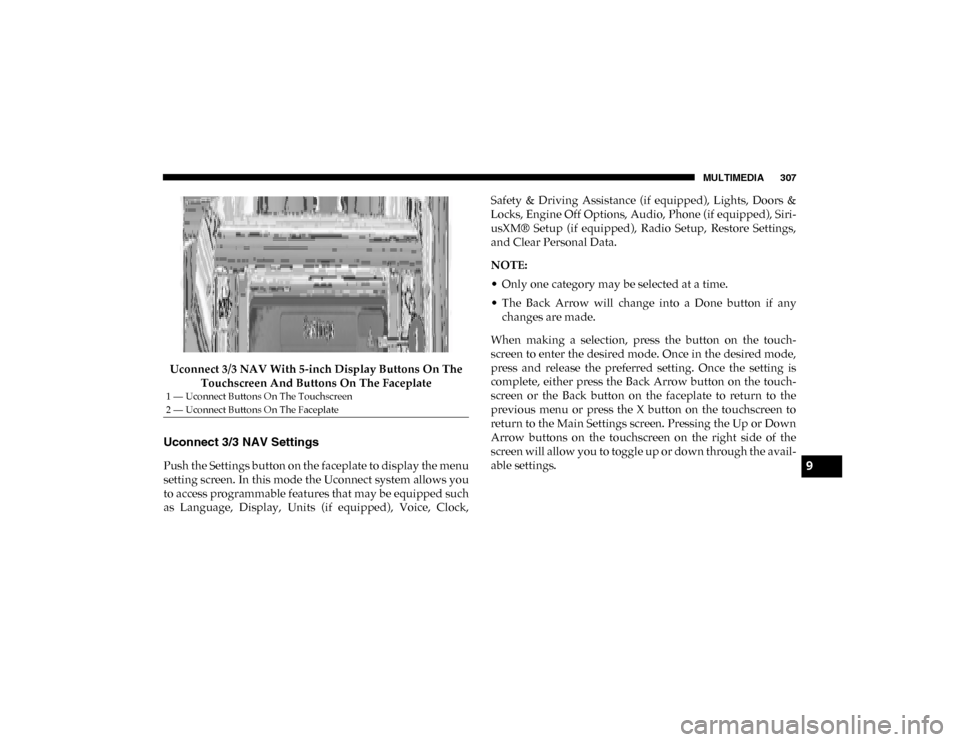
Uconnect 3/3 NAV With 5-inch Display Buttons On The Touchscreen And Buttons On The Faceplate
Uconnect 3/3 NAV Settings
Push the Settings button on the faceplate to display the menu
setting screen. In this mode the Uconnect system allows you
to access programmable features that may be equipped such
as Language, Display, Units (if equipped), Voice, Clock, Safety & Driving Assistance (if equipped), Lights, Doors &
Locks, Engine Off Options, Audio, Phone (if equipped), Siri
-
usXM® Setup (if equipped), Radio Setup, Restore Settings,
and Clear Personal Data.
NOTE:
• Only one category may be selected at a time.
• The Back Arrow will change into a Done button if any changes are made.
When making a selection, press the button on the touch -
screen to enter the desired mode. Once in the desired mode,
press and release the preferred setting. Once the setting is
complete, either press the Back Arrow button on the touch -
screen or the Back button on the faceplate to return to the
previous menu or press the X button on the touchscreen to
return to the Main Settings screen. Pressing the Up or Down
Arrow buttons on the touchscreen on the right side of the
screen will allow you to toggle up or down through the avail -
able settings.
1 — Uconnect Buttons On The Touchscreen
2 — Uconnect Buttons On The Faceplate
9
2020_RAM_PROMASTER_CITY_OM_USA=GUID-7B6A7FCA-79B0-423F-95C5-ED2A949C3D13=1=en=.book Page 307
Page 313 of 350

310 MULTIMEDIA
Clock & Date
After pressing the Clock & Date button on the touchscreen, the following settings will be available:Setting Name Selectable Options
Set Time And Format — If Equipped 12 hrs
24 hrs AMPM
Show Time Status — If Equipped On
Off
Set Date DayMonth Year
NOTE:
By selecting this setting, the day, month, and year can be updated. The selectable days range from 1–31 (depending on
month). The selectable months consist of Jan/Feb/March/April/May/June/July/Aug/Sept/Oct/Nov/Dec. You can also
set the hours and minutes on the clock. Sync Time — If Equipped On
Off
NOTE:
When this setting is selected, the time will set automatically based upon GPS location.
2020_RAM_PROMASTER_CITY_OM_USA=GUID-7B6A7FCA-79B0-423F-95C5-ED2A949C3D13=1=en=.book Page 310
Page 319 of 350

316 MULTIMEDIA
Restore Settings — If Equipped
After pressing the Restore Settings button on the touchscreen, the following settings will be available:
Clear Personal Data
After pressing the Clear Personal Data button on the touchscreen, the following settings will be available:Setting Name
Selectable Options
Restore Settings YesNo
NOTE:
When this feature is selected, it will reset the Display, Clock, Audio, and Radio Settings to their default settings. Once the
settings are restored, a pop-up appears stating "settings reset to default." Press the okay button on the touchscreen to exit.
Setting Name Selectable Options
Clear Personal Data YesNo
NOTE:
When this feature is selected, it will remove personal data including Bluetooth® devices and presets.
2020_RAM_PROMASTER_CITY_OM_USA=GUID-7B6A7FCA-79B0-423F-95C5-ED2A949C3D13=1=en=.book Page 316