change wheel Ram ProMaster City 2020 Owner's Manual
[x] Cancel search | Manufacturer: RAM, Model Year: 2020, Model line: ProMaster City, Model: Ram ProMaster City 2020Pages: 350, PDF Size: 13.27 MB
Page 48 of 350

GETTING TO KNOW YOUR VEHICLE 45
Deactivation
Pull the multifunction lever toward the steering wheel and
hold it for more than two seconds.
Fog Lights — If Equipped
The fog light switch is located on the center stack of the
instrument panel, just below the climate controls.Push the switch once to turn the fog lights on.
Push the switch a second time to turn the fog
lights off.
NOTE:
If the vehicle’s ignition is turned off, the fog lights will also
turn off.
Turn Signals
Move the multifunction lever up or down and the arrows on
each side of the instrument cluster flash to show proper oper -
ation of the front and rear turn signal lights.
NOTE:
If either light remains on and does not flash, or there is a very
fast flash rate, check for a defective outside light bulb. If an
indicator fails to light when the lever is moved, it would
suggest that the indicator bulb is defective.
Lane Change Assist
Tap the lever up or down once, without moving beyond the
detent, and the turn signal (right or left) will flash five times
then automatically turn off.
2
2020_RAM_PROMASTER_CITY_OM_USA=GUID-7B6A7FCA-79B0-423F-95C5-ED2A949C3D13=1=en=.book Page 45
Page 58 of 350

GETTING TO KNOW YOUR VEHICLE 55
Blower Control
There are four blower speeds. Use this control to regulate the amount of air forced through the system
in any mode you select. The blower speed increases as you move the control clockwise from the OFF
position.
Modes Control
Rotate this control to change the airflow distribution mode. The airflow distribution mode can be
adjusted so air comes from the instrument panel outlets, floor outlets, defrost outlets and demist
outlets. The Mode settings are as follows:
Panel Mode Panel Mode
Air comes from the outlets in the instrument panel. Each of these outlets can be individually adjusted
to direct the flow of air. The air vanes of the center outlets and outboard outlets can be moved up and
down or side to side to regulate airflow direction. There is a shut off wheel located below the air vanes
to shut off or adjust the amount of airflow from these outlets.
Bi-Level Mode Bi-Level Mode
Air comes from the instrument panel outlets and floor outlets. A slight amount of air is directed
through the defrost and side window demister outlets.
NOTE:
Bi-Level mode is designed under comfort conditions to provide cooler air out of the panel outlets and
warmer air from the floor outlets.
Icon
Description
2
2020_RAM_PROMASTER_CITY_OM_USA=GUID-7B6A7FCA-79B0-423F-95C5-ED2A949C3D13=1=en=.book Page 55
Page 103 of 350

100 SAFETY
ESC Activation/Malfunction Indicator Light And ESC
OFF Indicator Light The ESC Activation/Malfunction Indicator Light in
the instrument cluster will come on when the igni -
tion switch is turned to the MAR (ON/RUN) posi -
tion for four seconds. If the ESC Activation/Malfunction
Indicator Light comes on continuously with the engine
running, a malfunction has been detected in the ESC system.
If this light remains on after several ignition cycles, and the vehicle has been driven several miles (km) at speeds greater
than 30 mph (48 km/h), see an authorized dealer as soon as
possible to have the problem diagnosed and corrected.
The ESC Activation/Malfunction Indicator Light (located in
the instrument cluster) starts to flash as soon as the tires lose
traction and the ESC system becomes active. The ESC Activa
-
tion/Malfunction Indicator Light also flashes when TCS is
active. If the ESC Activation/Malfunction Indicator Light
begins to flash during acceleration, ease up on the accelerator
and apply as little throttle as possible. Be sure to adapt your
speed and driving to the prevailing road conditions.
NOTE:
• The ESC Activation/Malfunction Indicator Light and the ESC OFF Indicator Light come on momentarily each time
the ignition switch is turned ON.
• Each time the ignition is turned ON, the ESC system will be ON even if it was turned off previously.
The ESC OFF Indicator Light indicates the Electronic
Stability Control (ESC) is partially off.
• Vehicle modifications, or failure to properly maintain
your vehicle, may change the handling characteristics
of your vehicle, and may negatively affect the perfor -
mance of the ESC system. Changes to the steering
system, suspension, braking system, tire type and size
or wheel size may adversely affect ESC performance.
Improperly inflated and unevenly worn tires may also
degrade ESC performance. Any vehicle modification or
poor vehicle maintenance that reduces the effective -
ness of the ESC system can increase the risk of loss of
vehicle control, vehicle rollover, personal injury and
death.
WARNING! (Continued)
2020_RAM_PROMASTER_CITY_OM_USA=GUID-7B6A7FCA-79B0-423F-95C5-ED2A949C3D13=1=en=.book Page 100
Page 104 of 350

SAFETY 101
Electronic Roll Mitigation (ERM)
Electronic Roll Mitigation (ERM) anticipates the potential for
wheel lift by monitoring the driver’s steering wheel input
and the speed of the vehicle. When ERM determines that the
rate of change of the steering wheel angle and vehicle’s
speed are sufficient to potentially cause wheel lift, it then
applies the appropriate brake and may also reduce engine
power to lessen the chance that wheel lift will occur.
ERM can only reduce the chance of wheel lift occurring
during severe or evasive driving maneuvers; it cannot
prevent wheel lift due to other factors, such as road
conditions, leaving the roadway, or striking objects or other
vehicles.Hill Start Assist (HSA)
Hill Start Assist (HSA) is designed to assist the driver when
starting a vehicle from a stop on a hill. HSA will maintain the
level of brake pressure the driver applied for a short period
of time after the driver takes their foot off of the brake pedal.
If the driver does not apply the throttle during this short
period of time, the system will release brake pressure and the
vehicle will roll down the hill. The system will release brake
pressure in proportion to the amount of throttle applied as
the vehicle starts to move in the intended direction of travel.
HSA Activation Criteria
The following criteria must be met in order for HSA to
activate:
• The vehicle must be stopped.
• The vehicle must be on a 5% (approximate) grade or
greater hill.
• Gear selection matches vehicle uphill direction (i.e., vehicle facing uphill is in forward gear; vehicle backing
uphill is in REVERSE (R) gear).
HSA will work in REVERSE and all forward gears when the
activation criteria have been met. The system will not activate if
the vehicle is placed in NEUTRAL (N) or PARK (P).
WARNING!
Many factors, such as vehicle loading, road conditions
and driving conditions, influence the chance that wheel
lift or rollover may occur. ERM cannot prevent all wheel
lift or roll overs, especially those that involve leaving the
roadway or striking objects or other vehicles. The
capabilities of an ERM-equipped vehicle must never be
exploited in a reckless or dangerous manner which could
jeopardize the user's safety or the safety of others.
4
2020_RAM_PROMASTER_CITY_OM_USA=GUID-7B6A7FCA-79B0-423F-95C5-ED2A949C3D13=1=en=.book Page 101
Page 107 of 350

104 SAFETY
27 psi (186 kPa), but the TPMS Warning Light will still be on.
In this situation, the TPMS Warning Light will turn off only
after the tires are inflated to the vehicle’s recommended cold
placard pressure value.NOTE:
• The TPMS is not intended to replace normal tire care and
maintenance or to provide warning of a tire failure or
condition.
• The TPMS should not be used as a tire pressure gauge while adjusting your tire pressure.
• Driving on a significantly under-inflated tire causes the tire to overheat and can lead to tire failure. Under-inflation
also reduces fuel efficiency and tire tread life, and may
affect the vehicle’s handling and stopping ability.
• The TPMS is not a substitute for proper tire maintenance, and it is the driver’s responsibility to maintain correct tire
pressure using an accurate tire pressure gauge, even if
under-inflation has not reached the level to trigger illumi -
nation of the TPMS Warning Light.
• Seasonal temperature changes will affect tire pressure, and the TPMS will monitor the actual tire pressure in the tire.
CAUTION!
• The TPMS has been optimized for the original equip -
ment tires and wheels. TPMS pressures and warning
have been established for the tire size equipped on
your vehicle. Undesirable system operation or sensor
damage may result when using replacement equipment
that is not of the same size, type, and/or style. After -
market wheels can cause sensor damage.
• Using aftermarket tire sealants may cause the Tire Pres -
sure Monitoring System (TPMS) sensor to become
inoperable. After using an aftermarket tire sealant it is
recommended that you take your vehicle to an autho -
rized dealership to have your sensor function checked.
• After inspecting or adjusting the tire pressure always reinstall the valve stem cap. This will prevent moisture
and dirt from entering the valve stem, which could
damage the TPMS sensor.
2020_RAM_PROMASTER_CITY_OM_USA=GUID-7B6A7FCA-79B0-423F-95C5-ED2A949C3D13=1=en=.book Page 104
Page 135 of 350

132 SAFETY
(Continued)
Enhanced Accident Response System Reset Procedure
In order to reset the Enhanced Accident Response System
functions after an event, the ignition switch must be changed
from ignition AVV/START or MAR/RUN to ignition
STOP/OFF. Carefully check the vehicle for fuel leaks in the
engine compartment and on the ground near the engine
compartment and fuel tank before resetting the system and
starting the engine.
Maintaining Your Air Bag System
WARNING!
• Modifications to any part of the air bag system could cause it to fail when you need it. You could be injured
if the air bag system is not there to protect you. Do not
modify the components or wiring, including adding
any kind of badges or stickers to the steering wheel hub
trim cover or the upper passenger side of the instru -
ment panel. Do not modify the front bumper, vehicle
body structure, or add aftermarket side steps or
running boards.
• It is dangerous to try to repair any part of the air bag system yourself. Be sure to tell anyone who works on
your vehicle that it has an air bag system.
• Do not attempt to modify any part of your air bag system. The air bag may inflate accidentally or may not
function properly if modifications are made. Take your
vehicle to an authorized dealer for any air bag system
service. If your seat, including your trim cover and
cushion, needs to be serviced in any way (including
removal or loosening/tightening of seat attachment
bolts), take the vehicle to an authorized dealer. Only
manufacturer approved seat accessories may be used. If
it is necessary to modify the air bag system for persons
with disabilities, contact an authorized dealer.
WARNING! (Continued)
2020_RAM_PROMASTER_CITY_OM_USA=GUID-7B6A7FCA-79B0-423F-95C5-ED2A949C3D13=1=en=.book Page 132
Page 159 of 350

156 SAFETY
Periodic Safety Checks You Should Make Outside
The Vehicle
Tires
Examine tires for excessive tread wear and uneven wear
patterns. Check for stones, nails, glass, or other objects
lodged in the tread or sidewall. Inspect the tread for cuts and
cracks. Inspect sidewalls for cuts, cracks, and bulges. Check
the wheel bolts for tightness. Check the tires (including
spare) for proper cold inflation pressure.
Lights
Have someone observe the operation of brake lights and
exterior lights while you work the controls. Check turn signal
and high beam indicator lights on the instrument panel.
Door Latches
Check for proper closing, latching, and locking.
Fluid Leaks
Check area under the vehicle after overnight parking for
fuel, coolant, oil, or other fluid leaks. Also, if gasoline fumes
are detected or if fuel, or brake fluid leaks are suspected, the
cause should be located and corrected immediately.
• NEVER place any objects under the floor mat (e.g.,
towels, keys, etc.). These objects could change the posi -
tion of the floor mat and may cause interference with
the accelerator, brake, or clutch pedals.
• If the vehicle carpet has been removed and re-installed, always properly attach carpet to the floor and check the
floor mat fasteners are secure to the vehicle carpet.
Fully depress each pedal to check for interference with
the accelerator, brake, or clutch pedals then re-install
the floor mats.
• It is recommended to only use mild soap and water to clean your floor mats. After cleaning, always check
your floor mat has been properly installed and is
secured to your vehicle using the floor mat fasteners by
lightly pulling mat.
WARNING! (Continued)
2020_RAM_PROMASTER_CITY_OM_USA=GUID-7B6A7FCA-79B0-423F-95C5-ED2A949C3D13=1=en=.book Page 156
Page 173 of 350

170 STARTING AND OPERATING
Torque Converter Clutch
A feature designed to improve fuel economy has been
included in the automatic transmission on your vehicle. A
clutch within the torque converter engages automatically at
calibrated speeds. This may result in a slightly different
feeling or response during normal operation in the upper
gears. When the vehicle speed drops or during some acceler-
ations, the clutch automatically disengages.
NOTE:
The torque converter clutch will not engage until the trans -
mission fluid is warm [usually after 1 to 3 miles (2 to 5 km)
of driving]. Because the engine speed is higher when the
torque converter clutch is not engaged, it may seem as if the
transmission is not shifting properly when cold. This is
normal. The torque converter clutch will function normally
once the transmission is sufficiently warm.
Electronic Range Select (ERS) Operation
The Electronic Range Select (ERS) shift control allows the
driver to limit the highest available gear. For example, if you
set the transmission gear limit to 5 (fifth gear), the transmis -
sion will not shift above fifth gear, but will shift through the
lower gears normally. You can switch between DRIVE and ERS mode at any
vehicle speed. When the gear selector is in the DRIVE posi
-
tion, the transmission will operate automatically, shifting
between all available gears.
Moving the gear selector to the ERS position (beside DRIVE)
will activate ERS mode, display the current gear in the
instrument cluster, and set that gear as the top available gear.
Once in ERS mode, moving the gear selector forward (-) or
rearward (+) will change the top available gear, which will
be displayed in the instrument cluster.
To exit ERS mode, simply return the gear selector to the
DRIVE position.
NOTE:
To select the proper gear position for maximum deceleration
(engine braking), move the gear selector into the ERS posi -
tion, then simply press and hold it forward (-). The transmis -
sion will shift to the range from which the vehicle can best be
slowed down.
WARNING!
Do not downshift for additional engine braking on a
slippery surface. The drive wheels could lose their grip
and the vehicle could skid, causing a collision or
personal injury.
2020_RAM_PROMASTER_CITY_OM_USA=GUID-7B6A7FCA-79B0-423F-95C5-ED2A949C3D13=1=en=.book Page 170
Page 215 of 350

212 IN CASE OF EMERGENCY
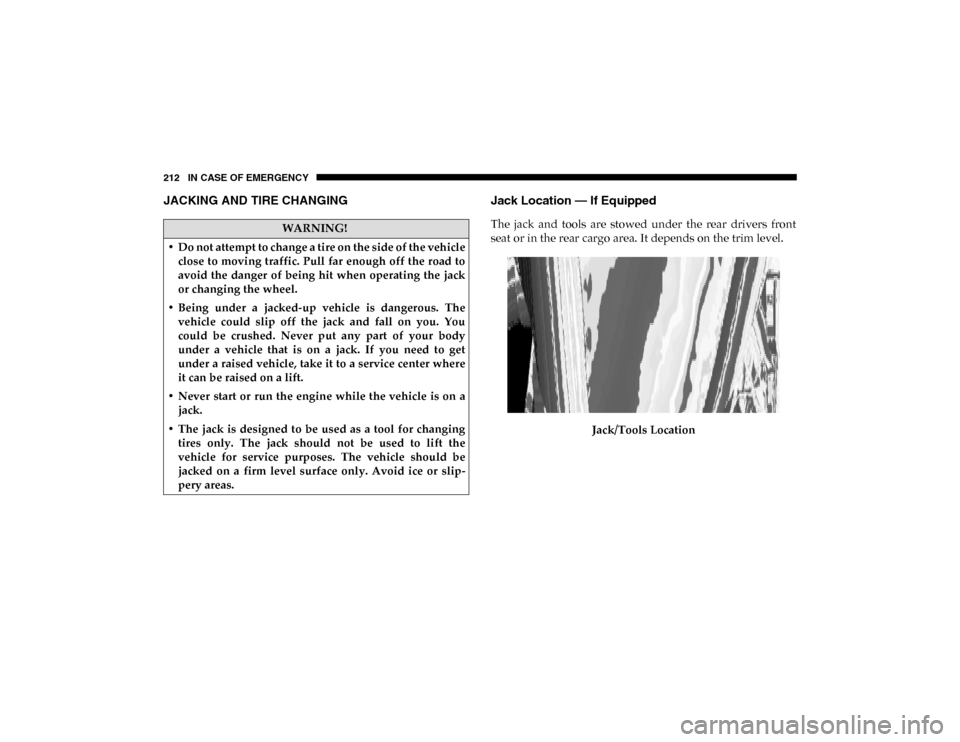
JACKING AND TIRE CHANGING Jack Location — If Equipped
The jack and tools are stowed under the rear drivers front
seat or in the rear cargo area. It depends on the trim level.
Jack/Tools LocationWARNING!
• Do not attempt to change a tire on the side of the vehicle close to moving traffic. Pull far enough off the road to
avoid the danger of being hit when operating the jack
or changing the wheel.
• Being under a jacked-up vehicle is dangerous. The vehicle could slip off the jack and fall on you. You
could be crushed. Never put any part of your body
under a vehicle that is on a jack. If you need to get
under a raised vehicle, take it to a service center where
it can be raised on a lift.
• Never start or run the engine while the vehicle is on a jack.
• The jack is designed to be used as a tool for changing tires only. The jack should not be used to lift the
vehicle for service purposes. The vehicle should be
jacked on a firm level surface only. Avoid ice or slip -
pery areas.
2020_RAM_PROMASTER_CITY_OM_USA=GUID-7B6A7FCA-79B0-423F-95C5-ED2A949C3D13=1=en=.book Page 212
Page 220 of 350

IN CASE OF EMERGENCY 217
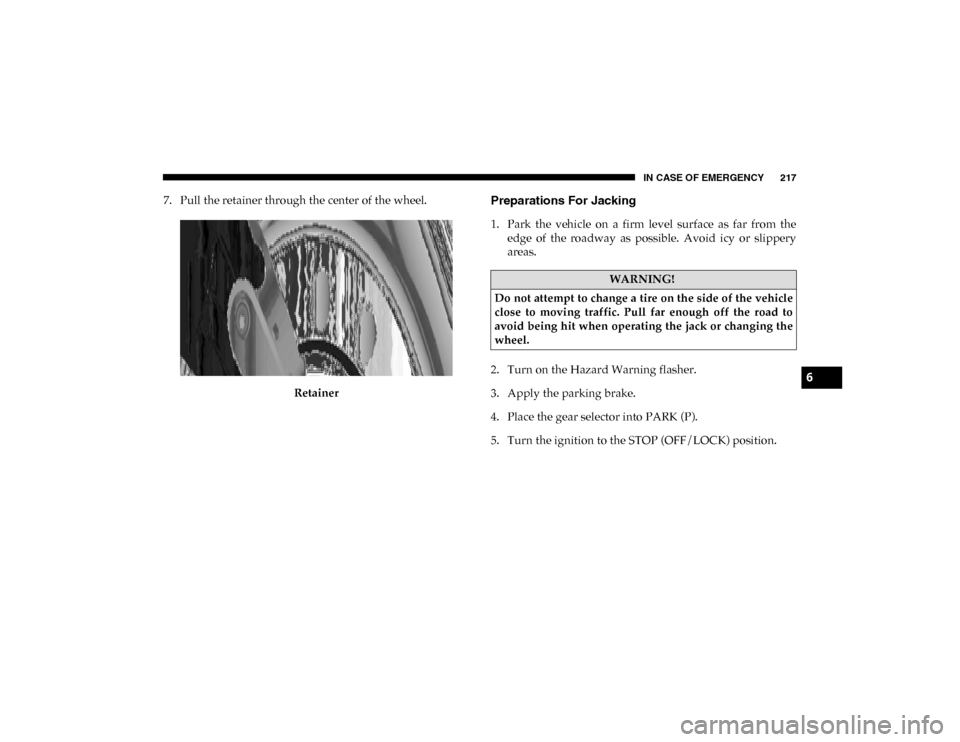
7. Pull the retainer through the center of the wheel.RetainerPreparations For Jacking
1. Park the vehicle on a firm level surface as far from theedge of the roadway as possible. Avoid icy or slippery
areas.
2. Turn on the Hazard Warning flasher.
3. Apply the parking brake.
4. Place the gear selector into PARK (P).
5. Turn the ignition to the STOP (OFF/LOCK) position.
WARNING!
Do not attempt to change a tire on the side of the vehicle
close to moving traffic. Pull far enough off the road to
avoid being hit when operating the jack or changing the
wheel.
6
2020_RAM_PROMASTER_CITY_OM_USA=GUID-7B6A7FCA-79B0-423F-95C5-ED2A949C3D13=1=en=.book Page 217