change wheel RENAULT KADJAR 2018 Owners Manual
[x] Cancel search | Manufacturer: RENAULT, Model Year: 2018, Model line: KADJAR, Model: RENAULT KADJAR 2018Pages: 310, PDF Size: 8.35 MB
Page 135 of 310

2.27
TYRE PRESSURE MONITORING SYSTEM (1/3)
Resetting the standard level
for the tyre pressures
This should be done:
– when the standard tyre pressure needs to be changed to adapt to
usage conditions (empty, carrying a
load, motorway driving, etc.);
– after swapping a wheel (however this practice is not recommended);
– after changing a wheel.
It should always be done after checking
the tyre pressure of all four tyres when
cold.
Tyre pressures must correspond to the
current usage of the vehicle (empty,
carrying a load, motorway driving, etc.).213
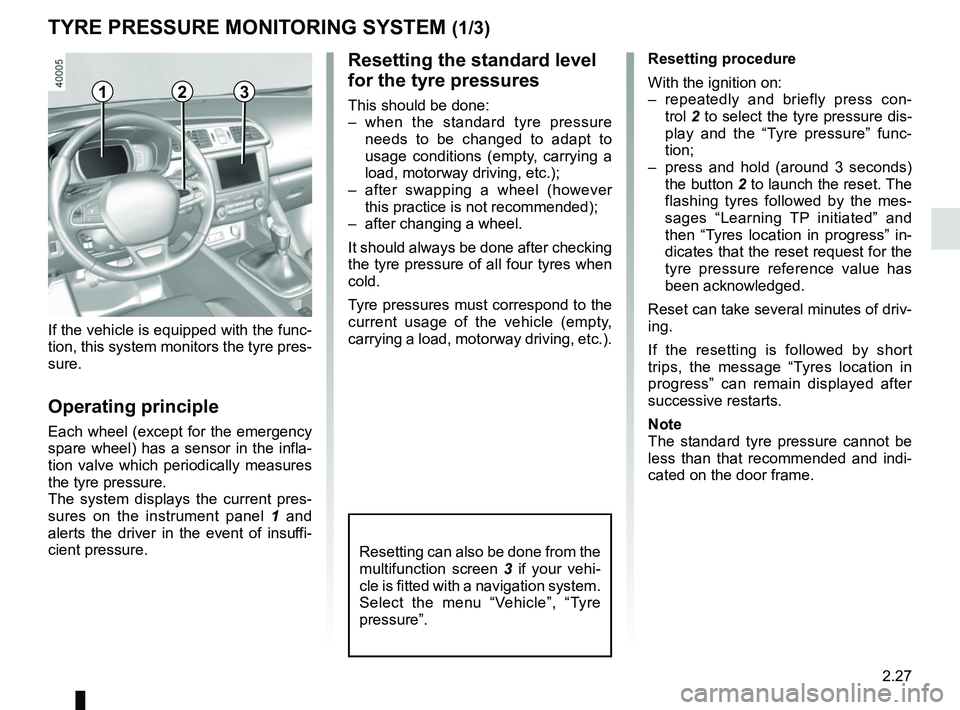
Resetting can also be done from the
multifunction screen 3 if your vehi-
cle is fitted with a navigation system.
Select the menu “Vehicle”, “Tyre
pressure”.
If the vehicle is equipped with the func-
tion, this system monitors the tyre pres-
sure.
Operating principle
Each wheel (except for the emergency
spare wheel) has a sensor in the infla-
tion valve which periodically measures
the tyre pressure.
The system displays the current pres-
sures on the instrument panel 1 and
alerts the driver in the event of insuffi-
cient pressure. Resetting procedure
With the ignition on:
– repeatedly and briefly press con-
trol 2 to select the tyre pressure dis-
play and the “Tyre pressure” func-
tion;
– press and hold (around 3 seconds) the button 2 to launch the reset. The
flashing tyres followed by the mes-
sages “Learning TP initiated” and
then “Tyres location in progress” in-
dicates that the reset request for the
tyre pressure reference value has
been acknowledged.
Reset can take several minutes of driv-
ing.
If the resetting is followed by short
trips, the message “Tyres location in
progress” can remain displayed after
successive restarts.
Note
The standard tyre pressure cannot be
less than that recommended and indi-
cated on the door frame.
Page 149 of 310

2.41
TRANSMISSION: 4-wheel drive (4WD) (2/4)
This problem may be resolved by
changing the tyres. Always use four
identical tyres (same brand, profile,
etc.) and with similar wear.
In the event of excessive wheelspin, the
mechanical components may overheat.
If this happens:
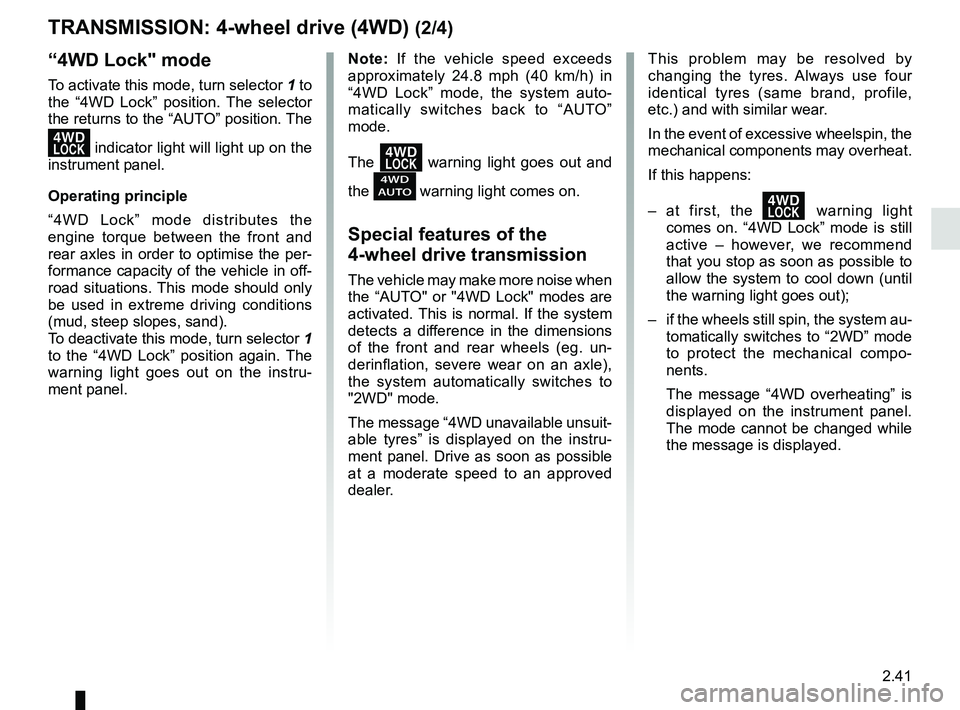
– at first, the
’ warning light
comes on. “4WD Lock” mode is still
active – however, we recommend
that you stop as soon as possible to
allow the system to cool down (until
the warning light goes out);
– if the wheels still spin, the system au- tomatically switches to “2WD” mode
to protect the mechanical compo-
nents.
The message “4WD overheating” is
displayed on the instrument panel.
The mode cannot be changed while
the message is displayed.
Note: If the vehicle speed exceeds
approximately 24.8 mph (40 km/h) in
“4WD Lock” mode, the system auto-
matically switches back to “AUTO”
mode.
The
’ warning light goes out and
the
warning light comes on.
Special features of the
4-wheel drive transmission
The vehicle may make more noise when
the “AUTO" or "4WD Lock" modes are
activated. This is normal. If the system
detects a difference in the dimensions
of the front and rear wheels (eg. un-
derinflation, severe wear on an axle),
the system automatically switches to
"2WD" mode.
The message “4WD unavailable unsuit-
able tyres” is displayed on the instru-
ment panel. Drive as soon as possible
at a moderate speed to an approved
dealer.
“4WD Lock" mode
To activate this mode, turn selector 1 to
the “4WD Lock” position. The selector
the returns to the “AUTO” position. The
’ indicator light will light up on the
instrument panel.
Operating principle
“4WD Lock” mode distributes the
engine torque between the front and
rear axles in order to optimise the per-
formance capacity of the vehicle in off-
road situations. This mode should only
be used in extreme driving conditions
(mud, steep slopes, sand).
To deactivate this mode, turn selector 1
to the “4WD Lock” position again. The
warning light goes out on the instru-
ment panel.
Page 171 of 310

2.63
An impact to the under-
side of the vehicle while
manoeuvring (e.g. strik-
ing a post, raised kerb or
other street furniture) may result in
damage to the vehicle (e.g. defor-
mation of an axle).
To avoid any risk of accident, have
your vehicle checked by an ap-
proved Dealer.
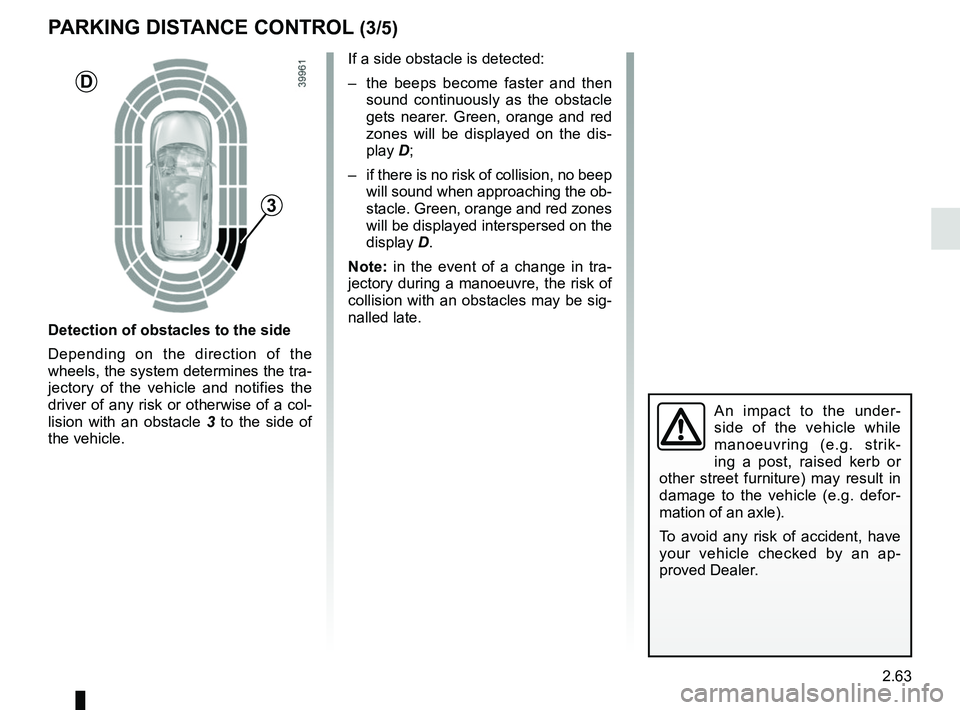
Detection of obstacles to the side
Depending on the direction of the
wheels, the system determines the tra-
jectory of the vehicle and notifies the
driver of any risk or otherwise of a col-
lision with an obstacle 3 to the side of
the vehicle.
PARKING DISTANCE CONTROL (3/5)
If a side obstacle is detected:
– the beeps become faster and then sound continuously as the obstacle
gets nearer. Green, orange and red
zones will be displayed on the dis-
play D;
– if there is no risk of collision, no beep will sound when approaching the ob-
stacle. Green, orange and red zones
will be displayed interspersed on the
display D.
Note: in the event of a change in tra-
jectory during a manoeuvre, the risk of
collision with an obstacles may be sig-
nalled late.
3
D