air filter RENAULT SCENIC 2011 J95 / 3.G Engine And Peripherals EDC16 User Guide
[x] Cancel search | Manufacturer: RENAULT, Model Year: 2011, Model line: SCENIC, Model: RENAULT SCENIC 2011 J95 / 3.GPages: 365, PDF Size: 2.11 MB
Page 21 of 365
13B-21
MR-372-J84-13B200$144.mif
V13
13B
DIESEL INJECTION
Fault finding – Replacement of components
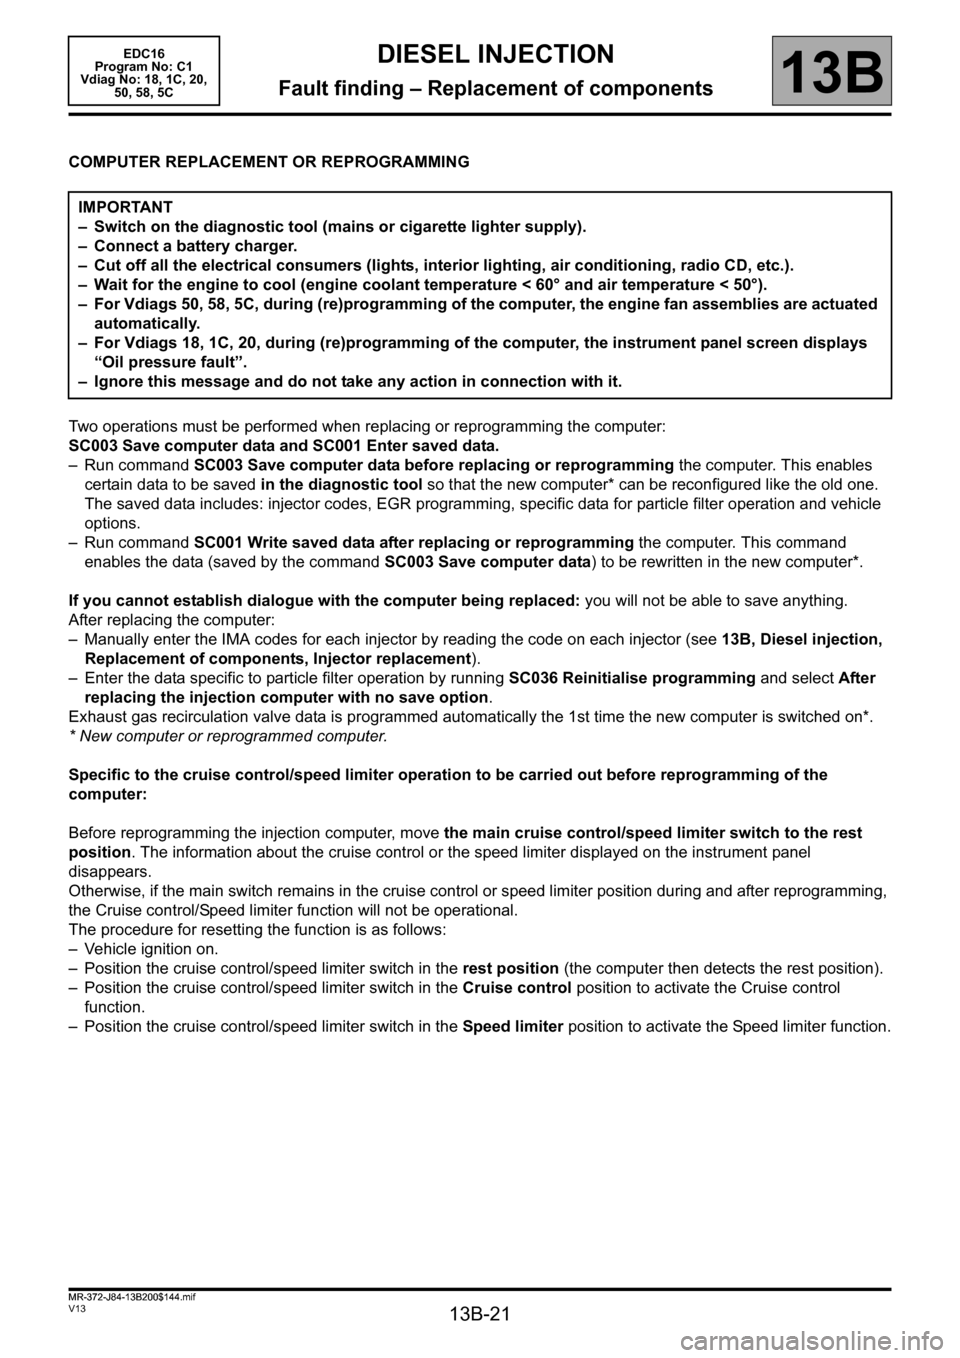
COMPUTER REPLACEMENT OR REPROGRAMMING
Two operations must be performed when replacing or reprogramming the computer:
SC003 Save computer data and SC001 Enter saved data.
– Run command SC003 Save computer data before replacing or reprogramming the computer. This enables
certain data to be saved in the diagnostic tool so that the new computer* can be reconfigured like the old one.
The saved data includes: injector codes, EGR programming, specific data for particle filter operation and vehicle
options.
– Run command SC001 Write saved data after replacing or reprogramming the computer. This command
enables the data (saved by the command SC003 Save computer data) to be rewritten in the new computer*.
If you cannot establish dialogue with the computer being replaced: you will not be able to save anything.
After replacing the computer:
– Manually enter the IMA codes for each injector by reading the code on each injector (see 13B, Diesel injection,
Replacement of components, Injector replacement).
– Enter the data specific to particle filter operation by running SC036 Reinitialise programming and select After
replacing the injection computer with no save option.
Exhaust gas recirculation valve data is programmed automatically the 1st time the new computer is switched on*.
* New computer or reprogrammed computer.
Specific to the cruise control/speed limiter operation to be carried out before reprogramming of the
computer:
Before reprogramming the injection computer, move the main cruise control/speed limiter switch to the rest
position. The information about the cruise control or the speed limiter displayed on the instrument panel
disappears.
Otherwise, if the main switch remains in the cruise control or speed limiter position during and after reprogramming,
the Cruise control/Speed limiter function will not be operational.
The procedure for resetting the function is as follows:
– Vehicle ignition on.
– Position the cruise control/speed limiter switch in the rest position (the computer then detects the rest position).
– Position the cruise control/speed limiter switch in the Cruise control position to activate the Cruise control
function.
– Position the cruise control/speed limiter switch in the Speed limiter position to activate the Speed limiter function. IMPORTANT
– Switch on the diagnostic tool (mains or cigarette lighter supply).
– Connect a battery charger.
– Cut off all the electrical consumers (lights, interior lighting, air conditioning, radio CD, etc.).
– Wait for the engine to cool (engine coolant temperature < 60° and air temperature < 50°).
– For Vdiags 50, 58, 5C, during (re)programming of the computer, the engine fan assemblies are actuated
automatically.
– For Vdiags 18, 1C, 20, during (re)programming of the computer, the instrument panel screen displays
“Oil pressure fault”.
– Ignore this message and do not take any action in connection with it.
EDC16
Program No: C1
Vdiag No: 18, 1C, 20,
50, 58, 5C
MR-372-J84-13B200$144.mif
Page 35 of 365
13B-35
MR-372-J84-13B200$252.mif
V13
DIESEL INJECTION
Fault finding – Interpretation of faults
EDC16
Program No.: C1
Vdiag no.: 18, 1C, 20,
50, 58, 5C
13B
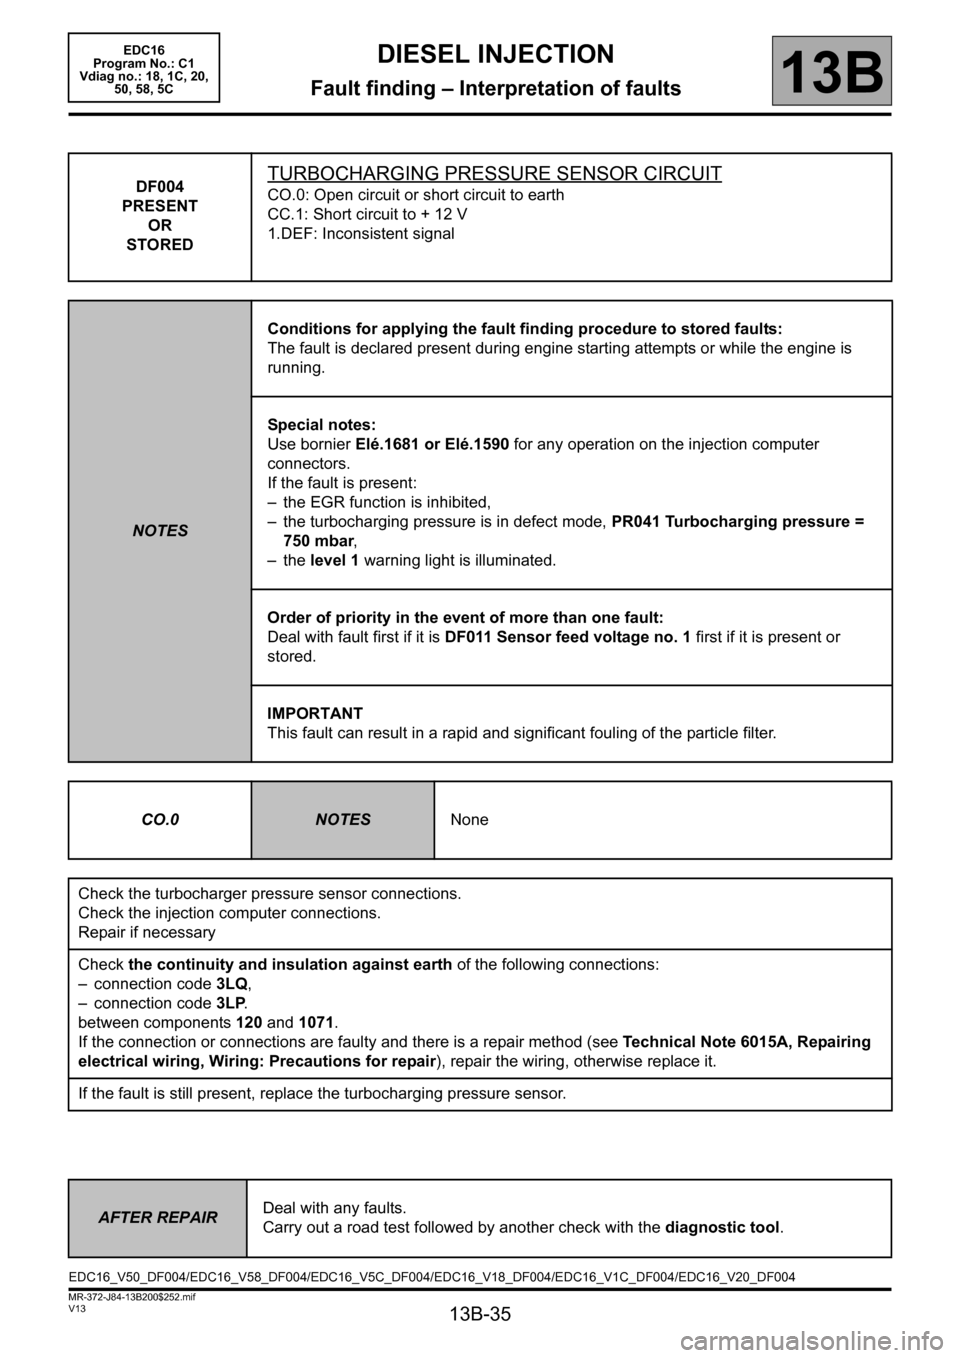
DF004
PRESENT
OR
STOREDTURBOCHARGING PRESSURE SENSOR CIRCUIT
CO.0: Open circuit or short circuit to earth
CC.1: Short circuit to + 12 V
1.DEF: Inconsistent signal
NOTESConditions for applying the fault finding procedure to stored faults:
The fault is declared present during engine starting attempts or while the engine is
running.
Special notes:
Use bornier Elé.1681 or Elé.1590 for any operation on the injection computer
connectors.
If the fault is present:
– the EGR function is inhibited,
– the turbocharging pressure is in defect mode, PR041 Turbocharging pressure =
750 mbar,
– the level 1 warning light is illuminated.
Order of priority in the event of more than one fault:
Deal with fault first if it is DF011 Sensor feed voltage no. 1 first if it is present or
stored.
IMPORTANT
This fault can result in a rapid and significant fouling of the particle filter.
CO.0
NOTESNone
Check the turbocharger pressure sensor connections.
Check the injection computer connections.
Repair if necessary
Check the continuity and insulation against earth of the following connections:
– connection code 3LQ,
– connection code 3LP.
between components 120 and 1071.
If the connection or connections are faulty and there is a repair method (see Technical Note 6015A, Repairing
electrical wiring, Wiring: Precautions for repair), repair the wiring, otherwise replace it.
If the fault is still present, replace the turbocharging pressure sensor.
AFTER REPAIRDeal with any faults.
Carry out a road test followed by another check with the diagnostic tool.
EDC16_V50_DF004/EDC16_V58_DF004/EDC16_V5C_DF004/EDC16_V18_DF004/EDC16_V1C_DF004/EDC16_V20_DF004
Page 48 of 365
13B-48
MR-372-J84-13B200$252.mif
V13
DIESEL INJECTION
Fault finding – Interpretation of faults
EDC16
Program No.: C1
Vdiag no.: 18, 1C, 20,
50, 58, 5C
13B
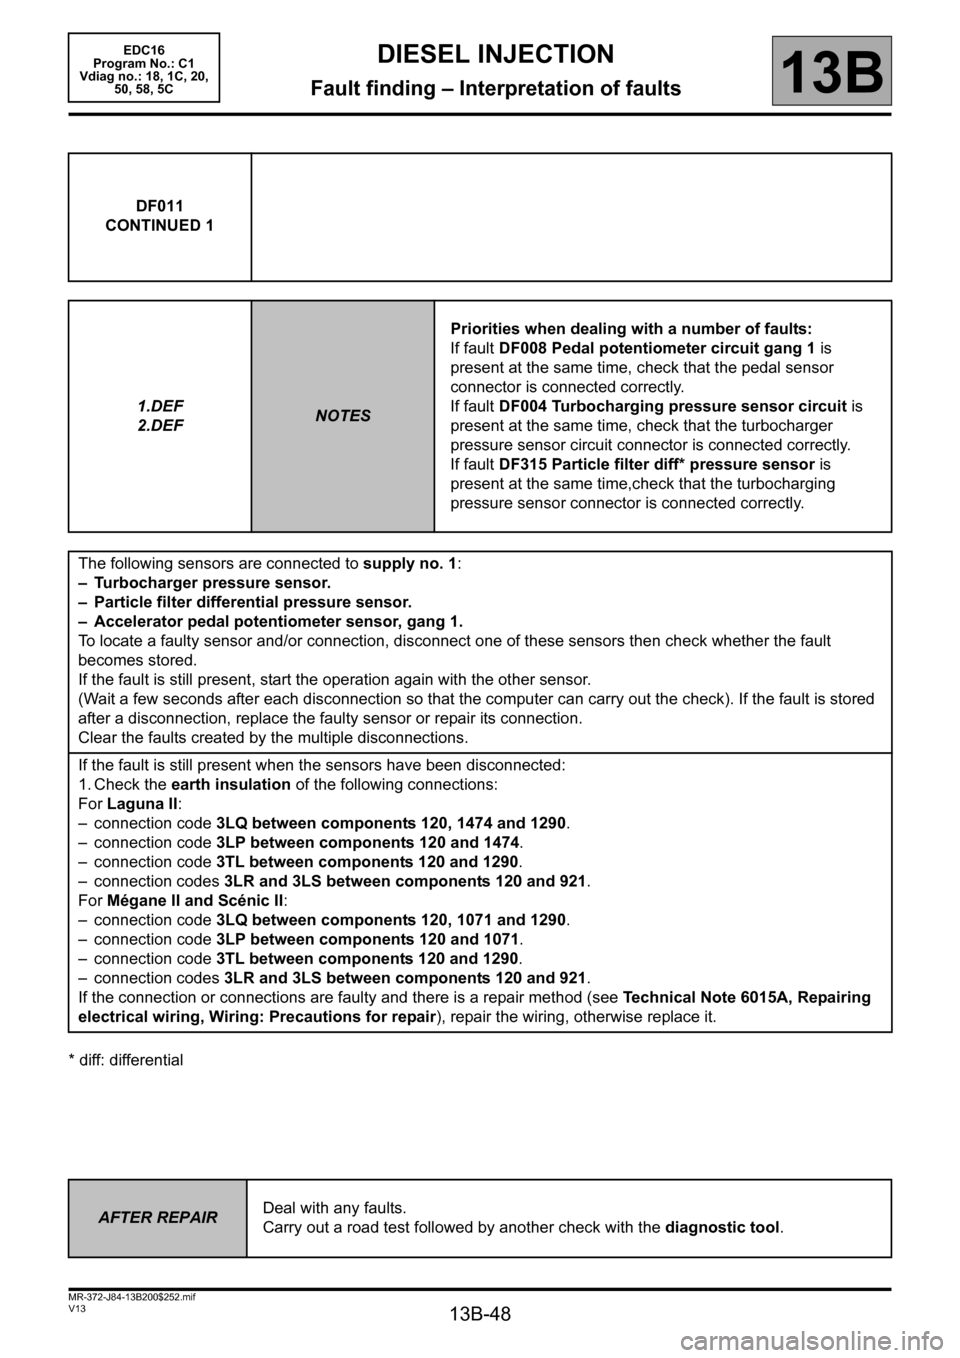
* diff: differentialDF011
CONTINUED 1
1.DEF
2.DEF
NOTESPriorities when dealing with a number of faults:
If fault DF008 Pedal potentiometer circuit gang 1 is
present at the same time, check that the pedal sensor
connector is connected correctly.
If fault DF004 Turbocharging pressure sensor circuit is
present at the same time, check that the turbocharger
pressure sensor circuit connector is connected correctly.
If fault DF315 Particle filter diff* pressure sensor is
present at the same time,check that the turbocharging
pressure sensor connector is connected correctly.
The following sensors are connected to supply no. 1:
– Turbocharger pressure sensor.
– Particle filter differential pressure sensor.
– Accelerator pedal potentiometer sensor, gang 1.
To locate a faulty sensor and/or connection, disconnect one of these sensors then check whether the fault
becomes stored.
If the fault is still present, start the operation again with the other sensor.
(Wait a few seconds after each disconnection so that the computer can carry out the check). If the fault is stored
after a disconnection, replace the faulty sensor or repair its connection.
Clear the faults created by the multiple disconnections.
If the fault is still present when the sensors have been disconnected:
1. Check the earth insulation of the following connections:
For Laguna II:
– connection code 3LQ between components 120, 1474 and 1290.
– connection code 3LP between components 120 and 1474.
– connection code 3TL between components 120 and 1290.
– connection codes 3LR and 3LS between components 120 and 921.
For Mégane II and Scénic II:
– connection code 3LQ between components 120, 1071 and 1290.
– connection code 3LP between components 120 and 1071.
– connection code 3TL between components 120 and 1290.
– connection codes 3LR and 3LS between components 120 and 921.
If the connection or connections are faulty and there is a repair method (see Technical Note 6015A, Repairing
electrical wiring, Wiring: Precautions for repair), repair the wiring, otherwise replace it.
AFTER REPAIRDeal with any faults.
Carry out a road test followed by another check with the diagnostic tool.
Page 49 of 365
13B-49
MR-372-J84-13B200$252.mif
V13
DIESEL INJECTION
Fault finding – Interpretation of faults
EDC16
Program No.: C1
Vdiag no.: 18, 1C, 20,
50, 58, 5C
13B
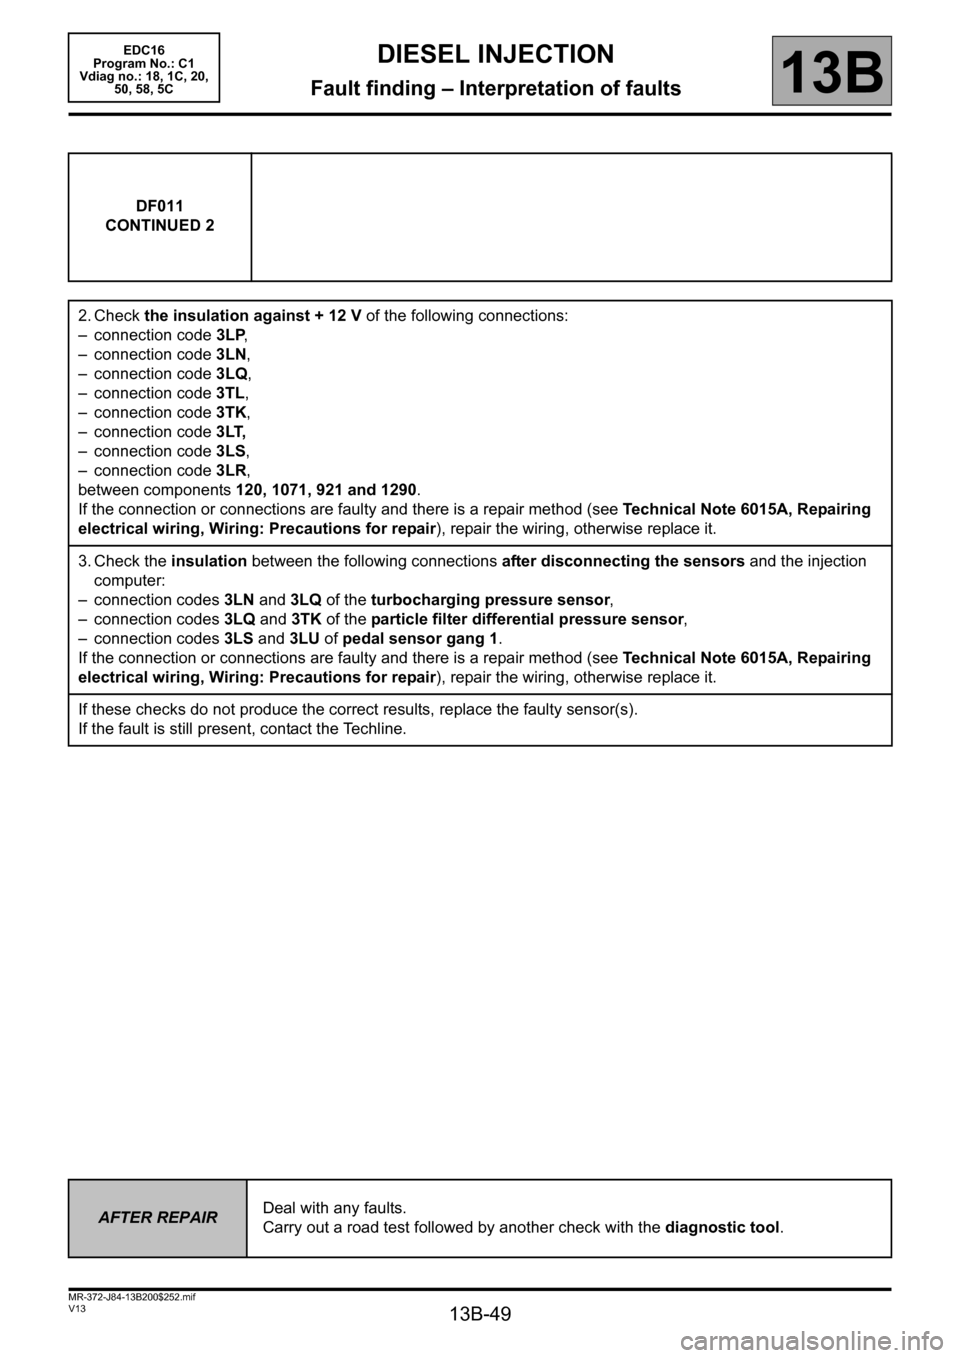
DF011
CONTINUED 2
2. Check the insulation against + 12 V of the following connections:
– connection code 3LP,
– connection code 3LN,
– connection code 3LQ,
– connection code3TL,
– connection code 3TK,
– connection code 3LT,
– connection code 3LS,
– connection code 3LR,
between components 120, 1071, 921 and 1290.
If the connection or connections are faulty and there is a repair method (see Technical Note 6015A, Repairing
electrical wiring, Wiring: Precautions for repair), repair the wiring, otherwise replace it.
3. Check the insulation between the following connections after disconnecting the sensors and the injection
computer:
– connection codes 3LN and 3LQ of the turbocharging pressure sensor,
– connection codes 3LQ and 3TK of the particle filter differential pressure sensor,
– connection codes 3LS and 3LU of pedal sensor gang 1.
If the connection or connections are faulty and there is a repair method (see Technical Note 6015A, Repairing
electrical wiring, Wiring: Precautions for repair), repair the wiring, otherwise replace it.
If these checks do not produce the correct results, replace the faulty sensor(s).
If the fault is still present, contact the Techline.
AFTER REPAIRDeal with any faults.
Carry out a road test followed by another check with the diagnostic tool.
Page 64 of 365
13B-64
MR-372-J84-13B200$288.mif
V13
EDC16
Program No.: C1
Vdiag no.: 18, 1C, 20,
50, 58, 5CDIESEL INJECTION
Fault finding – Interpretation of faults13B
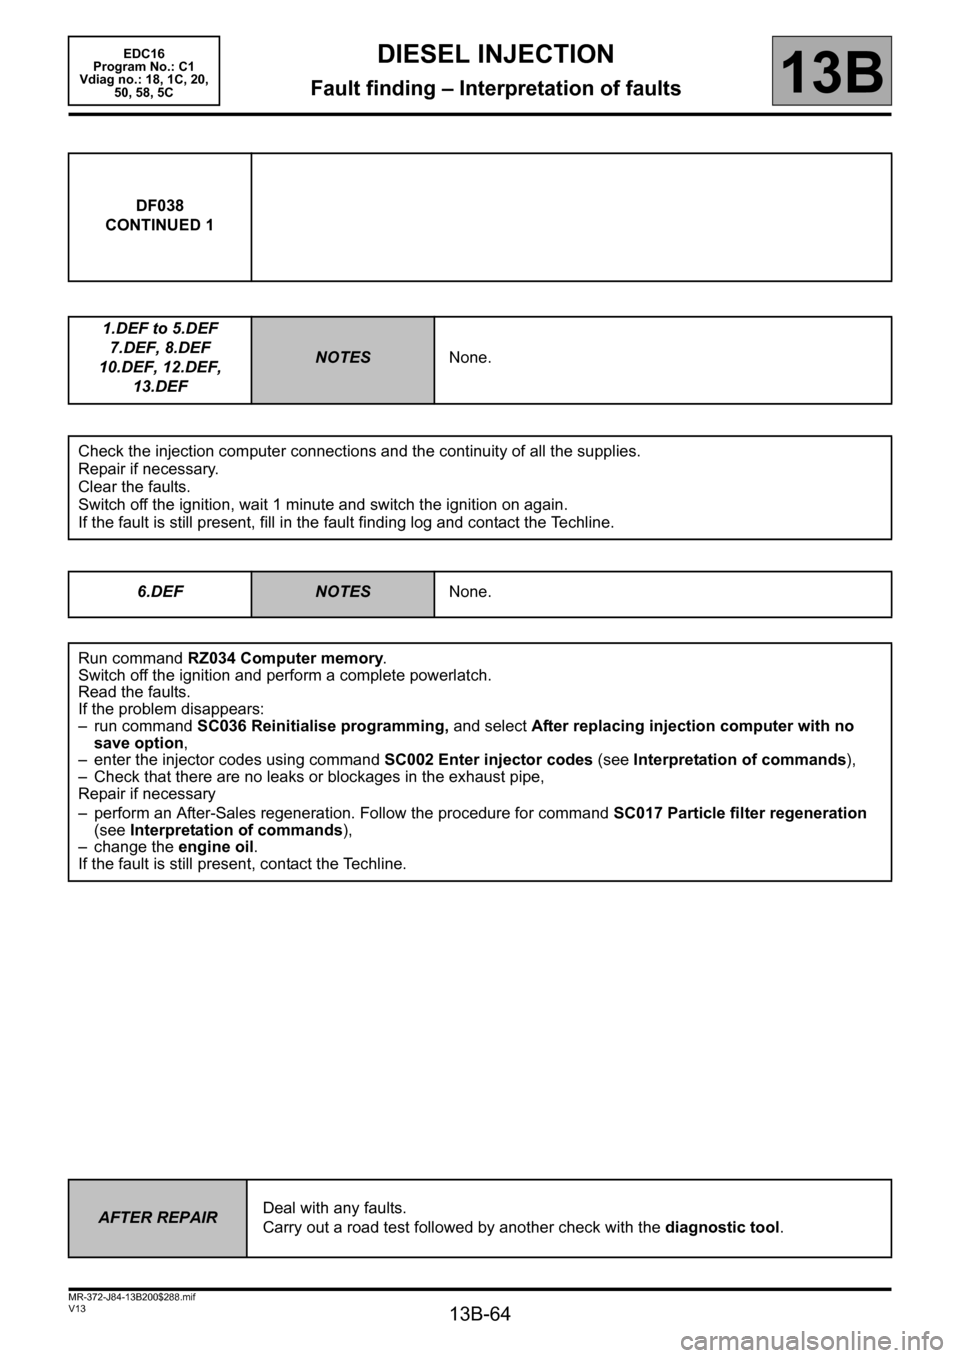
DF038
CONTINUED 1
1.DEF to 5.DEF
7.DEF, 8.DEF
10.DEF, 12.DEF,
13.DEF
NOTESNone.
Check the injection computer connections and the continuity of all the supplies.
Repair if necessary.
Clear the faults.
Switch off the ignition, wait 1 minute and switch the ignition on again.
If the fault is still present, fill in the fault finding log and contact the Techline.
6.DEF
NOTESNone.
Run command RZ034 Computer memory.
Switch off the ignition and perform a complete powerlatch.
Read the faults.
If the problem disappears:
– run command SC036 Reinitialise programming, and select After replacing injection computer with no
save option,
– enter the injector codes using command SC002 Enter injector codes (see Interpretation of commands),
– Check that there are no leaks or blockages in the exhaust pipe,
Repair if necessary
– perform an After-Sales regeneration. Follow the procedure for command SC017 Particle filter regeneration
(see Interpretation of commands),
– change the engine oil.
If the fault is still present, contact the Techline.
AFTER REPAIRDeal with any faults.
Carry out a road test followed by another check with the diagnostic tool.
Page 68 of 365
13B-68
MR-372-J84-13B200$288.mif
V13
DIESEL INJECTION
Fault finding – Interpretation of faults
EDC16
Program No.: C1
Vdiag no.: 18, 1C, 20,
50, 58, 5C
13B
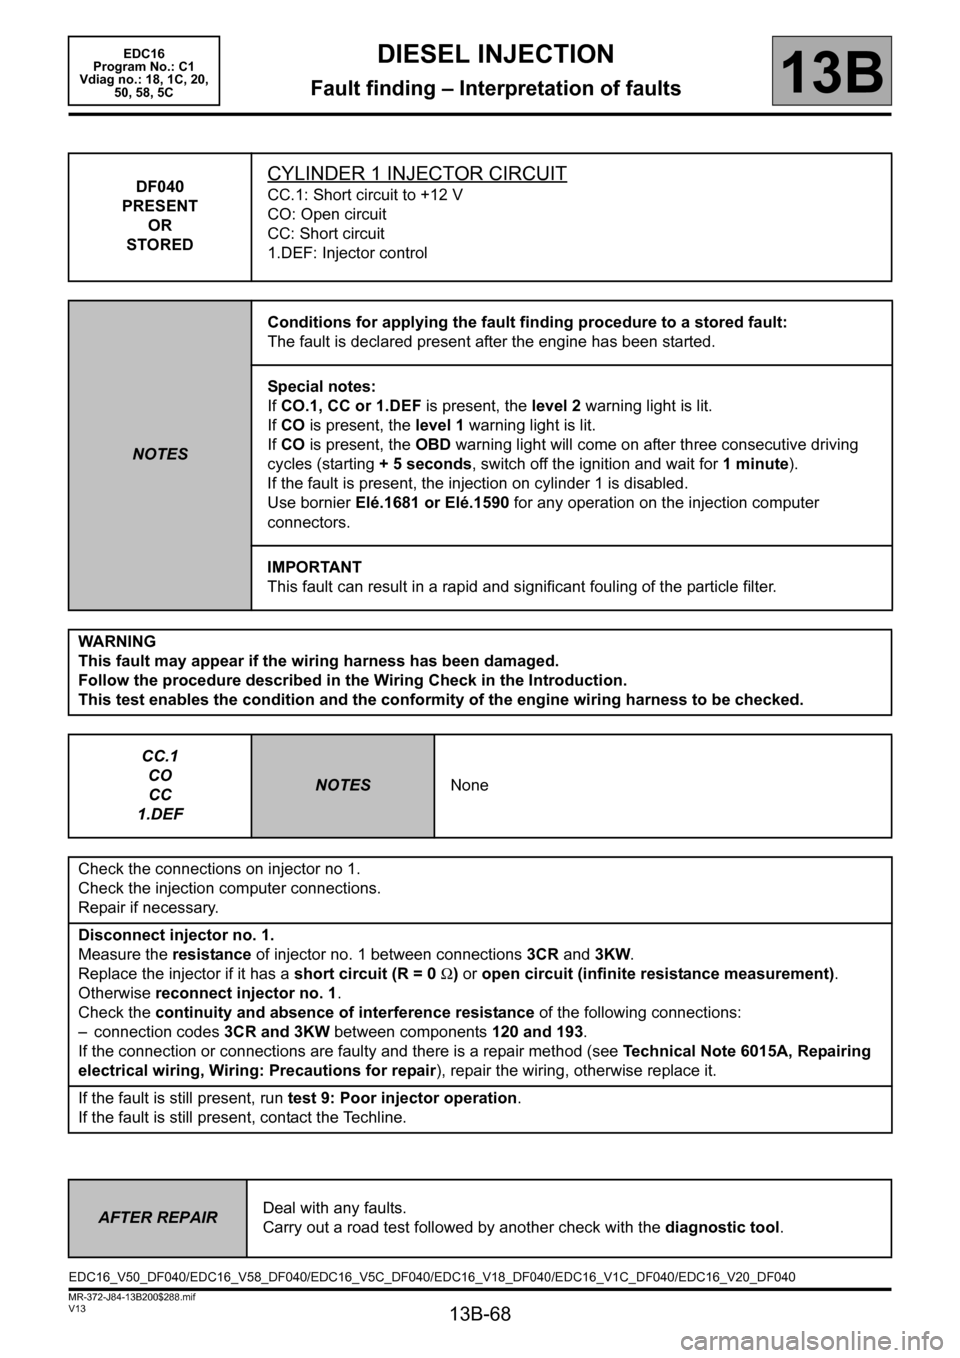
DF040
PRESENT
OR
STOREDCYLINDER 1 INJECTOR CIRCUIT
CC.1: Short circuit to +12 V
CO: Open circuit
CC: Short circuit
1.DEF: Injector control
NOTESConditions for applying the fault finding procedure to a stored fault:
The fault is declared present after the engine has been started.
Special notes:
If CO.1, CC or 1.DEF is present, the level 2 warning light is lit.
If CO is present, the level 1 warning light is lit.
If CO is present, the OBD warning light will come on after three consecutive driving
cycles (starting + 5 seconds, switch off the ignition and wait for 1 minute).
If the fault is present, the injection on cylinder 1 is disabled.
Use bornier Elé.1681 or Elé.1590 for any operation on the injection computer
connectors.
IMPORTANT
This fault can result in a rapid and significant fouling of the particle filter.
WARNING
This fault may appear if the wiring harness has been damaged.
Follow the procedure described in the Wiring Check in the Introduction.
This test enables the condition and the conformity of the engine wiring harness to be checked.
CC.1
CO
CC
1.DEF
NOTESNone
Check the connections on injector no 1.
Check the injection computer connections.
Repair if necessary.
Disconnect injector no. 1.
Measure the resistance of injector no. 1 between connections 3CR and 3KW.
Replace the injector if it has a short circuit (R = 0 Ω) or open circuit (infinite resistance measurement).
Otherwise reconnect injector no. 1.
Check the continuity and absence of interference resistance of the following connections:
– connection codes 3CR and 3KW between components 120 and 193.
If the connection or connections are faulty and there is a repair method (see Technical Note 6015A, Repairing
electrical wiring, Wiring: Precautions for repair), repair the wiring, otherwise replace it.
If the fault is still present, run test 9: Poor injector operation.
If the fault is still present, contact the Techline.
AFTER REPAIRDeal with any faults.
Carry out a road test followed by another check with the diagnostic tool.
EDC16_V50_DF040/EDC16_V58_DF040/EDC16_V5C_DF040/EDC16_V18_DF040/EDC16_V1C_DF040/EDC16_V20_DF040
Page 69 of 365
13B-69
MR-372-J84-13B200$288.mif
V13
DIESEL INJECTION
Fault finding – Interpretation of faults
EDC16
Program No.: C1
Vdiag no.: 18, 1C, 20,
50, 58, 5C
13B
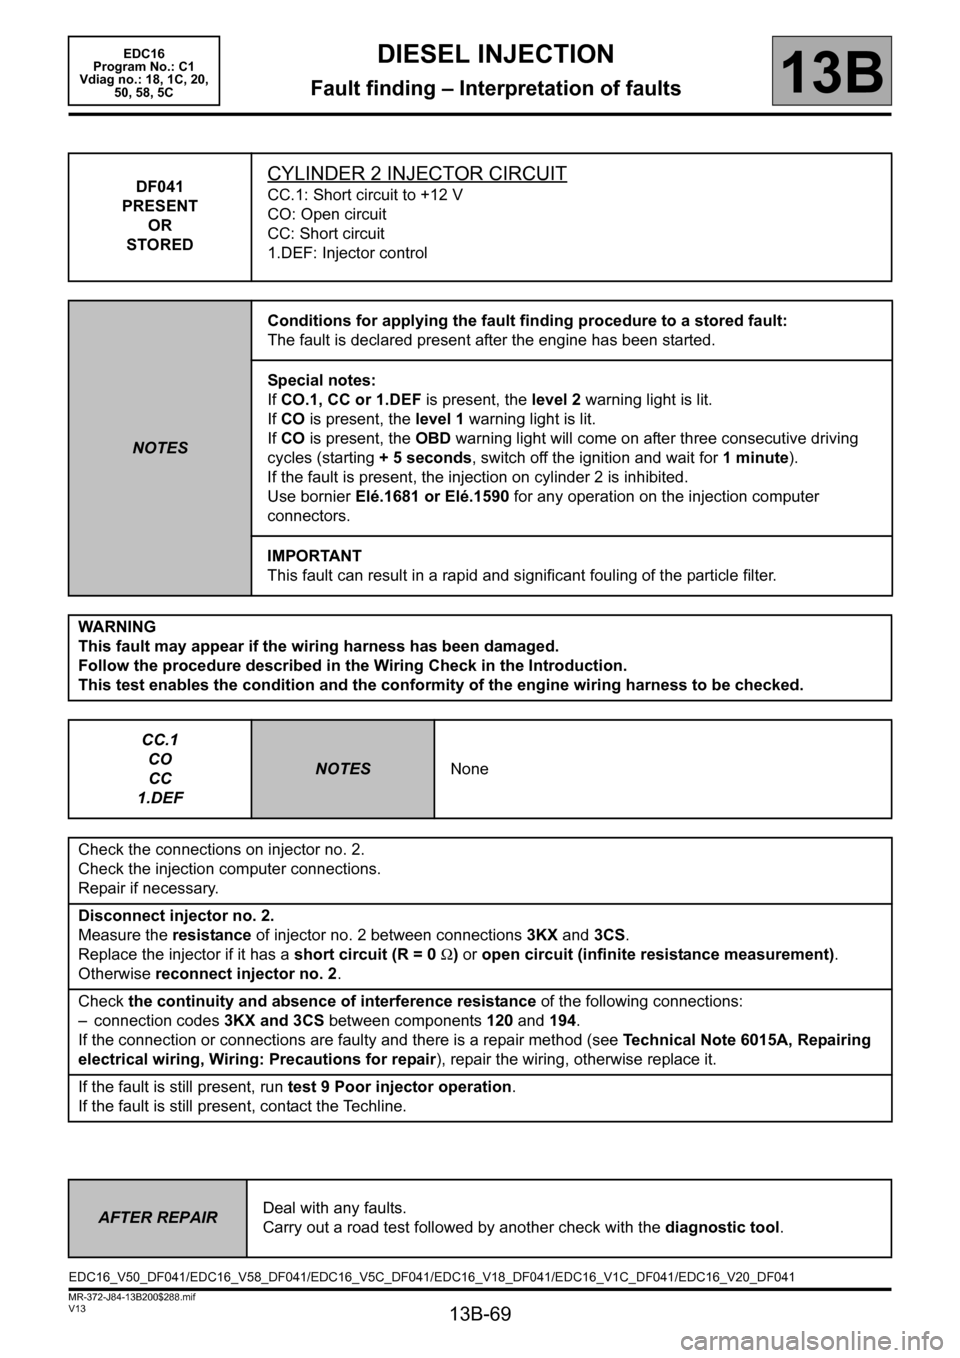
DF041
PRESENT
OR
STOREDCYLINDER 2 INJECTOR CIRCUIT
CC.1: Short circuit to +12 V
CO: Open circuit
CC: Short circuit
1.DEF: Injector control
NOTESConditions for applying the fault finding procedure to a stored fault:
The fault is declared present after the engine has been started.
Special notes:
If CO.1, CC or 1.DEF is present, the level 2 warning light is lit.
If CO is present, the level 1 warning light is lit.
If CO is present, the OBD warning light will come on after three consecutive driving
cycles (starting + 5 seconds, switch off the ignition and wait for 1 minute).
If the fault is present, the injection on cylinder 2 is inhibited.
Use bornier Elé.1681 or Elé.1590 for any operation on the injection computer
connectors.
IMPORTANT
This fault can result in a rapid and significant fouling of the particle filter.
WARNING
This fault may appear if the wiring harness has been damaged.
Follow the procedure described in the Wiring Check in the Introduction.
This test enables the condition and the conformity of the engine wiring harness to be checked.
CC.1
CO
CC
1.DEF
NOTESNone
Check the connections on injector no. 2.
Check the injection computer connections.
Repair if necessary.
Disconnect injector no. 2.
Measure the resistance of injector no. 2 between connections 3KX and 3CS.
Replace the injector if it has a short circuit (R = 0 Ω) or open circuit (infinite resistance measurement).
Otherwise reconnect injector no. 2.
Check the continuity and absence of interference resistance of the following connections:
– connection codes 3KX and 3CS between components 120 and 194.
If the connection or connections are faulty and there is a repair method (see Technical Note 6015A, Repairing
electrical wiring, Wiring: Precautions for repair), repair the wiring, otherwise replace it.
If the fault is still present, run test 9 Poor injector operation.
If the fault is still present, contact the Techline.
AFTER REPAIRDeal with any faults.
Carry out a road test followed by another check with the diagnostic tool.
EDC16_V50_DF041/EDC16_V58_DF041/EDC16_V5C_DF041/EDC16_V18_DF041/EDC16_V1C_DF041/EDC16_V20_DF041
Page 70 of 365
13B-70
MR-372-J84-13B200$288.mif
V13
DIESEL INJECTION
Fault finding – Interpretation of faults
EDC16
Program No.: C1
Vdiag no.: 18, 1C, 20,
50, 58, 5C
13B
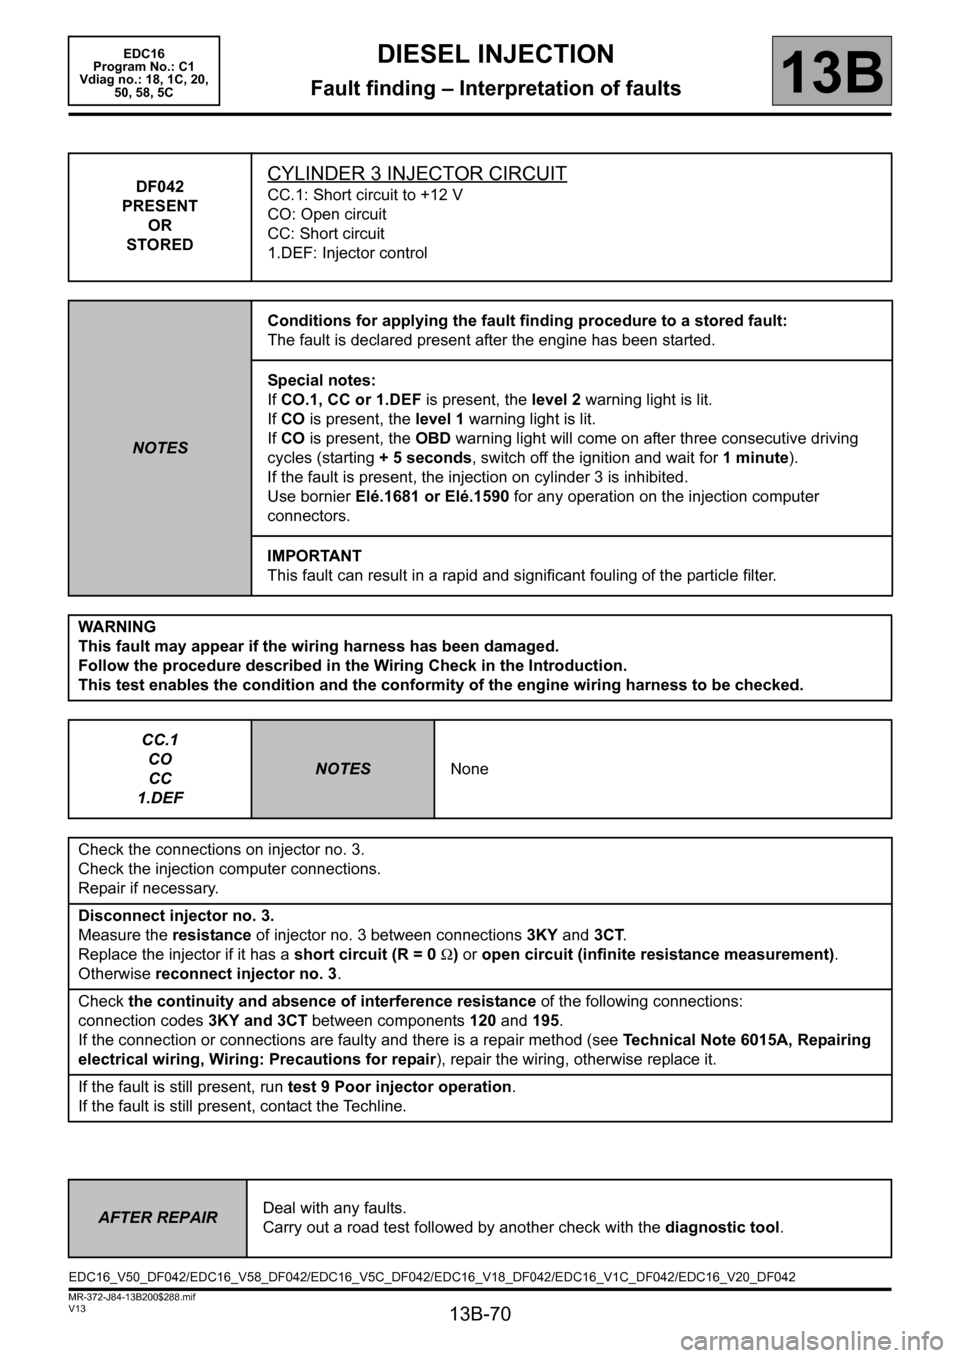
DF042
PRESENT
OR
STOREDCYLINDER 3 INJECTOR CIRCUIT
CC.1: Short circuit to +12 V
CO: Open circuit
CC: Short circuit
1.DEF: Injector control
NOTESConditions for applying the fault finding procedure to a stored fault:
The fault is declared present after the engine has been started.
Special notes:
If CO.1, CC or 1.DEF is present, the level 2 warning light is lit.
If CO is present, the level 1 warning light is lit.
If CO is present, the OBD warning light will come on after three consecutive driving
cycles (starting + 5 seconds, switch off the ignition and wait for 1 minute).
If the fault is present, the injection on cylinder 3 is inhibited.
Use bornier Elé.1681 or Elé.1590 for any operation on the injection computer
connectors.
IMPORTANT
This fault can result in a rapid and significant fouling of the particle filter.
WARNING
This fault may appear if the wiring harness has been damaged.
Follow the procedure described in the Wiring Check in the Introduction.
This test enables the condition and the conformity of the engine wiring harness to be checked.
CC.1
CO
CC
1.DEF
NOTESNone
Check the connections on injector no. 3.
Check the injection computer connections.
Repair if necessary.
Disconnect injector no. 3.
Measure the resistance of injector no. 3 between connections 3KY and 3CT.
Replace the injector if it has a short circuit (R = 0 Ω) or open circuit (infinite resistance measurement).
Otherwise reconnect injector no. 3.
Check the continuity and absence of interference resistance of the following connections:
connection codes 3KY and 3CT between components 120 and 195.
If the connection or connections are faulty and there is a repair method (see Technical Note 6015A, Repairing
electrical wiring, Wiring: Precautions for repair), repair the wiring, otherwise replace it.
If the fault is still present, run test 9 Poor injector operation.
If the fault is still present, contact the Techline.
AFTER REPAIRDeal with any faults.
Carry out a road test followed by another check with the diagnostic tool.
EDC16_V50_DF042/EDC16_V58_DF042/EDC16_V5C_DF042/EDC16_V18_DF042/EDC16_V1C_DF042/EDC16_V20_DF042
Page 71 of 365
13B-71
MR-372-J84-13B200$288.mif
V13
DIESEL INJECTION
Fault finding – Interpretation of faults
EDC16
Program No.: C1
Vdiag no.: 18, 1C, 20,
50, 58, 5C
13B
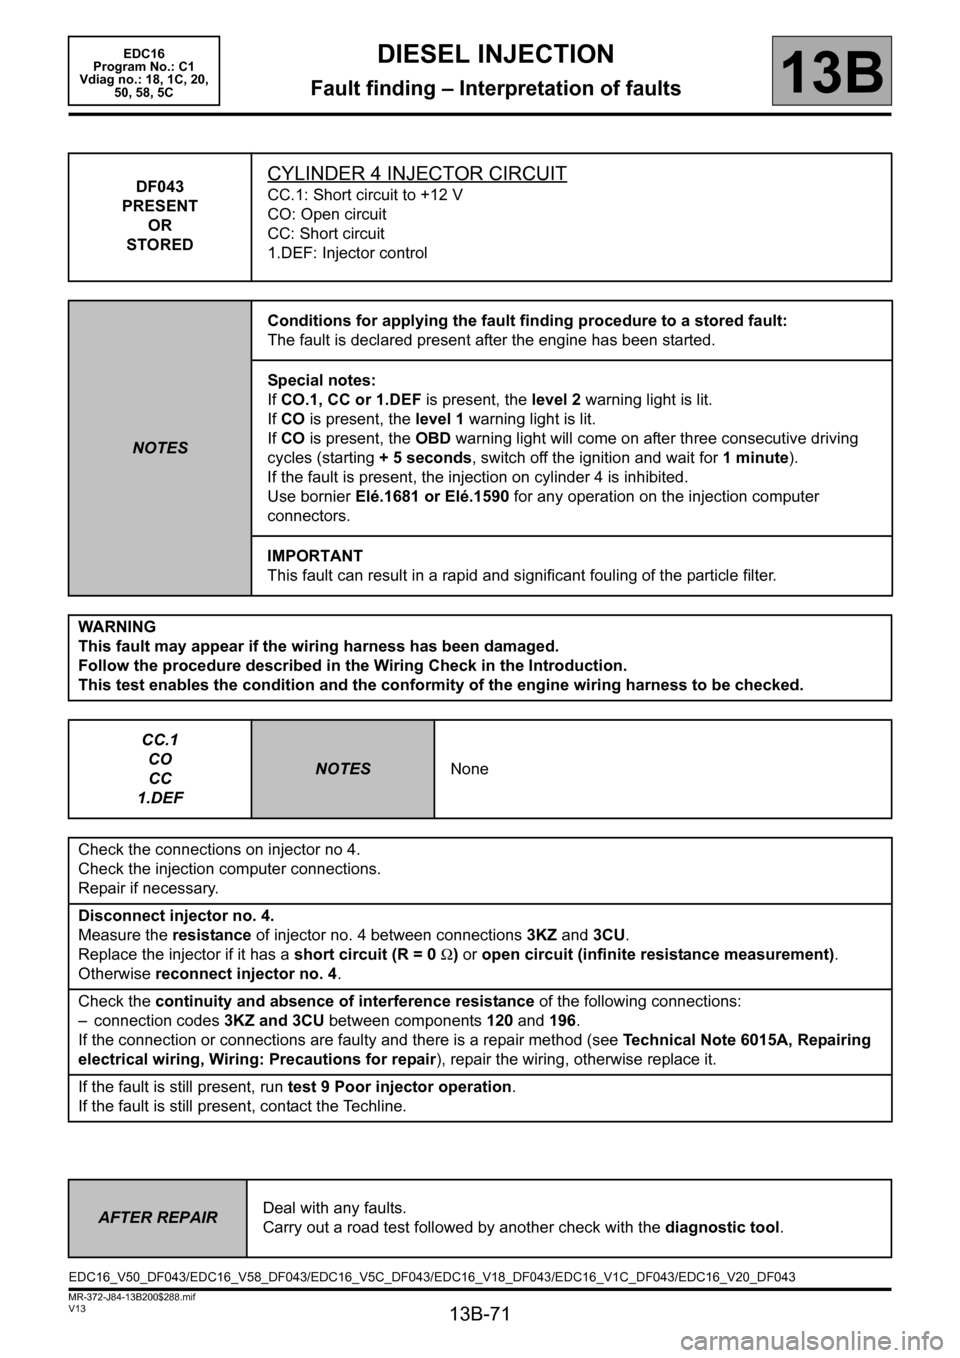
DF043
PRESENT
OR
STOREDCYLINDER 4 INJECTOR CIRCUIT
CC.1: Short circuit to +12 V
CO: Open circuit
CC: Short circuit
1.DEF: Injector control
NOTESConditions for applying the fault finding procedure to a stored fault:
The fault is declared present after the engine has been started.
Special notes:
If CO.1, CC or 1.DEF is present, the level 2 warning light is lit.
If CO is present, the level 1 warning light is lit.
If CO is present, the OBD warning light will come on after three consecutive driving
cycles (starting + 5 seconds, switch off the ignition and wait for 1 minute).
If the fault is present, the injection on cylinder 4 is inhibited.
Use bornier Elé.1681 or Elé.1590 for any operation on the injection computer
connectors.
IMPORTANT
This fault can result in a rapid and significant fouling of the particle filter.
WARNING
This fault may appear if the wiring harness has been damaged.
Follow the procedure described in the Wiring Check in the Introduction.
This test enables the condition and the conformity of the engine wiring harness to be checked.
CC.1
CO
CC
1.DEF
NOTESNone
Check the connections on injector no 4.
Check the injection computer connections.
Repair if necessary.
Disconnect injector no. 4.
Measure the resistance of injector no. 4 between connections 3KZ and 3CU.
Replace the injector if it has a short circuit (R = 0 Ω) or open circuit (infinite resistance measurement).
Otherwise reconnect injector no. 4.
Check the continuity and absence of interference resistance of the following connections:
– connection codes 3KZ and 3CU between components 120 and 196.
If the connection or connections are faulty and there is a repair method (see Technical Note 6015A, Repairing
electrical wiring, Wiring: Precautions for repair), repair the wiring, otherwise replace it.
If the fault is still present, run test 9 Poor injector operation.
If the fault is still present, contact the Techline.
AFTER REPAIRDeal with any faults.
Carry out a road test followed by another check with the diagnostic tool.
EDC16_V50_DF043/EDC16_V58_DF043/EDC16_V5C_DF043/EDC16_V18_DF043/EDC16_V1C_DF043/EDC16_V20_DF043
Page 84 of 365
13B-84
MR-372-J84-13B200$288.mif
V13
DIESEL INJECTION
Fault finding – Interpretation of faults
EDC16
Program No.: C1
Vdiag no.: 18, 1C, 20,
50, 58, 5C
13B
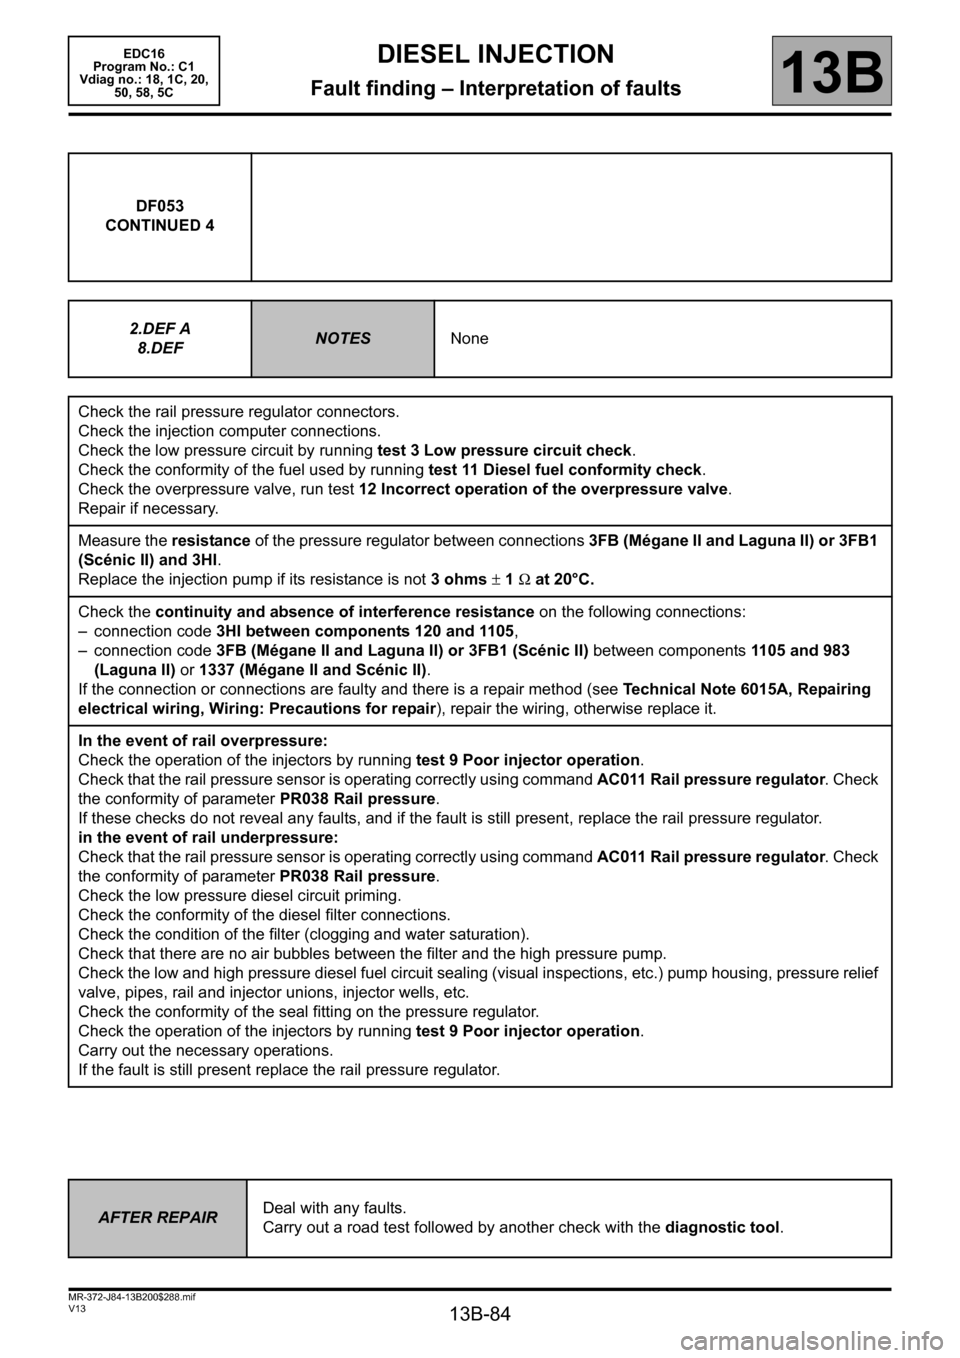
DF053
CONTINUED 4
2.DEF A
8.DEF
NOTESNone
Check the rail pressure regulator connectors.
Check the injection computer connections.
Check the low pressure circuit by running test 3 Low pressure circuit check.
Check the conformity of the fuel used by running test 11 Diesel fuel conformity check.
Check the overpressure valve, run test 12 Incorrect operation of the overpressure valve.
Repair if necessary.
Measure the resistance of the pressure regulator between connections 3FB (Mégane II and Laguna II) or 3FB1
(Scénic II) and 3HI.
Replace the injection pump if its resistance is not 3 ohms ± 1 Ω at 20°C.
Check the continuity and absence of interference resistance on the following connections:
– connection code 3HI between components 120 and 1105,
– connection code 3FB (Mégane II and Laguna II) or 3FB1 (Scénic II) between components 1105 and 983
(Laguna II) or 1337 (Mégane II and Scénic II).
If the connection or connections are faulty and there is a repair method (see Technical Note 6015A, Repairing
electrical wiring, Wiring: Precautions for repair), repair the wiring, otherwise replace it.
In the event of rail overpressure:
Check the operation of the injectors by running test 9 Poor injector operation.
Check that the rail pressure sensor is operating correctly using command AC011 Rail pressure regulator. Check
the conformity of parameter PR038 Rail pressure.
If these checks do not reveal any faults, and if the fault is still present, replace the rail pressure regulator.
in the event of rail underpressure:
Check that the rail pressure sensor is operating correctly using command AC011 Rail pressure regulator. Check
the conformity of parameter PR038 Rail pressure.
Check the low pressure diesel circuit priming.
Check the conformity of the diesel filter connections.
Check the condition of the filter (clogging and water saturation).
Check that there are no air bubbles between the filter and the high pressure pump.
Check the low and high pressure diesel fuel circuit sealing (visual inspections, etc.) pump housing, pressure relief
valve, pipes, rail and injector unions, injector wells, etc.
Check the conformity of the seal fitting on the pressure regulator.
Check the operation of the injectors by running test 9 Poor injector operation.
Carry out the necessary operations.
If the fault is still present replace the rail pressure regulator.
AFTER REPAIRDeal with any faults.
Carry out a road test followed by another check with the diagnostic tool.