fuse diagram RENAULT SCENIC 2012 J95 / 3.G Engine And Peripherals EDC16CP33 Owner's Manual
[x] Cancel search | Manufacturer: RENAULT, Model Year: 2012, Model line: SCENIC, Model: RENAULT SCENIC 2012 J95 / 3.GPages: 510, PDF Size: 2.98 MB
Page 290 of 510
13B-290V12 MR-372-J84-13B300$101.mif
DIESEL INJECTION
Fault finding – Interpretation of statuses13B
ET144
CONTINUED 1
Sensor electrical conformity
"ACTIVE"When the coolant reaches 102°C, the injection computer actuates the fan assembly
relay and status ET144 becomes ACTIVE. The relay then supplies the cooling fan.
If status ET144 is ACTIVE, but the cooling fan is not running, perform the following
operations:
Check the condition of fuse FM15 (60 A) in the engine fuse and relay box (see MR364
(Mégane II ph2), MR370 (Scénic II ph2), MR 395 (Laguna II ph2), 402 (Vel Satis
ph2), 405 (Espace IV ph2) Mechanical, 81C, Fuses, Fuses: List and location of
components).
Disconnect the low speed and high speed relays, check that they are operating
correctly and check the condition of the relay mounting connectors (see Wiring
Diagram Technical Note, Laguna II ph2, Vel Satis ph2, Espace IV ph2, Mégane II
ph2, Scénic II ph2, component code 597).
If one of the connectors is faulty and there is a repair procedure (see Technical
Note 6015A, Electrical wiring repair, wiring: precautions for repair), repair the
connector, otherwise replace the wiring.
Check the + 12 V after relay supply to the high-speed fan assembly relay on the
following connection:
•3FB of component 234.
Check the continuity and absence of interference resistance of the following
connections:
•3JP between components 234 and 120,
•49B between components 234 and 262.
Check that the earth is in order on connection MAS of component 262.
If the connection or connections are faulty and there is a repair procedure (see
Technical Note 6015A, Electrical wiring repair, Wiring: Precautions for repair),
repair the wiring, otherwise replace it.
AFTER REPAIRCarry out a road test, then check with the diagnostic tool.
EDC16CP33
Program No.: C4
Vdiag No.: 04, 08, 18, 1C,
20, 24, 26, 28, 34, 38, 44,
4C, 54, 58, 5C, 74
Page 442 of 510
13B-442V12 MR-372-J84-13B300$150.mif
DIESEL INJECTION
Fault finding – Interpretation of commands13B
AC031THERMOPLUNGER No. 3 RELAY
NOTESCheck that the computer is correctly configured using command LC056
Thermoplungers
There must be no present or stored faults:
Perform this fault finding procedure if there is a fault with the passenger compartment
heating - demisting.
Use the Wiring Diagram Technical Note, Laguna II ph2, Vel Satis ph2, Espace IV
ph2, Mégane II ph2, Scénic II ph2.
If the Thermoplunger no. 3 relay or the additional heater interface unit does not function when command
AC031 is run.
Check the condition of the thermoplunger 3 relay mounting on the engine fuse box or the additional heater
interface unit (see Wiring Diagram Technical Note, Vehicle, component code 1069 or 1550).
Check the condition of the engine management computer connector (see Wiring Diagram Technical Note,
Vehicle, component code 120).
If the connector or connectors are faulty and if there is a repair procedure (see Technical Note 6015A, Electrical
wiring repair, Wiring: Precautions for repair), repair the connector, otherwise replace the wiring.
if the fault is still present, check as follows that this relay is controlled by the engine management computer:
Disconnect the thermoplunger no. 3 relay and fit a 50 Ω to 100Ω resistor on its mounting instead of the coil and
connect a voltmeter as follows:
– positive terminal to + 12 V battery,
– negative terminal to connection 3JAB of component 1069 or 1550.
Run command AC031.
If the voltmeter indicates the battery voltage (4 ON-OFF cycles of 10 seconds), replace the thermoplunger no. 3
relay.
If the voltmeter does not show the battery voltage (4 ON-OFF cycles of 10 seconds), contact the Techline.
EDC16CP33_V18_AC031 / EDC16CP33_V1C_AC031 / EDC16CP33_V54_AC031 / EDC16CP33_V20_AC031 / EDC16CP33_V58_AC031 /
EDC16CP33_V5C_AC031 / EDC16CP33_V24_AC031 / EDC16CP33_V04_AC031 / EDC16CP33_V08_AC031 / EDC16CP33_V44_AC031 /
EDC16CP33_V4C_AC031 / EDC16CP33_V34_AC031 / EDC16CP33_V38_AC031 / EDC16CP33_V74_AC031 / EDC16CP33_V28_AC031 /
EDC16CP33_V62_AC031 / EDC16CP33_V26_AC031 / EDC16CP33_V60_AC031
EDC16CP33
Program No.: C4
Vdiag No.: 04, 08, 18, 1C,
20, 24, 26, 28, 34, 38, 44,
4C, 54, 58, 5C, 60, 62, 74
AFTER REPAIRCarry out a road test, then check with the diagnostic tool.
Page 443 of 510
13B-443V12 MR-372-J84-13B300$150.mif
DIESEL INJECTION
Fault finding – Interpretation of commands13B
* supplier: Champion: the load resistance is between: 547 mΩ < X < 669 mΩ.
AC031
CONTINUED
If the thermoplunger no. 3 relay or the additional heater interface unit functions using command AC031,
but there is still a passenger compartment heating/demisting problem, use the wiring diagram to check:
– The conformity of the thermoplungers maxi-fuse.
– Check for + 12 V battery feed on connection BP9 of component 1069 or 1550.
– Check the conformity of heating element no. 3 relay.
– Check the continuity of connection 3JAC or 3JC between components 1069 or 1550 and 1074.
– Measure the resistance of the thermoplunger*.
– The presence of earth on the water chamber (thermoplunger mounting).
– Also check the level of the cooling circuit and that there are no leaks.
Carry out the necessary repairs.
EDC16CP33
Program No.: C4
Vdiag No.: 04, 08, 18, 1C,
20, 24, 26, 28, 34, 38, 44,
4C, 54, 58, 5C, 60, 62, 74
AFTER REPAIRCarry out a road test, then check with the diagnostic tool.
Page 446 of 510
13B-446V12 MR-372-J84-13B300$150.mif
DIESEL INJECTION
Fault finding – Interpretation of commands13B
AC063THERMOPLUNGER No. 1 RELAY
NOTESThere must be no present or stored faults:
Perform this fault finding procedure if there is a fault with the passenger compartment
heating - demisting.
Use the Wiring Diagram Technical Note, Laguna II ph2, Vel Satis ph2, Espace IV
ph2, Mégane II ph2, Scénic II ph2.
If the Thermoplunger no. 1 relay or the additional heater interface unit does not function when command
AC063 is run.
Check the condition of the thermoplunger no. 1 relay mounting connector on the engine fuse box (see Wiring
Diagram Technical Note, Vehicle, component code 1067 or 1550).
Check the condition of the engine management computer connector (see Wiring Diagram Technical Note,
Vehicle, component code 120).
If the connector or connectors are faulty and if there is a repair procedure (see Technical Note 6015A, Repairing
electrical wiring, Wiring: Precautions for repair), repair the connector, otherwise replace the wiring.
if the fault is still present, check as follows that this relay is controlled by the engine management computer:
Disconnect thermoplunger no. 1 relay, and fit a 50 Ω to 100 Ω resistor on the mounting instead of the coil and
connect a voltmeter as follows:
– positive terminal to + 12 V battery,
– negative terminal to connection 3JA of component 1067 or 1550.
Run command AC063.
If the voltmeter shows the battery voltage (4 ON-OFF cycles of 10 seconds), replace the thermoplunger no. 1
relay.
If the voltmeter does not show the battery voltage (4 ON-OFF cycles of 10 seconds), contact the Techline.
EDC16CP33_V18_AC063 / EDC16CP33_V1C_AC063 / EDC16CP33_V54_AC063 / EDC16CP33_V20_AC063 / EDC16CP33_V58_AC063 /
EDC16CP33_V5C_AC063 / EDC16CP33_V24_AC063 / EDC16CP33_V04_AC063 / EDC16CP33_V08_AC063 / EDC16CP33_V44_AC063 /
EDC16CP33_V4C_AC063 / EDC16CP33_V34_AC063 / EDC16CP33_V38_AC063 / EDC16CP33_V74_AC063 / EDC16CP33_V28_AC063 /
EDC16CP33_V62_AC063 / EDC16CP33_V26_AC063 / EDC16CP33_V60_AC063
EDC16CP33
Program No.: C4
Vdiag No.: 04, 08, 18, 1C,
20, 24, 26, 28, 34, 38, 44,
4C, 54, 58, 5C, 60, 62, 74
AFTER REPAIRCarry out a road test, then check with the diagnostic tool.
Page 447 of 510
13B-447V12 MR-372-J84-13B300$150.mif
DIESEL INJECTION
Fault finding – Interpretation of commands13B
* supplier: Champion: the load resistance is between: 547 mΩ < X < 669 mΩ.
AC063
CONTINUED
If the Thermoplunger no. 1 relay or the additional heater interface unit functions using command AC063,
but there is still a passenger compartment heating/demisting problem, check using the wiring diagram:
The conformity of the thermoplunger maxi-fuse.
Check for + 12 V battery on connection BP9 of component 1067 or 1550.
Check the conformity of the thermoplunger no. 1 relay or the additional heater interface unit.
Check the continuity of connection 3JB between components 1067 or 1550 and 998.
Measure the resistance of the thermoplunger*.
The presence of earth on the water chamber (thermoplunger mounting).
Also check the level of the cooling circuit and that there are no leaks.
Carry out the necessary repairs.
EDC16CP33
Program No.: C4
Vdiag No.: 04, 08, 18, 1C,
20, 24, 26, 28, 34, 38, 44,
4C, 54, 58, 5C, 60, 62, 74
AFTER REPAIRCarry out a road test, then check with the diagnostic tool.
Page 448 of 510
13B-448V12 MR-372-J84-13B300$150.mif
DIESEL INJECTION
Fault finding – Interpretation of commands13B
AC064THERMOPLUNGER No. 2 RELAY
NOTESThere must be no present or stored faults.
Perform this fault finding procedure if there is a fault with the passenger compartment
heating - demisting.
Consult the "Wiring diagrams" Technical Note to locate the relevant fuses and relays.
Special notes:
The thermoplunger no. 2 relay or the additional heater interface unit supplies
thermoplungers 2 and 3 in parallel.
Use the Wiring Diagram Technical Note, Laguna II ph2, Vel Satis ph2, Espace IV
ph2, Mégane II ph2, Scénic II ph2.
If the thermoplunger no. 2 relay does not operate during command AC064.
Check the condition of the thermoplunger 2 relay mounting on the engine fuse box or the additional heater
interface unit (see Wiring Diagram Technical Note, Vehicle, component code 1068 or 1550).
Check the condition of the engine management computer connector (see Wiring Diagram Technical Note,
Vehicle, component code 120).
If the connector or connectors are faulty and if there is a repair procedure (see Technical Note 6015A, Repairing
electrical wiring, Wiring: Precautions for repair), repair the connector, otherwise replace the wiring.
if the fault is still present, check as follows that this relay is controlled by the engine management computer:
Disconnect the thermoplunger no. 2 relay, fit a 50 Ω to 100 Ω resistor on its mounting instead of the coil, and
connect a voltmeter as follows:
– positive terminal to + 12 V battery,
– negative terminal on connection 3JAA of component 1068 or 1550.
Run command AC064.
If the voltmeter shows the battery voltage (4 ON-OFF cycles of 10 seconds), replace the thermoplunger no. 2
relay.
If the voltmeter does not show the battery voltage (4 ON-OFF cycles of 10 seconds), contact the Techline.
EDC16CP33_V18_AC064 / EDC16CP33_V1C_AC064 / EDC16CP33_V54_AC064 / EDC16CP33_V20_AC064 / EDC16CP33_V58_AC064 /
EDC16CP33_V5C_AC064 / EDC16CP33_V24_AC064 / EDC16CP33_V04_AC064 / EDC16CP33_V08_AC064 / EDC16CP33_V44_AC064 /
EDC16CP33_V4C_AC064 / EDC16CP33_V34_AC064 / EDC16CP33_V38_AC064 / EDC16CP33_V74_AC064 / EDC16CP33_V28_AC064 /
EDC16CP33_V62_AC064 / EDC16CP33_V26_AC064 / EDC16CP33_V60_AC064
EDC16CP33
Program No.: C4
Vdiag No.: 04, 08, 18, 1C,
20, 24, 26, 28, 34, 38, 44,
4C, 54, 58, 5C, 60, 62, 74
AFTER REPAIRCarry out a road test, then check with the diagnostic tool.
Page 449 of 510
13B-449V12 MR-372-J84-13B300$150.mif
DIESEL INJECTION
Fault finding – Interpretation of commands13B
* supplier: Champion: the load resistance is between: 547 mΩ < X < 669 mΩ.
AC064
CONTINUEDTHERMOPLUNGER No. 2 RELAY
If thermoplunger no. 2 relay operates with command AC064, but there is still a passenger compartment
heating/demisting fault, use the wiring diagram to check:
The conformity of the thermoplunger maxi-fuse.
Check for + 12 V battery on connection BP91 of component 1068 or 1550
Check the conformity of thermoplunger no. 2 relay.
Check the continuity of connection 3JAD or 3JD and 3JAC between components 1068 or 1550 and (1072 and
1073).
Measure the resistances of the thermoplungers*
The presence of earth on the water chamber (thermoplunger mounting).
Also check the level of the cooling circuit and that there are no leaks.
Carry out the necessary repairs.
EDC16CP33
Program No.: C4
Vdiag No.: 04, 08, 18, 1C,
20, 24, 26, 28, 34, 38, 44,
4C, 54, 58, 5C, 60, 62, 74
AFTER REPAIRCarry out a road test, then check with the diagnostic tool.
Page 452 of 510
13B-452V12 MR-372-J84-13B300$150.mif
DIESEL INJECTION
Fault finding – Interpretation of commands13B
Laguna II ph2, Vel Satis ph2, Espace IV ph2 only.
AC153HIGH SPEED FAN ASSEMBLY
NOTESThere must be no present or stored faults:
Perform this fault finding after an engine cooling fault.
Engine stopped.
Use the Wiring Diagram Technical Note for Laguna II ph2, Vel Satis ph2, Espace
IV ph2.
If command AC153 does not actuate the high speed fan assembly relay.
Check the condition of the high speed fan assembly relay mounting connectors (see Wiring Diagram
Technical Note, Vehicle, component code 597).
If the connector or connectors are faulty and there is a repair procedure (see Technical Note 6015A, Electrical
wiring repair, Wiring: Precautions for repair), repair the connector, otherwise replace the wiring.
If the fault is still present, check that the relay is actuated by the engine management computer as follows:
Disconnect the high speed fan assembly relay, fit a 50 Ω to 100 Ω resistor on its mounting in place of the coil, and
connect a voltmeter as follows:
– positive terminal to + 12 V battery,
– negative terminal to connection 3JP of component 234.
Run command AC153.
If the voltmeter shows the battery voltage (4 ON-OFF cycles of 10 seconds), replace the relay.
If the voltmeter does not show the battery voltage (4 ON-OFF cycles of 10 seconds), contact the Techline.
If the high speed fan assembly relay is supplied using command AC153, but there is still a fan assembly
actuation fault, use the wiring diagram to check:
The conformity of the fan assembly maxi-fuse.
– Check the + 12 V battery supply to connection BP71 of component 234.
– Check the conformity of the high speed fan assembly relay.
– Check the continuity of connection 49B between components 234 and 362.
– Check the conformity of the fan assembly.
– Check for complete earthing on connection MAS of component 162.
If the connection or connections are faulty and there is a repair procedure (see Technical Note 6015A, Electrical
wiring repair, Wiring: Precautions for repair), repair the wiring, otherwise replace it.
EDC16CP33_V18_AC153 / EDC16CP33_V1C_AC153 / EDC16CP33_V54_AC153 / EDC16CP33_V20_AC153 / EDC16CP33_V58_AC153 /
EDC16CP33_V5C_AC153 / EDC16CP33_V24_AC153 / EDC16CP33_V04_AC153 / EDC16CP33_V08_AC153 / EDC16CP33_V44_AC153 /
EDC16CP33_V4C_AC153 / EDC16CP33_V34_AC153 / EDC16CP33_V38_AC153 / EDC16CP33_V74_AC153 / EDC16CP33_V28_AC153 /
EDC16CP33_V26_AC153
EDC16CP33
Program No.: C4
Vdiag No.: 04, 08, 18, 1C,
20, 24, 26, 28, 34, 38, 44,
4C, 54, 58, 5C, 74
AFTER REPAIRCarry out a road test, then check with the diagnostic tool.
Page 453 of 510
13B-453V12 MR-372-J84-13B300$150.mif
DIESEL INJECTION
Fault finding – Interpretation of commands13B
Laguna II ph2, Vel Satis ph2, Espace IV ph2 only.
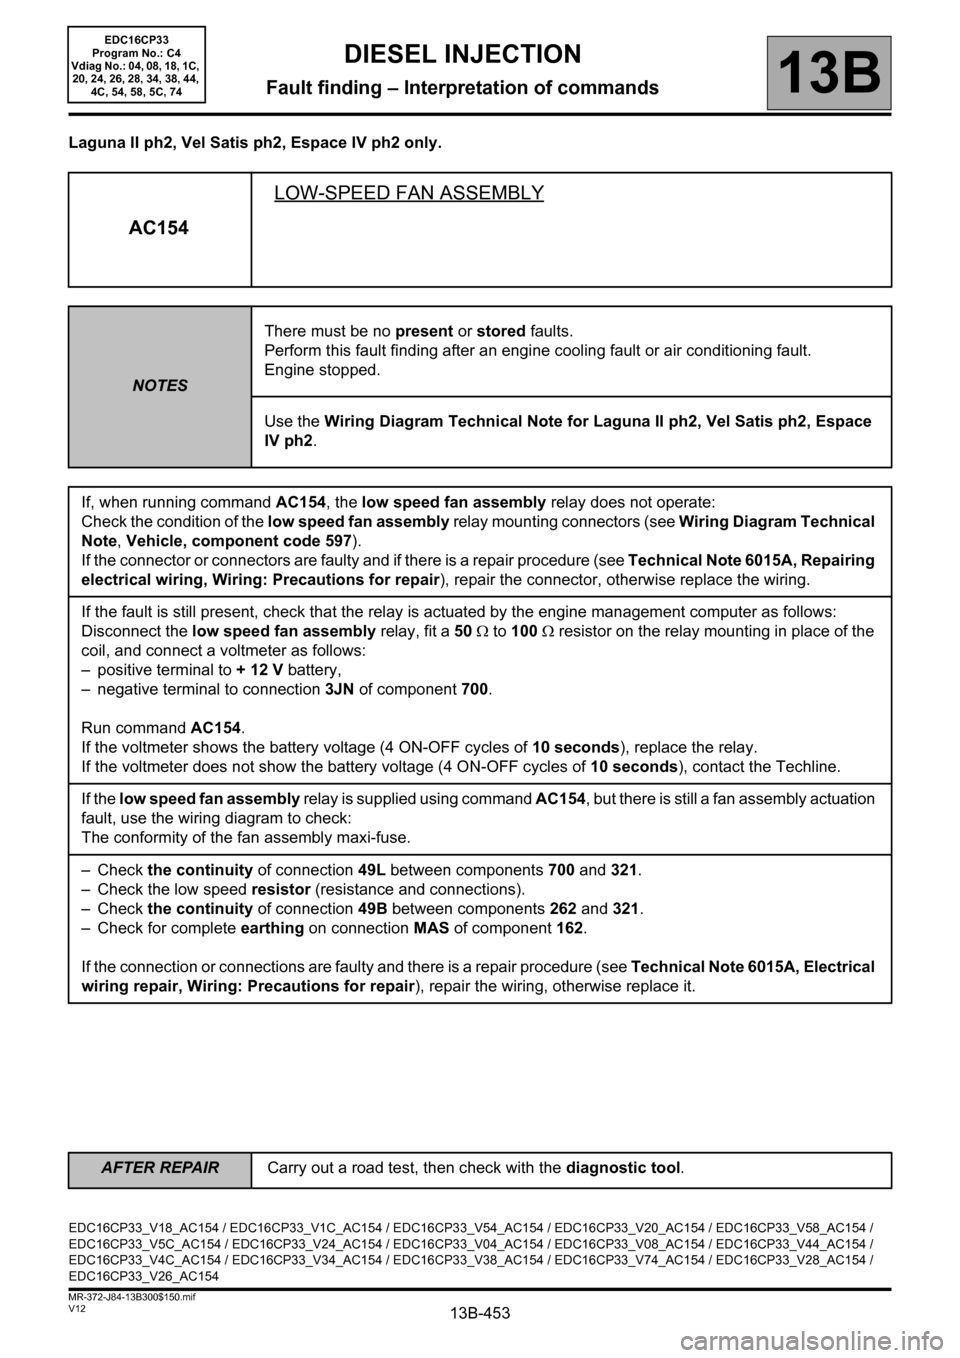
AC154LOW-SPEED FAN ASSEMBLY
NOTESThere must be no present or stored faults.
Perform this fault finding after an engine cooling fault or air conditioning fault.
Engine stopped.
Use the Wiring Diagram Technical Note for Laguna II ph2, Vel Satis ph2, Espace
IV ph2.
If, when running command AC154, the low speed fan assembly relay does not operate:
Check the condition of the low speed fan assembly relay mounting connectors (see Wiring Diagram Technical
Note, Vehicle, component code 597).
If the connector or connectors are faulty and if there is a repair procedure (see Technical Note 6015A, Repairing
electrical wiring, Wiring: Precautions for repair), repair the connector, otherwise replace the wiring.
If the fault is still present, check that the relay is actuated by the engine management computer as follows:
Disconnect the low speed fan assembly relay, fit a 50 Ω to 100 Ω resistor on the relay mounting in place of the
coil, and connect a voltmeter as follows:
– positive terminal to + 12 V battery,
– negative terminal to connection 3JN of component 700.
Run command AC154.
If the voltmeter shows the battery voltage (4 ON-OFF cycles of 10 seconds), replace the relay.
If the voltmeter does not show the battery voltage (4 ON-OFF cycles of 10 seconds), contact the Techline.
If the low speed fan assembly relay is supplied using command AC154, but there is still a fan assembly actuation
fault, use the wiring diagram to check:
The conformity of the fan assembly maxi-fuse.
– Check the continuity of connection 49L between components 700 and 321.
– Check the low speed resistor (resistance and connections).
– Check the continuity of connection 49B between components 262 and 321.
– Check for complete earthing on connection MAS of component 162.
If the connection or connections are faulty and there is a repair procedure (see Technical Note 6015A, Electrical
wiring repair, Wiring: Precautions for repair), repair the wiring, otherwise replace it.
EDC16CP33_V18_AC154 / EDC16CP33_V1C_AC154 / EDC16CP33_V54_AC154 / EDC16CP33_V20_AC154 / EDC16CP33_V58_AC154 /
EDC16CP33_V5C_AC154 / EDC16CP33_V24_AC154 / EDC16CP33_V04_AC154 / EDC16CP33_V08_AC154 / EDC16CP33_V44_AC154 /
EDC16CP33_V4C_AC154 / EDC16CP33_V34_AC154 / EDC16CP33_V38_AC154 / EDC16CP33_V74_AC154 / EDC16CP33_V28_AC154 /
EDC16CP33_V26_AC154
EDC16CP33
Program No.: C4
Vdiag No.: 04, 08, 18, 1C,
20, 24, 26, 28, 34, 38, 44,
4C, 54, 58, 5C, 74
AFTER REPAIRCarry out a road test, then check with the diagnostic tool.
Page 470 of 510
13B-470
AFTER REPAIRCarry out a road test, then check with the diagnostic tool.
V12 MR-372-J84-13B300$170.mif
13B
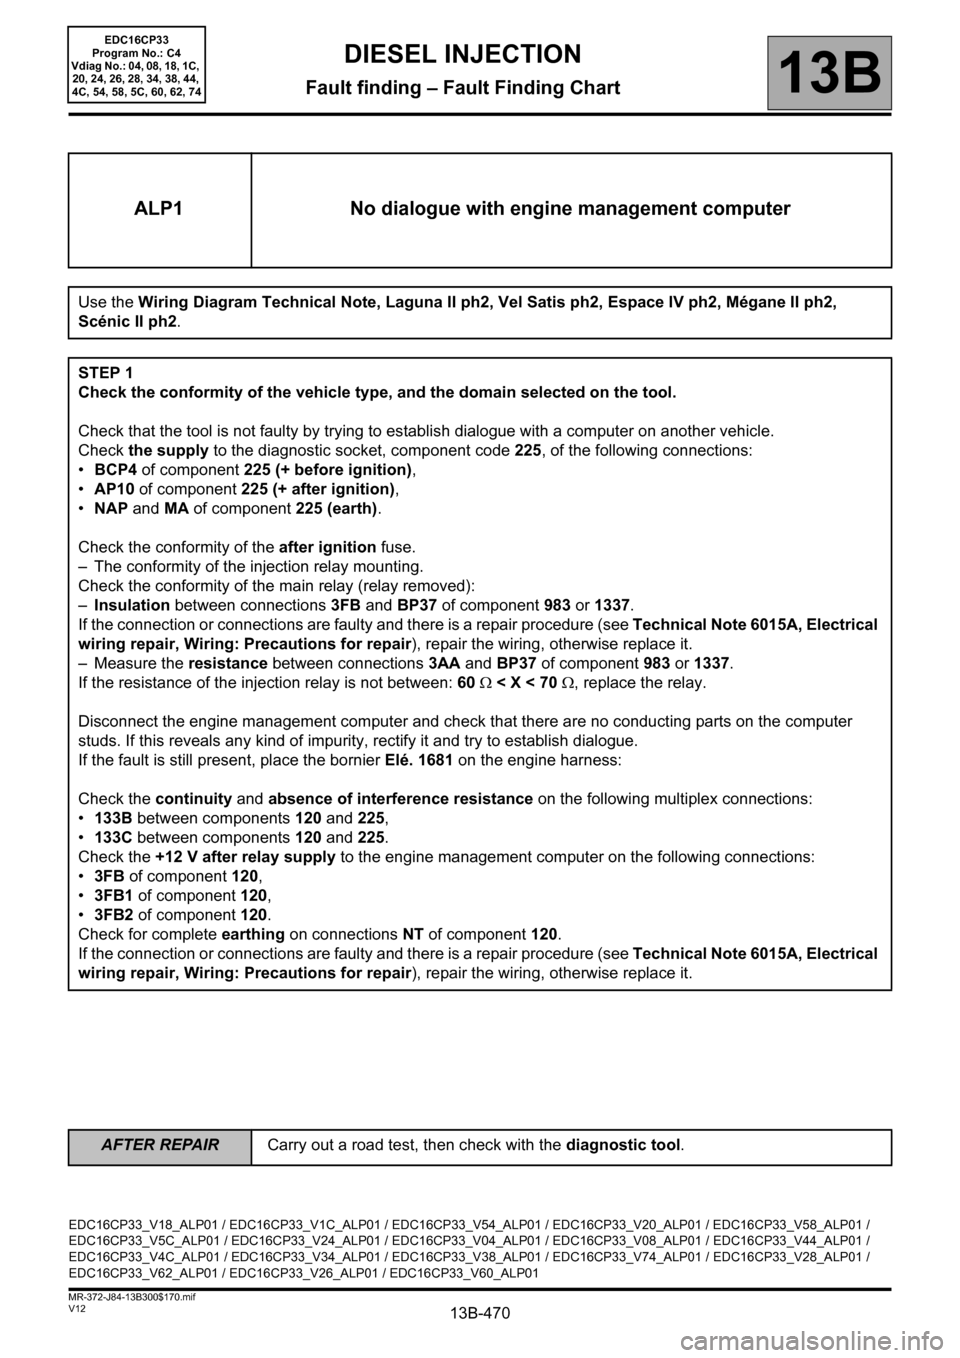
ALP1 No dialogue with engine management computer
Use the Wiring Diagram Technical Note, Laguna II ph2, Vel Satis ph2, Espace IV ph2, Mégane II ph2,
Scénic II ph2.
STEP 1
Check the conformity of the vehicle type, and the domain selected on the tool.
Check that the tool is not faulty by trying to establish dialogue with a computer on another vehicle.
Check the supply to the diagnostic socket, component code 225, of the following connections:
•BCP4 of component 225 (+ before ignition),
•AP10 of component 225 (+ after ignition),
•NAP and MA of component 225 (earth).
Check the conformity of the after ignition fuse.
– The conformity of the injection relay mounting.
Check the conformity of the main relay (relay removed):
–Insulation between connections 3FB and BP37 of component 983 or 1337.
If the connection or connections are faulty and there is a repair procedure (see Technical Note 6015A, Electrical
wiring repair, Wiring: Precautions for repair), repair the wiring, otherwise replace it.
– Measure the resistance between connections 3AA and BP37 of component 983 or 1337.
If the resistance of the injection relay is not between: 60 Ω < X < 70 Ω, replace the relay.
Disconnect the engine management computer and check that there are no conducting parts on the computer
studs. If this reveals any kind of impurity, rectify it and try to establish dialogue.
If the fault is still present, place the bornier Elé. 1681 on the engine harness:
Check the continuity and absence of interference resistance on the following multiplex connections:
•133B between components 120 and 225,
•133C between components 120 and 225.
Check the +12 V after relay supply to the engine management computer on the following connections:
•3FB of component 120,
•3FB1 of component 120,
•3FB2 of component 120.
Check for complete earthing on connections NT of component 120.
If the connection or connections are faulty and there is a repair procedure (see Technical Note 6015A, Electrical
wiring repair, Wiring: Precautions for repair), repair the wiring, otherwise replace it.
EDC16CP33_V18_ALP01 / EDC16CP33_V1C_ALP01 / EDC16CP33_V54_ALP01 / EDC16CP33_V20_ALP01 / EDC16CP33_V58_ALP01 /
EDC16CP33_V5C_ALP01 / EDC16CP33_V24_ALP01 / EDC16CP33_V04_ALP01 / EDC16CP33_V08_ALP01 / EDC16CP33_V44_ALP01 /
EDC16CP33_V4C_ALP01 / EDC16CP33_V34_ALP01 / EDC16CP33_V38_ALP01 / EDC16CP33_V74_ALP01 / EDC16CP33_V28_ALP01 /
EDC16CP33_V62_ALP01 / EDC16CP33_V26_ALP01 / EDC16CP33_V60_ALP01
DIESEL INJECTION
Fault finding – Fault Finding Chart
EDC16CP33
Program No.: C4
Vdiag No.: 04, 08, 18, 1C,
20, 24, 26, 28, 34, 38, 44,
4C, 54, 58, 5C, 60, 62, 74