navigation system RENAULT TALISMAN 2017 1.G R Link 2 Owner's Manual
[x] Cancel search | Manufacturer: RENAULT, Model Year: 2017, Model line: TALISMAN, Model: RENAULT TALISMAN 2017 1.GPages: 130, PDF Size: 5.83 MB
Page 47 of 130
2.15
ROUTE (1/4)
Edit route
Current GPS Position
Add
Precautions regarding
navigation
Use of the navigation
system does not in any way
replace the responsibility or vigi-
lance of the driver when driving the
vehicle.
Add
Add
Go
1
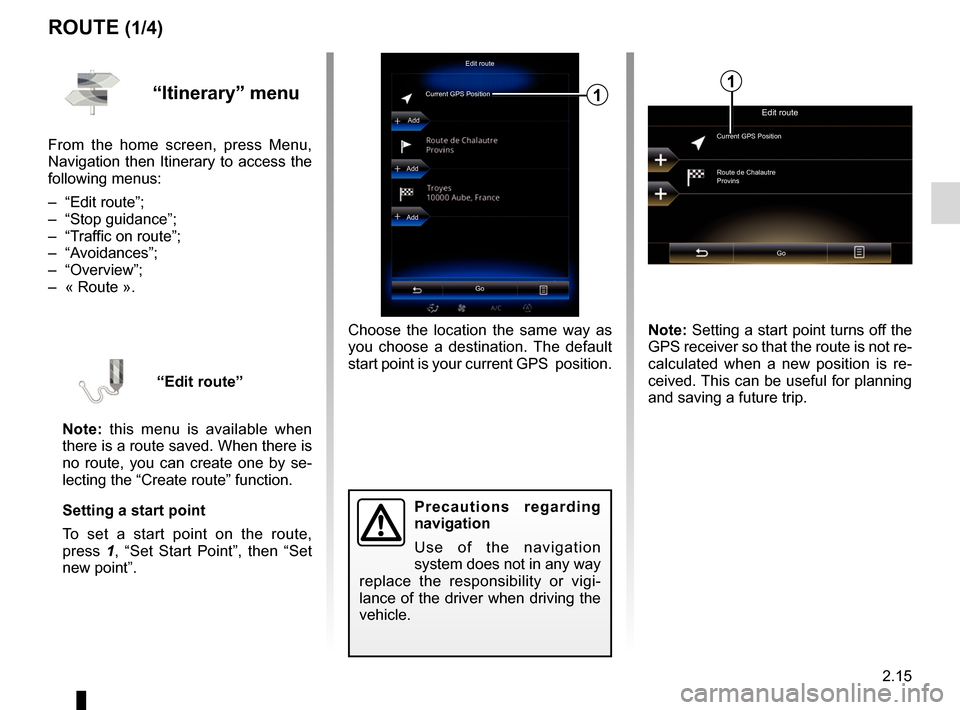
Choose the location the same way as
you choose a destination. The default
start point is your current GPS position.
“Itinerary” menu
From the home screen, press Menu,
Navigation then Itinerary to access the
following menus:
– “Edit route”;
– “Stop guidance”;
– “Traffic on route”;
– “Avoidances”;
– “Overview”;
– « Route ».
“Edit route”
Note: this menu is available when
there is a route saved. When there is
no route, you can create one by se-
lecting the “Create route” function.
Setting a start point
To set a start point on the route,
press 1, “Set Start Point”, then “Set
new point”.
Edit route
Current GPS Position
Route de Chalautre
Provins
Go
Note: Setting a start point turns off the
GPS receiver so that the route is not re-
calculated when a new position is re-
ceived. This can be useful for planning
and saving a future trip.
1
Page 48 of 130
2.16
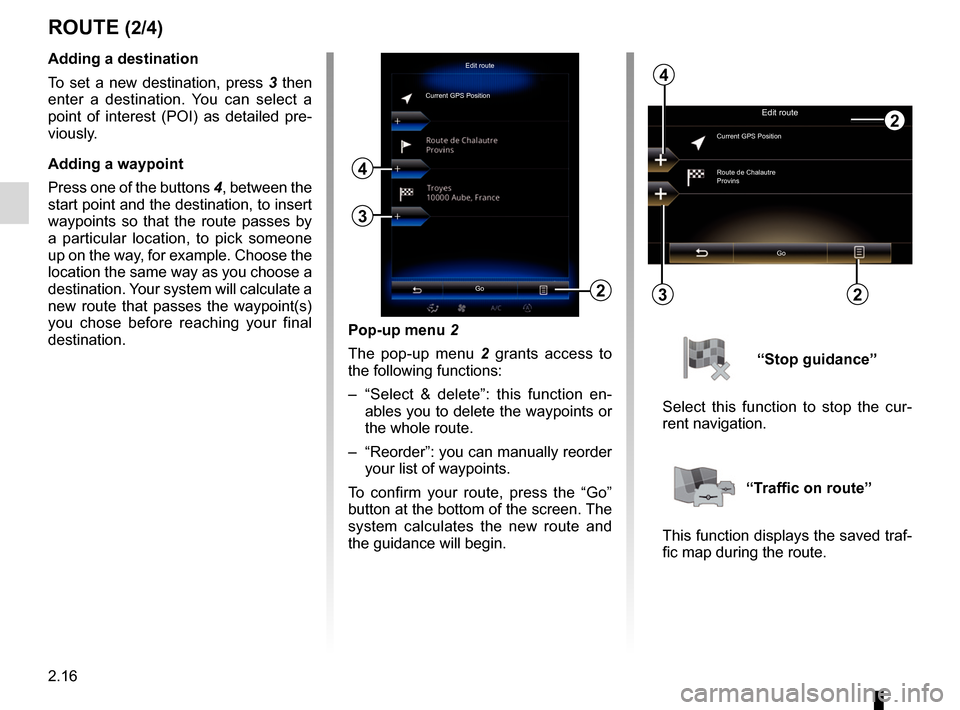
Pop-up menu 2
The pop-up menu 2 grants access to
the following functions:
– “Select & delete”: this function en- ables you to delete the waypoints or
the whole route.
– “Reorder”: you can manually reorder your list of waypoints.
To confirm your route, press the “Go”
button at the bottom of the screen. The
system calculates the new route and
the guidance will begin.
ROUTE (2/4)
2
Edit route
Current GPS PositionAdding a destination
To set a new destination, press 3 then
enter a destination. You can select a
point of interest (POI) as detailed pre-
viously.
Adding a waypoint
Press one of the buttons 4, between the
start point and the destination, to insert
waypoints so that the route passes by
a particular location, to pick someone
up on the way, for example. Choose the
location the same way as you choose a
destination. Your system will calculate a
new route that passes the waypoint(s)
you chose before reaching your final
destination.
3
4
Edit route
Current GPS Position
Route de Chalautre
Provins
Go
3
4
“Stop guidance”
Select this function to stop the cur-
rent navigation.
“Traffic on route”
This function displays the saved traf-
fic map during the route.
Go22
Page 51 of 130
2.19
NAVIGATION SETTINGS (1/4)
“Settings” menu
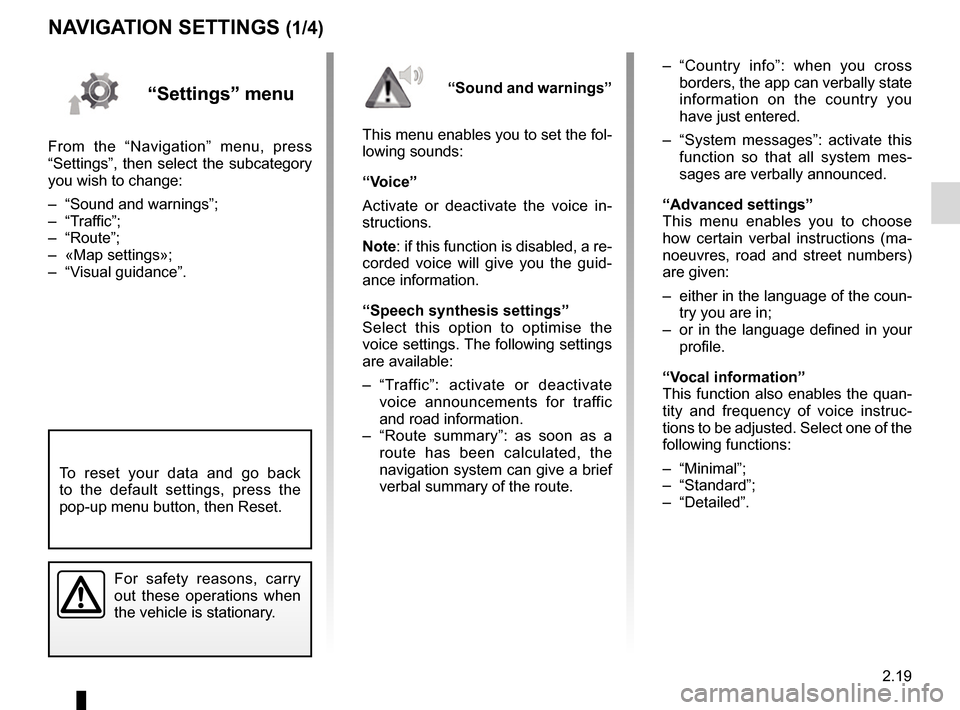
From the “Navigation” menu, press
“Settings”, then select the subcategory
you wish to change:
– “Sound and warnings”;
– “Traffic”;
– “Route”;
– «Map settings»;
– “Visual guidance”.– “Country info”: when you cross
borders, the app can verbally state
information on the country you
have just entered.
– “System messages”: activate this function so that all system mes-
sages are verbally announced.
“Advanced settings”
This menu enables you to choose
how certain verbal instructions (ma-
noeuvres, road and street numbers)
are given:
– either in the language of the coun- try you are in;
– or in the language defined in your profile.
“Vocal information”
This function also enables the quan-
tity and frequency of voice instruc-
tions to be adjusted. Select one of the
following functions:
– “Minimal”;
– “Standard”;
– “Detailed”.
“Sound and warnings”
This menu enables you to set the fol-
lowing sounds:
“Voice”
Activate or deactivate the voice in-
structions.
Note: if this function is disabled, a re-
corded voice will give you the guid-
ance information.
“Speech synthesis settings”
Select this option to optimise the
voice settings. The following settings
are available:
– “Traffic”: activate or deactivate voice announcements for traffic
and road information.
– “Route summary”: as soon as a route has been calculated, the
navigation system can give a brief
verbal summary of the route.
For safety reasons, carry
out these operations when
the vehicle is stationary.
To reset your data and go back
to the default settings, press the
pop-up menu button, then Reset.
Page 52 of 130
2.20
NAVIGATION SETTINGS (2/4)
“Speed warning”
Maps may contain information about
the speed limits of the road segments.
The navigation system is able to warn
you if you exceed the current limit. This
information may not be available for
your region, or may not be fully correct
for all roads on the map.
The following warning types are avail-
able:
– “Speed limit always visible”: acti-vate this function so that the speed
limit for the section of road taken is
always displayed on the navigation
screen.
– “Speed warning”: the current speed limit is displayed in red and flashes
on the map when you exceed it.
– “Overspeed warning sound”: a beep sounds when you exceed the speed
limit.“Safety warnings”
This function enables you to get a beep
and/or visual warning when you ap-
proach sensitive areas such as near
schools, level crossings, hazardous
areas, etc.
You can programme the navigation
system so that it displays these in-
creased vigilance points on the map,
and so that you can be warned by a
beep when you approach these areas.
For some of these areas, there is a
legal or recommended speed limit. The
beep may differ depending on whether
you are driving under or over the speed
limit.
Choose to be warned when approach-
ing these increased vigilance areas or
only when you are exceeding the speed
limit.
Precautions regarding
navigation
Use of the navigation
system does not in any way
replace the responsibility or vigi-
lance of the driver while driving the
vehicle.
In certain countries it is illegal to ac-
tivate the camera warning option
and this could lead to prosecution.
“Warning sign alerts”
Activate this function to be informed
when approaching specific sections of
road (obstacles, tight corners, cross-
ings, etc.) by road sign displays on
the map screen. For each category
of warning sign, set the warning type
(audio and/or visual) and the distance
from the hazard from which you want to
receive a warning.
Page 89 of 130
5.3
MY APPS
Organize applications
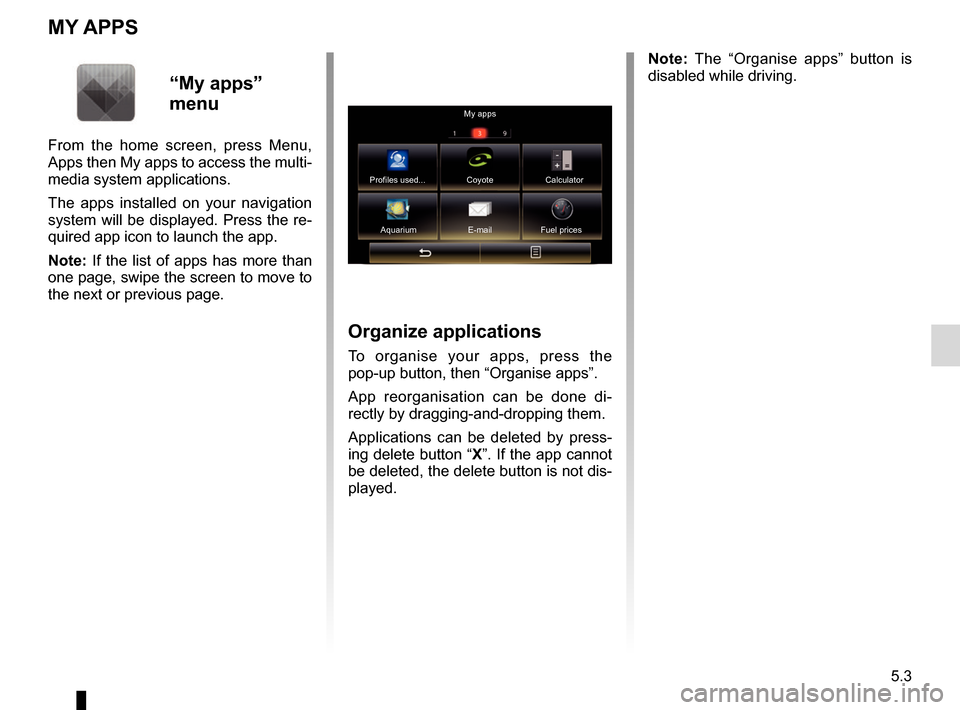
To organise your apps, press the
pop-up button, then “Organise apps”.
App reorganisation can be done di-
rectly by dragging-and-dropping them.
Applications can be deleted by press-
ing delete button “X”. If the app cannot
be deleted, the delete button is not dis-
played.
“My apps”
menu
From the home screen, press Menu,
Apps then My apps to access the multi-
media system applications.
The apps installed on your navigation
system will be displayed. Press the re-
quired app icon to launch the app.
Note: If the list of apps has more than
one page, swipe the screen to move to
the next or previous page. Note: The “Organise apps” button is
disabled while driving.
My apps
Profiles used... Coyote Calculator Aquarium E-mail Fuel prices
Page 118 of 130
7.2
SYSTEM (1/6)
"System"
menu
Accessing the system settings
From the main menu, press “System”.
The “System” menu enables access
and settings adjustments to the follow-
ing elements:
– “Home page”;
– "User profile";
– "Display";
– "Brightness";
– "Volume";
– "Language";
– "Keyboard";
– "Date and time";
– "Units";
– "Voice command";
– "System information";
– "Suggestion bar";
– "General reset".
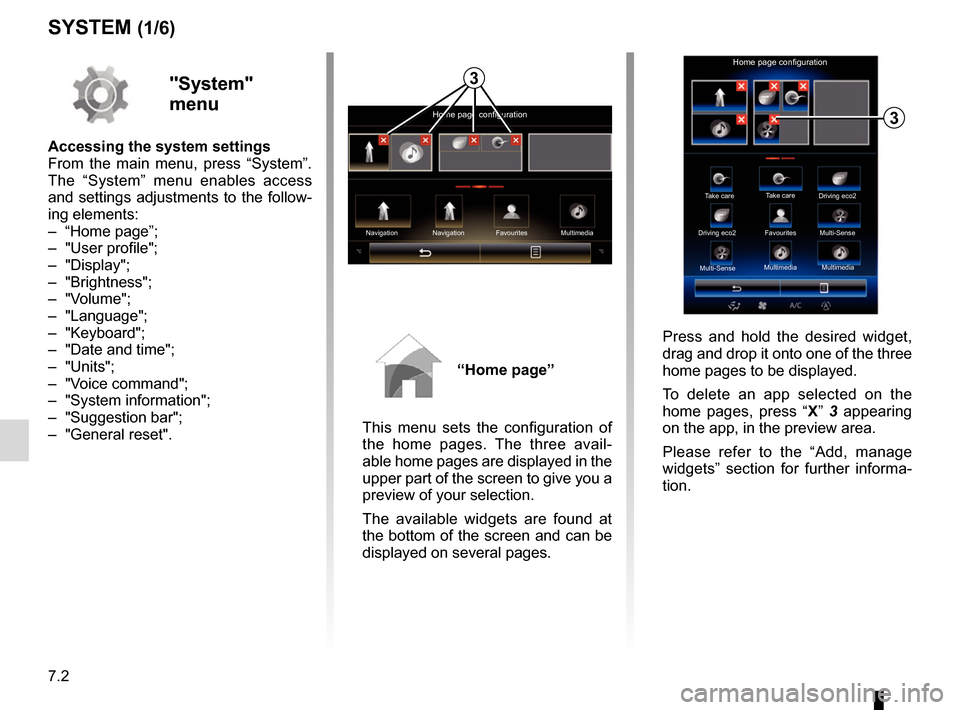
“Home page”
This menu sets the configuration of
the home pages. The three avail-
able home pages are displayed in the
upper part of the screen to give you a
preview of your selection.
The available widgets are found at
the bottom of the screen and can be
displayed on several pages.
Home page configuration
Navigation Multimedia
Navigation Favourites
3
Take care
Home page configuration
Take care
Driving eco2
Driving eco2 Favourites
Multi-Sense
Multi-Sense Multimedia
Multimedia
3
Press and hold the desired widget,
drag and drop it onto one of the three
home pages to be displayed.
To delete an app selected on the
home pages, press “
X” 3 appearing
on the app, in the preview area.
Please refer to the “Add, manage
widgets” section for further informa-
tion.
Page 120 of 130
7.4
To adjust the level (brightness,
volume, etc.), press “+”, “–” or scroll
through the numbers.
Features linked to user profile
The following settings are stored in a
user profile:
– System language;
– Distance unit (when available);
– Home page configuration;
– Display Settings;
– Multi-Sense settings;
– Ambiant lighting settings;
– driver's seat settings;
– door mirror settings;
– Massage settings;
– multimedia sound settings;
– presets;
– Radio settings;
– Navigation settings;
– Navigation history;
– Navigation favorites;
– Paired phone;
– user settings (except rear wipers in reverse gear);
– privacy settings.
SYSTEM (3/6)
"Display"
The "Display" menu grants access to
the following information:
– "Central display";
– "Instrument panel";
– "Head-up display".
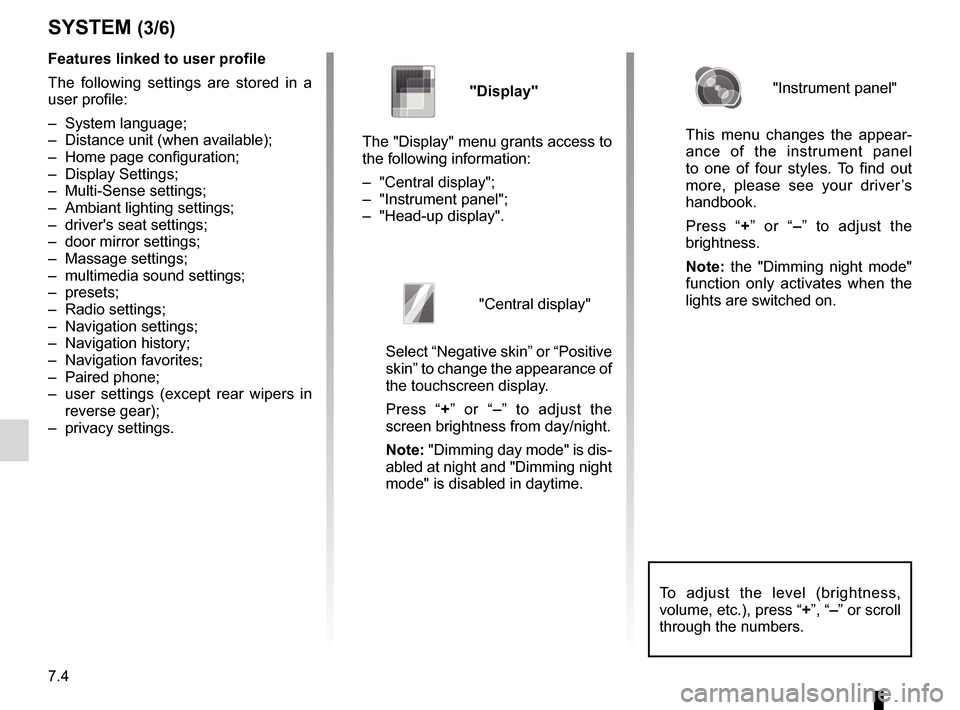
"Central display"
Select “Negative skin” or “Positive
skin” to change the appearance of
the touchscreen display.
Press “+ ” or “–” to adjust the
screen brightness from day/night.
Note: "Dimming day mode" is dis-
abled at night and "Dimming night
mode" is disabled in daytime.
"Instrument panel"
This menu changes the appear-
ance of the instrument panel
to one of four styles. To find out
more, please see your driver’s
handbook.
Press “+ ” or “–” to adjust the
brightness.
Note: the "Dimming night mode"
function only activates when the
lights are switched on.
Page 121 of 130
7.5
SYSTEM (4/6)
"Head-up display"
This menu enables you to adjust
the following settings:
– Activation, deactivation: select "On" or "OFF" to activate or
disable the "Head-up display"
function.
– "Dimming auto": select "On" to adjust luminosity automatically.
– "Dimming day mode": adjust the level by pressing " +" or "–".
– "Dimming night mode": adjust the level by pressing " +" or "–".
Note: this option is disabled
when the "Dimming auto" func-
tion is activated.
Note: the "Dimming day mode"
function is disabled at night and
the "Dimming night mode" func-
tion is disabled during the day-
time. – Height: press the up or down
arrow button to adjust the height
of the head up display.
Note: These settings are only
available when the head-up dis-
play is activated.
"Brightness"
This menu allows you to adjusts the
brightness:
– of the instrument panel;
– of the multimedia screen;
– of the head-up display.
Adjust the level by pressing “ +” or “-”.
"Volume"
This menu lets you adjust the follow-
ing settings by pressing “ +” or “–”:
– Main audio;
– Phone ringtone;
– telephone communications;
– Navigation;
– Warning;
– button sound;
– indicator volume:
– Obstacle detection;
– lane departure warning;
– voice controls.
To reset your selection, press the
pop-up menu button, then “Reset”.
Note: “0” adjustment is mute.
Note: the settings available may vary.
Page 122 of 130
7.6
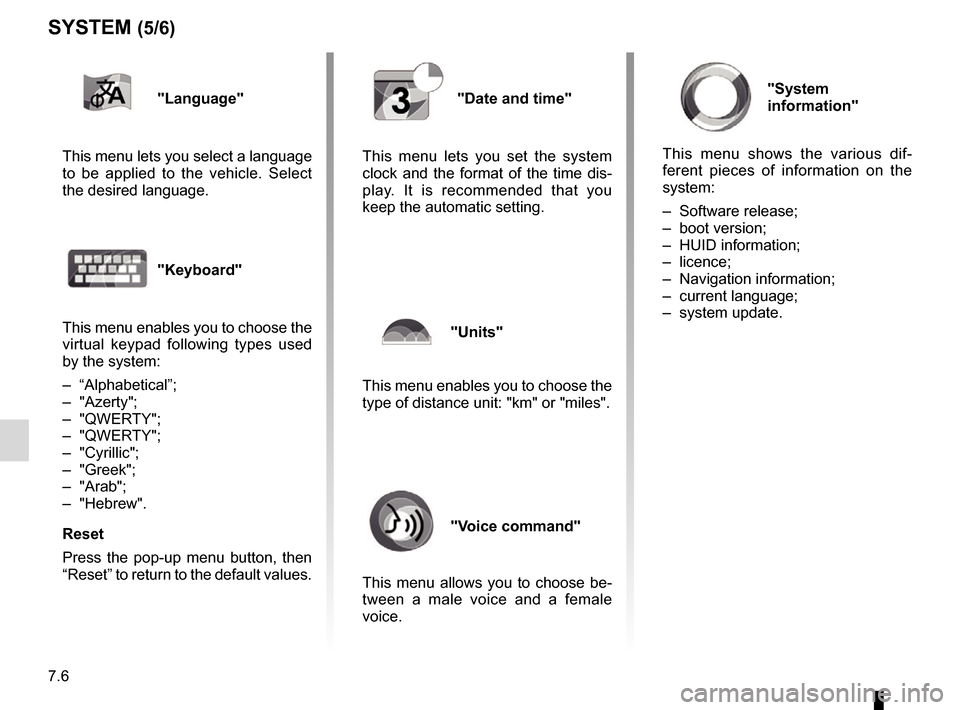
"Language"
This menu lets you select a language
to be applied to the vehicle. Select
the desired language.
"Keyboard"
This menu enables you to choose the
virtual keypad following types used
by the system:
– “Alphabetical”;
– "Azerty";
– "QWERTY";
– "QWERTY";
– "Cyrillic";
– "Greek";
– "Arab";
– "Hebrew".
Reset
Press the pop-up menu button, then
“Reset” to return to the default values.
"System
information"
This menu shows the various dif-
ferent pieces of information on the
system:
– Software release;
– boot version;
– HUID information;
– licence;
– Navigation information;
– current language;
– system update.
SYSTEM (5/6)
"Date and time"
This menu lets you set the system
clock and the format of the time dis-
play. It is recommended that you
keep the automatic setting.
"Units"
This menu enables you to choose the
type of distance unit: "km" or "miles".
"Voice command"
This menu allows you to choose be-
tween a male voice and a female
voice.
Page 123 of 130
7.7
SYSTEM (6/6)
“General reset”
This function lets you return all the
system factory settings. All the data and
configuration will be deleted.
To perform a general reset, press the
pop-up menu button from the "System"
menu, then "General reset".
When a confirmation message is dis-
played on screen, press “Yes” to con-
firm.
Note: After a reset, the system re-
starts in the factory set language. To
change the language, see the rele-
vant paragraph in this section.
Note: resetting the system by press-
ing and holding the on/off button on
the front panel does not result in loss
of data unlike the "General reset" func-
tion.
For more information, see the user
manual available in your multime-
dia system by pressing the pop-up
menu button from the "System"
menu screen, then "User manual".
"Suggestion bar"
This menu permits the displaying of
notifications whilst driving. Activate/
deactivate the displaying of notifica-
tions of the following categories:
– "Navigation";
– "Multimedia";
– "Phone";
– "Vehicle";
– "Apps";
– "System";
– "Others".
Note: when the "Notifications" func-
tion is deactivated, all of the catego-
ries above are deactivated automati-
cally.