charging RENAULT TWINGO 2009 2.G Air Conditioning User Guide
[x] Cancel search | Manufacturer: RENAULT, Model Year: 2009, Model line: TWINGO, Model: RENAULT TWINGO 2009 2.GPages: 122
Page 108 of 122

62A-27
AIR CONDITIONING
Expansion valve - intermediate pipe connecting pipe at the expansion valve outlet: Removal - Refitting
AIR CONDITIONING or CLIMATE CONTROL
62A
REMOVAL
I - PREPARATION OPERATION
aPosition the vehicle on a two-post lift (see Vehicle:
Towing and lifting) (MR 411, 02A, Lifting equip-
ment).
aDrain the coolant circuit using a refrigerant charg-
ing station (see 62A, Air conditioning, Refriger-
ant circuit: Draining - Filling, page 62A-8) .
aDisconnect the battery (see ) (MR 411, 80A, Bat-
tery).
aRemove:
-the wiper arms (see Windscreen wiper arm: Re-
moval - Refitting) (MR 411, 85A, Wipers - Wash-
ers),
-the scuttle panel grille (see Scuttle panel grille:
Removal - Refitting) (MR 412, 56A, Exterior
equipment),-the scoop under the scuttle panel grille (see Scoop
under the scuttle panel grille: Removal - Refit-
ting) (MR 412, 56A, Exterior equipment).
II - REMOVAL OPERATION FOR PART
CONCERNED
aRemove the « dehydrator reservoir - expansion
valve » and « expansion valve intermediate pipe »
(see 62A, Air conditioning, Dehydrator reservoir
- expansion valve connecting pipe: Removal -
Refitting, page 62A-28) connecting pipe assembly.
REFITTING
I - REFITTING OPERATION FOR PART
CONCERNED
aRefit the « expansion valve - intermediate pipe » -
« expansion valve - dehydrator reservoir » (see
62A, Air conditioning, Dehydrator reservoir - ex-
pansion valve connecting pipe: Removal - Refit-
ting, page 62A-28) connecting pipe assembly.
II - FINAL OPERATION.
aRefit:
-the scoop under the scuttle panel grille (see Scoop
under the scuttle panel grille: Removal - Refit-
ting) (MR 412, 56A, Exterior equipment),
-the scuttle panel grille (see Scuttle panel grille:
Removal - Refitting) (MR 412, 56A, Exterior
equipment),
-the wiper arms (see Windscreen wiper arm: Re-
moval - Refitting) (MR 411, 85A, Washing - wip-
ing).
aConnect the battery (see ) (MR 411, 80A, Battery).
aConsult the refrigerant and oil quantity values before
filling the circuit (see 62A, Air conditioning, Air
conditioning: Parts and consumables for the re-
pair, page 62A-2) .
aFill the refrigerant circuit using a refrigerant charg-
ing station (see 62A, Air conditioning, Refriger-
ant circuit: Draining - Filling, page 62A-8) .
aCheck that the air conditioning system is operating
correctly (see 62A, Air conditioning, Air condi-
tioning: Check, page 62A-4) .
aCheck for leaks (see 62A, Air conditioning, Refrig-
erant circuit: Check, page 62A-7) . Equipment required
refrigerant charging station
IMPORTANT
Consult the safety and cleanliness advice and oper-
ation recommendations before carrying out any
repair (see 62A, Air conditioning, Air condition-
ing: Precautions for the repair, page 62A-1) .
Note:
Use blanking plugs for the fuel circuits with part
numbers 77 01 208 229 or 77 01 476 857 to plug
any openings exposed to the open air. They must
be clean. Do not use plugs which have already
been used to plug a fuel circuit.
Note:
The « expansion valve - intermediate pipe » and
« expansion valve - dehydrator reservoir » connect-
ing pipes cannot be separated.
WARNING
Consult the device's operating manual to avoid
incorrect use.
Page 109 of 122

62A-28
AIR CONDITIONING
Dehydrator reservoir - expansion valve connecting pipe: Removal - Refitting
AIR CONDITIONING or CLIMATE CONTROL
62A
REMOVAL
I - REMOVAL PREPARATION OPERATION
aPosition the vehicle on a two-post lift (see Vehicle:
Towing and lifting) (02A, Lifting equipment).
aDrain the refrigerant circuit using a refrigerant
charging station (see 62A, Air conditioning, Re-
frigerant circuit: Draining - Filling, page 62A-8) .
aDisconnect the battery (see ) (80A, Battery).
aRemove:
-the wiper arms (see Windscreen wiper arm: Re-
moval - Refitting) (85A, Wiping - Washing),
-the scuttle panel grille (see Scuttle panel grille:
Removal - Refitting) (56A, Exterior equipment),
-the scoop under the scuttle panel grille (see Scoop
under the scuttle panel grille: Removal - Refit-
ting) (56A, Exterior equipment). Special tooling required
Mot. 1410Set of refrigerant pipe union
disconnection sockets.
(dimensions in inches): 5/16,
3/8, 1/2, 5/8, 3/4, 7/8.
Equipment required
refrigerant charging station
compressed air nozzle
IMPORTANT
To avoid all risk of damage to the systems, apply
the safety and cleanliness instructions and opera-
tion recommendations before carrying out any
repair:
- (see 62A, Air conditioning, Air conditioning:
Precautions for the repair, page 62A-1) ,
- (see Vehicle: Precautions for the repair) (01D,
Mechanical introduction).
WARNING
To prevent moisture from entering the system,
place plugs on the cold loop components which are
open to the air.
WARNING
In order to avoid any refrigerant leaks, do not dam-
age (deform, twist, etc.) the pipe.
Note:
Use blanking plugs for the fuel circuits with part
numbers 77 01 2008 229 or 77 01 476 857 to plug
any openings exposed to the open air. They must
be clean. Do not use any which have already been
used to plug a fuel circuit.
WARNING
To prevent the surrounding components from over-
heating, do not damage (tear, pierce, bend, etc.) a
heat shield.
Any damaged heat shields must be replaced.
Note:
The « expansion valve - intermediate pipe » and
« expansion valve - dehydrator reservoir » connect-
ing pipes cannot be separated.
WARNING
Consult the device's operating manual to avoid
incorrect use.
Page 114 of 122

62A-33
AIR CONDITIONING
Compressor - condenser connecting pipe: Removal - Refitting
AIR CONDITIONING or CLIMATE CONTROL
62A
REMOVAL
I - REMOVAL PREPARATION OPERATION
aPosition the vehicle on a two-post lift (see Vehicle:
Towing and lifting) (02A, Lifting equipment).
aDrain the refrigerant circuit using a refrigerant
charging station (see 62A, Air conditioning, Re-
frigerant circuit: Draining - Filling, page 62A-8) .
aDisconnect the battery (see ) (80A, Battery).
aRemove:
-the front wheels (see Wheel: Removal - Refitting)
(35A, Wheels and tyres),
-the front wheel arch liners (see Front wheel arch
liner: Removal - Refitting) (55A, Exterior protec-
tion),
-the front bumper (see Front bumper: Removal -
Refitting) (55A, Exterior protection).II - OPERATION FOR REMOVAL OF PART
CONCERNED
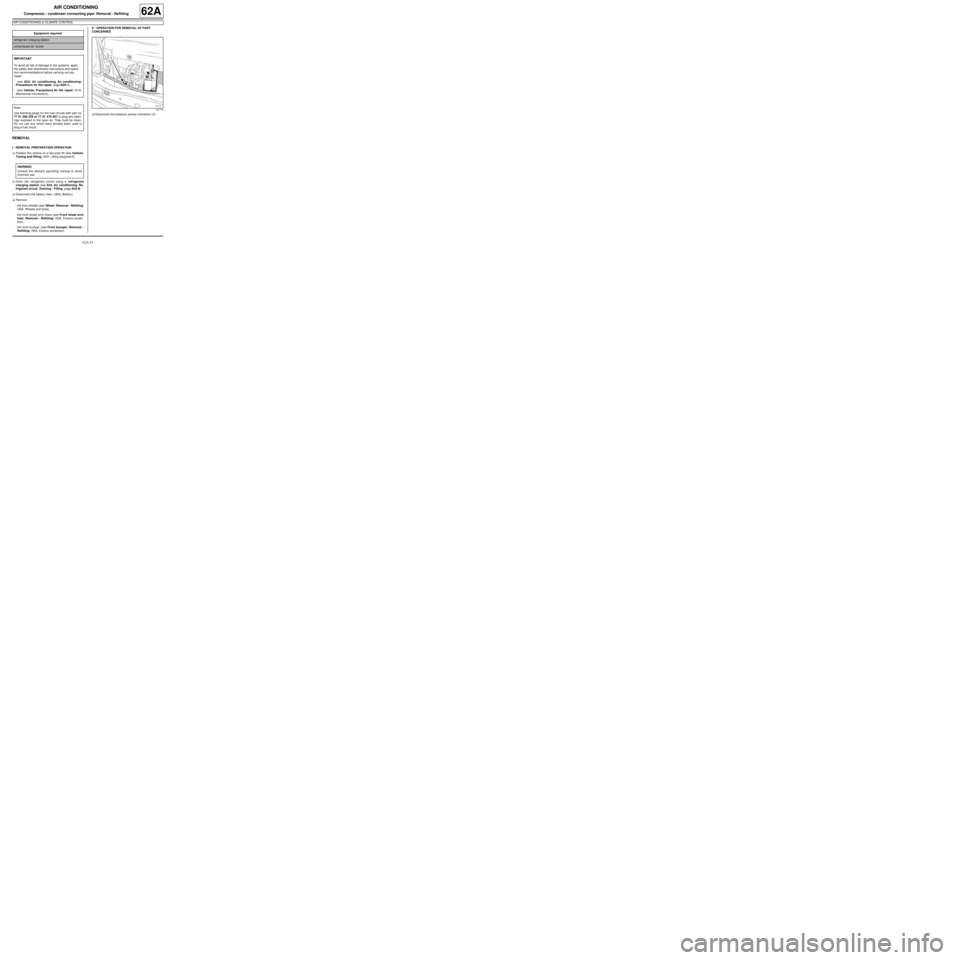
aDisconnect the pressure sensor connector (1) . Equipment required
refrigerant charging station
compressed air nozzle
IMPORTANT
To avoid all risk of damage to the systems, apply
the safety and cleanliness instructions and opera-
tion recommendations before carrying out any
repair:
- (see 62A, Air conditioning, Air conditioning:
Precautions for the repair, page 62A-1) ,
- (see Vehicle: Precautions for the repair) (01D,
Mechanical introduction).
Note:
Use blanking plugs for the fuel circuits with part no.
77 01 208 229 or 77 01 476 857 to plug any open-
ings exposed to the open air. They must be clean.
Do not use any which have already been used to
plug a fuel circuit.
WARNING
Consult the device's operating manual to avoid
incorrect use.
121174
Page 118 of 122

62A-37
AIR CONDITIONING
Compressor - intermediate pipe connecting pipe: Removal - Refitting
AIR CONDITIONING or CLIMATE CONTROL
62A
REMOVAL
I - REMOVAL PREPARATION OPERATION
aPosition the vehicle on a two-post lift (see Vehicle:
Towing and lifting) (02A, Lifting equipment).
aDrain the refrigerant circuit using a refrigerant
charging station (see 62A, Air conditioning, Re-
frigerant circuit: Draining - Filling, page 62A-8) .
aDisconnect the battery (see ) (80A, Battery).
aRemove:
-the front wheels (see Wheel: Removal - Refitting)
(35A, Wheels and tyres),-the front wheel arch liners (see Front wheel arch
liner: Removal - Refitting) (55A, Exterior protec-
tion),
-the front bumper (see Front bumper: Removal -
Refitting) (55A, Exterior protection).
II - OPERATION FOR REMOVAL OF PART
CONCERNED
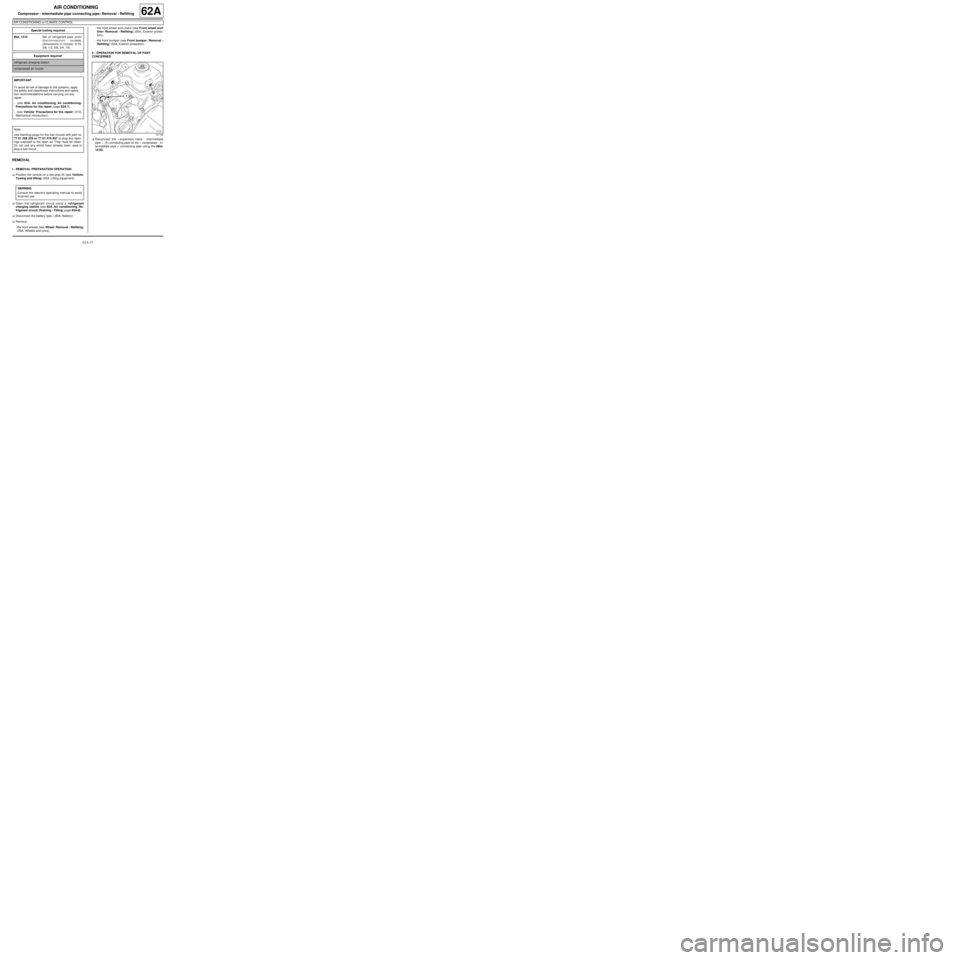
aDisconnect the « expansion valve - intermediate
pipe » (1) connecting pipe on the « compressor - in-
termediate pipe » connecting pipe using the (Mot.
1410). Special tooling required
Mot. 1410Set of refrigerant pipe union
disconnection sockets.
(dimensions in inches): 5/16,
3/8, 1/2, 5/8, 3/4, 7/8.
Equipment required
refrigerant charging station
compressed air nozzle
IMPORTANT
To avoid all risk of damage to the systems, apply
the safety and cleanliness instructions and opera-
tion recommendations before carrying out any
repair:
- (see 62A, Air conditioning, Air conditioning:
Precautions for the repair, page 62A-1) ,
- (see Vehicle: Precautions for the repair) (01D,
Mechanical introduction).
Note:
Use blanking plugs for the fuel circuits with part no.
77 01 208 229 or 77 01 476 857 to plug any open-
ings exposed to the open air. They must be clean.
Do not use any which have already been used to
plug a fuel circuit.
WARNING
Consult the device's operating manual to avoid
incorrect use.
121180