diagram RENAULT TWINGO 2009 2.G Electrical Equipment - Multiplexing Workshop Manual
[x] Cancel search | Manufacturer: RENAULT, Model Year: 2009, Model line: TWINGO, Model: RENAULT TWINGO 2009 2.GPages: 33, PDF Size: 0.18 MB
Page 1 of 33

8Electrical equipment
V3 MR-413-X44-88B000$TOC.mif
V3
88B
"The repair procedures given by the manufacturer in this document are based on the
technical specifications current when it was prepared.
The procedures may be modified as a result of changes introduced by the
manufacturer in the production of the various component units and accessories from
which his vehicles are constructed."
V3
All rights reserved by Renault s.a.s.
Edition Anglaise
Copying or translating, in part or in full, of this document or use of the service part
reference numbering system is forbidden without the prior written authority of
Renault s.a.s.
© Renault s.a.s. 2008
MULTIPLEXING
Fault finding – Introduction 88B - 2
Fault finding – List and location of components 88B - 8
Fault finding – Operating diagram 88B - 10
Fault finding – Function 88B - 12
Fault finding – Defect and safe modes 88B - 16
Fault finding – Configuration 88B - 17
Fault finding – Interpretation of faults 88B - 20
Fault finding – Fault finding chart 88B - 28
Page 5 of 33
88B-5V3 MR-413-X44-88B000$010.mif
MULTIPLEXING
Fault finding – Introduction88B
If the following error messages appear during a multiplex network test:
–Communication cannot be established with some computers: check their supply and their diagnostic line
before rerunning the test: the network topology is visible. Check to see if there are many computers that have not
been configured: update the multiplex network according to the computers present on the vehicle (see Multiplex
network configuration).
–Incorrect configuration of computers that support fault finding: check the configuration before rerunning
a test: the network topology is not visible, a network configuration is requested (see Multiplex network
configuration).
–Incorrect configuration: check the computer configuration before rerunning a test: the network topology is
not visible, a network configuration is requested (see Multiplex network configuration).
ACQUISITION AND DISPLAY OF THE RESULTS
The acquisition screen is made up of a bar graph which changes when the various initialisation, acquisition and data
analysis stages are updated.
At the end of the test, the tool displays a screen with the test result.
How to read the topological diagram:
The results display screen consists of three screens:
–the upper zone: fault finding procedure result message,
–the left-hand centre zone: topological diagram (not always available),
–the right-hand centre zone: interpretation of the results from the various vehicle computers and list.
COMPUTERS
–Valid: green border, green lettering.
–Not detected: red border, red lettering.
–Do not support fault finding: black border, black lettering.
–Not recognised: red border, red lettering + exclamation mark.
SEGMENTS
–Valid: green dash.
–Faulty: red dash.
–Cannot support fault finding: black dash.
Page 6 of 33
88B-6V3 MR-413-X44-88B000$010.mif
MULTIPLEXING
Fault finding – Introduction88B
Interpreting test result charts
On the Faults tab, the computers are organised into the following groups:
–Not detected if the computer failed to respond to the tool's identification request.
Within the undetected category, the computers are subdivided into Stores multiplex network configuration
and Does not store multiplex network configuration.
–Not recognised if the computer is detected but cannot be identified from its response.
On the Information tab, the computers are organised and listed as follows:
–Cannot support fault finding, if the computer cannot support fault finding with the tool and therefore was not
queried.
–Valid if the computer responded correctly to the tool's request.
If the Proceed icon in the bottom right-hand corner is selected, a new screen will appear with the following tab:
Under the Results tab the computers are organised into the following groups:
–Faulty if the computer is known and has a non-zero number of faults.
–OK if the computer was detected, recognised and has no faults.
–Not recognised if the computer was detected but could not be identified from its response.
–Not detected if the computer can support fault finding but failed to respond.
FUNCTION TESTING
The function test can be accessed by clicking on the List of functions icon.
–The vehicle function tests screen resembles the multiplex network test screen with a diagram of the network layout
if this is known and displayed.
–The Function tab displays the different computers involved in the functions, which may be distributed over several
computers.
Examples for the Vehicle multiplex line network:
•Air conditioning: UCH, INJ, and CLIM.
•Access - Safety: UCH and INJ
•Wiping: UCH
•Lighting: UCH
Examples for the Multimedia multiplex line network:
•Radio.
•Multimedia interface (A2/A3 display)
•Multimedia connection (C-box)
–The Info tab displays the other possible functions found on the vehicle concerned.
–Selecting a function from the list of functions enables computers not involved in this function to be shaded, thus
indicating the computers involved in this function.
–The Fault finding button runs fault finding on the function selected from the list.
Page 10 of 33
88B-10V3 MR-413-X44-88B000$030.mif
MULTIPLEXING
Fault finding – Operating diagram88B
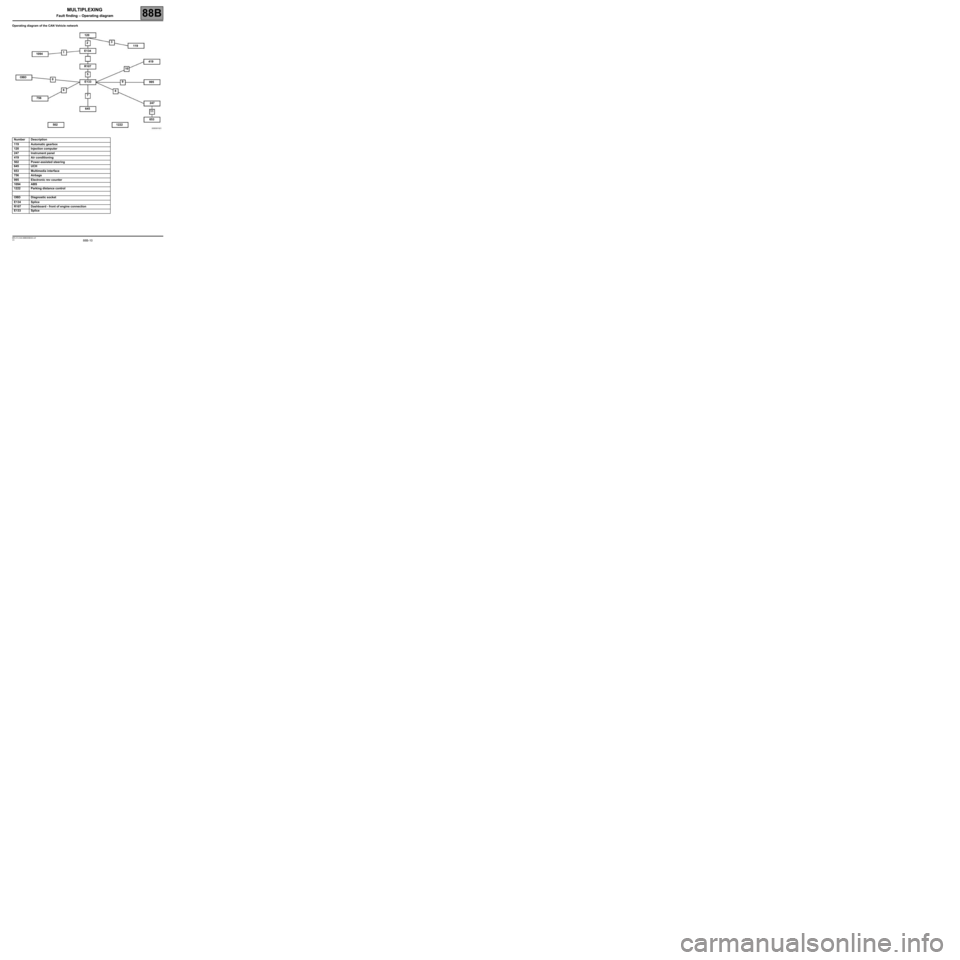
Operating diagram of the CAN Vehicle network
Number Description
119 Automatic gearbox
120 Injection computer
247 Instrument panel
419 Air conditioning
502 Power-assisted steering
645 UCH
653 Multimedia interface
756 Airbags
995 Electronic rev counter
1094 ABS
1222 Parking distance control
OBD Diagnostic socket
E134 Splice
R107 Dashboard - front of engine connection
E133 Splice
120
010
11 123
5
6
7 89 OBDE134
E133 R107
645 1094119
419
995
247
653
1222 502 756
MULTIPLEXING
Fault finding – Operating diagram
Page 11 of 33
88B-11V3 MR-413-X44-88B000$030.mif
MULTIPLEXING
Fault finding – Operating diagram88B
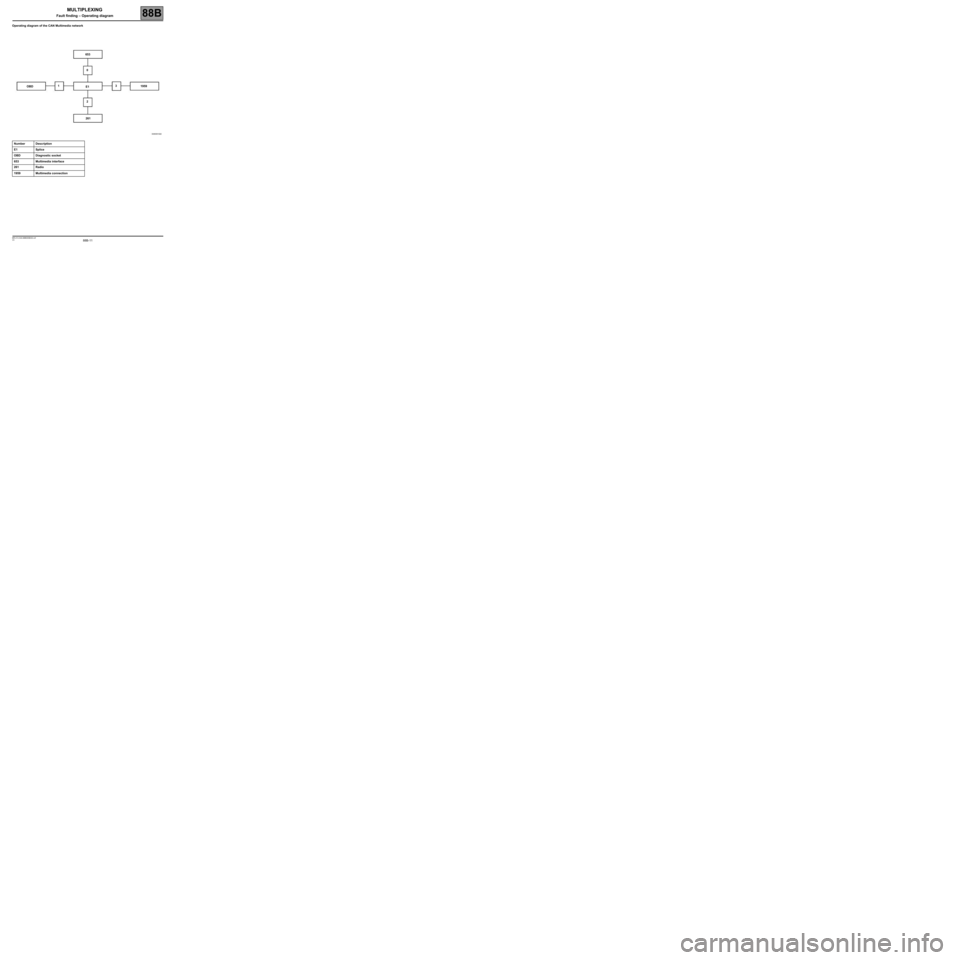
Operating diagram of the CAN Multimedia network
Number Description
E1 Splice
OBD Diagnostic socket
653 Multimedia interface
261 Radio
1959 Multimedia connection
OBD653
0
1
23
E1
2611959
Page 17 of 33

88B-17V3 MR-413-X44-88B000$060.mif
88B
MULTIPLEX NETWORK CONFIGURATION
For the
CAN Vehicle network:
The tool displays the UCH and/or Airbag configurations.
The Configuration screen consists of two tabs for displaying and modifying the:
–The first tab, Multiplex network configuration, indicates the multiplex network version and the list of computers
defined as present on the multiplex network.
–The second tab, Configuration of computers which support fault finding, indicates the relevant diagram
number, and the list of computers defined as supporting fault finding with the RENAULT tool.
First repair the computers containing the multiplex network configuration (Airbag and UCH) in order to
display the screen with the multiplex network configuration diagram for the vehicle on which fault finding is
being run.
For the
CAN Multimedia network:
The tool presents the configuration of the A2/A3 display.
The Configuration screen consists of two tabs for displaying and modifying the:
–The first tab, Multiplex network configuration, indicates the multiplex network version and the list of computers
defined as present on the multiplex network.
–The second tab, Configuration of computers which support fault finding, indicates the relevant diagram
number, and the list of computers defined as supporting fault finding with the RENAULT tool.
NOTESThe configuration is entered with the ignition on; apply the forced + after ignition
feed procedure (see Introduction).
It can be run from the multiplex network test results screens.
WARNING: the network version number is 1.
This is the diagram version which changes each time the multiplex network wiring is modified on this vehicle.
WARNING: the network version number is 1.
This is the diagram version which changes each time the multiplex network wiring is modified on this vehicle.
MULTIPLEXING
Fault finding – Configuration
Page 18 of 33
88B-18V3 MR-413-X44-88B000$060.mif
MULTIPLEXING
Fault finding – Configuration88B
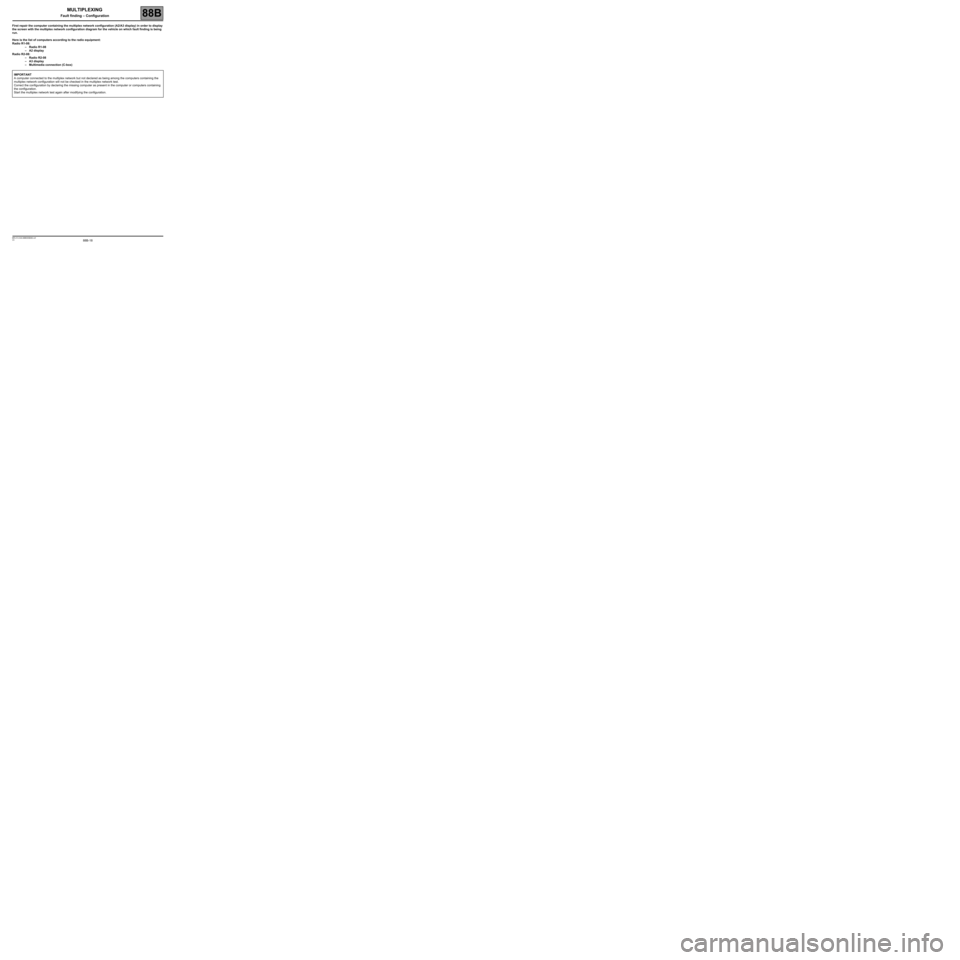
First repair the computer containing the multiplex network configuration (A2/A3 display) in order to display
the screen with the multiplex network configuration diagram for the vehicle on which fault finding is being
run.
Here is the list of computers according to the radio equipment:
Radio R1-08:
–Radio R1-08
–A2 display
Radio R2-08:
–Radio R2-08
–A3 display
–Multimedia connection (C-box)
IMPORTANT
A computer connected to the multiplex network but not declared as being among the computers containing the
multiplex network configuration will not be checked in the multiplex network test.
Correct the configuration by declaring the missing computer as present in the computer or computers containing
the configuration.
Start the multiplex network test again after modifying the configuration.
Page 20 of 33
88B-20
AFTER REPAIRRun the multiplex network test again using the diagnostic tool.
Clear the stored faults on all the computers connected to the network.
Deal with any other faults.
V3 MR-413-X44-88B000$070.mif
88B
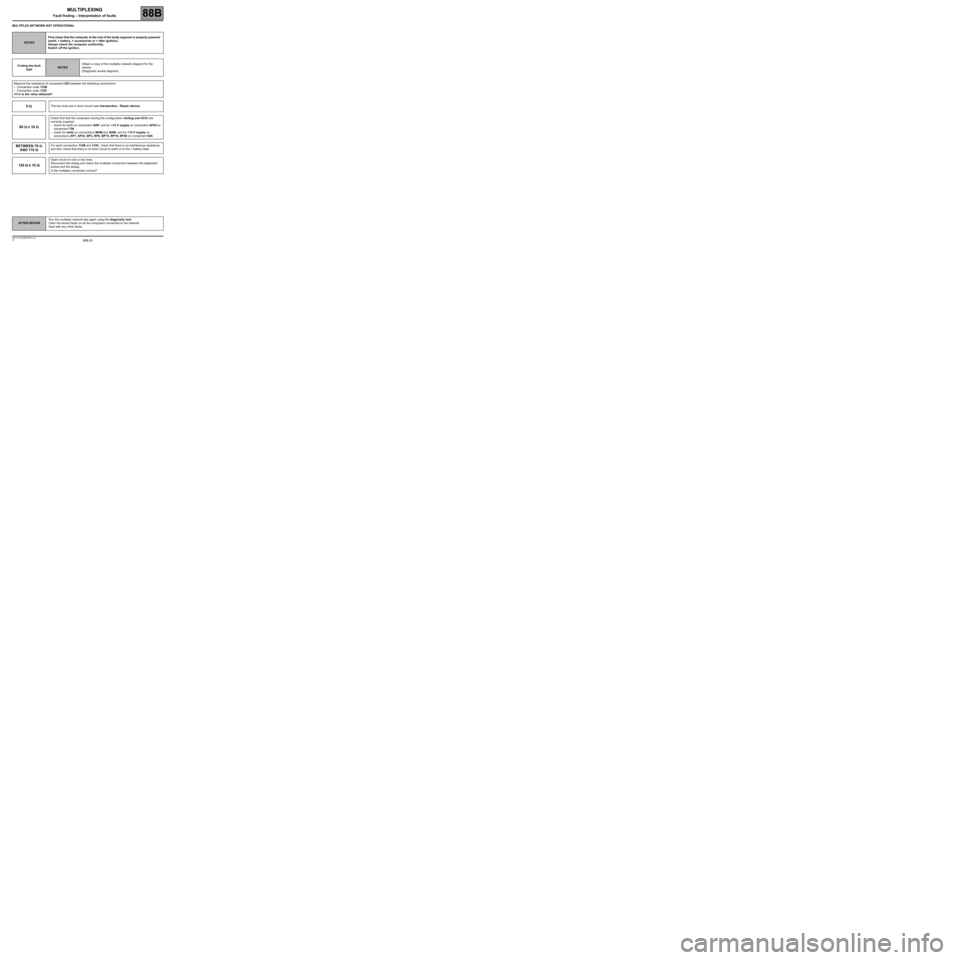
MULTIPLEX NETWORK NOT OPERATIONAL
NOTESFirst check that the computer at the end of the faulty segment is properly powered
(earth, + battery, + accessories or + after ignition).
Always check the computer conformity.
Switch off the ignition.
Finding the fault
type
NOTESObtain a copy of the multiplex network diagram for the
vehicle.
(Diagnostic socket diagram).
Measure the resistance of component 225 between the following connections:
•Connection code 133B
•Connection code 133C
What is the value obtained?
0 ΩΩ Ω ΩThe two lines are in short circuit (see Introduction - Repair advice).
60 ΩΩ Ω Ω
± 10 ΩΩ Ω Ω
Check first that the computers storing the configuration (Airbag and UCH) are
correctly supplied:
–check for earth on connection NAP, and for +12 V supply on connection AP25 on
component 756.
–check for earth on connections MAM and NAM, and for +12 V supply on
connections AP7, AP43, BP3, BP6, BP15, BP19, BP49 on component 645.
BETWEEN 70 ΩΩ Ω Ω
AND 110 ΩΩ Ω ΩFor each connection 133B and 133C, check that there is no interference resistance
and then check that there is no short circuit to earth or to the + battery feed.
120 ΩΩ Ω Ω
± 10 ΩΩ Ω Ω
Open circuit on one or two lines.
Disconnect the airbag and check the multiplex connection between the diagnostic
socket and the airbag.
Is the multiplex connection correct?
MULTIPLEXING
Fault finding – Interpretation of faults
Page 22 of 33
88B-22
AFTER REPAIRRun the multiplex network test again using the diagnostic tool.
Clear the stored faults on all the computers connected to the network.
Deal with any other faults.
V3 MR-413-X44-88B000$070.mif
MULTIPLEXING
Fault finding – Interpretation of faults88B
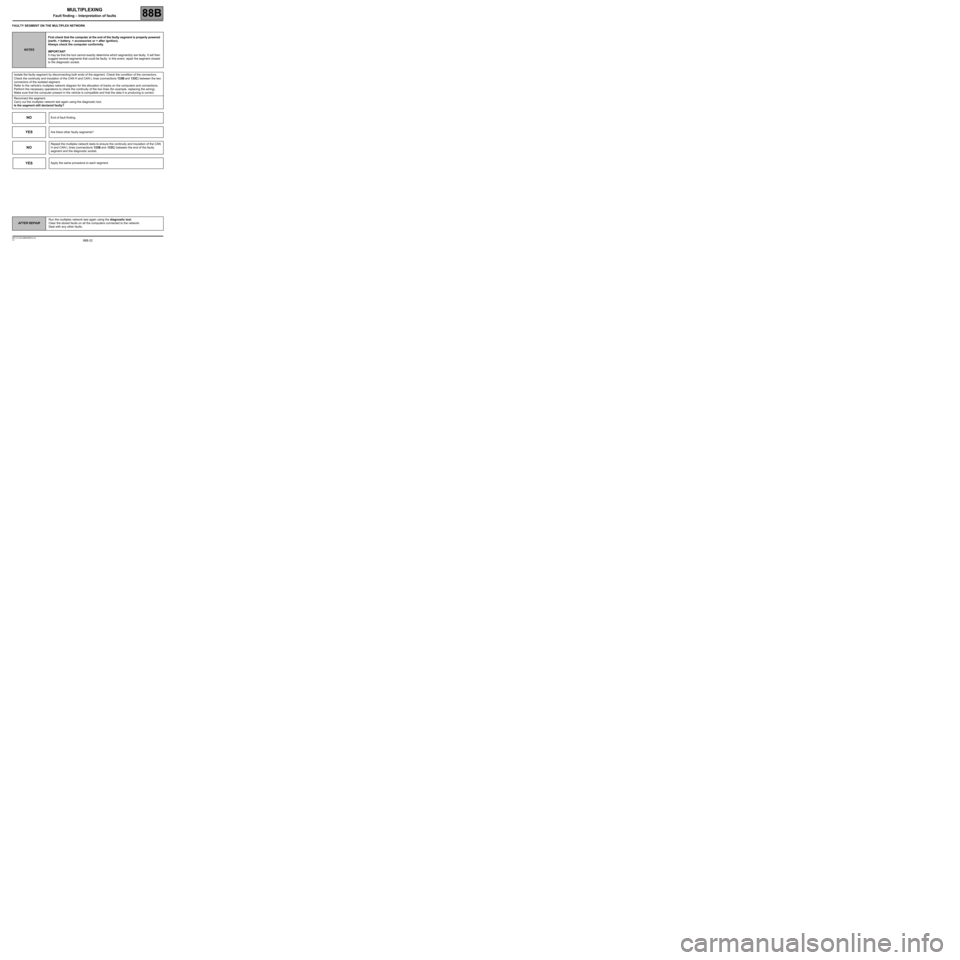
FAULTY SEGMENT ON THE MULTIPLEX NETWORK
NOTESFirst check that the computer at the end of the faulty segment is properly powered
(earth, + battery, + accessories or + after ignition).
Always check the computer conformity.
IMPORTANT
It may be that the tool cannot exactly determine which segment(s) are faulty. It will then
suggest several segments that could be faulty. In this event, repair the segment closest
to the diagnostic socket.
Isolate the faulty segment by disconnecting both ends of the segment. Check the condition of the connectors.
Check the continuity and insulation of the CAN H and CAN L lines (connections 133B and 133C) between the two
connectors of the isolated segment.
Refer to the vehicle's multiplex network diagram for the allocation of tracks on the computers and connections.
Perform the necessary operations to check the continuity of the two lines (for example, replacing the wiring).
Make sure that the computer present in the vehicle is compatible and that the data it is producing is correct.
Reconnect the segment.
Carry out the multiplex network test again using the diagnostic tool.
Is the segment still declared faulty?
NOEnd of fault finding.
YESAre there other faulty segments?
NO
Repeat the multiplex network tests to ensure the continuity and insulation of the CAN
H and CAN L lines (connections 133B and 133C) between the end of the faulty
segment and the diagnostic socket.
YESApply the same procedure to each segment.
Page 26 of 33
88B-26
AFTER REPAIRRun the multiplex network test again using the diagnostic tool.
Clear the stored faults on all the computers connected to the network.
Deal with any other faults.
V3 MR-413-X44-88B000$070.mif
MULTIPLEXING
Fault finding – Interpretation of faults88B
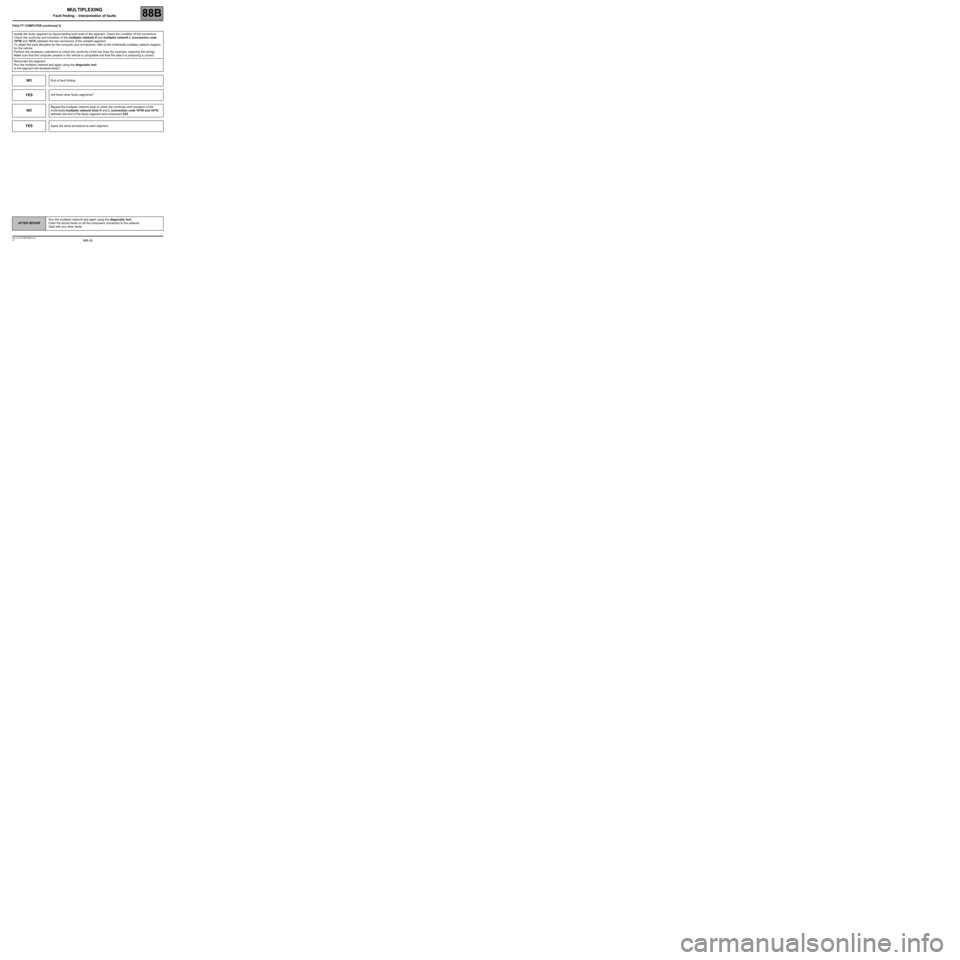
FAULTY COMPUTER (continued 3)
Isolate the faulty segment by disconnecting both ends of the segment. Check the condition of the connectors.
Check the continuity and insulation of the multiplex network H and multiplex network L (connection code
107W and 107X) between the two connectors of the isolated segment.
To obtain the track allocation for the computer and connections, refer to the multimedia multiplex network diagram
for the vehicle.
Perform the necessary operations to check the continuity of the two lines (for example, replacing the wiring).
Make sure that the computer present in the vehicle is compatible and that the data it is producing is correct.
Reconnect the segment.
Run the multiplex network test again using the diagnostic tool.
Is the segment still declared faulty?
NOEnd of fault finding.
YESAre there other faulty segments?
NO
Repeat the multiplex network tests to check the continuity and insulation of the
multimedia multiplex network lines H and L (connection code 107W and 107X)
between the end of the faulty segment and component 225.
YESApply the same procedure to each segment.