relay RENAULT TWINGO 2009 2.G Electrical Equipment Workshop Manual
[x] Cancel search | Manufacturer: RENAULT, Model Year: 2009, Model line: TWINGO, Model: RENAULT TWINGO 2009 2.GPages: 241
Page 13 of 241
80B-1
HEADLIGHTS
Front lighting: List and location of components
80B
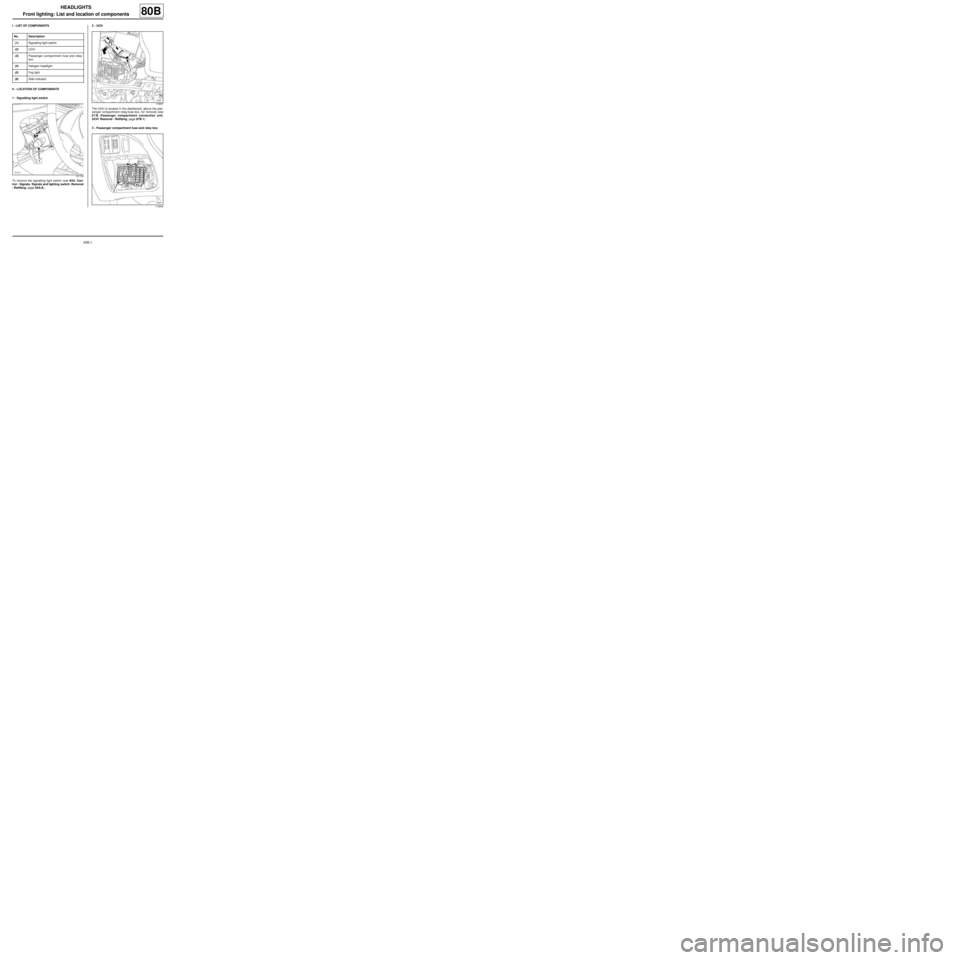
I - LIST OF COMPONENTS
II - LOCATION OF COMPONENTS
1 - Signalling light switch
To remove the signalling light switch (see 84A, Con-
trol - Signals, Signals and lighting switch: Removal
- Refitting, page 84A-8) .2 - UCH
The UCH is located in the dashboard, above the pas-
senger compartment relay/fuse box, for removal (see
87B, Passenger compartment connection unit,
UCH: Removal - Refitting, page 87B-1) .
3 - Passenger compartment fuse and relay box No. Description
(1) Signalling light switch
(2) UCH
(3) Passenger compartment fuse and relay
box
(4) Halogen headlight
(5) Fog light
(6) Side indicator
121133
119507
119504
Page 26 of 241

81A-1
REAR LIGHTING
Rear lighting: List and location of components
81A
I - LIST OF COMPONENTS
II - LOCATION OF COMPONENTS
1 - Signalling light switch
To remove the signalling light switch (see 84A, Con-
trol - Signals, Signals and lighting switch: Removal
- Refitting, page 84A-8) .2 - UCH
The UCH is located in the dashboard, above the pas-
senger compartment relay/fuse box, for removal (see
87B, Passenger compartment connection unit,
UCH: Removal - Refitting, page 87B-1) .
3 - Passenger compartment fuse and relay box No. Description
(1) Signalling light switch
(2) UCH
(3) Passenger compartment fuse and relay
box
(4) Rear light on wing
(5) High level brake light
(6) License plate light
121133
119507
119504
Page 39 of 241
81C-1
FUSES
Fuses: List and location of components
81C
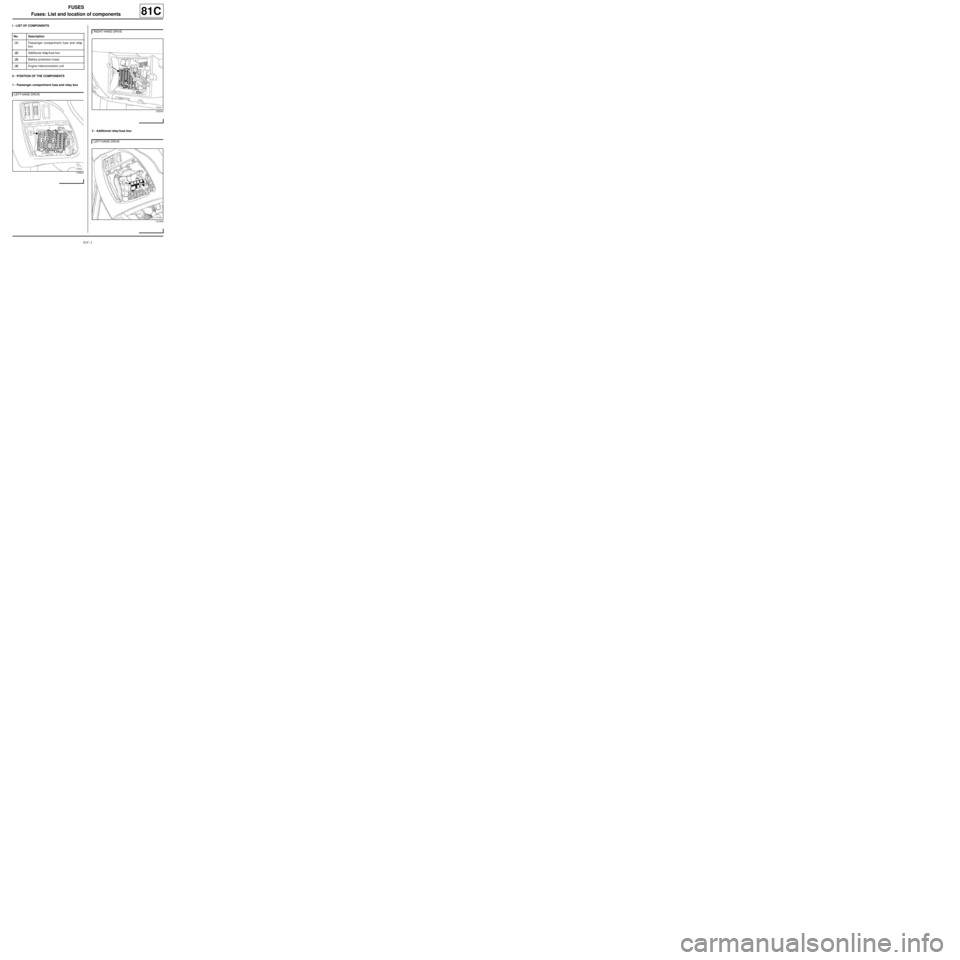
I - LIST OF COMPONENTS
II - POSITION OF THE COMPONENTS
1 - Passenger compartment fuse and relay box
2 - Additional relay/fuse box No. Description
(1) Passenger compartment fuse and relay
box
(2) Additional relay/fuse box
(3) Battery protection fuses
(4) Engine interconnection unit
LEFT-HAND DRIVE
119504
RIGHT-HAND DRIVE
125233
LEFT-HAND DRIVE
121209
Page 71 of 241
85A-1
WIPING - WASHING
Wiping and washing: List and location of components85A
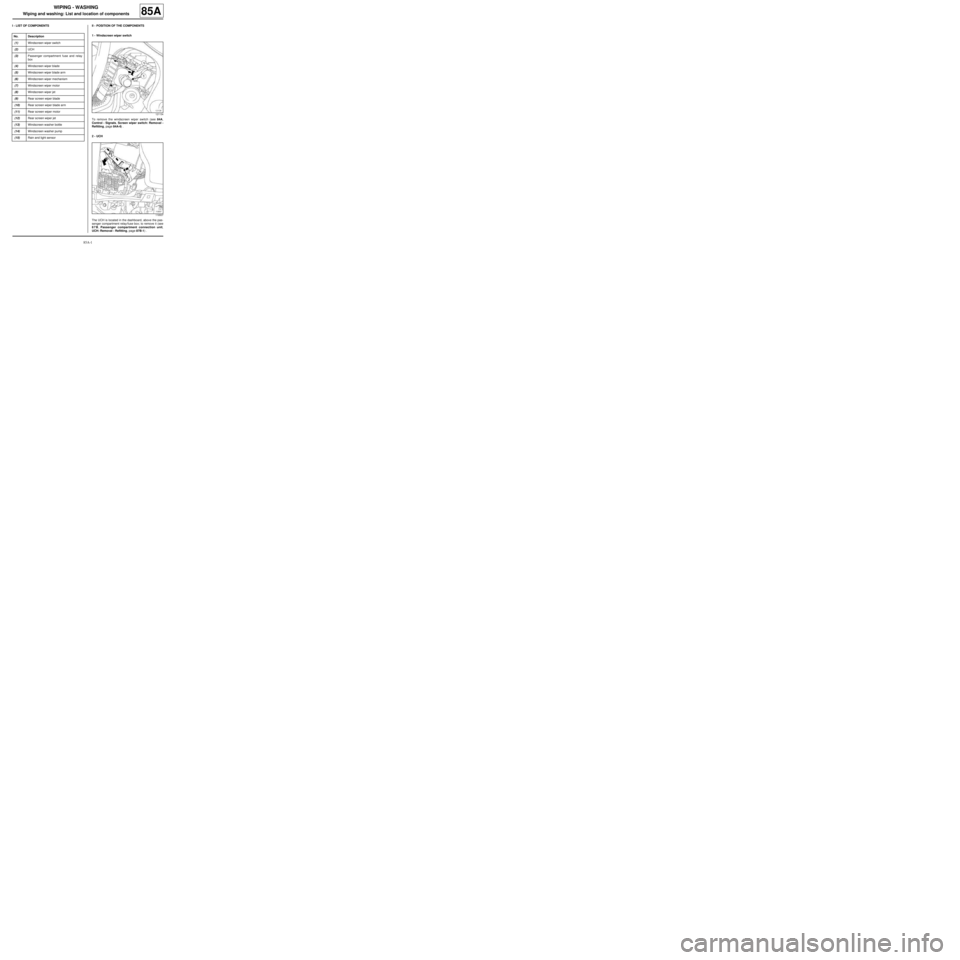
I - LIST OF COMPONENTS II - POSITION OF THE COMPONENTS
1 - Windscreen wiper switch
To remove the windscreen wiper switch (see 84A,
Control - Signals, Screen wiper switch: Removal -
Refitting, page 84A-6) .
2 - UCH
The UCH is located in the dashboard, above the pas-
senger compartment relay/fuse box; to remove it (see
87B, Passenger compartment connection unit,
UCH: Removal - Refitting, page 87B-1) . No. Description
(1) Windscreen wiper switch
(2) UCH
(3) Passenger compartment fuse and relay
box
(4) Windscreen wiper blade
(5) Windscreen wiper blade arm
(6) Windscreen wiper mechanism
(7) Windscreen wiper motor
(8) Windscreen wiper jet
(9) Rear screen wiper blade
(10) Rear screen wiper blade arm
(11) Rear screen wiper motor
(12) Rear screen wiper jet
(13) Windscreen washer bottle
(14) Windscreen washer pump
(15) Rain and light sensor
121134
119507
Page 72 of 241
85A-2
WIPING - WASHING
Wiping and washing: List and location of components85A
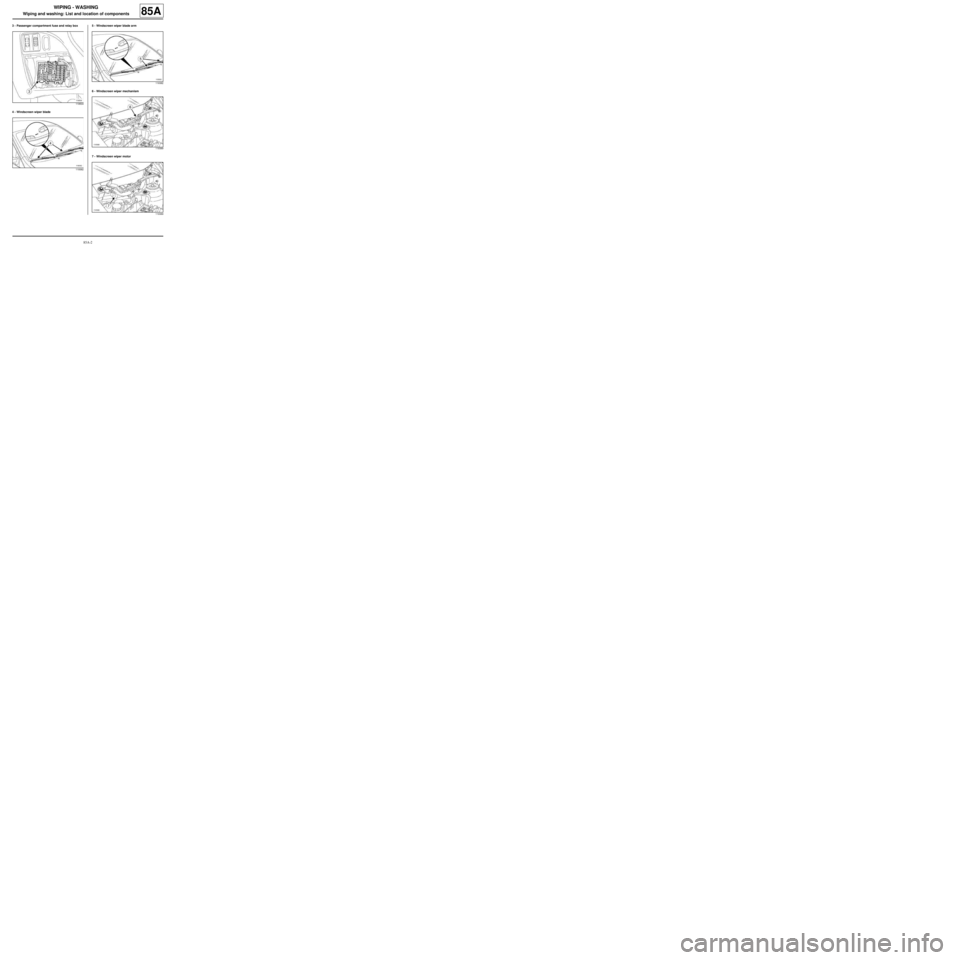
3 - Passenger compartment fuse and relay box
4 - Windscreen wiper blade5 - Windscreen wiper blade arm
6 - Windscreen wiper mechanism
7 - Windscreen wiper motor
119504
119382
119382
119389
119389
Page 119 of 241
87C-1
OPENING ELEMENT MANAGEMENT
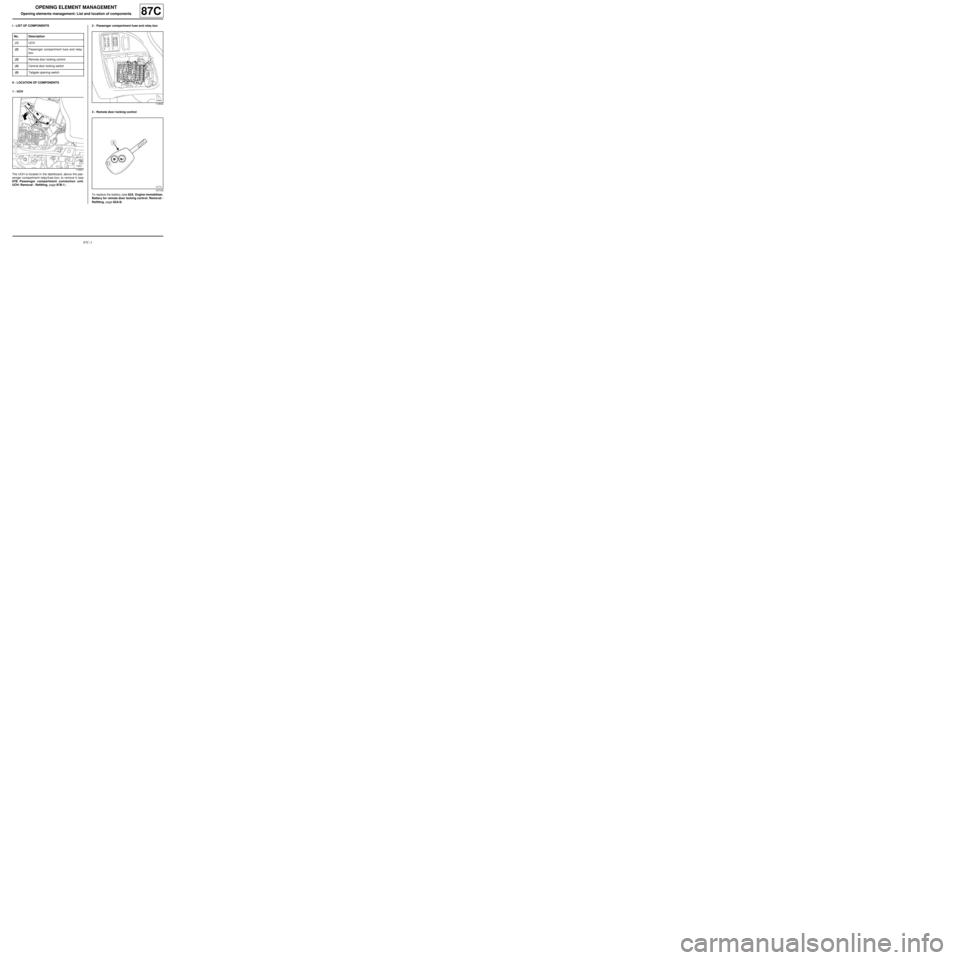
Opening elements management: List and location of components87C
I - LIST OF COMPONENTS
II - LOCATION OF COMPONENTS
1 - UCH
The UCH is located in the dashboard, above the pas-
senger compartment relay/fuse box; to remove it (see
87B, Passenger compartment connection unit,
UCH: Removal - Refitting, page 87B-1) .2 - Passenger compartment fuse and relay box
3 - Remote door locking control
To replace the battery (see 82A, Engine immobiliser,
Battery for remote door locking control: Removal -
Refitting, page 82A-8) . No. Description
(1) UCH
(2) Passenger compartment fuse and relay
box
(3) Remote door locking control
(4) Centr al door locking switch
(5) Tailgate opening switch
119507
119504
107733
Page 123 of 241
87D-2
ELECTRIC WINDOWS - SUNROOF
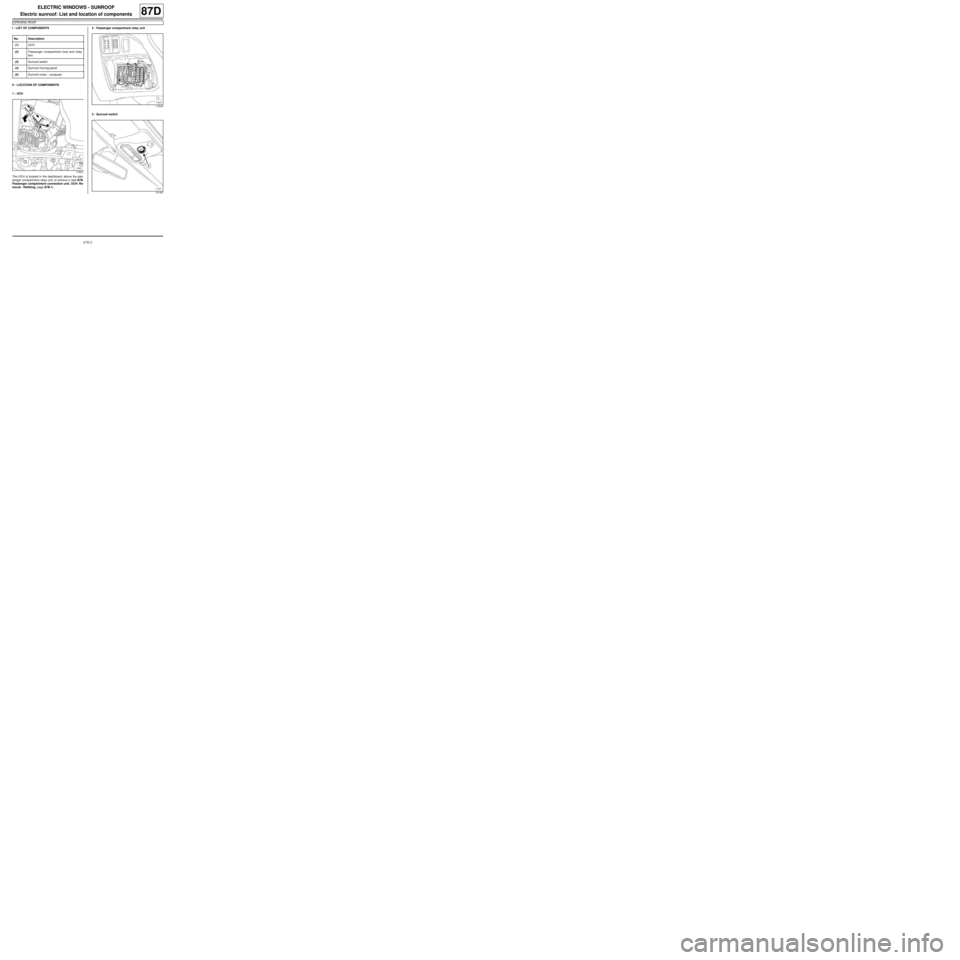
Electric sunroof: List and location of components
OPENING ROOF
87D
I - LIST OF COMPONENTS
II - LOCATION OF COMPONENTS
1 - UCH
The UCH is located in the dashboard, above the pas-
senger compartment relay unit; to remove it (see 87B,
Passenger compartment connection unit, UCH: Re-
moval - Refitting, page 87B-1) .2 - Passenger compartment relay unit
3 - Sunroof switch No. Description
(1) UCH
(2) Passenger compartment fuse and relay
box
(3) Sunroof switch
(4) Sunroof moving panel
(5) Sunroof motor - computer
119507
119504
121391
Page 143 of 241
88A-7
WIRING HARNESS
Front left-hand wiring: Removal - Refitting
LEFT-HAND DRIVE
88A
-the horn connector (13) ,
-the windscreen washer pump connector (14) ,
-the front left-hand side light connector (15) ,
-the front left-hand headlight connector (16) ,
-the front left-hand indicator connector (17) ,
-the headlight beam adjustment motor connectors
(18) ,
-the front right-hand wheel speed sensor connector
(19) ,
-the hydraulic brake unit connector (20) ,
-the injection computer connector (21) ,
-the front left-hand wheel speed sensor connector
(22) ,
-the front left-hand wiring/passenger compartment
wiring connectors (23) ,
-the clutch pedal position sensor connector (24) ,
-the STOP warning light switch connector (25) ,
-the acceleration pedal potentiometer connector
(26) .
aDisconnect the regulated additional heater connec-
tor (27) .
aRemove the additional heater earth wiring nut (28) .
aDisconnect the gearbox pump assembly relay con-
nector (29) .
aRemove:
-the earth wiring nut on the front right-hand side
member (30) ,
-the earth wiring nut on the front left-hand side
member (31) ,
-the earth wiring nut on the body (32) ,
-the hydraulic brake unit earth wiring nut (33) ,
-the earth wiring nut on the negative battery terminal
(34) ,
-the earth wiring nut on the bodywork (35) ,-the front windscreen wiper mechanism (see 85A,
Wiping - Washing, Windscreen wiper mecha-
nism: Removal - Refitting, page 85A-10) .
aUnclip:
-the section of wiring from the bulkhead,
-the section of wiring on the front bumper cross
member,
-the section of wiring from the windscreen washer
reservoir
-the section of wiring from the dashboard cross
member.
aUnclip the front left-hand wiring from the bulkhead.
aRemove the front left-hand wiring through the engi-
ne compartment.
REFITTING
I - REFITTING PREPARATIONS OPERATION
aIf replacing with a complete wiring harness, lock the
unused connectors (see Connectors: Sealing and
locking) (Technical Note 6015A, 88A, Wiring).
II - REFITTING OPERATION FOR PART
CONCERNED
aPosition the front left-hand wiring across the bulk-
head.
aClip the front left-hand wiring onto the bulkhead.
aConnect:
-the acceleration pedal potentiometer connector,
-the STOP warning light switch connector,
-the clutch pedal position sensor connector ,
-the front left-hand wiring/passenger compartment
wiring connectors,
-the injection computer connector,
-the front left-hand wheel speed sensor connector,
-the hydraulic brake unit connector,
-the front right-hand wheel speed sensor connector,
-the headlight beam adjustment motor connectors, CLIMATE CONTROL
JH1
WARNING
To prevent any damage during the removal ope-
ration, check that the wiring is free from its moun-
tings (retaining clip, plastic clip, adhesive tape,
connector, etc.).
Page 144 of 241
88A-8
WIRING HARNESS
Front left-hand wiring: Removal - Refitting
LEFT-HAND DRIVE
88A
-the front left-hand indicator connector,
-the front left-hand headlight connector,
-the front left-hand side light connector,
-the windscreen washer pump connector,
-the horn connector,
-the front right-hand side light connector,
-the front right-hand headlight connector,
-the front right-hand indicator connector.
aConnect the regulated additional heater connector.
aRefit the additional heater earth wiring nut.
aConnect the gearbox pump assembly relay connec-
tor.
aRefit:
-the windscreen wiper mechanism (see 85A, Wi-
ping - Washing, Windscreen wiper mechanism:
Removal - Refitting, page 85A-10) ,
-the earth wiring nut on the bodywork,
-the earth wiring nut on the negative battery termi-
nal,
-the hydraulic brake unit earth wiring nut,
-the earth wiring nut on the body,
-the earth wiring nut on the front left-hand side
member,
-the earth wiring nut on the front right-hand side
member,
aClip:
-the section of wiring onto the dashboard cross
member,
-the section of wiring onto the windscreen washer
reservoir
-the section of wiring onto the front bumper cross
member,
-the section of wiring onto the bulkhead.
aRefit the engine compartment connection unit nuts.aClip on:
-the fuse holders,
-the front left-hand wiring/engine harness connec-
tor.
aConnect the front left-hand wiring/engine harness
connector.
aRefit:
-the engine compartment connection unit supply wi-
ring nut,
-the fuses.
aClip on the engine compartment connection unit
board.
III - FINAL OPERATION
aRefit:
-the cover from the engine compartment connection
unit,
-the bolts.
aConnect the cruise control switch connector.
aRefit the dashboard lower trim.
aClip the glovebox in position.
aRefit:
-the left-hand suspended engine mounting (see
Left-hand suspended engine mounting: Remo-
val - Refitting) (MR 411, 19D, Engine mounting),
-the brake servo (see Brake servo: Removal - Re-
fitting) (MR 411, 37A, Mechanical component con-
trols),
-the master cylinder (see Master cylinder: Remo-
val - Refitting) (MR 411, 37A, Mechanical compo-
nent controls),
-the side indicators (see 80B, Headlights, Side in-
dicator: Removal - Refitting, page 80B-13) ,
-the front bumper (see Front bumper: Removal -
Refitting) (MR 412, 55A, Exterior protection), CLIMATE CONTROL
JH1
WARNING
To prevent damage to the wiring har ness when
refitting, obser ve the original routing.
CRUISE CONTROL
Page 174 of 241
88A-38
WIRING HARNESS
Engine wiring: Removal - Refitting
EQ UIPMENT LEVEL SPORT
88A
-the air temperature sensor (5) ,
-the coolant circuit pressure sensor (6) ,
-the alternator (7) ,
-the air conditioning compressor (8) ,
-the upstream oxygen sensor (9) ,
-the pinking sensor (10) ,
-the oil pressure sensor (11) ,
-the ignition coils (12) ,
-the engine wiring/injection wiring connector (R37)
(13) ,
-the coolant temperature sensor (14) ,
-the petrol injection computer (15) ,
-the engine fuse and relay box (16) ,
-the cooling fan assembly (17) ,
-the air conditioning fan assembly resistors (18) .
a
aRemove:
-the starter supply terminal nuts (19) ,
-the wiring nut on the alternator (20) ,
-the earth cable nuts on the front left-hand side
member (21) ,
-the earth cable bolt on the gearbox (22) ,
-the bolts of the engine wiring channel (23) ,
-the engine wiring support nut on the left-hand sus-
pended engine mounting (24) .
aUnclip:
-the distribution unit wiring section,
-the gearbox wiring section.aDisconnect the connectors from:
-the throttle valve (25) ,
-the downstream oxygen sensor (26) ,
-the crankshaft position sensor (27) ,
-the air inlet pressure sensor (28) ,
-the fuel vapour absorber bleed solenoid valve (29) ,
-the reverse gear switch (30) . Note:
Before removing the earth terminal, mark its
position using a indelible pencil by drawing a
line on the earth terminal and on the gearbox
housing.
When reassembling, improper positioning of the
earth ter minal on the gearbox casing could result
in damage to the earth terminal or earth wiring.
140656