alternator belt RENAULT TWINGO 2009 2.G Engine And Peripherals Owner's Manual
[x] Cancel search | Manufacturer: RENAULT, Model Year: 2009, Model line: TWINGO, Model: RENAULT TWINGO 2009 2.GPages: 652
Page 443 of 652
16A-4
STARTING - CHARGING
Alternator: Removal - Refitting
D4F or D7F, and AIR CONDITIONING
16A
REMOVAL
I - REMOVAL PREPARATION OPERATION
aPosition the vehicle on a two-post lift (see Vehicle:
Towing and lifting) (02A, Lifting equipment).
aDisconnect the battery (see Battery: Removal - Re-
fitting) (80A, Battery).
aRemove:
-the front right-hand wheel (see Wheel: Removal -
Refitting) (35A, Wheels and tyres),
-the front right-hand wheel arch liner (see Front
wheel arch liner: Removal - Refitting) (55A, Ex-
terior protection),
-the accessories belt (see 11A, Top and front of
engine, Accessories belt: Removal - Refitting,
page 11A-3) .
aRemove the air filter unit (see 12A, Fuel mixture,
Air filter unit: Removal - Refitting, page 12A-13) .
aRemove the inlet distributor (see 12A, Fuel mixture,
Inlet distributor: Removal - Refitting, page 12A-
29) .II - OPERATION FOR REMOVAL OF PART
CONCERNED
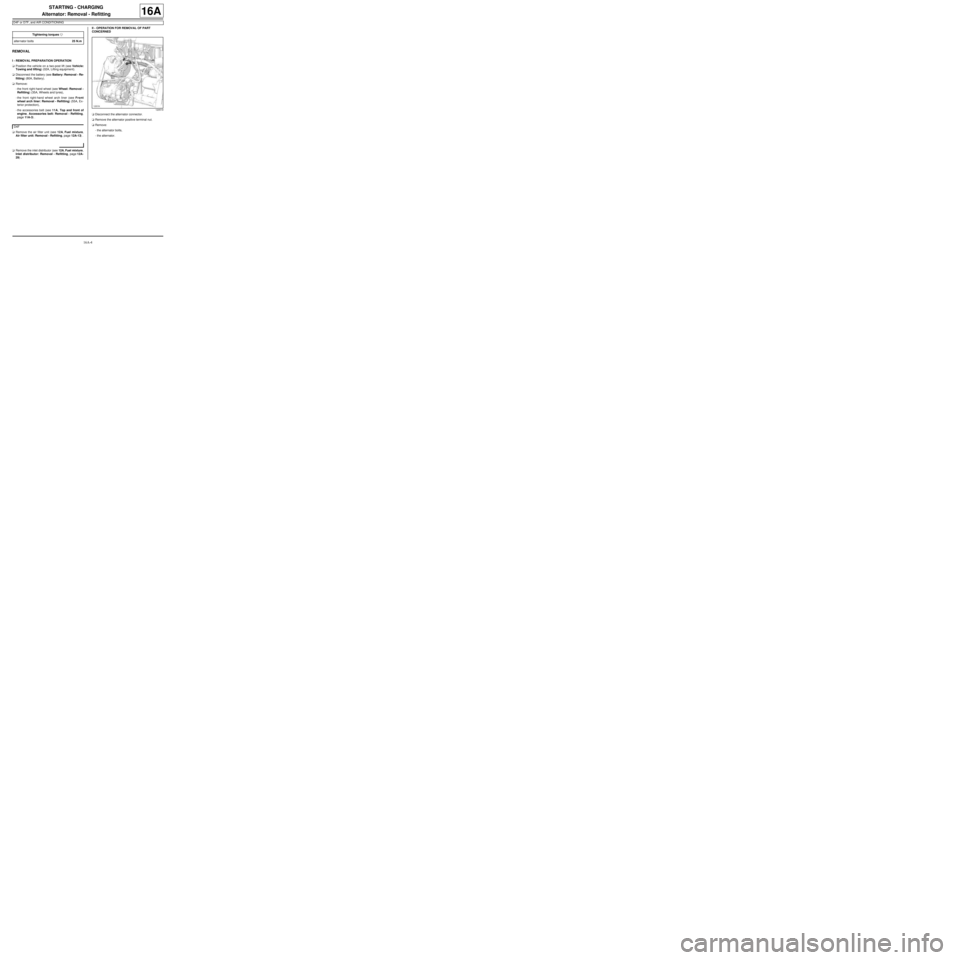
aDisconnect the alternator connector.
aRemove the alternator positive terminal nut.
aRemove:
-the alternator bolts,
-the alternator. Tightening torquesm
alter nator bolts25 N.m
D4F
120519
Page 444 of 652
16A-5
STARTING - CHARGING
Alternator: Removal - Refitting
D4F or D7F, and AIR CONDITIONING
16A
REFITTING
I - REFITTING PREPARATION OPERATION
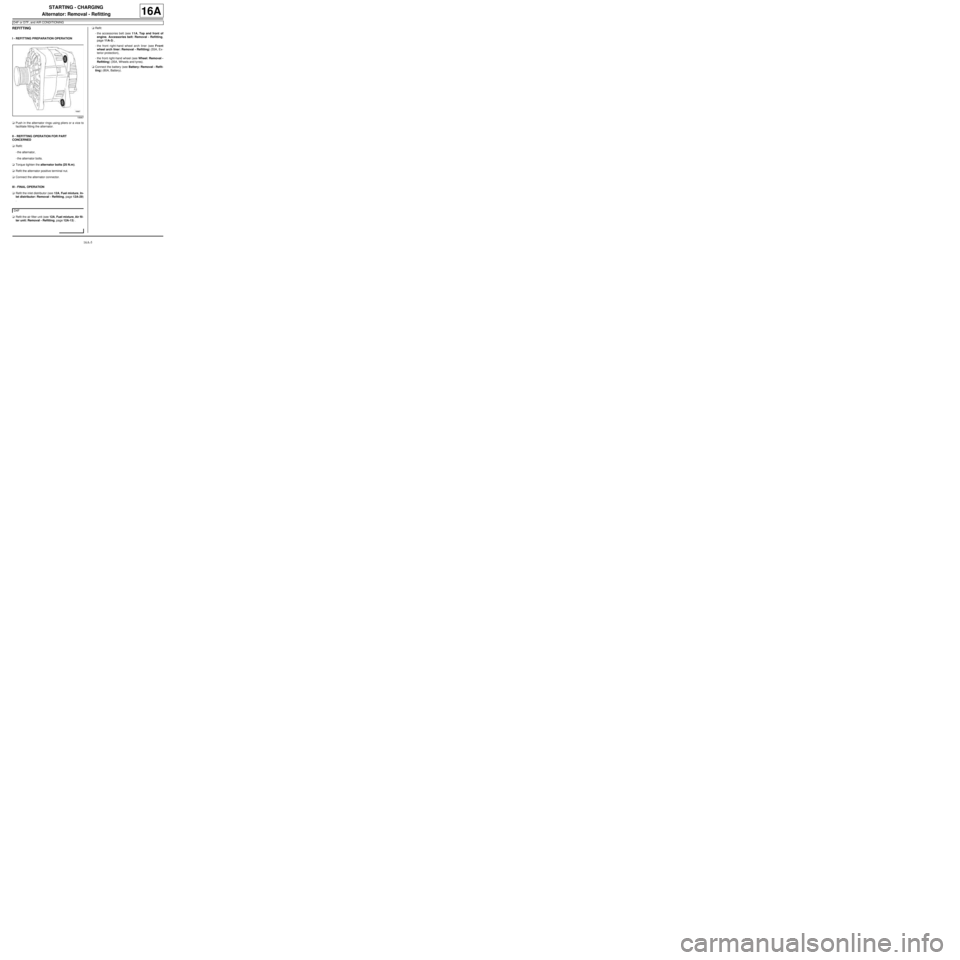
aPush in the alternator rings using pliers or a vice to
facilitate fitting the alternator.
II - REFITTING OPERATION FOR PART
CONCERNED
aRefit:
-the alternator,
-the alternator bolts.
aTorque tighten the alternator bolts (25 N.m).
aRefit the alternator positive terminal nut.
aConnect the alternator connector.
III - FINAL OPERATION
aRefit the inlet distributor (see 12A, Fuel mixture, In-
let distributor: Removal - Refitting, page 12A-29)
.
aRefit the air filter unit (see 12A, Fuel mixture, Air fil-
ter unit: Removal - Refitting, page 12A-13) .aRefit:
-the accessories belt (see 11A, Top and front of
engine, Accessories belt: Removal - Refitting,
page 11A-3) ,
-the front right-hand wheel arch liner (see Front
wheel arch liner: Removal - Refitting) (55A, Ex-
terior protection),
-the front right-hand wheel (see Wheel: Removal -
Refitting) (35A, Wheels and tyres).
aConnect the battery (see Battery: Removal - Refit-
ting) (80A, Battery).
18987
D4F
Page 445 of 652
16A-6
STARTING - CHARGING
Alternator: Removal - Refitting
K9K
16A
aFor removing and refitting the alternator (see 11A,
Top and front of engine, Accessories belt: Re-
moval - Refitting, page 11A-3) .
aFor removing and refitting the alternator (see 11A,
Top and front of engine, Accessories belt: Re-
moval - Refitting, page 11A-3) . AIR CONDITIONING or CLIMATE CONTROL
STANDARD HEATING
Page 446 of 652
16A-7
STARTING - CHARGING
Alternator: Removal - Refitting
K4M
16A
REMOVAL
I - REMOVAL PREPARATION OPERATION
aPosition the vehicle on a two-post lift (see Vehicle:
Towing and lifting) (02A, Lifting equipment).
aDisconnect the battery (see Battery: Removal - Re-
fitting) (80A, Battery).
aRemove:
-the engine undertray,
-the front right-hand wheel (see Wheel: Removal -
Refitting) (35A, Wheels and tyres),
-the front right-hand wheel arch liner (see Front
wheel arch liner: Removal - Refitting) (55A, Ex-
terior protection),
-the front bumper (see Front bumper: Removal -
Refitting) (55A, Exterior protection),
-the headlights (see Halogen headlight: Removal
- Refitting) (80B, Headlights),
-the bonnet catch (see Bonnet lock: Removal -
Refitting) (52A, Non-side opening element mecha-
nisms),
-the front upper cross member (see Front upper
cross member: Removal - Refitting) (42A, Upper
front structure),
-the accessories belt (see 11A, Top and front of
engine, Accessories belt: Removal - Refitting,
page 11A-3) .II - REMOVAL OPERATION
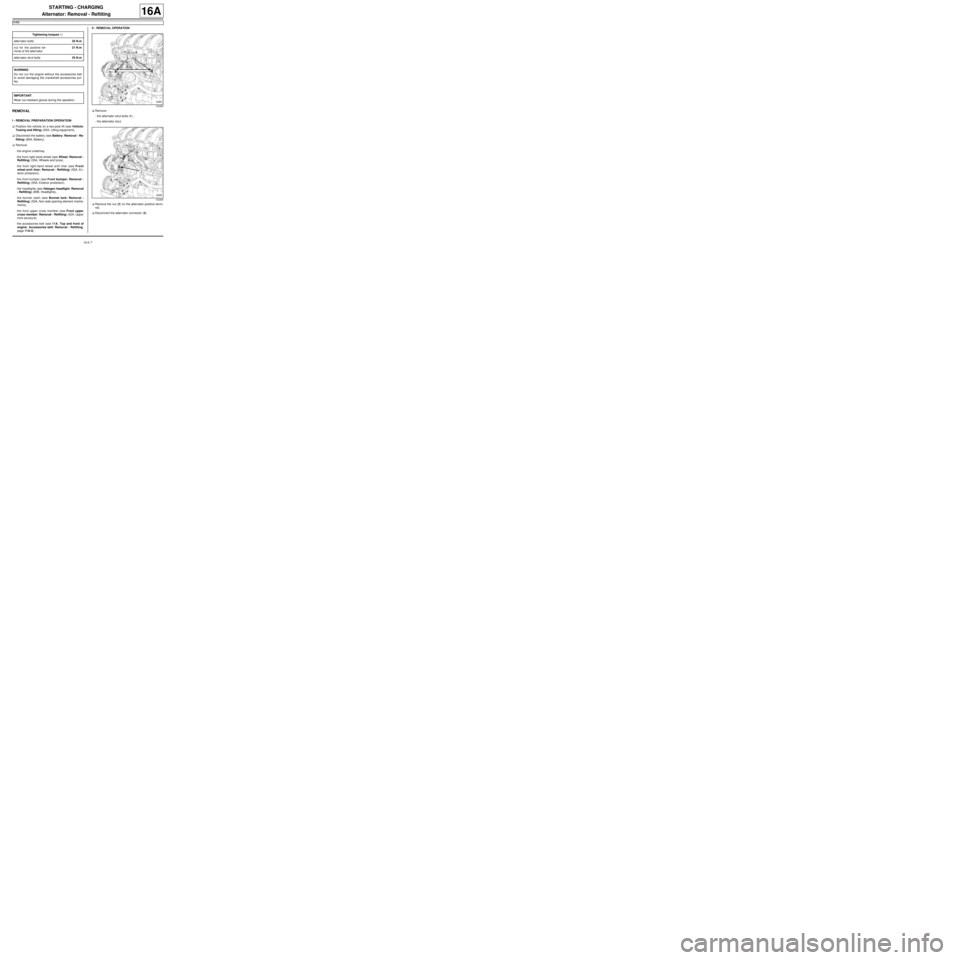
aRemove:
-the alternator strut bolts (1) ,
-the alternator strut.
aRemove the nut (2) on the alternator positive termi-
nal.
aDisconnect the alternator connector (3) . Tightening torquesm
alter nator bolts25 N.m
nut for the positive ter-
minal of the alternator21 N.m
alter nator strut bolts25 N.m
WARNING
Do not r un the engine without the accessories belt
to avoid damaging the crankshaft accessories pul-
ley.
IMPORTANT
Wear cut-resistant gloves during the operation.
132363
132365
Page 448 of 652
16A-9
STARTING - CHARGING
Alternator: Removal - Refitting
K4M
16A
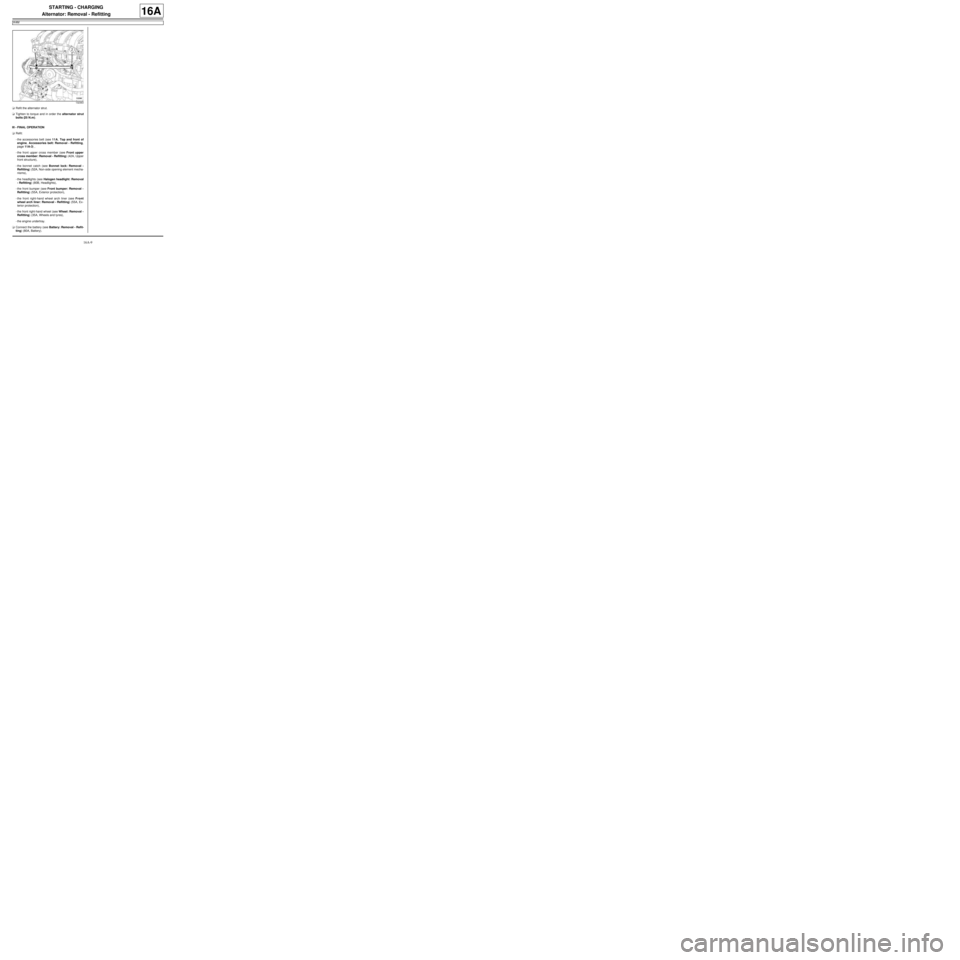
aRefit the alternator strut.
aTighten to torque and in order the alternator strut
bolts (25 N.m).
III - FINAL OPERATION
aRefit:
-the accessories belt (see 11A, Top and front of
engine, Accessories belt: Removal - Refitting,
page 11A-3) ,
-the front upper cross member (see Front upper
cross member: Removal - Refitting) (42A, Upper
front structure),
-the bonnet catch (see Bonnet lock: Removal -
Refitting) (52A, Non-side opening element mecha-
nisms),
-the headlights (see Halogen headlight: Removal
- Refitting) (80B, Headlights),
-the front bumper (see Front bumper: Removal -
Refitting) (55A, Exterior protection),
-the front right-hand wheel arch liner (see Front
wheel arch liner: Removal - Refitting) (55A, Ex-
terior protection),
-the front right-hand wheel (see Wheel: Removal -
Refitting) (35A, Wheels and tyres),
-the engine undertray.
aConnect the battery (see Battery: Removal - Refit-
ting) (80A, Battery).
132363