Injector RENAULT TWINGO 2009 2.G Engine And Peripherals Repair Manual
[x] Cancel search | Manufacturer: RENAULT, Model Year: 2009, Model line: TWINGO, Model: RENAULT TWINGO 2009 2.GPages: 652
Page 414 of 652
13B-53
DIESEL INJECTION
Accelerometer: Removal - Refitting
K9K
13B
REMOVAL
I - REMOVAL PREPARATION OPERATION
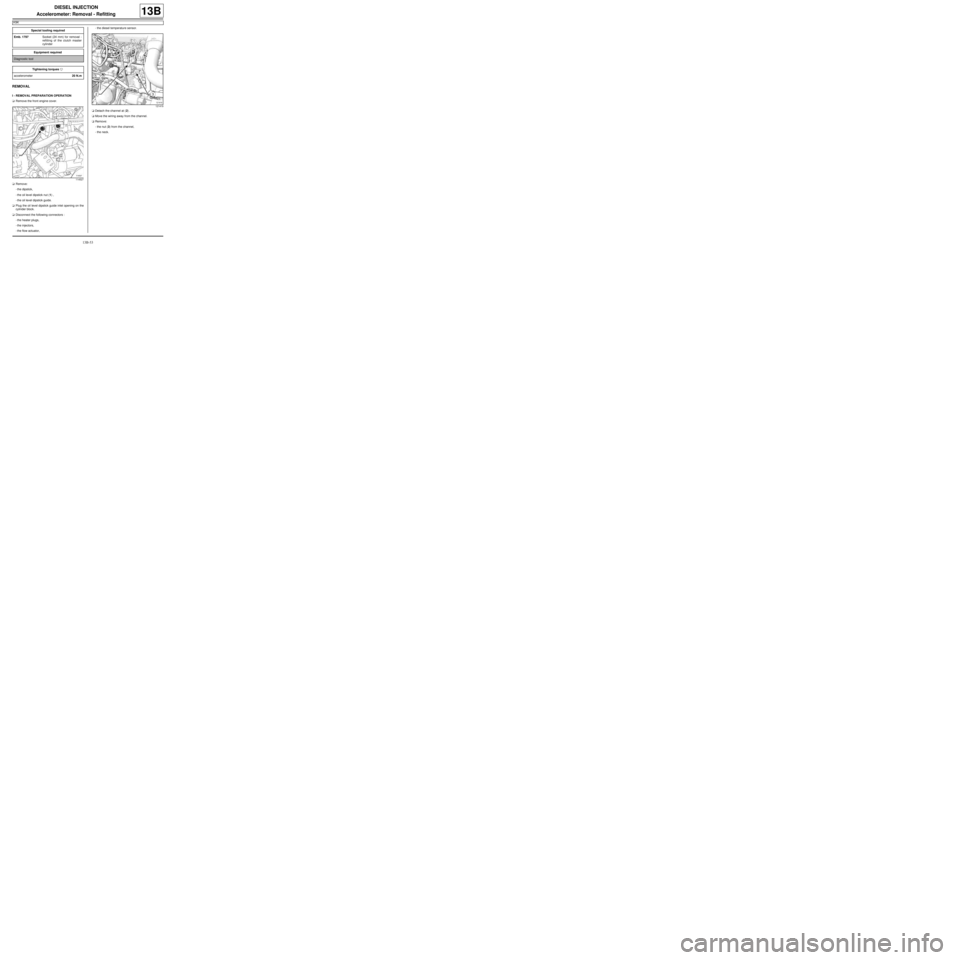
aRemove the front engine cover.
aRemove:
-the dipstick,
-the oil level dipstick nut (1) ,
-the oil level dipstick guide.
aPlug the oil level dipstick guide inlet opening on the
cylinder block.
aDisconnect the following connectors :
-the heater plugs,
-the injectors,
-the flow actuator,-the diesel temperature sensor.
aDetach the channel at (2) .
aMove the wiring away from the channel.
aRemove:
-the nut (3) from the channel,
-the neck. Special tooling required
Emb. 1797Socket (24 mm) for removal -
refitting of the clutch master
cylinder
Equipment required
Diagnostic tool
Tightening torquesm
accelerometer20 N.m
114527
121419
Page 415 of 652
13B-54
DIESEL INJECTION
Accelerometer: Removal - Refitting
K9K
13B
II - OPERATION FOR REMOVAL OF PART
CONCERNED
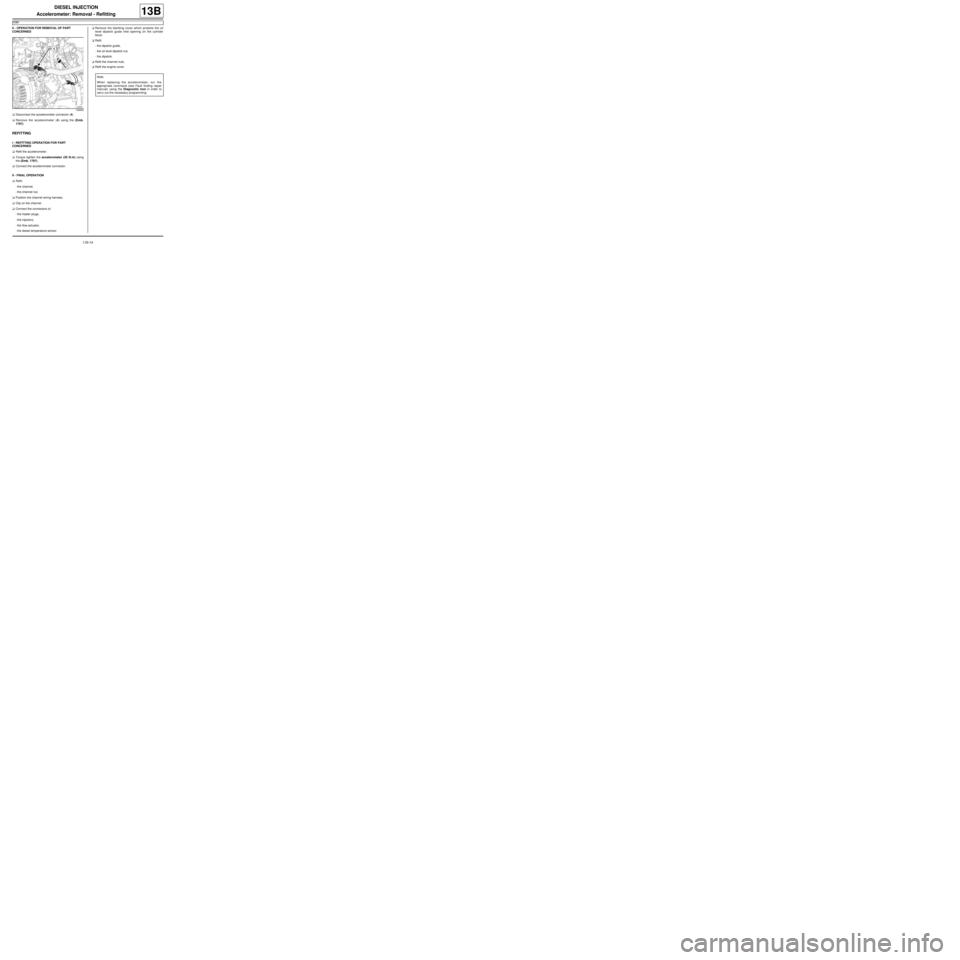
aDisconnect the accelerometer connector (4) .
aRemove the accelerometer (4) using the (Emb.
1797).
REFITTING
I - REFITTING OPERATION FOR PART
CONCERNED
aRefit the accelerometer.
aTorque tighten the accelerometer (20 N.m) using
the (Emb. 1797).
aConnect the accelerometer connector.
II - FINAL OPERATION
aRefit:
-the channel,
-the channel nut.
aPosition the channel wiring harness.
aClip on the channel.
aConnect the connectors of:
-the heater plugs,
-the injectors,
-the flow actuator,
-the diesel temperature sensor.aRemove the blanking cover which protects the oil
level dipstick guide inlet opening on the cylinder
block.
aRefit:
-the dipstick guide,
-the oil level dipstick nut,
-the dipstick.
aRefit the channel nuts.
aRefit the engine cover.
109939
Note:
When replacing the accelerometer, run the
appropriate command (see Fault finding repair
manual) using the Diagnostic tool in order to
carr y out the necessary programming.
Page 441 of 652
16A-2
STARTING - CHARGING
Alternator: Removal - Refitting
D4F or D7F, and STANDARD HEATING
16A
aRemove:
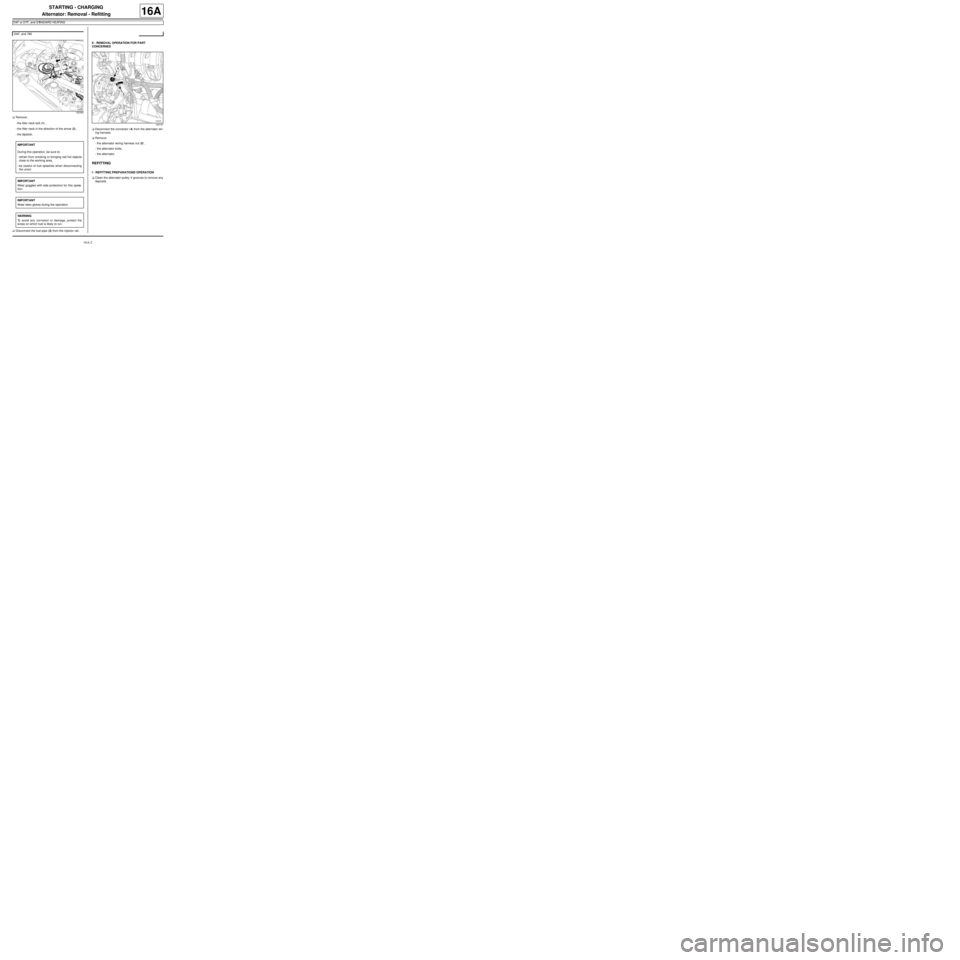
-the filler neck bolt (1) ,
-the filler neck in the direction of the arrow (2) ,
-the dipstick.
aDisconnect the fuel pipe (3) from the injector rail.II - REMOVAL OPERATION FOR PART
CONCERNED
aDisconnect the connector (4) from the alternator wir-
ing harness.
aRemove:
-the alternator wiring harness nut (5) ,
-the alternator bolts,
-the alternator.
REFITTING
I - REFITTING PREPARATIONS OPERATION
aClean the alternator pulley V-grooves to remove any
deposits. D4F, and 780
122392
IMPORTANT
During this operation, be sure to:
-refrain from smoking or bringing red hot objects
close to the working area,
-be careful of fuel splashes when disconnecting
the union.
IMPORTANT
Wear goggles with side protectors for this opera-
tion.
IMPORTANT
Wear latex gloves during the operation.
WARNING
To avoid any corrosion or damage, protect the
areas on which fuel is likely to run.
109727
Page 442 of 652
16A-3
STARTING - CHARGING
Alternator: Removal - Refitting
D4F or D7F, and STANDARD HEATING
16A
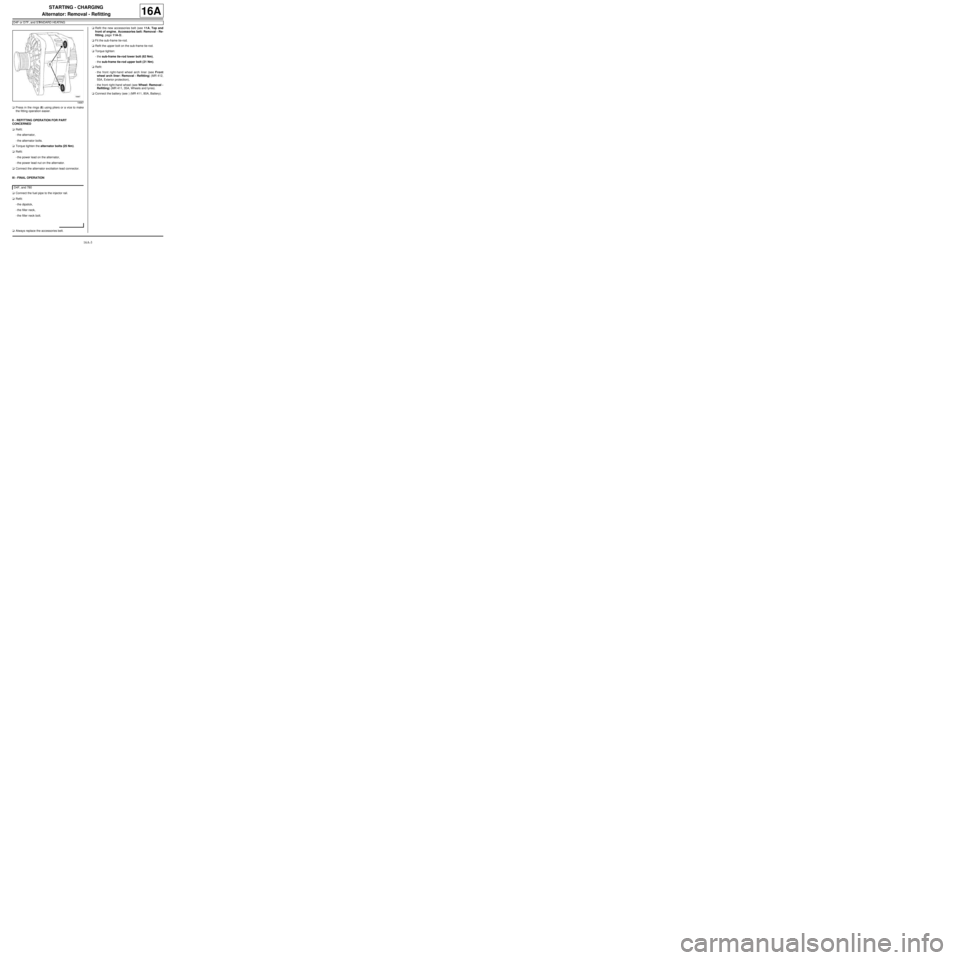
aPress in the rings (6) using pliers or a vice to make
the fitting operation easier.
II - REFITTING OPERATION FOR PART
CONCERNED
aRefit:
-the alternator,
-the alternator bolts.
aTorque tighten the alternator bolts (25 Nm).
aRefit:
-the power lead on the alternator,
-the power lead nut on the alternator.
aConnect the alternator excitation lead connector.
III - FINAL OPERATION
aConnect the fuel pipe to the injector rail.
aRefit:
-the dipstick,
-the filler neck,
-the filler neck bolt.
aAlways replace the accessories belt.aRefit the new accessories belt (see 11A, Top and
front of engine, Accessories belt: Removal - Re-
fitting, page 11A-3) .
aFit the sub-frame tie-rod.
aRefit the upper bolt on the sub-frame tie-rod.
aTorque tighten:
-the sub-frame tie-rod lower bolt (62 Nm),
-the sub-frame tie-rod upper bolt (21 Nm).
aRefit:
-the front right-hand wheel arch liner (see Front
wheel arch liner: Removal - Refitting) (MR 412,
55A, Exterior protection),
-the front right-hand wheel (see Wheel: Removal -
Refitting) (MR 411, 35A, Wheels and tyres).
aConnect the battery (see ) (MR 411, 80A, Battery).
18987
D4F, and 780
Page 484 of 652
17B-9
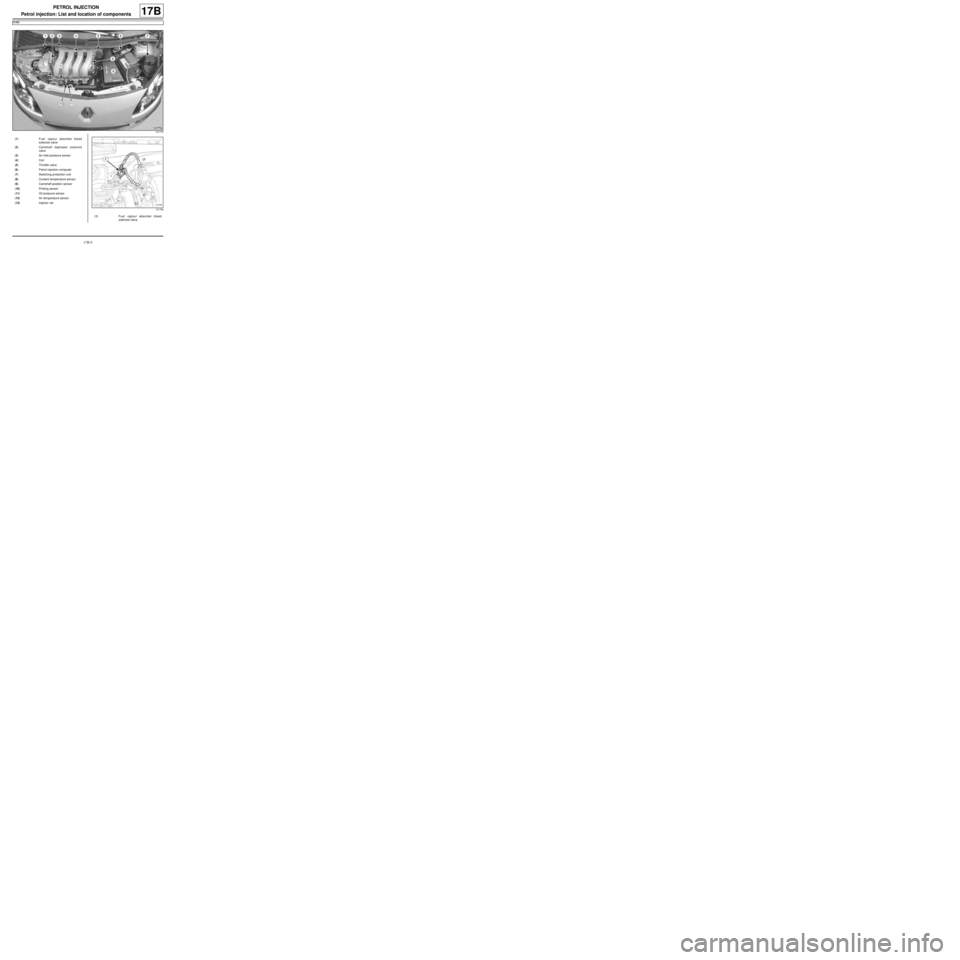
PETROL INJECTION
Petrol injection: List and location of components
K4M
17B
131776
(1) Fuel vapour absorber bleed
solenoid valve
(2) Camshaft dephaser solenoid
valve
(3) Air inlet pressure sensor
(4) Coil
(5) Throttle valve
(6) Petrol injection computer
(7) Switching protection unit
(8) Coolant temper ature sensor
(9) Camshaft position sensor
(10) Pinking sensor
(11) Oil pressure sensor
(12) Air temperature sensor
(13) Injector rail
131766
(1) Fuel vapour absorber bleed
solenoid valve
Page 487 of 652

17B-12
PETROL INJECTION
Petrol injection: List and location of components
K4M
17B
132390
(13) Injector rail
132539
(14) upstream oxygen sensor
132378
(15) Downstream oxygen sensor
132445
(16) Crankshaft position sensor
Page 502 of 652
17B-27
PETROL INJECTION
Injector rail - Injectors: Removal - Refitting
D4F, and 772
17B
PARTS AND CONSUMABLES FOR THE
REPAIR WORK
aPièces à remplacer systématiquement :
-injector O-ring's,
-injector retaining clips.
REMOVAL
I - REMOVAL PREPARATION OPERATION
aDisconnect the battery (see Battery: Removal - Re-
fitting) ).
aRemove:
-the air filter box (see 12A, Fuel mixture, Air filter
unit: Removal - Refitting, page 12A-13) ,
-the intake distributor (see 12A, Fuel mixture, Inlet
distributor: Removal - Refitting, page 12A-29) .II - OPERATION FOR REMOVAL OF PART
CONCERNED
On the workbench
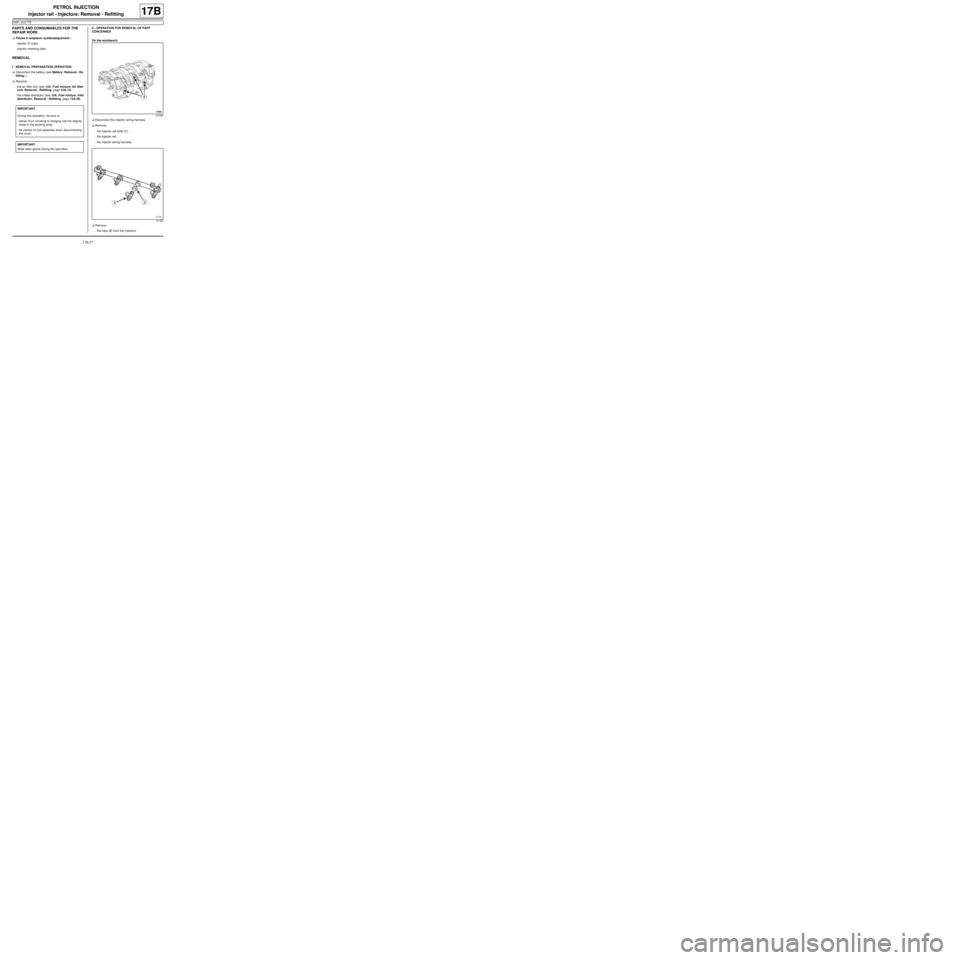
aDisconnect the injector wiring harness.
aRemove:
-the injector rail bolts (1) ,
-the injector rail,
-the injector wiring harness.
aRemove:
-the clips (2) from the injectors, IMPORTANT
During this operation, be sure to:
-refrain from smoking or bringing red hot objects
close to the working area,
-be careful of fuel splashes when disconnecting
the union.
IMPORTANT
Wear latex gloves during the operation.
107885
101492
Page 503 of 652
17B-28
PETROL INJECTION
Injector rail - Injectors: Removal - Refitting
D4F, and 772
17B
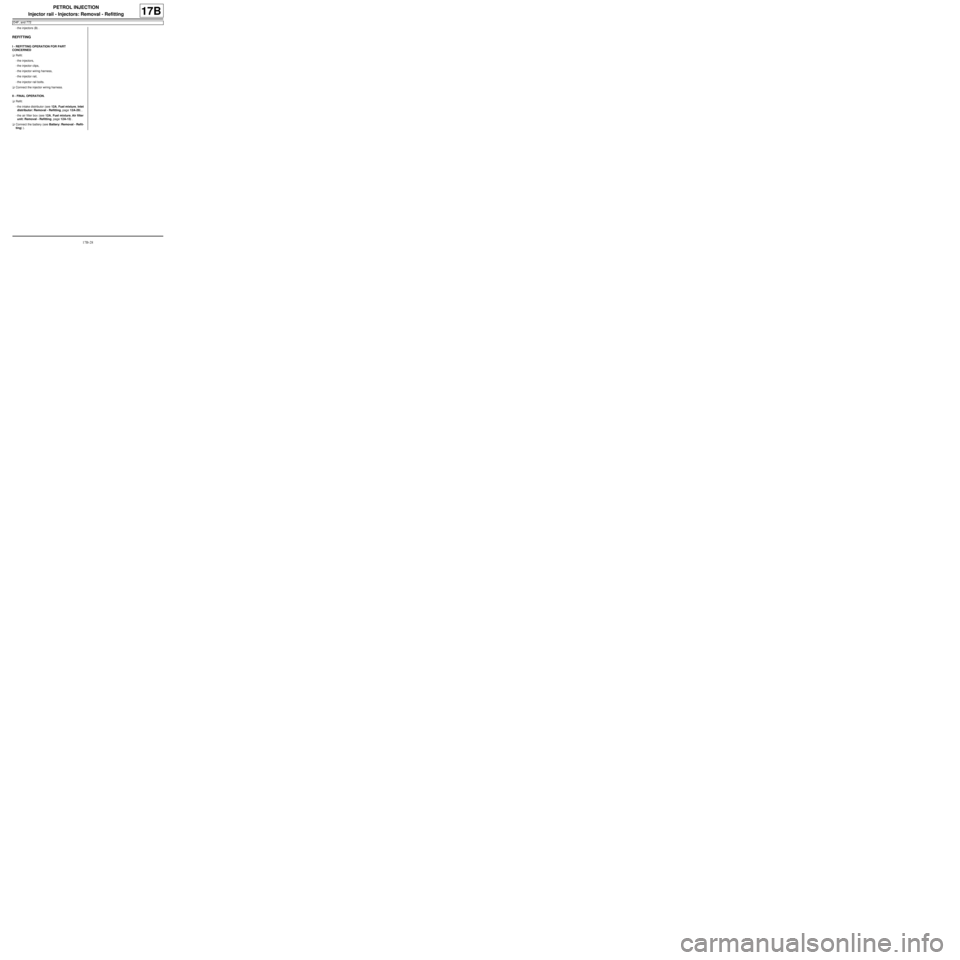
-the injectors (3) .
REFITTING
I - REFITTING OPERATION FOR PART
CONCERNED
aRefit:
-the injectors,
-the injector clips,
-the injector wiring harness,
-the injector rail,
-the injector rail bolts.
aConnect the injector wiring harness.
II - FINAL OPERATION.
aRefit:
-the intake distributor (see 12A, Fuel mixture, Inlet
distributor: Removal - Refitting, page 12A-29) ,
-the air filter box (see 12A, Fuel mixture, Air filter
unit: Removal - Refitting, page 12A-13) .
aConnect the battery (see Battery: Removal - Refit-
ting) ).
Page 504 of 652
17B-29
PETROL INJECTION
Injector rail - Injectors: Removal - Refitting
D4F, and 780 or 782
17B
REMOVAL
I - REMOVAL PREPARATION OPERATION
aDisconnect the battery (see ) (80A, Battery).
a
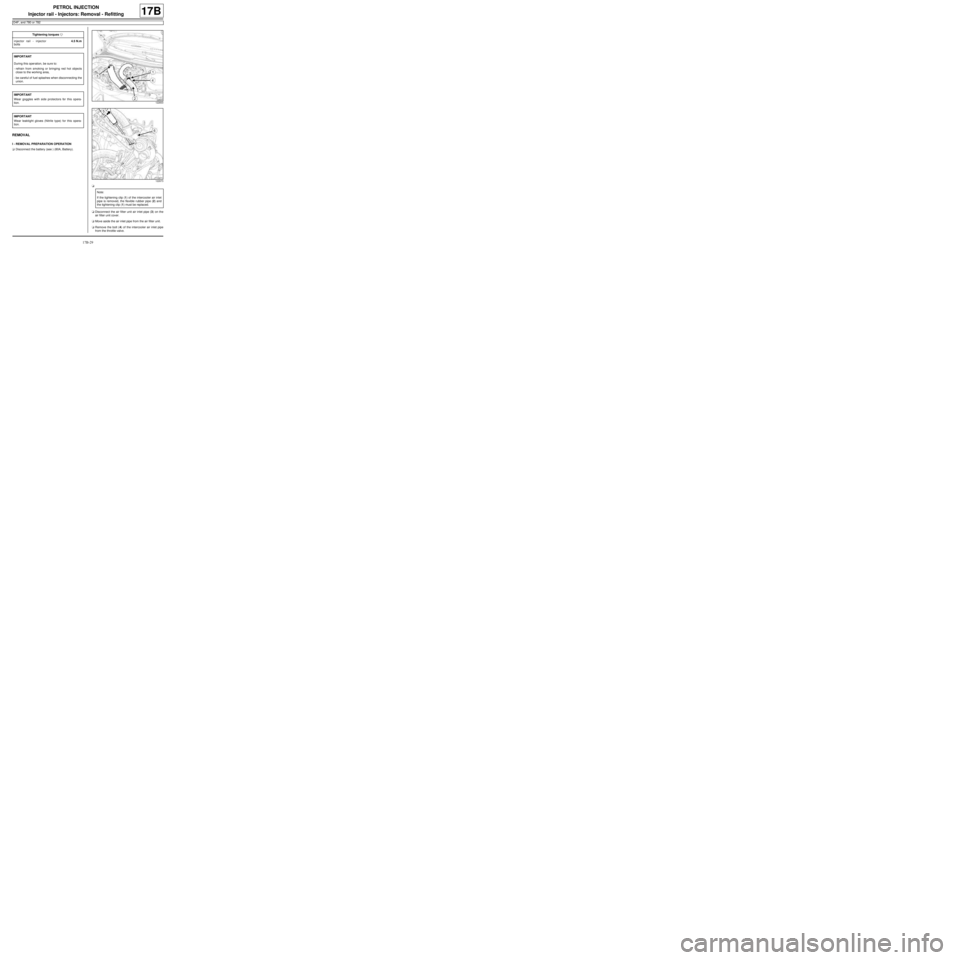
aDisconnect the air filter unit air inlet pipe (3) on the
air filter unit cover.
aMove aside the air inlet pipe from the air filter unit.
aRemove the bolt (4) of the intercooler air inlet pipe
from the throttle valve. Tightening torquesm
injector rail - injector
bolts4.5 N.m
IMPORTANT
During this oper ation, be sure to:
-refrain from smoking or bringing red hot objects
close to the working area,
-be careful of fuel splashes when disconnecting the
union.
IMPORTANT
Wear goggles with side protectors for this opera-
tion.
IMPORTANT
Wear leaktight gloves (Nitrile type) for this opera-
tion.
122833
122673
Note:
If the tightening clip (1) of the intercooler air inlet
pipe is removed, the flexible rubber pipe (2) and
the tightening clip (1) must be replaced.
Page 505 of 652

17B-30
PETROL INJECTION
Injector rail - Injectors: Removal - Refitting
D4F, and 780 or 782
17B
aUnclip the intercooler air inlet pipe from the turbo-
charger in the direction of the arrow (5) .
aDisconnect the intercooler air inlet pipe from the tur-
bocharger.
aMove aside the intercooler air inlet pipe.
aDisconnect the petrol vapour rebreathing pipe from:
-the inlet distributor (7) ,
-the air filter unit air outlet pipe (8) .
aUnclip the petrol vapour rebreathing pipe.
aRemove the petrol vapour rebreathing pipe.Note:
If the clip (6) is removed from the heat resistant
protector, the latter must be replaced.
122389