wiring diagram RENAULT TWINGO 2009 2.G Heating And Air Conditioning - Climate Control Workshop Manual
[x] Cancel search | Manufacturer: RENAULT, Model Year: 2009, Model line: TWINGO, Model: RENAULT TWINGO 2009 2.GPages: 99
Page 2 of 99
62B-2
MR-413-X44-62B000$046_eng.mif
V1
62B
CLIMATE CONTROL
Fault finding - Introduction
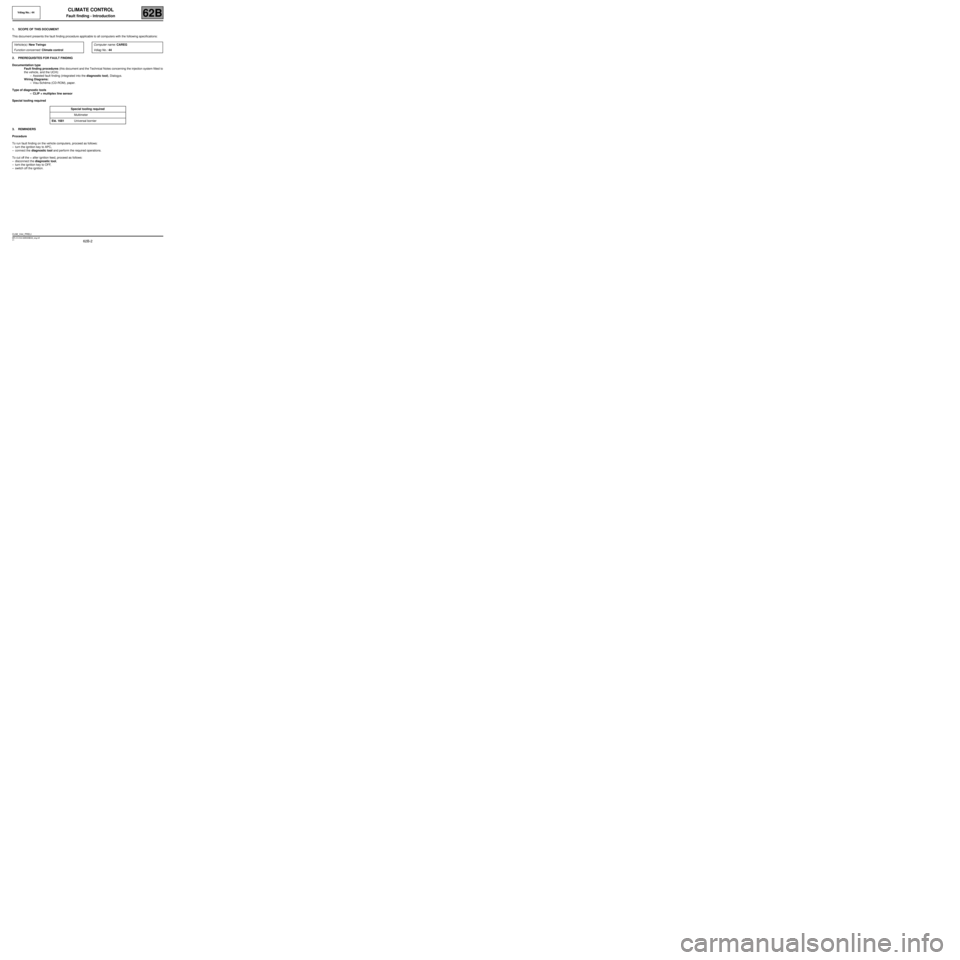
1. SCOPE OF THIS DOCUMENT
This document presents the fault finding procedure applicable to all computers with the following specifications:
2. PREREQUISITES FOR FAULT FINDING
Documentation type
Fault finding procedures (this document and the Technical Notes concerning the injection system fitted to
the vehicle, and the UCH):
–Assisted fault finding (integrated into the diagnostic tool), Dialogys.
Wiring Diagrams:
–Visu-Schéma (CD-ROM), paper.
Type of diagnostic tools
–CLIP + multiplex line sensor
Special tooling required
3. REMINDERS
Procedure
To run fault finding on the vehicle computers, proceed as follows:
–turn the ignition key to APC,
–connect the diagnostic tool and perform the required operations.
To cut off the + after ignition feed, proceed as follows:
–disconnect the diagnostic tool,
–turn the ignition key to OFF,
–switch off the ignition. Vehicle(s): New Twingo
Function concerned: Climate controlComputer name: CAREG
Vdiag No.: 44
Special tooling required
Multimeter
Elé. 1681 Universal bornier
CLIM_V44_PRELI
Vdiag No.: 44
MR-413-X44-62B000$046_eng.mif
Page 26 of 99
62B-26
MR-413-X44-62B000$414_eng.mif
V1
CLIMATE CONTROL
Fault finding - Interpretation of faults
Vdiag No.: 44
62B
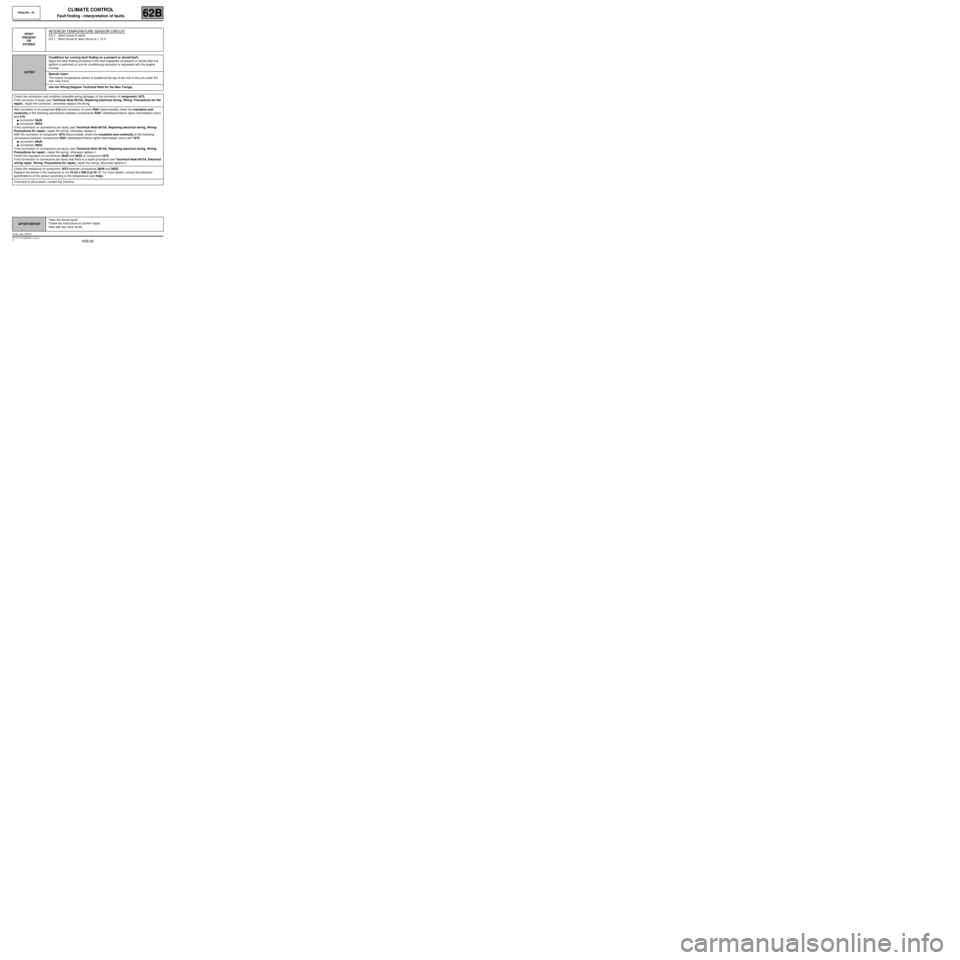
DF007
PRESENT
OR
STOREDINTERIOR TEMPERATURE SENSOR CIRCUIT
CC.0 : Short circuit to earth
CO.1 : Short circuit or open circuit to + 12 V
NOTESConditions for running fault finding on a present or stored fault:
Apply this fault finding procedure if the fault reappears as present or stored after the
ignition is switched on and air conditioning activation is requested with the engine
running.
Special notes:
The interior temperature sensor is located at the top of the roof in the unit under the
rear view mirror.
Use the Wiring Diagram Technical Note for the New Twingo.
Check the connection and condition (possible wiring damage) of the connector of component 1872.
If the connector is faulty (see Technical Note 6015A, Repairing electrical wiring, Wiring: Precautions for the
repair), repair the connector, otherwise replace the wiring.
With connector A of component 419 and connector of union R301 disconnected, check the insulation and
continuity of the following connections between components R301 (dashboard/interior lights intermediate union)
and 419.
●connection 38JN
●connection 38GZ
If the connection or connections are faulty (see Technical Note 6015A, Repairing electrical wiring, Wiring:
Precautions for repair), repair the wiring, otherwise replace it.
With the connector of component 1872 disconnected, check the insulation and continuity of the following
connections between components R301 (dashboard/interior lights intermediate union) and 1872.
●connection 38JN
●connection 38GZ
If the connection or connections are faulty (see Technical Note 6015A, Repairing electrical wiring, Wiring:
Precautions for repair), repair the wiring, otherwise replace it.
Check the insulation of connections 38JN and 38GZ of component 1872.
If the connection or connections are faulty and there is a repair procedure (see Technical Note 6015A, Electrical
wiring repair, Wiring: Precautions for repair), repair the wiring, otherwise replace it.
Check the resistance of component 1872 between connections 38JN and 38GZ.
Replace the sensor if the resistance is not 10 kΩΩ Ω Ω
± 500 ΩΩ Ω Ω
at 25 ˚C. For more details, consult the electrical
specifications of the sensor according to the temperature (see Help).
If the fault is still present, contact the Techline.
AFTER REPAIRClear the stored faults.
Follow the instructions to confirm repair.
Deal with any other faults.
CLIM_V44_DF007
Page 27 of 99
62B-27
MR-413-X44-62B000$414_eng.mif
V1
CLIMATE CONTROL
Fault finding - Interpretation of faults
Vdiag No.: 44
62B
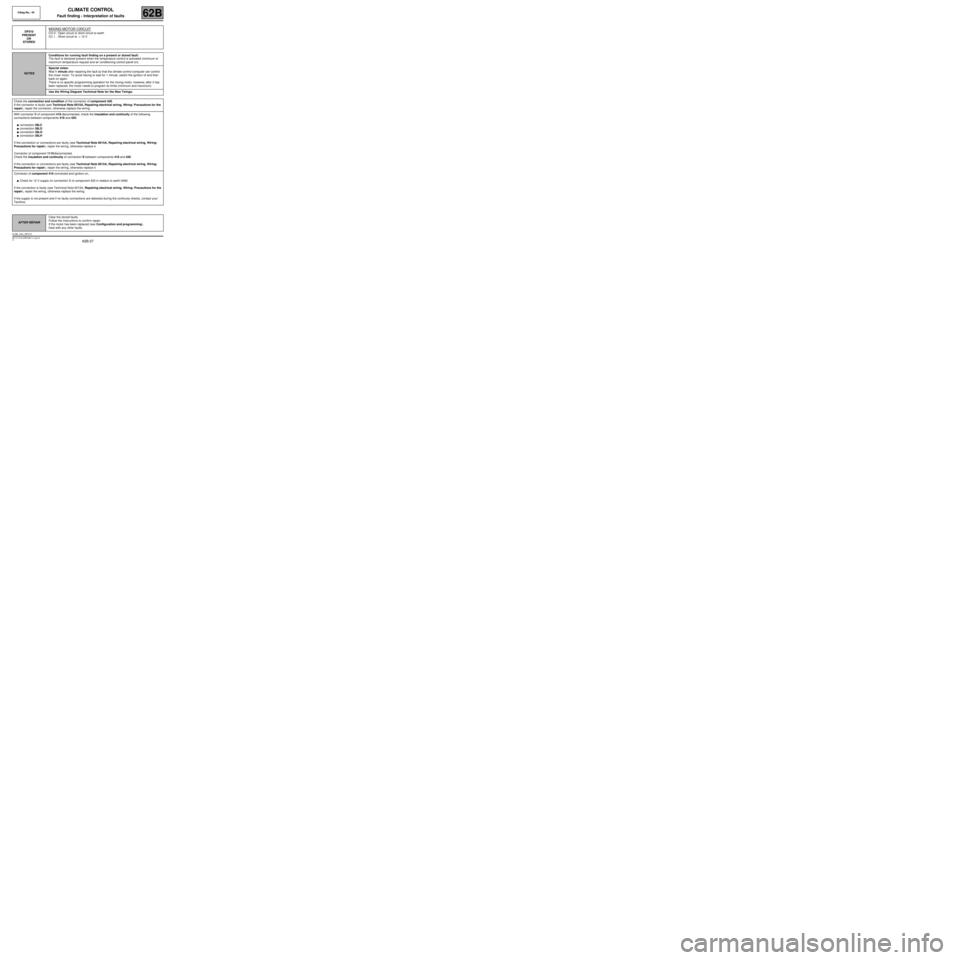
DF010
PRESENT
OR
STOREDMIXING MOTOR CIRCUIT
CO.0 : Open circuit or short circuit to earth
CC.1 : Short circuit to + 12 V
NOTESConditions for running fault finding on a present or stored fault:
The fault is declared present when the temperature control is activated (minimum or
maximum temperature request and air conditioning control panel on).
Special notes:
Wait 1 minute after repairing the fault so that the climate control computer can control
the mixer motor. To avoid having to wait for 1 minute, switch the ignition off and then
back on again.
There is no specific programming operation for the mixing motor, however, after it has
been replaced, the motor needs to program its limits (minimum and maximum).
Use the Wiring Diagram Technical Note for the New Twingo.
Check the connection and condition of the connector of component 420.
If the connector is faulty (see Technical Note 6015A, Repairing electrical wiring, Wiring: Precautions for the
repair), repair the connector, otherwise replace the wiring.
With connector B of component 419 disconnected, check the insulation and continuity of the following
connections between components 419 and 420:
●connection 38LC
●connection 38LD
●connection 38LG
●connection 38LH
If the connection or connections are faulty (see Technical Note 6015A, Repairing electrical wiring, Wiring:
Precautions for repair), repair the wiring, otherwise replace it.
Connector of component 1115 disconnected,
Check the insulation and continuity of connection S between components 419 and 420.
If the connection or connections are faulty (see Technical Note 6015A, Repairing electrical wiring, Wiring:
Precautions for repair), repair the wiring, otherwise replace it.
Connector of component 419 connected and ignition on,
●Check for 12 V supply on connection S of component 420 in relation to earth NAM.
If the connection is faulty (see Technical Note 6015A, Repairing electrical wiring, Wiring: Precautions for the
repair), repair the wiring, otherwise replace the wiring.
If the supply is not present and if no faulty connections are detected during the continuity checks, contact your
Techline.
AFTER REPAIRClear the stored faults.
Follow the instructions to confirm repair.
If the motor has been replaced (see Configuration and programming).
Deal with any other faults.
CLIM_V44_DF010
Page 29 of 99
62B-29
MR-413-X44-62B000$414_eng.mif
V1
CLIMATE CONTROL
Fault finding - Interpretation of faults
Vdiag No.: 44
62B
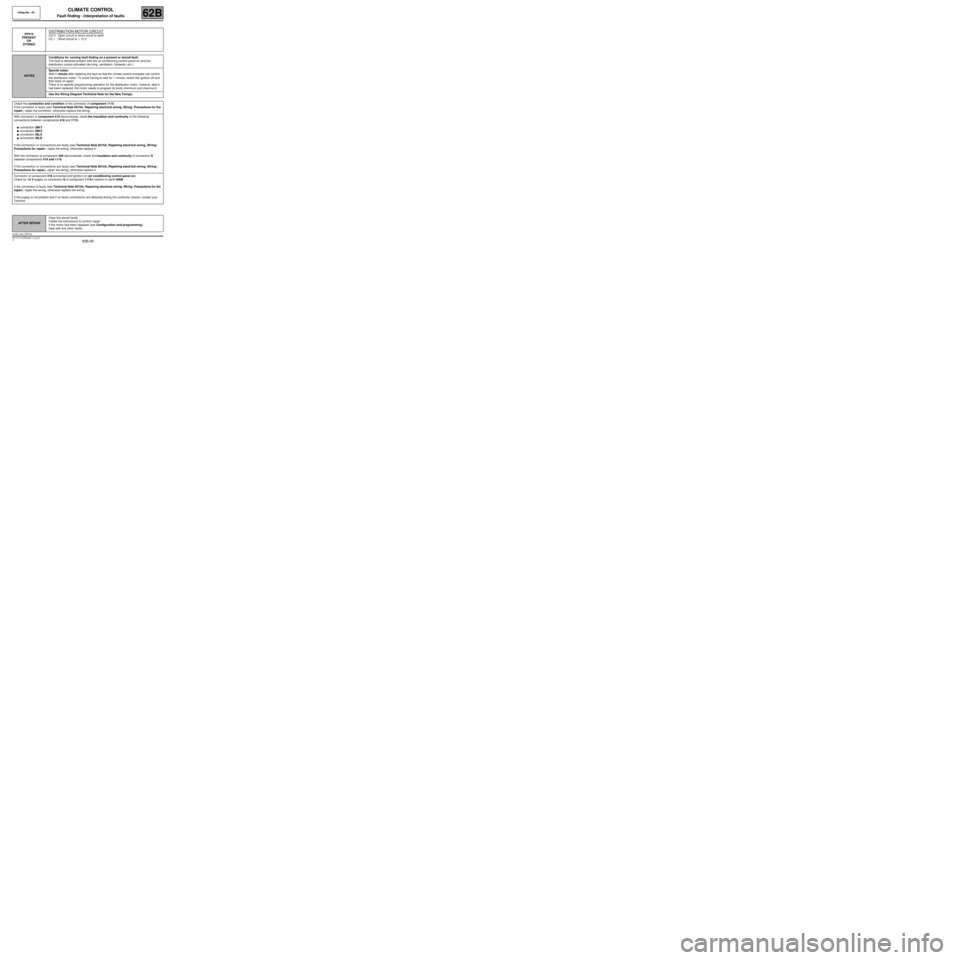
DF012
PRESENT
OR
STOREDDISTRIBUTION MOTOR CIRCUIT
CO.0 : Open circuit or short circuit to earth
CC.1 : Short circuit to + 12 V
NOTESConditions for running fault finding on a present or stored fault:
The fault is declared present with the air conditioning control panel on and the
distribution control activated (de-icing, ventilation, footwells, etc.).
Special notes:
Wait 1 minute after repairing the fault so that the climate control computer can control
the distribution motor. To avoid having to wait for 1 minute, switch the ignition off and
then back on again.
There is no specific programming operation for the distribution motor, however, after it
has been replaced, the motor needs to program its limits (minimum and maximum).
Use the Wiring Diagram Technical Note for the New Twingo.
Check the connection and condition of the connector of component 1115.
If the connector is faulty (see Technical Note 6015A, Repairing electrical wiring, Wiring: Precautions for the
repair), repair the connector, otherwise replace the wiring.
With connector of component 419 disconnected, check the insulation and continuity of the following
connections between components 419 and 1115:
●connection 38KY
●connection 38KZ
●connection 38LA
●connection 38LB
If the connection or connections are faulty (see Technical Note 6015A, Repairing electrical wiring, Wiring:
Precautions for repair), repair the wiring, otherwise replace it.
With the connector of component 420 disconnected, check the insulation and continuity of connection S
between components 419 and 1115.
If the connection or connections are faulty (see Technical Note 6015A, Repairing electrical wiring, Wiring:
Precautions for repair), repair the wiring, otherwise replace it.
Connector of component 419 connected and ignition on (air conditioning control panel on).
Check for 12 V supply on connection S of component 1115 in relation to earth NAM.
If the connection is faulty (see Technical Note 6015A, Repairing electrical wiring, Wiring: Precautions for the
repair), repair the wiring, otherwise replace the wiring.
If the supply is not present and if no faulty connections are detected during the continuity checks, contact your
Techline.
AFTER REPAIRClear the stored faults.
Follow the instructions to confirm repair.
If the motor has been replaced (see Configuration and programming).
Deal with any other faults.
CLIM_V44_DF012
Page 31 of 99
62B-31
MR-413-X44-62B000$414_eng.mif
V1
CLIMATE CONTROL
Fault finding - Interpretation of faults
Vdiag No.: 44
62B
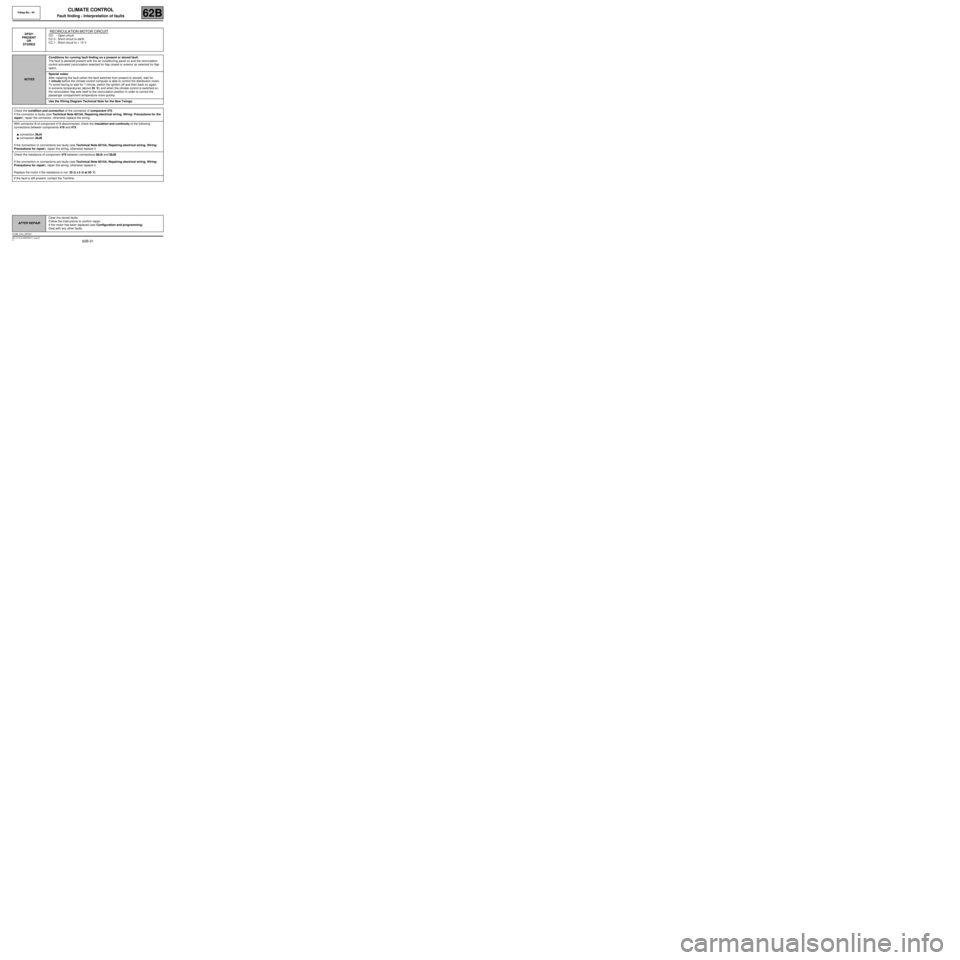
DF021
PRESENT
OR
STORED RECIRCULATION MOTOR CIRCUIT
CO : Open circuit
CC.0 : Short circuit to earth
CC.1 : Short circuit to + 12 V
NOTESConditions for running fault finding on a present or stored fault:
The fault is declared present with the air conditioning panel on and the recirculation
control activated (recirculation selected for flap closed or exterior air selected for flap
open).
Special notes:
After repairing the fault (when the fault switches from present to stored), wait for
1 minute before the climate control computer is able to control the distribution motor.
To avoid having to wait for 1 minute, switch the ignition off and then back on again.
In extreme temperatures (above 35 ˚C) and when the climate control is switched on,
the recirculation flap sets itself to the recirculation position in order to correct the
passenger compartment temperature more quickly.
Use the Wiring Diagram Technical Note for the New Twingo.
Check the condition and connection of the connector of component 475.
If the connector is faulty (see Technical Note 6015A, Repairing electrical wiring, Wiring: Precautions for the
repair), repair the connector, otherwise replace the wiring.
With connector B of component 419 disconnected, check the insulation and continuity of the following
connections between components 419 and 475:
●connection 38JA
●connection 38JB
If the connection or connections are faulty (see Technical Note 6015A, Repairing electrical wiring, Wiring:
Precautions for repair), repair the wiring, otherwise replace it.
Check the resistance of component 475 between connections 38JA and 38JB.
If the connection or connections are faulty (see Technical Note 6015A, Repairing electrical wiring, Wiring:
Precautions for repair), repair the wiring, otherwise replace it.
Replace the motor if the resistance is not: 35 ΩΩ Ω Ω
± 5 ΩΩ Ω Ω
at 20 ˚C.
If the fault is still present, contact the Techline.
AFTER REPAIRClear the stored faults.
Follow the instructions to confirm repair.
If the motor has been replaced (see Configuration and programming).
Deal with any other faults.
CLIM_V44_DF021
Page 46 of 99

62B-46
MR-413-X44-62B000$552_eng.mif
V1
CLIMATE CONTROL
Fault finding - Interpretation of statuses
Vdiag No.: 44
62B
ET083
+ 12 V AFTER IGNITION PRESENT
NOTESUse the Wiring Diagram Technical Note for the New Twingo.
This status indicates activation of + 12 V APC by the UCH via the multiplex line.
When the ignition is off, the status displays ABSENT.
When the ignition is on, the status displays PRESENT.
If the status does not operate, carry out fault finding on the UCH (see 87B, UCH).
AFTER REPAIRRepeat the conformity check from the start.
CLIM_V44_ET083
Page 59 of 99
62B-59
MR-413-X44-62B000$644_eng.mif
V1
CLIMATE CONTROL
Fault finding - Interpretation of parameters
Vdiag No.: 44
62B
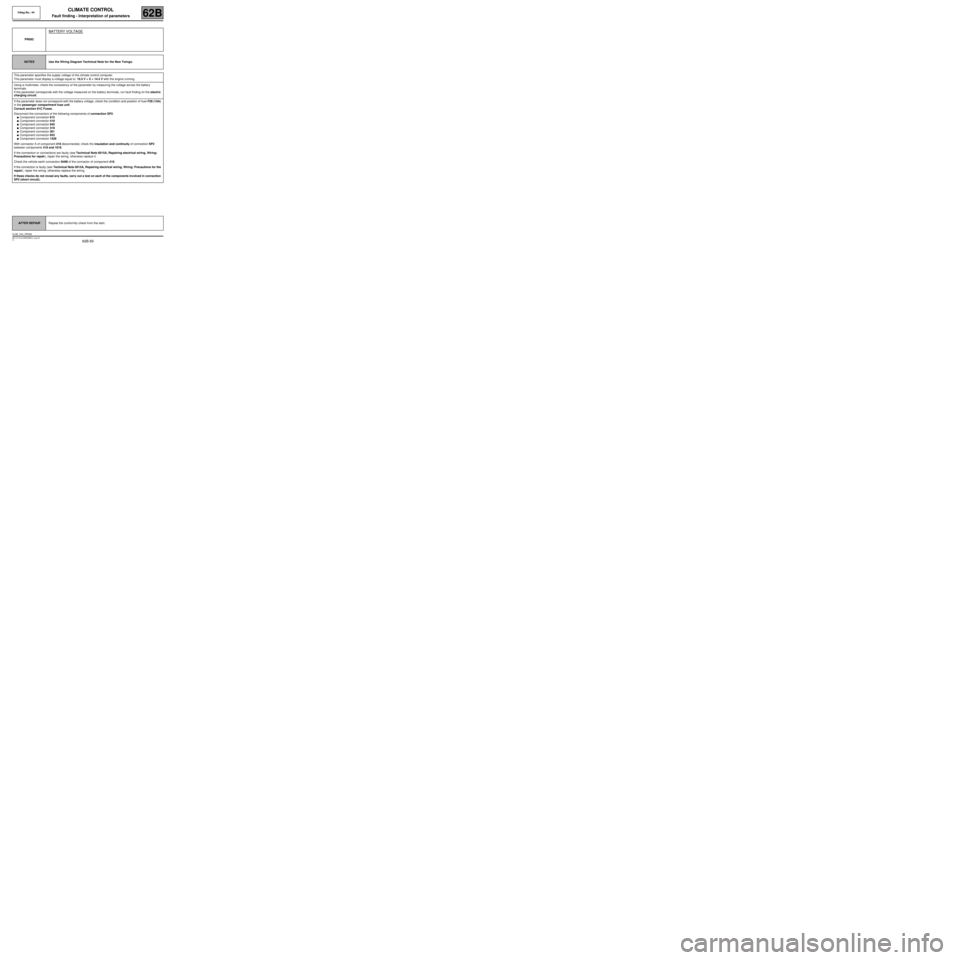
PR092
BATTERY VOLTAGE
NOTESUse the Wiring Diagram Technical Note for the New Twingo.
This parameter specifies the supply voltage of the climate control computer.
This parameter must display a voltage equal to: 10.5 V < X < 14.4 V with the engine running.
Using a multimeter, check the consistency of the parameter by measuring the voltage across the battery
terminals.
If the parameter corresponds with the voltage measured on the battery terminals, run fault finding on the electric
charging circuit.
If the parameter does not correspond with the battery voltage, check the condition and position of fuse F29 (15A)
in the passenger compartment fuse unit.
Consult section 81C Fuses.
Disconnect the connectors of the following components of connection SP2:
●Component connector 615
●Component connector 419
●Component connector 645
●Component connector 319
●Component connector 261
●Component connector 653
●Component connector 1428
With connector A of component 419 disconnected, check the insulation and continuity of connection SP2
between components 419 and 1016.
If the connection or connections are faulty (see Technical Note 6015A, Repairing electrical wiring, Wiring:
Precautions for repair), repair the wiring, otherwise replace it.
Check the vehicle earth connection NAM of the connector of component 419.
If the connection is faulty (see Technical Note 6015A, Repairing electrical wiring, Wiring: Precautions for the
repair), repair the wiring, otherwise replace the wiring.
If these checks do not reveal any faults, carry out a test on each of the components involved in connection
SP2 (short circuit).
AFTER REPAIRRepeat the conformity check from the start.
CLIM_V44_PR092
Page 68 of 99
62B-68
MR-413-X44-62B000$828_eng.mif
V1
62B
CLIMATE CONTROL
Diagnostic - Fault finding chart
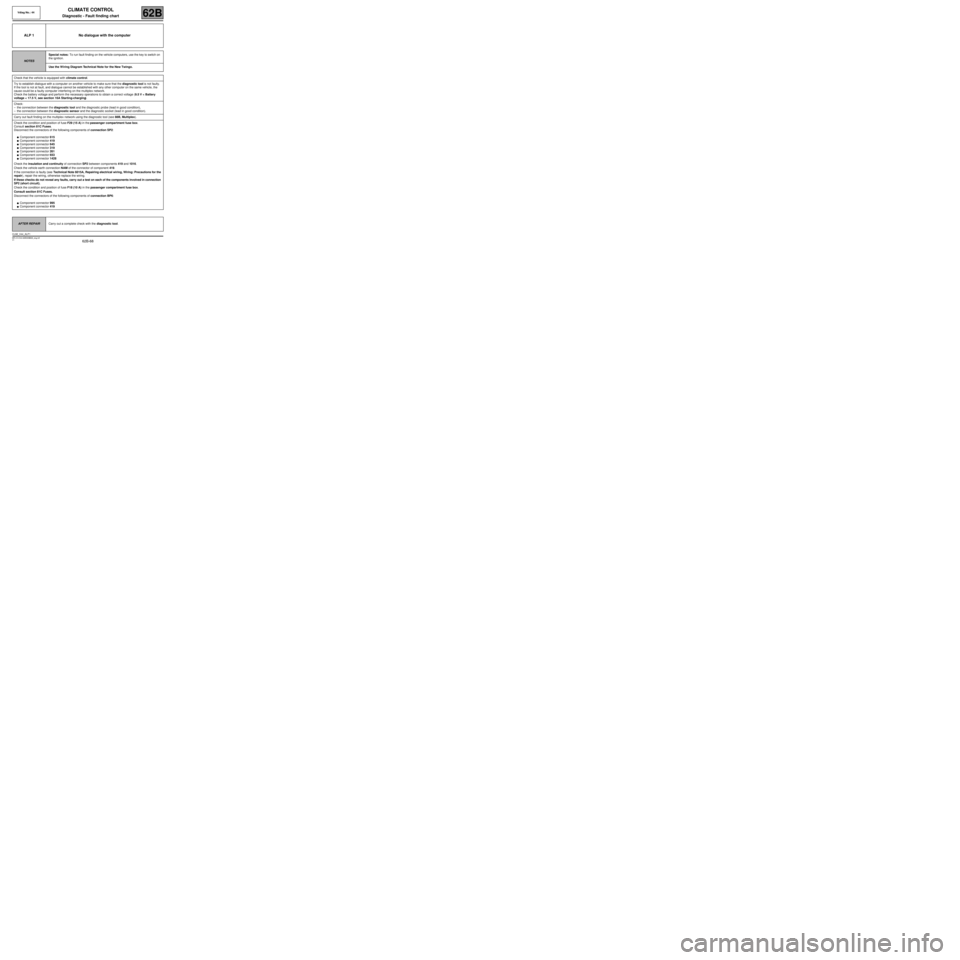
ALP 1 No dialogue with the computer
NOTESSpecial notes: To run fault finding on the vehicle computers, use the key to switch on
the ignition.
Use the W iring Diagram Technical Note for the New Twingo.
Check that the vehicle is equipped with climate control.
Try to establish dialogue with a computer on another vehicle to make sure that the diagnostic tool is not faulty.
If the tool is not at fault, and dialogue cannot be established with any other computer on the same vehicle, the
cause could be a faulty computer interfering on the multiplex network.
Check the battery voltage and perform the necessary operations to obtain a correct voltage (9.5 V < Battery
voltage < 17.5 V, see section 16A Starting-charging).
Check:
–the connection between the diagnostic tool and the diagnostic probe (lead in good condition),
–the connection between the diagnostic sensor and the diagnostic socket (lead in good condition).
Carry out fault finding on the multiplex network using the diagnostic tool (see 88B, Multiplex).
Check the condition and position of fuse F29 (15 A) in the passenger compartment fuse box.
Consult section 81C Fuses.
Disconnect the connectors of the following components of connection SP2:
●Component connector 615
●Component connector 419
●Component connector 645
●Component connector 319
●Component connector 261
●Component connector 653
●Component connector 1428
Check the insulation and continuity of connection SP2 between components 419 and 1016.
Check the vehicle earth connection NAM of the connector of component 419.
If the connection is faulty (see Technical Note 6015A, Repairing electrical wiring, Wiring: Precautions for the
repair), repair the wiring, otherwise replace the wiring.
If these checks do not reveal any faults, carry out a test on each of the components involved in connection
SP2 (short circuit).
Check the condition and position of fuse F18 (10 A) in the passenger compartment fuse box.
Consult section 81C Fuses.
Disconnect the connectors of the following components of connection BP6:
●Component connector 995
●Component connector 419
AFTER REPAIRCarry out a complete check with the diagnostic tool.
CLIM_V44_ALP1
Vdiag No.: 44
MR-413-X44-62B000$828_eng.mif
Page 77 of 99
62B-77
MR-413-X44-62B000$828_eng.mif
V1
Vdiag No.: 44CLIMATE CONTROL
Diagnostic - Fault finding chart62B
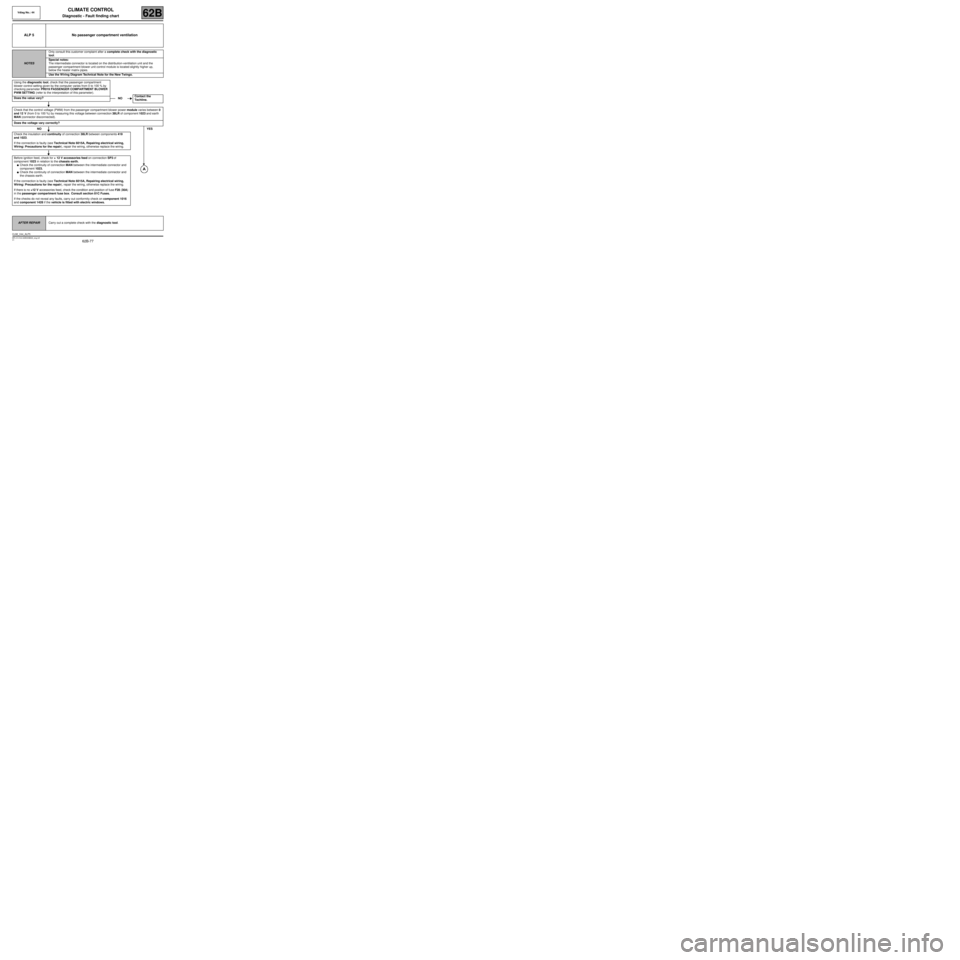
ALP 5 No passenger compartment ventilation
NOTESOnly consult this customer complaint after a complete check with the diagnostic
tool.
Special notes:
The intermediate connector is located on the distribution-ventilation unit and the
passenger compartment blower unit control module is located slightly higher up,
below the heater matrix pipes.
Use the W iring Diagram Technical Note for the New Twingo.
Using the diagnostic tool, check that the passenger compartment
blower control setting given by the computer varies from 0 to 100 % by
checking parameter PR019 PASSENGER COMPARTMENT BLOWER
PWM SETTING (refer to the interpretation of this parameter).
Does the value vary?
Check that the control voltage (PWM) from the passenger compartment blower power module varies between 0
and 12 V (from 0 to 100 %) by measuring this voltage between connection 38LR of component 1023 and earth
MAN (connector disconnected).
Does the voltage vary correctly?
NOYES
Check the insulation and continuity of connection 38LR between components 419
and 1023.
If the connection is faulty (see Technical Note 6015A, Repairing electrical wiring,
Wiring: Precautions for the repair), repair the wiring, otherwise replace the wiring.
Before ignition feed, check for + 12 V accessories feed on connection SP3 of
component 1023 in relation to the chassis earth.
●Check the continuity of connection MAN between the intermediate connector and
component 1023.
●Check the continuity of connection MAN between the intermediate connector and
the chassis earth.
If the connection is faulty (see Technical Note 6015A, Repairing electrical wiring,
Wiring: Precautions for the repair), repair the wiring, otherwise replace the wiring.
If there is no +12 V accessories feed, check the condition and position of fuse F28 (30A)
in the passenger compartment fuse box. Consult section 81C Fuses.
If the checks do not reveal any faults, carry out conformity check on component 1016
and component 1428 if the vehicle is fitted with electric windows.
NOContact the
Techline.
AFTER REPAIRCarry out a complete check with the diagnostic tool.
CLIM_V44_ALP5
Page 79 of 99
62B-79
MR-413-X44-62B000$874_eng.mif
V1
62B
CLIMATE CONTROL
Diagnostic - Fault finding chart
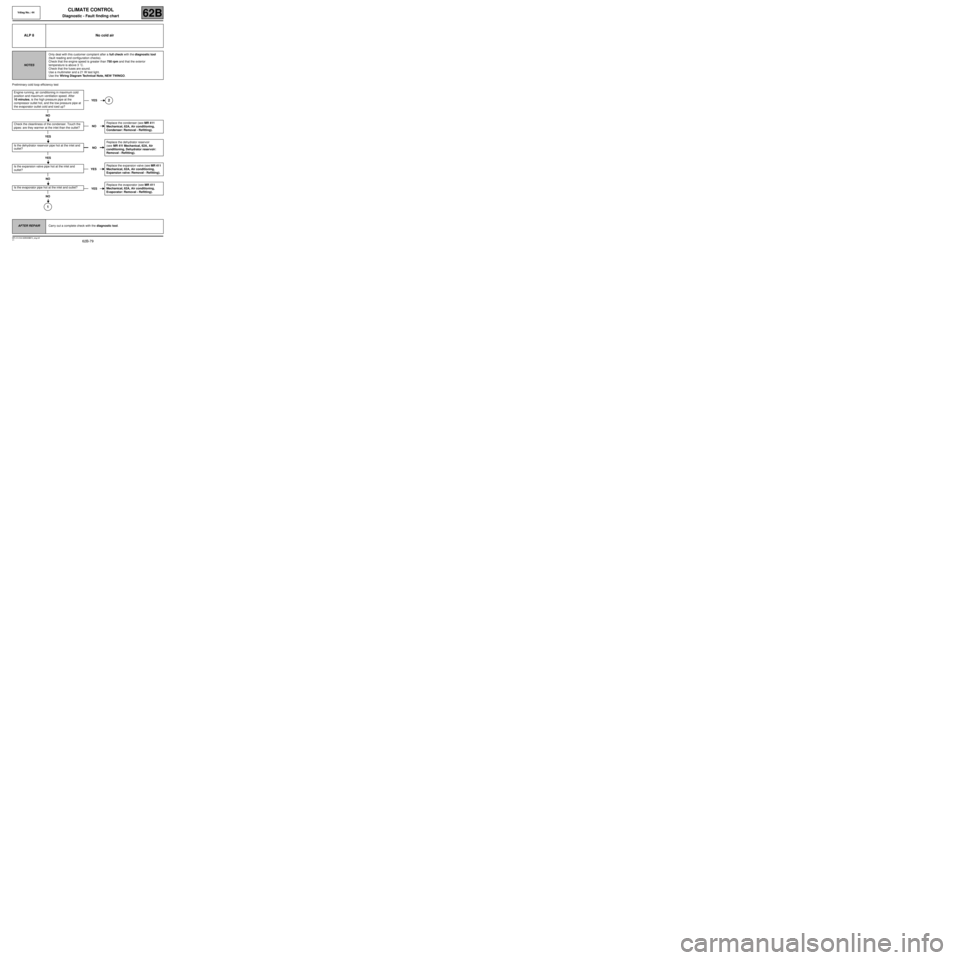
Preliminary cold loop efficiency test
ALP 8 No cold air
NOTESOnly deal with this customer complaint after a full check with the diagnostic tool
(fault reading and configuration checks).
Check that the engine speed is greater than 750 rpm and that the exterior
temperature is above 3 ˚C.
Check that the fuses are sound.
Use a multimeter and a 21 W test light.
Use the Wiring Diagram Technical Note, NEW TWINGO.
Engine running, air conditioning in maximum cold
position and maximum ventilation speed. After
10 minutes, is the high pressure pipe at the
compressor outlet hot, and the low pressure pipe at
the evaporator outlet cold and iced up?
NO
Check the cleanliness of the condenser. Touch the
pipes: are they warmer at the inlet than the outlet?
YES
Is the dehydrator reservoir pipe hot at the inlet and
outlet?
YES
Is the expansion valve pipe hot at the inlet and
outlet?
NO
Is the evaporator pipe hot at the inlet and outlet?
NO
1
YES2
NOReplace the condenser (see MR 411
Mechanical, 62A, Air conditioning,
Condenser: Removal - Refitting).
NOReplace the dehydrator reservoir
(see MR 411 Mechanical, 62A, Air
conditioning, Dehydrator reservoir:
Removal - Refitting).
YESReplace the expansion valve (see MR 411
Mechanical, 62A, Air conditioning,
Expansion valve: Removal - Refitting).
YESReplace the evaporator (see MR 411
Mechanical, 62A, Air conditioning,
Evaporator: Removal - Refitting).
AFTER REPAIRCarry out a complete check with the diagnostic tool.
Vdiag No.: 44
MR-413-X44-62B000$874_eng.mif