wheel bolts RENAULT TWINGO 2009 2.G Mechanism And Accessories Workshop Manual
[x] Cancel search | Manufacturer: RENAULT, Model Year: 2009, Model line: TWINGO, Model: RENAULT TWINGO 2009 2.GPages: 95
Page 39 of 95
55A-1
EXTERIOR PROTECTION
Front bumper: Removal - Refitting
55A
REMOVAL
I - REMOVAL PREPARATION OPERATION
aPosition the vehicle on a two-post lift (see Vehicle:
Towing and lifting) (MR 412, 02A, Lifting equip-
ment).
aRemove:
-the front wheels (see Wheel: Removal - Refitting)
(MR 411, 35A, Wheels and tyres),
-the front wheel arch liners (see 55A, Exterior pro-
tection, Front wheel arch liner: Removal - Refit-
ting, page 55A-18) .
II - OPERATION FOR REMOVAL OF PART
CONCERNED
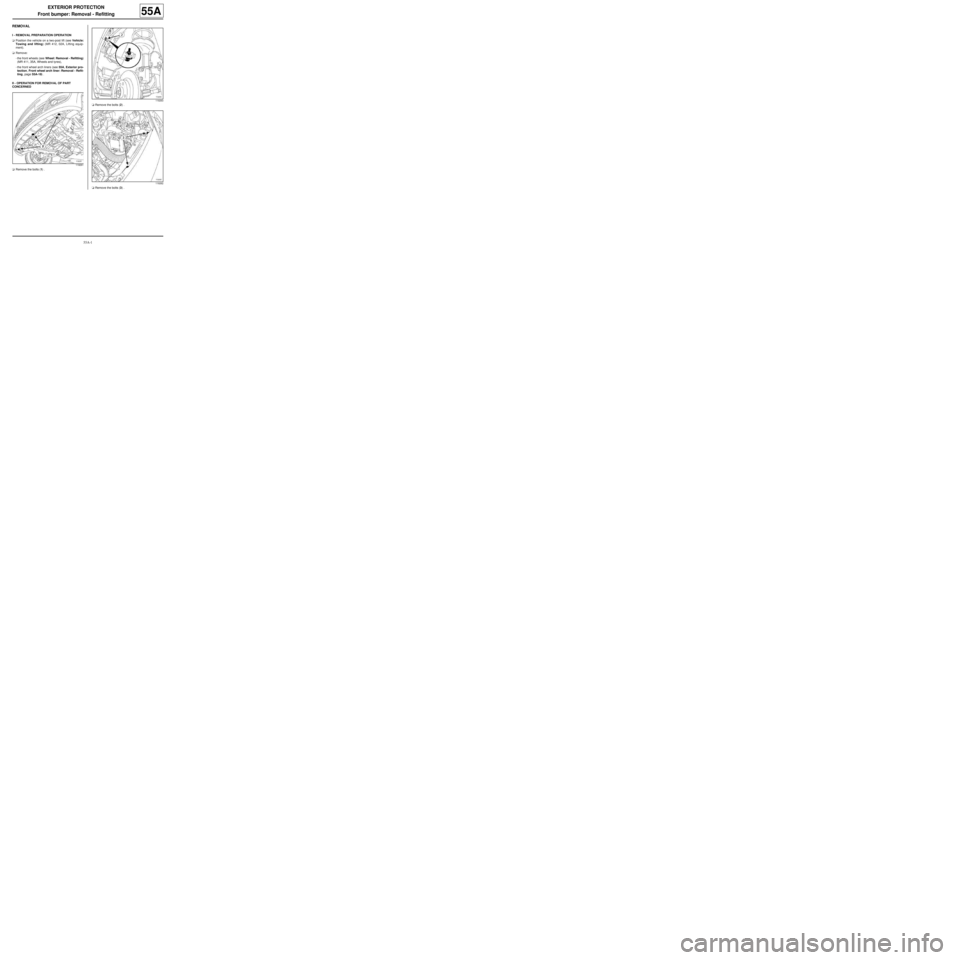
aRemove the bolts (1) .aRemove the bolts (2) .
aRemove the bolts (3) .
119261
119263
119262
Page 40 of 95
55A-2
EXTERIOR PROTECTION
Front bumper: Removal - Refitting
55A
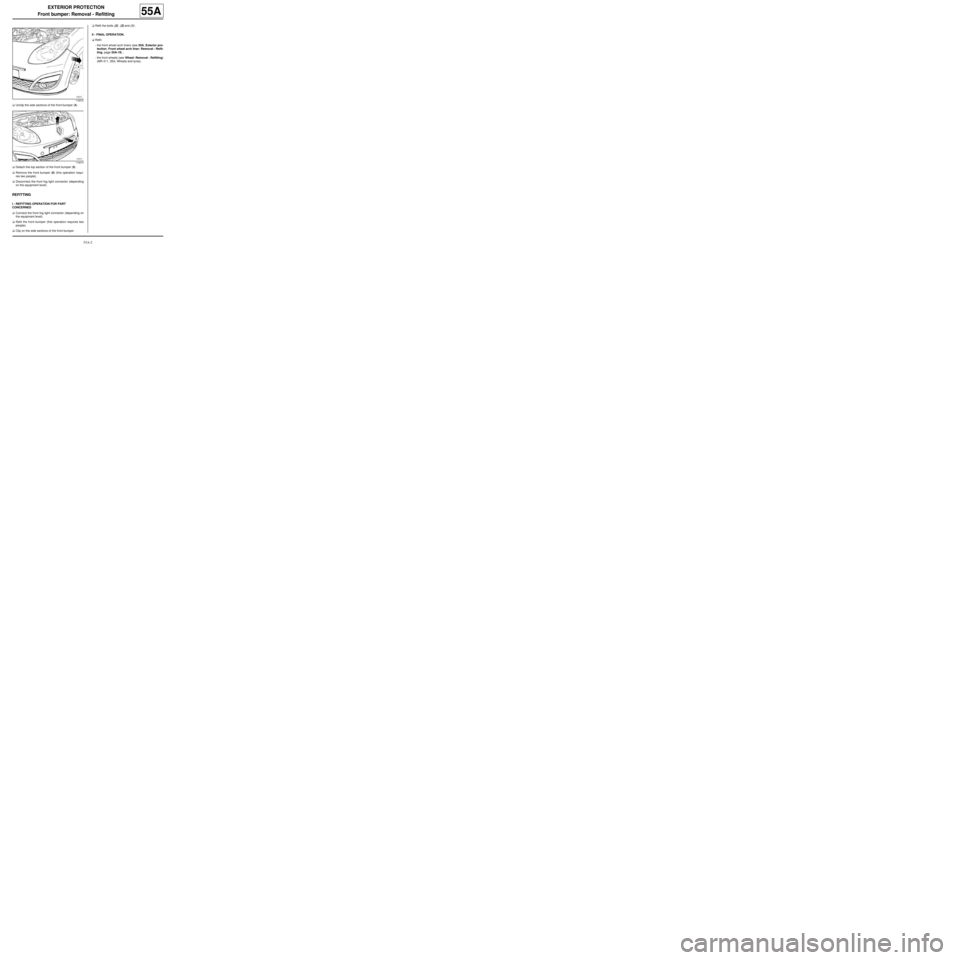
aUnclip the side sections of the front bumper (4) .
aDetach the top section of the front bumper (5) .
aRemove the front bumper (6) (this operation requi-
res two people).
aDisconnect the front fog light connector (depending
on the equipment level).
REFITTING
I - REFITTING OPERATION FOR PART
CONCERNED
aConnect the front fog light connector (depending on
the equipment level).
aRefit the front bumper (this operation requires two
people).
aClip on the side sections of the front bumper.aRefit the bolts (2) , (3) and (1) .
II - FINAL OPERATION.
aRefit:
-the front wheel arch liners (see 55A, Exterior pro-
tection, Front wheel arch liner: Removal - Refit-
ting, page 55A-18) ,
-the front wheels (see Wheel: Removal - Refitting)
(MR 411, 35A, Wheels and tyres).
119272
119273
Page 56 of 95
55A-18
EXTERIOR PROTECTION
Front wheel arch liner: Removal - Refitting
55A
REMOVAL
I - REMOVAL PREPARATION OPERATION
aPosition the vehicle on a two-post lift (see Vehicle:
Towing and lifting) (MR 411, 02A, Lifting equip-
ment).
aRemove the front wheels (see Wheel: Removal -
Refitting) (MR 411, 35A, Wheels and tyres).II - OPERATION FOR REMOVAL OF PART
CONCERNED
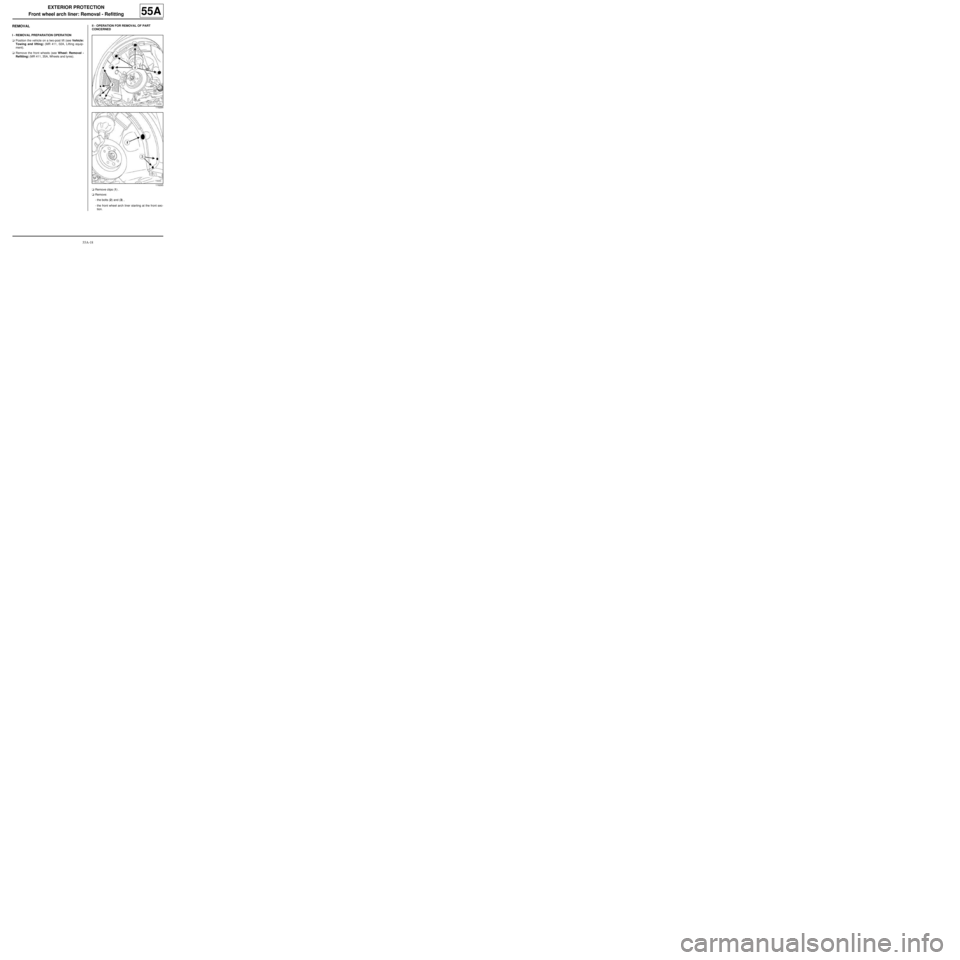
aRemove clips (1) .
aRemove:
-the bolts (2) and (3) ,
-the front wheel arch liner starting at the front sec-
tion.
119264
119265
Page 57 of 95
55A-19
EXTERIOR PROTECTION
Front wheel arch liner: Removal - Refitting
55A
REFITTING
I - REFITTING PREPARATIONS OPERATION
aCheck the condition of the clips and replace them if
necessary.
II - REFITTING OPERATION FOR PART
CONCERNED
aRefit:
-the front wheel arch liner starting at the rear sec-
tion,
-the clips (1) ,
-the bolts (2) and (3) .
III - FINAL OPERATION.
aRefit the front wheels (see Wheel: Removal - Refit-
ting) (MR 411, 35A, Wheels and tyres).
Page 93 of 95
59A-4
SAFETY ACCESSORIES
Rear seat belt: Removal - Refitting
59A
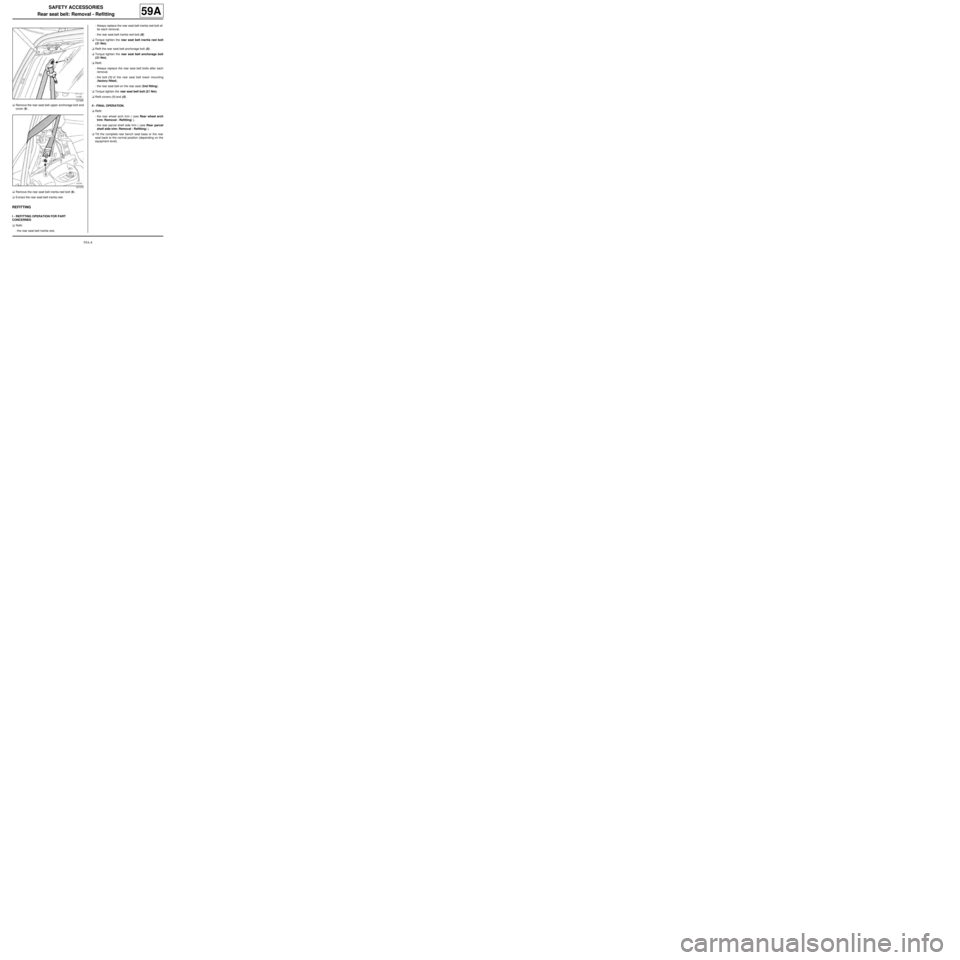
aRemove the rear seat belt upper anchorage bolt and
cover (5) .
aRemove the rear seat belt inertia reel bolt (6) .
aExtract the rear seat belt inertia reel.
REFITTING
I - REFITTING OPERATION FOR PART
CONCERNED
aRefit:
-the rear seat belt inertia reel,-Always replace the rear seat belt inertia reel bolt af-
ter each removal.
-the rear seat belt inertia reel bolt (6) .
aTorque tighten the rear seat belt inertia reel bolt
(21 Nm).
aRefit the rear seat belt anchorage bolt (5) .
aTorque tighten the rear seat belt anchorage bolt
(21 Nm).
aRefit:
-Always replace the rear seat belt bolts after each
removal.
-the bolt (1) of the rear seat belt lower mounting
(factory fitted),
-the rear seat belt on the rear seat (2nd fitting).
aTorque tighten the rear seat belt bolt (21 Nm).
aRefit covers (1) and (5) .
II - FINAL OPERATION.
aRefit:
-the rear wheel arch trim ( (see Rear wheel arch
trim: Removal - Refitting) ),
-the rear parcel shelf side trim ( (see Rear parcel
shelf side trim: Removal - Refitting) ).
aTilt the complete rear bench seat base or the rear
seat back to the normal position (depending on the
equipment level).
121065
121070