tow RENAULT TWINGO 2009 2.G Transmission User Guide
[x] Cancel search | Manufacturer: RENAULT, Model Year: 2009, Model line: TWINGO, Model: RENAULT TWINGO 2009 2.GPages: 135
Page 59 of 135
21A-44
MANUAL GEARBOX
Reverse gear switch: Removal - Refitting
JB1 or JH1 or JH3 or JR5
21A
REMOVAL
I - REMOVAL PREPARATION OPERATION
aPosition the vehicle on a two-post lift (see Vehicle:
Towing and lifting) (02A, Lifting equipment).
aRemove:
-the front left-hand wheel (see Wheel: Removal -
Refitting) (35A, Wheels and tyres),
-the front left-hand wheel arch liner (see Front
wheel arch liner: Removal - Refitting) (55A, Ex-
terior protection).
aRemove the engine undertray.
II - OPERATION FOR REMOVAL OF PART
CONCERNED
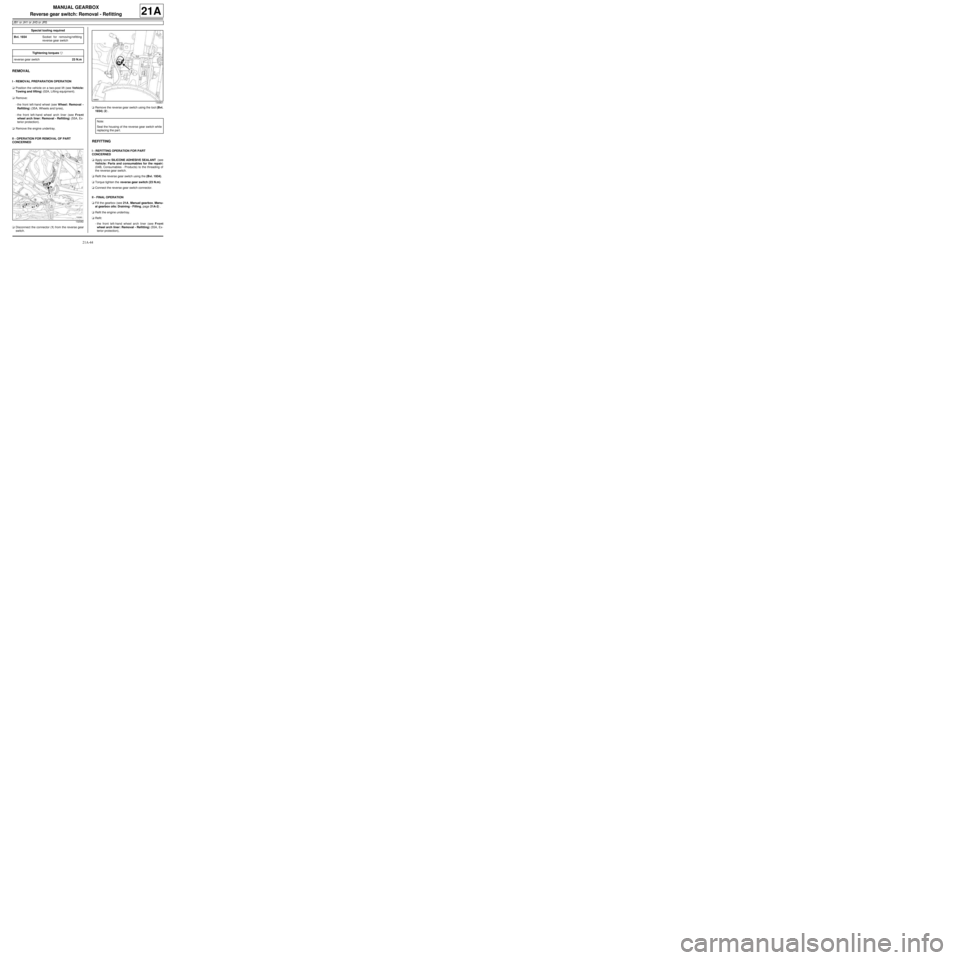
aDisconnect the connector (1) from the reverse gear
switch.aRemove the reverse gear switch using the tool (Bvi.
1934) (2) .
REFITTING
I - REFITTING OPERATION FOR PART
CONCERNED
aApply some SILICONE ADHESIVE SEALANT (see
Vehicle: Parts and consumables for the repair)
(04B, Consumables - Products) to the threading of
the reverse gear switch.
aRefit the reverse gear switch using the (Bvi. 1934).
aTorque tighten the reverse gear switch (23 N.m).
aConnect the reverse gear switch connector.
II - FINAL OPERATION
aFill the gearbox (see 21A, Manual gearbox, Manu-
al gearbox oils: Draining - Filling, page 21A-2) .
aRefit the engine undertray.
aRefit:
-the front left-hand wheel arch liner (see Front
wheel arch liner: Removal - Refitting) (55A, Ex-
terior protection), Special tooling required
Bvi. 1934Socket for removing/refitting
reverse gear switch
Tightening torquesm
reverse gear switch23 N.m
132082
144801
Note:
Seal the housing of the reverse gear switch while
replacing the par t.
Page 63 of 135
21B-3
SEQUENTIAL GEARBOX
Sequential gearbox oil: Draining - Filling
JH1
21B
Oil capacity
DRAINING
I - DRAINING PREPARATION OPERATION
aPosition the vehicle on a two-post lift (see Vehicle:
Towing and lifting) (02A, Lifting equipment).
aRemove:
-the engine undertray bolts,
-the engine undertray.
II - DRAINING OPERATION
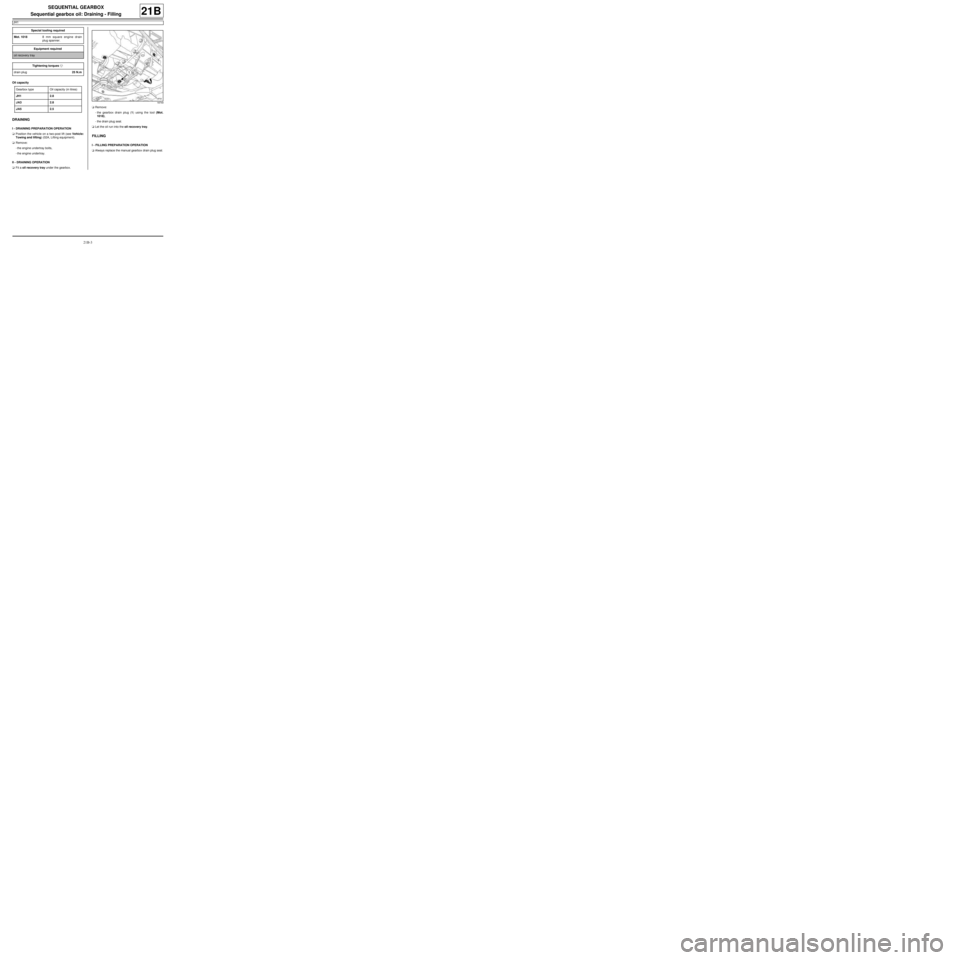
aFit a oil recovery tray under the gearbox.aRemove:
-the gearbox drain plug (1) using the tool (Mot.
1018),
-the drain plug seal.
aLet the oil run into the oil recovery tray.
FILLING
I - FILLING PREPARATION OPERATION
aAlways replace the manual gearbox drain plug seal. Special tooling required
Mot. 10188 mm square engine drain
plug spanner.
Equipment required
oil recovery tray
Tightening torquesm
drain plug25 N.m
Gearbox type Oil capacity (in litres)
JH1 2.8
JA32.8
JA52.5
18749
Page 64 of 135
21B-4
SEQUENTIAL GEARBOX
Sequential gearbox oil: Draining - Filling
JH1
21B
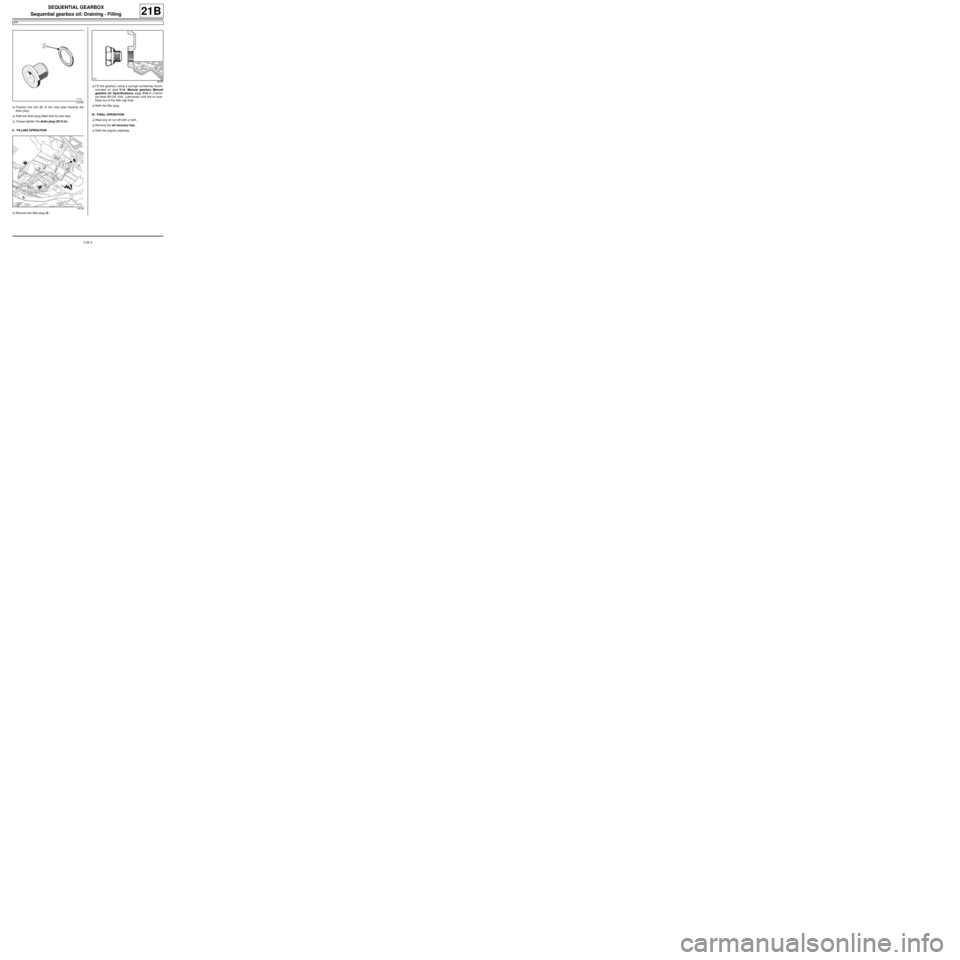
aPosition the slot (2) of the new seal towards the
drain plug.
aRefit the drain plug fitted with its new seal.
aTorque tighten the drain plug (25 N.m).
II - FILLING OPERATION
aRemove the filler plug (3) .aFill the gearbox using a syringe containing recom-
mended oil (see 21A, Manual gearbox, Manual
gearbox oil: Specifications, page 21A-1) (Techni-
cal Note 6012A, 04A, Lubricants) until the oil over-
flows out of the filler cap hole.
aRefit the filler plug.
III - FINAL OPERATION
aWipe any oil run-off with a cloth.
aRemove the oil recovery tray.
aRefit the engine undertray.
113764
18749
92081
Page 69 of 135
21B-9
SEQUENTIAL GEARBOX
Pump assembly reservoir: Removal - Refitting
D4F, and JH1
21B
The electro-hydraulic unit comprises the pump assem-
bly and the actuator module.
REMOVAL
I - REMOVAL PREPARATION OPERATION
aPosition the vehicle on a two-post lift (see Vehicle:
Towing and lifting) (MR 411, 02A, Lifting equip-
ment).
aRemove:
-the battery (see Battery: Removal - Refitting)
(MR 411, 80A, Battery),
-the sequential gearbox computer (see 21B, Se-
quential gearbox, Sequential gearbox convert-
er: Removal - Refitting, page 21B-47) ,
-the battery tray (see Battery tray: Removal - Re-
fitting) (MR 411, 80A, Battery),
-the petrol injection computer (see Petrol injection
computer: Removal - Refitting) (MR 411, 17B,
Petrol injection).
-the rear suspended engine mounting (see Lower
engine tie-bar: Removal - Refitting) (MR 411,
19D, Engine mounting),
-the left-hand front wheel (see Wheel: Removal -
Refitting) (MR 411, 35A, Wheels and tyres),-the front left-hand wheel arch liner (see Front
wheel arch liner: Removal - Refitting) (MR 412,
55A, Exterior protection),
-the electro-hydraulic unit (see 21B, Sequential
gearbox, Electro-hydraulic unit: Removal - Re-
fitting, page 21B-11) ,
aPosition the (Ms. 583)
aSeparate
-the pump assembly from the electro-hydraulic unit
(see 21B, Sequential gearbox, Pump assembly:
Removal - Refitting, page 21B-18) .
II - OPERATION FOR REMOVAL OF PART
CONCERNED
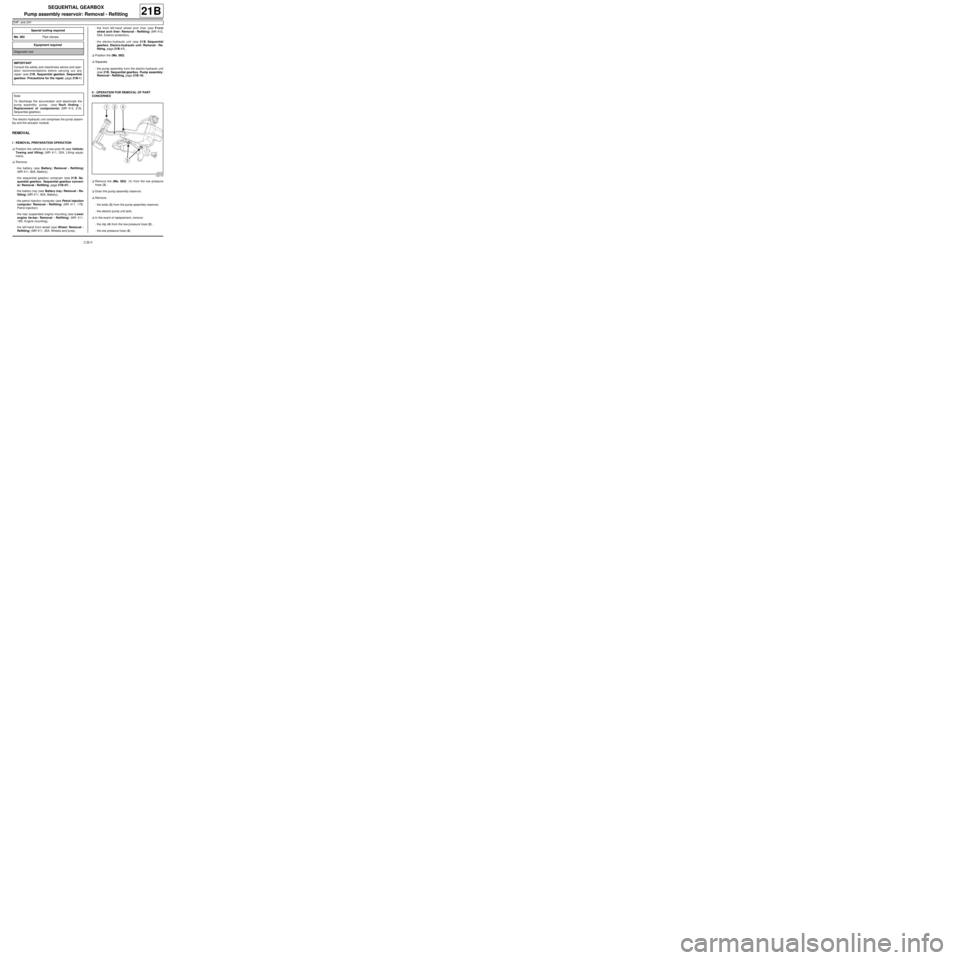
aRemove the (Ms. 583) (1) from the low pressure
hose (2) .
aDrain the pump assembly reservoir.
aRemove:
-the bolts (3) from the pump assembly reservoir,
-the electric pump unit tank.
aIn the event of replacement, remove:
-the clip (4) from the low pressure hose (2) ,
-the low pressure hose (2) . Special tooling required
Ms. 583Pipe clamps .
Equipment required
Diagnostic tool
IMPORTANT
Consult the safety and cleanliness advice and oper-
ation recommendations before carrying out any
repair (see 21B, Sequential gearbox, Sequential
gearbox: Precautions for the repair, page 21B-1)
.
Note:
To discharge the accumulator and deactivate the
pump assembly pump, (see Fault finding -
Replacement of components) (MR 413, 21B,
Sequential gearbox).
122173
Page 71 of 135
21B-11
SEQUENTIAL GEARBOX
Electro-hydraulic unit: Removal - Refitting
D4F, and JH1
21B
The electro-hydraulic unit comprises the pump assem-
bly and the actuator module.
REMOVAL
I - REMOVAL PREPARATION OPERATION
aPosition the vehicle on a two-post lift (see Vehicle:
Towing and lifting) (MR 411, 02A, Lifting equip-
ment).
aRemove:
-the battery (see Battery: Removal - Refitting)
(MR 411, 80A, Battery),
-the sequential gearbox computer (see 21B, Se-
quential gearbox, Sequential gearbox convert-
er: Removal - Refitting, page 21B-47) ,-the battery tray (see Battery tray: Removal - Re-
fitting) (MR 411, 80A, Battery),
-the petrol injection computer (see Petrol injection
computer: Removal - Refitting) (MR 411, 17B,
Petrol injection).
aDetach from the petrol injection computer mounting:
-the cooling hose,
-the sequential gearbox computer wiring harness,
-the petrol injection computer wiring harness,
-the battery wiring harness. Special tooling required
Mot. 1390Suppor t for removal - refitting
of engine - gearbox assembly
Equipment required
Diagnostic tool
Tightening torquesm
left-hand suspended
engine mounting bolts21 N.m
left-hand suspended
engine mounting rubber
pad bolts62 N.m
left-hand suspended
engine mounting rubber
pad nut105 N.m
Note:
When replacing the electric pump assembly, always
replace the control relay.
IMPORTANT
Consult the safety and cleanliness advice and oper-
ation recommendations before carrying out any
repair (see 21B, Sequential gearbox, Sequential
gearbox: Precautions for the repair, page 21B-1)
.
Page 78 of 135
21B-18
SEQUENTIAL GEARBOX
Pump assembly: Removal - Refitting
D4F, and JH1
21B
The electro-hydraulic unit comprises the pump assem-
bly and the actuator module.
REMOVAL
I - REMOVAL PREPARATION OPERATION
aPosition the vehicle on a two-post lift (see Vehicle:
Towing and lifting) (02A, Lifting equipment).
aRemove:
-the battery (see Battery: Removal - Refitting)
(80A, Battery),
-the sequential gearbox computer (see 21B, Se-
quential gearbox, Sequential gearbox convert-
er: Removal - Refitting, page 21B-47) ,
-the battery tray (see Battery tray: Removal - Re-
fitting) (80A, Battery),-the petrol injection computer (see Petrol injection
computer: Removal - Refitting) (17B, Petrol in-
jection),
-the rear suspended engine mounting (see Lower
engine tie-bar: Removal - Refitting) (19D, En-
gine mounting),
-the front wheels (see Wheel: Removal - Refitting)
(35A, Wheels and tyres),
-the front wheel arch liners (see Front wheel arch
liner: Removal - Refitting) (55A, Exterior protec-
tion),
-the electro-hydraulic unit (see 21B, Sequential
gearbox, Electro-hydraulic unit: Removal - Re-
fitting, page 21B-11) .
II - OPERATION FOR REMOVAL OF PART
CONCERNED
aDisconnect the supply connector from the pump as-
sembly pump.
aDetach the pump assembly pump supply connector
from the electro-hydraulic unit connector mounting. Special tooling required
Ms. 583Pipe clamps .
Equipment required
Diagnostic tool
Tightening torquesm
high pressure pipe
unions14 N.m
Note:
When replacing the electric pump assembly, always
replace the control relay.
IMPORTANT
Consult the safety and cleanliness advice and oper-
ation recommendations before carrying out any
repair (see 21B, Sequential gearbox, Sequential
gearbox: Precautions for the repair, page 21B-1)
.
Note:
To discharge the accumulator and deactivate the
pump assembly pump, (see Fault finding -
Replacement of components) (21B, Sequential
gearbox).
Page 81 of 135
21B-21
SEQUENTIAL GEARBOX
Solenoid valves: Removal - Refitting
D4F, and JH1
21B
REMOVAL
I - REMOVAL PREPARATION OPERATION
aPosition the vehicle on a two-post lift (see Vehicle:
Towing and lifting) (MR 411, 02A, Lifting equip-
ment).
aRemove:
-the battery (see Battery: Removal - Refitting)
(MR 411, 80A, Battery),
-the sequential gearbox computer (see 21B, Se-
quential gearbox, Sequential gearbox convert-
er: Removal - Refitting, page 21B-47) ,
-the battery tray (see Battery tray: Removal - Re-
fitting) (MR 411, 80A, Battery),-the petrol injection computer (see Petrol injection
computer: Removal - Refitting) (MR 411, 17B,
Petrol injection).
aDetach from the petrol injection computer mounting:
-the cooling hose,
-the sequential gearbox computer wiring harness,
-the petrol injection computer wiring harness,
-the battery wiring harness.
aRemove:
-the petrol injection computer mounting nut (1) , Special tooling required
Mot. 1390Suppor t for removal - refitting
of engine - gearbox assembly
Equipment required
Diagnostic tool
Tightening torquesm
left-hand suspended
engine mounting bolts21 N.m
left-hand suspended
engine mounting rubber
pad bolts62 N.m
left-hand suspended
engine mounting rubber
pad nut105 N.m
IMPORTANT
Consult the safety and cleanliness advice and oper-
ation recommendations before carrying out any
repair (see 21B, Sequential gearbox, Sequential
gearbox: Precautions for the repair, page 21B-1)
.
Note:
To discharge the accumulator and deactivate the
pump assembly pump, (see Fault finding -
Replacement of components) (MR 413, 21B,
Sequential gearbox).
122323
122322
Page 87 of 135
21B-27
SEQUENTIAL GEARBOX
Engagement sensor: Removal - Refitting
D4F, and JH1
21B
REMOVAL
I - REMOVAL PREPARATION OPERATION
aPosition the vehicle on a two-post lift (see Vehicle:
Towing and lifting) (MR 411, 02A, Lifting equip-
ment).
aRemove the front left-hand wheel (see Wheel: Re-
moval - Refitting) (MR 411, 35A, Wheels and ty-
res).II - OPERATION FOR REMOVAL OF PART
CONCERNED
aDisconnect the engagement sensor connector (1) .
aRemove:
-the engagement sensor bolts (2) ,
-the engagement sensor.
REFITTING
I - REFITTING OPERATION FOR PART
CONCERNED
aRefit:
-the engagement sensor,
-the engagement sensor bolts.
aConnect the engagement sensor connector.
II - FINAL OPERATION.
aRefit the front left-hand wheel (see Wheel: Removal
- Refitting) (MR 411, 35A, Wheels and tyres).
aCarry out the necessary operations using the Diag-
nostic tool (see Fault finding - Replacement of
components) (MR 413, 21B, Sequential gearbox). Equipment required
Diagnostic tool
IMPORTANT
Before carrying out any operation on the sequential
system, discharge the accumulator using the diag-
nostic tool.
IMPORTANT
Consult the safety and cleanliness advice and oper-
ation recommendations before carrying out any
repair (see 21B, Sequential gearbox, Sequential
gearbox: Precautions for the repair, page 21B-1)
.
122327
Page 88 of 135
21B-28
SEQUENTIAL GEARBOX
Actuator module: Removal - Refitting
D4F, and JH1
21B
The electro-hydraulic unit comprises the pump assem-
bly and the actuator module.
REMOVAL
I - REMOVAL PREPARATION OPERATION
aPosition the vehicle on a two-post lift (see Vehicle:
Towing and lifting) (MR 411, 02A, Lifting equip-
ment).
aRemove:
-the battery (see Battery: Removal - Refitting)
(MR 411, 80A, Battery),
-the sequential gearbox computer (see 21B, Se-
quential gearbox, Sequential gearbox convert-
er: Removal - Refitting, page 21B-47) ,-the battery tray (see Battery tray: Removal - Re-
fitting) (MR 411, 80A, Battery),
-the petrol injection computer (see Petrol injection
computer: Removal - Refitting) (MR 411, 17B,
Petrol injection),
-the rear suspended engine mounting (see Lower
engine tie-bar: Removal - Refitting) (MR 411,
19D, Engine mounting),
-the front wheels (see Wheel: Removal - Refitting)
(MR 411, 35A, Wheels and tyres),
-the front wheel arch liners (see Front wheel arch
liner: Removal - Refitting) (MR 412, 55A, Exterior
protection),
-the electro-hydraulic unit (see 21B, Sequential
gearbox, Electro-hydraulic unit: Removal - Re-
fitting, page 21B-11) ,
-the front axle subframe (see Front axle subframe:
Removal - Refitting) (MR 411, 31A, Front axle
components).
II - OPERATION FOR REMOVAL OF PART
CONCERNED
aDisconnect the supply connector from the pump as-
sembly pump.
aDetach the pump assembly pump supply connector
from the electro-hydraulic unit connector mounting. Special tooling required
Ms. 583Pipe clamps .
Equipment required
Diagnostic tool
Tightening torquesm
high pressure pipe
unions14 N.m
IMPORTANT
Before carrying out any operation on the sequential
system, discharge the accumulator using the diag-
nostic tool.
IMPORTANT
Consult the safety and cleanliness advice and oper-
ation recommendations before carrying out any
repair (see 21B, Sequential gearbox, Sequential
gearbox: Precautions for the repair, page 21B-1)
.
Note:
To discharge the accumulator and deactivate the
pump assembly pump, (see Fault finding -
Replacement of components) (MR 413, 21B,
Sequential gearbox).
Page 94 of 135
21B-34
SEQUENTIAL GEARBOX
Clutch position sensor: Removal - Refitting
D4F, and JH1
21B
REMOVAL
I - REMOVAL PREPARATION OPERATION
aPosition the vehicle on a two-post lift (see Vehicle:
Towing and lifting) (02A, Lifting equipment).
II - OPERATION FOR REMOVAL OF PART
CONCERNED
aDisconnect the clutch position sensor connector (1) .
aRemove:
-the clutch position sensor bolts (2) ,-the clutch position sensor.
REFITTING
I - REFITTING OPERATION FOR PART
CONCERNED
a
aPosition the clutch position sensor on the cylinder
control shaft.
aPivot the clutch position sensor clockwise until the
holes of the sensor are opposite the mounting holes.
aTighten the clutch position sensor bolts.
aConnect the clutch position sensor connector.
II - FINAL OPERATION.
aCarry out the necessary operations using the Diag-
nostic tool (see Fault finding - Replacement of
components) (21B, Sequential gearbox). Equipment required
Diagnostic tool
IMPORTANT
Consult the safety and cleanliness advice and oper-
ation recommendations before carrying out any
repair (see 21B, Sequential gearbox, Sequential
gearbox: Precautions for the repair, page 21B-1)
.
IMPORTANT
Before carrying out any operation on the sequential
system, discharge the accumulator using the diag-
nostic tool.
122326
127569
Note:
The clutch cab le (3) must be in place on the fork,
i.e. out of the cylinder casing.