wheel RENAULT TWINGO 2009 2.G Transmission Workshop Manual
[x] Cancel search | Manufacturer: RENAULT, Model Year: 2009, Model line: TWINGO, Model: RENAULT TWINGO 2009 2.GPages: 135
Page 3 of 135
Contents
Clutch position sensor :
Removal - Refitting 21B-34
Solenoid valve assembly
pressure sensor: Removal -
Refitting 21B-36
Sequential gearbox engine
speed sensor: Removal -
Refitting 21B-38
Sequential gearbox:
Removal - Refitting 21B-40
Sequential gearbox
converter: Removal -
Refitting 21B-47
Sequential gearbox gear
lever: Removal - Refitting 21B-48
29A DRIVESHAFTS
Driveshaft: Precautions for
the repair 29A-1
Front left-hand driveshaft:
Removal - Refitting 29A-2
Front right-hand driveshaft:
Removal - Refitting 29A-8
Relay shaft bearing:
Removal - Refitting 29A-13
Front driveshaft gaiter, wheel
side: Removal - Refitting 29A-14
Front right-hand driveshaft
gaiter, gearbox side:
Removal - Refitting 29A-18
Front left-hand driveshaft
gaiter, gearbox side:
Removal - Refitting 29A-23 21B SEQUENTIAL GEARBOX
Page 4 of 135
20A-1
CLUTCH
Clutch: Precautions for the repair
20A
Before removing the clutch, check:
-The direction of fitting for the clutch plate.
Before refitting the clutch, check:
-The flywheel friction track (no scratches or blue
stains),
-The crankshaft bearing (no sticking),
-The engine and gearbox seals (replace if necessary),
-The sliding action of the clutch plate on the output
shaft,
-The guide of the thrust bearing and clutch fork (no
wear or scratches).
During refitting:
Check the direction of the clutch plate.
Centre the clutch plate using the (Emb. 1518) or (Emb.
1780).
Gradually torque tighten the clutch pressure plate
bolts.
After refitting, check:
-The clutch play (for a cable operated vehicle),
-Bleeding of the hydraulic circuit (for vehicles with hy-
draulic controls).Special tooling required
Emb. 1518Set of clutch plate centr ing
mandrels
Emb. 1780Set of clutch plate centr ing
mandrels.
WARNING
To prevent the clutch from juddering or slipping, do
not grease the output shaft or the clutch plate hub.
Page 7 of 135
20A-4
CLUTCH
Pressure plate - Disc: Removal - Refitting
D4F – D7F – K9K
20A
REMOVAL
I - REMOVAL PREPARATION OPERATION
aPosition the vehicle on a two-post lift (see Vehicle:
Towing and lifting) (MR 411, 02A, Lifting equip-
ment).
aDisconnect the battery (see Battery: Removal - Re-
fitting) (MR 411, 80A, Battery).
aRemove the gearbox (see 21A, Manual gearbox,
Manual gearbox: Removal - Refitting, page 21A-
24) .II - OPERATION FOR REMOVAL OF PART
CONCERNED
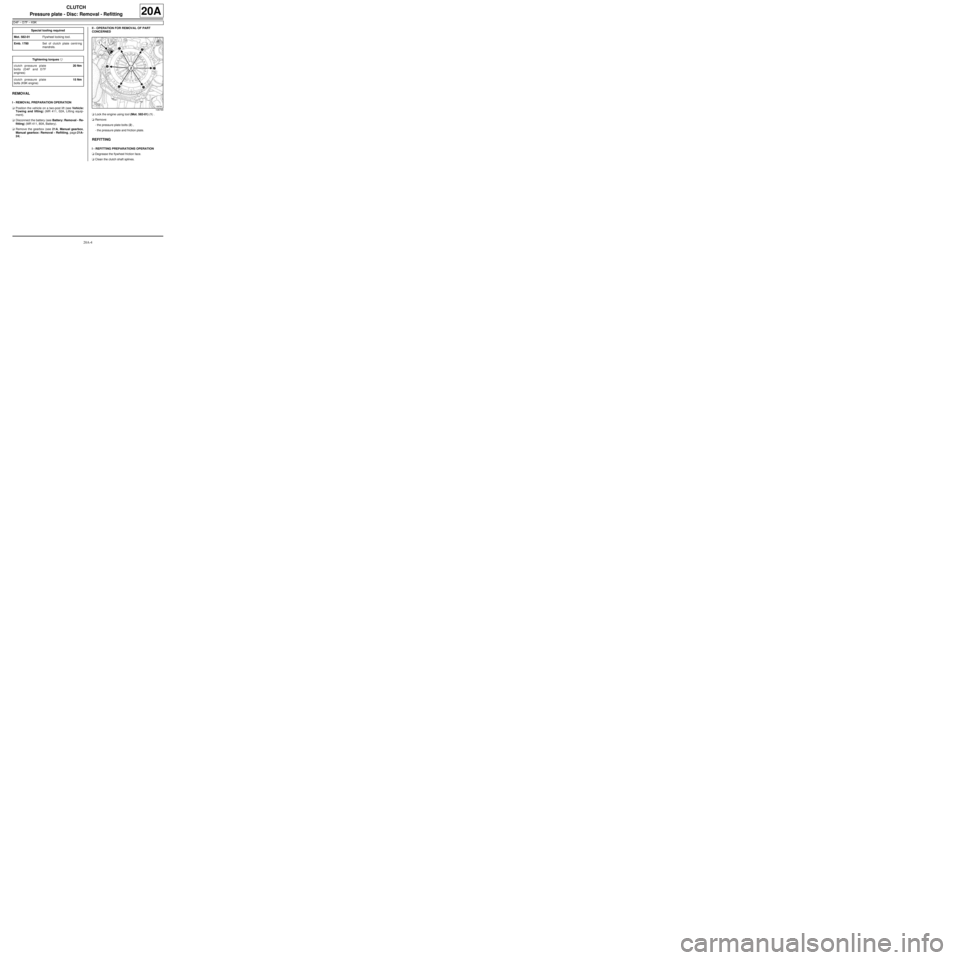
aLock the engine using tool (Mot. 582-01) (1) .
aRemove:
-the pressure plate bolts (2) ,
-the pressure plate and friction plate.
REFITTING
I - REFITTING PREPARATIONS OPERATION
aDegrease the flywheel friction face.
aClean the clutch shaft splines. Special tooling required
Mot. 582-01Flywheel locking tool.
Emb. 1780Set of clutch plate centr ing
mandrels.
Tightening torquesm
clutch pressure plate
bolts (D4F and D7F
engines)20 Nm
clutch pressure plate
bolts (K9K engine)15 Nm
108799
Page 8 of 135
20A-5
CLUTCH
Pressure plate - Disc: Removal - Refitting
D4F – D7F – K9K
20A
II - REFITTING OPERATION FOR PART
CONCERNED
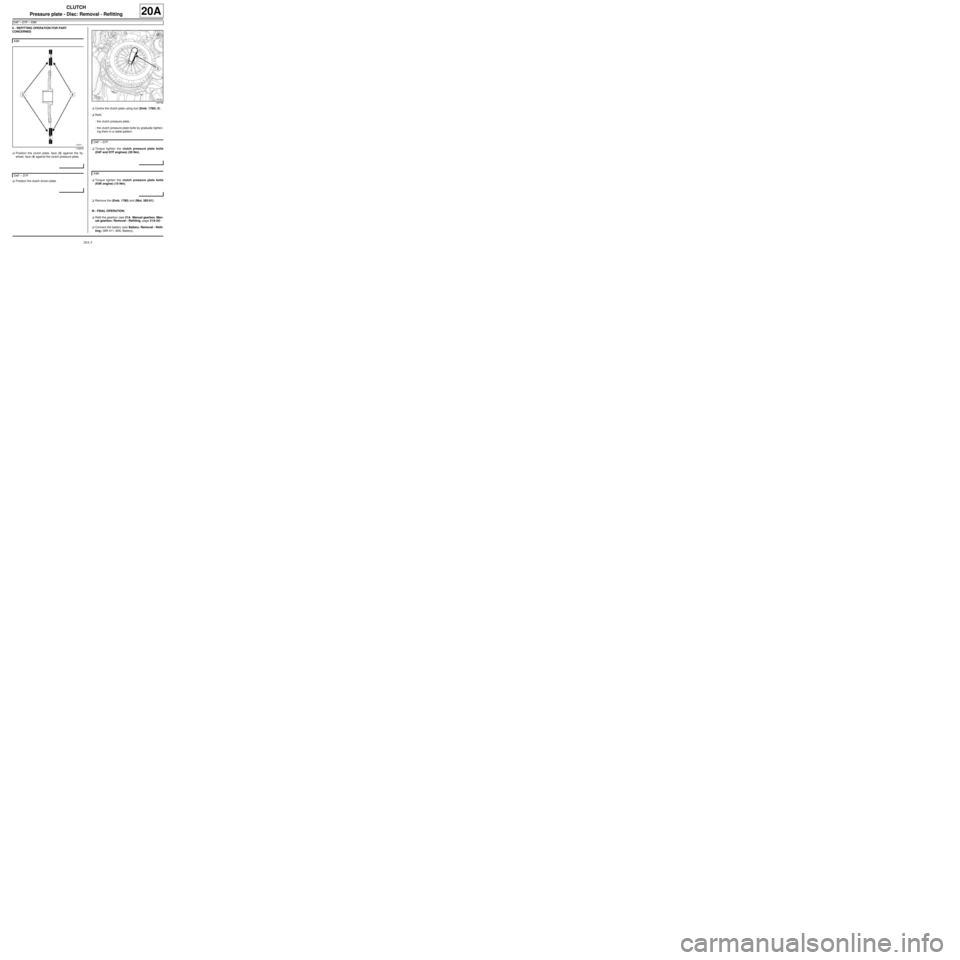
aPosition the clutch plate, face (3) against the fly-
wheel, face (4) against the clutch pressure plate.
aPosition the clutch driven plate.aCentre the clutch plate using tool (Emb. 1780) (5) .
aRefit:
-the clutch pressure plate,
-the clutch pressure plate bolts by gradually tighten-
ing them in a radial pattern.
aTorque tighten the clutch pressure plate bolts
(D4F and D7F engines) (20 Nm).
aTorque tighten the clutch pressure plate bolts
(K9K engine) (15 Nm).
aRemove the (Emb. 1780) and (Mot. 582-01).
III - FINAL OPERATION.
aRefit the gearbox (see 21A, Manual gearbox, Man-
ual gearbox: Removal - Refitting, page 21A-24) .
aConnect the battery (see Battery: Removal - Refit-
ting) (MR 411, 80A, Battery). K9K
118975
D4F – D7F
108798
D4F – D7F
K9K
Page 9 of 135
20A-6
CLUTCH
Pressure plate - Disc: Removal - Refitting
K4M
20A
REMOVAL
I - REMOVAL PREPARATION OPERATION
aPosition the vehicle on a two-post lift (see Vehicle:
Towing and lifting) (02A, Lifting equipment).
aRemove:
-the engine undertray bolts,
-the engine undertray,
-the battery (see Battery: Removal - Refitting)
(80A, Battery)
-the air filter box (see Air filter unit: Removal - Re-
fitting) (12A, Fuel mixture),
-the petrol injection computer (see Petrol injection
computer: Removal - Refitting) (17B, Petrol in-
jection),
-the battery tray (see Battery tray: Removal - Re-
fitting) (80A, Battery),
-the front wheels (see Wheel: Removal - Refitting)
(35A, Wheels and tyres),
-the front wheel arch liners (see Front wheel arch
liner: Removal - Refitting) (55A, Exterior protec-
tion),
-the front bumper (see Front bumper: Removal -
Refitting) (55A, Exterior protection).
aDrain:
-the gearbox (see 21A, Manual gearbox, Manual
gearbox oils: Draining - Filling, page 21A-2) ,
-the engine cooling system (see Cooling system:
Draining - Refilling) (19A, Cooling),
-the refrigerant circuit (see Refrigerant circuit:
Draining - Filling) (62A, Air conditioning).aRemove:
-the rear suspended engine mounting (see Lower
engine tie-bar: Removal - Refitting) (19D, En-
gine mounting),
-the front axle subframe (see Front axle subframe:
Removal - Refitting) (31A, Front axle compo-
nents),
-the front left-hand driveshaft (see 29A, Drive-
shafts, Front left-hand driveshaft: Removal -
Refitting, page 29A-2) ,
-the front right-hand driveshaft (see 29A, Drive-
shafts, Front right-hand driveshaft: Removal -
Refitting, page 29A-8) .
-the engine - gearbox assembly (see Engine -
gearbox assembly: Removal - Refitting) (10A,
Engine and peripherals),
-the manual gearbox (see 21A, Manual gearbox,
Manual gearbox: Removal - Refitting, page 21A-
24) .
II - OPERATION FOR REMOVAL OF PART
CONCERNED
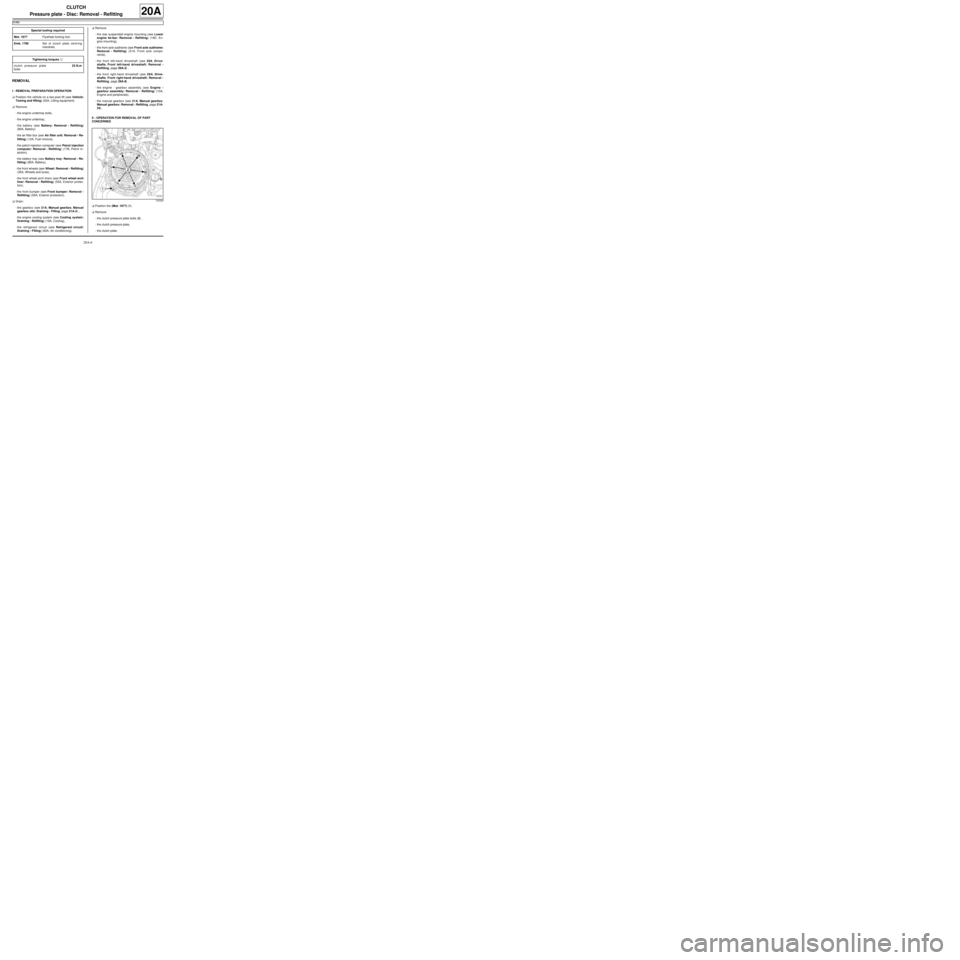
aPosition the (Mot. 1677) (1) .
aRemove:
-the clutch pressure plate bolts (2) ,
-the clutch pressure plate,
-the clutch plate. Special tooling required
Mot. 1677Flywheel locking tool.
Emb. 1780Set of clutch plate centr ing
mandrels.
Tightening torquesm
clutch pressure plate
bolts23 N.m
132329
Page 10 of 135
20A-7
CLUTCH
Pressure plate - Disc: Removal - Refitting
K4M
20A
REFITTING
I - REFITTING PREPARATION OPERATION
aUse SURFACE CLEANER (see Vehicle: Parts
and consumables for the repair) (04B, Consuma-
bles - Products) to clean and degrease:
-the flywheel friction face,
-the clutch shaft splines.
II - REFITTING OPERATION FOR PART
CONCERNED
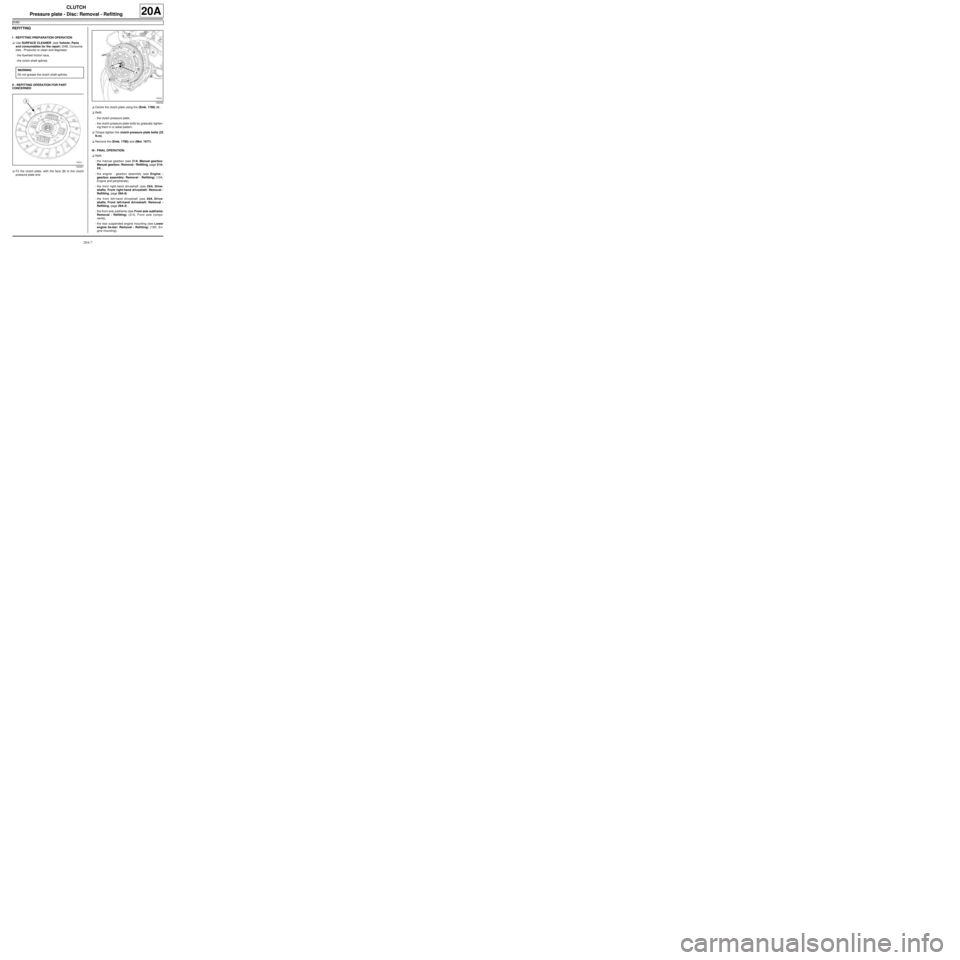
aFit the clutch plate, with the face (3) to the clutch
pressure plate end.aCentre the clutch plate using the (Emb. 1780) (4) .
aRefit:
-the clutch pressure plate,
-the clutch pressure plate bolts by gradually tighten-
ing them in a radial pattern.
aTorque tighten the clutch pressure plate bolts (23
N.m).
aRemove the (Emb. 1780) and (Mot. 1677).
III - FINAL OPERATION.
aRefit:
-the manual gearbox (see 21A, Manual gearbox,
Manual gearbox: Removal - Refitting, page 21A-
24) ,
-the engine - gearbox assembly (see Engine -
gearbox assembly: Removal - Refitting) (10A,
Engine and peripherals),
-the front right-hand driveshaft (see 29A, Drive-
shafts, Front right-hand driveshaft: Removal -
Refitting, page 29A-8) .
-the front left-hand driveshaft (see 29A, Drive-
shafts, Front left-hand driveshaft: Removal -
Refitting, page 29A-2) ,
-the front axle subframe (see Front axle subframe:
Removal - Refitting) (31A, Front axle compo-
nents),
-the rear suspended engine mounting (see Lower
engine tie-bar: Removal - Refitting) (19D, En-
gine mounting). WARNING
Do not grease the clutch shaft splines.
132331
132332
Page 11 of 135
20A-8
CLUTCH
Pressure plate - Disc: Removal - Refitting
K4M
20A
aRefill:
-the engine cooling system (see Cooling system:
Draining - Refilling) (19A, Cooling),
-the gearbox (see 21A, Manual gearbox, Manual
gearbox oils: Draining - Filling, page 21A-2) ,
-the refrigerant circuit (see Refrigerant circuit:
Draining - Filling) (62A, Air conditioning).
aRefit:
-the front bumper (see Front bumper: Removal -
Refitting) (55A, Exterior protection).
-the front wheel arch liners (see Front wheel arch
liner: Removal - Refitting) (55A, Exterior protec-
tion),
-the front wheels (see Wheel: Removal - Refitting)
(35A, Wheels and tyres),
-the battery tray (see Battery tray: Removal - Re-
fitting) (80A, Battery),
-the petrol injection computer (see Petrol injection
computer: Removal - Refitting) (17B, Petrol in-
jection),
-the air filter box (see Air filter unit: Removal - Re-
fitting) (12A, Fuel mixture),
-the battery (see Battery: Removal - Refitting)
(80A, Battery)
-the engine undertray.
Page 22 of 135
21A-7
MANUAL GEARBOX
Manual gearbox: List and location of components
JB1
21A
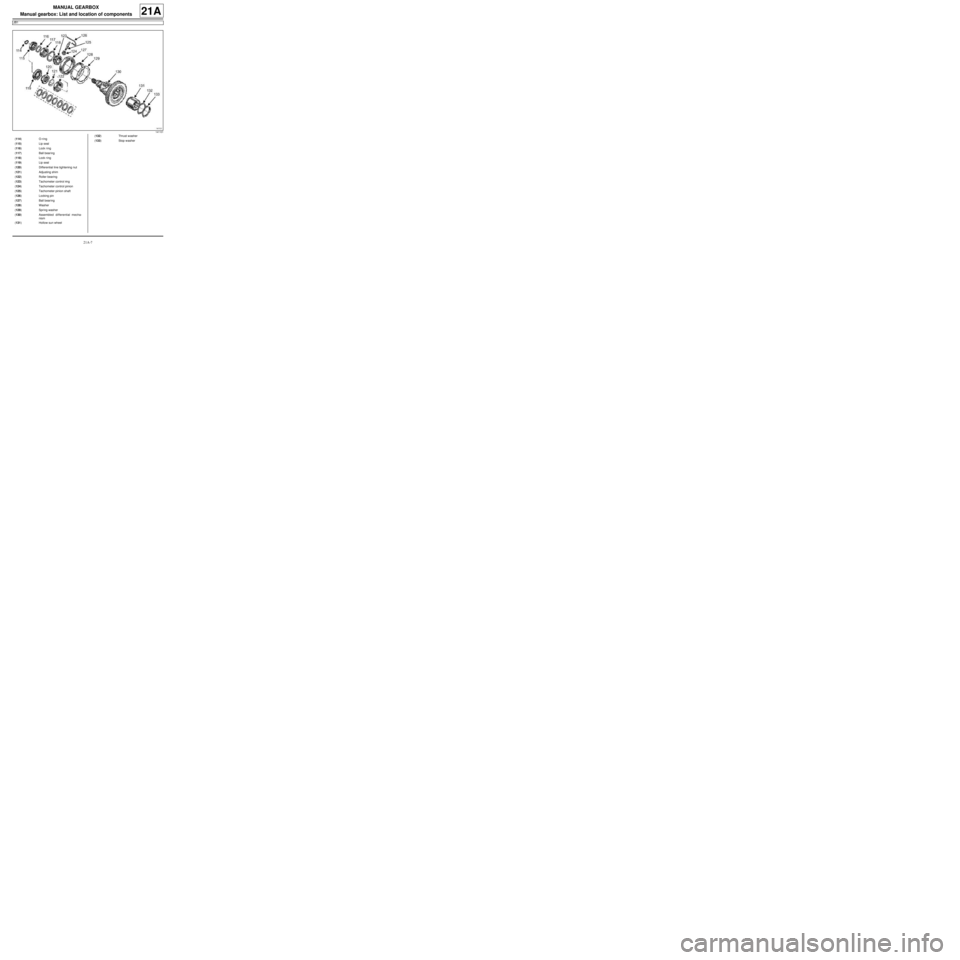
141101
(114) O-r ing
(115) Lip seal
(116) Lock r ing
(117) Ball bear ing
(118) Lock r ing
(119) Lip seal
(120) Differential line tightening nut
(121) Adjusting shim
(122) Roller bearing
(123) Tachometer control ring
(124) Tachometer control pinion
(125) Tachometer pinion shaft
(126) Locking pin
(127) Ball bear ing
(128) Washer
(129) Spring washer
(130) Assembled differential mecha-
nism
(131) Hollow sun wheel (132) Thrust w asher
(133) Stop washer
Page 25 of 135
21A-10
MANUAL GEARBOX
Manual gearbox: List and location of components
JH1 or JH3 or JR5
21A
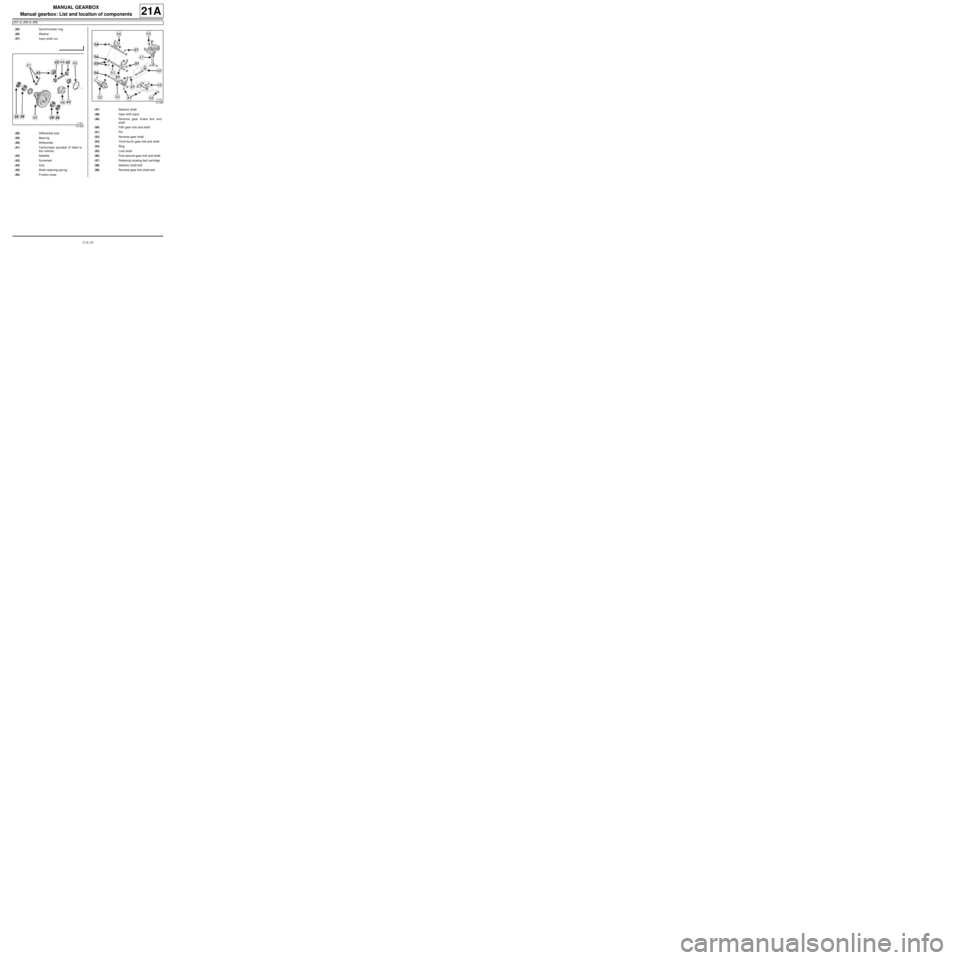
(35) Synchromesh r ing
(36) Washer
(37) Input shaft nut
101393
(38) Differential seal
(39) Bear ing
(40) Differential
(41) Tachometer sprocket (if fitted to
the vehicle)
(42) Satellite
(43) Sunwheel
(44) Axis
(45) Shaft retaining spr ing
(46) Fr iction cover
101390
(47) Selector shaft
(48) Gear shift catch
(49) Reverse gear brake fork and
shaft
(50) Fifth gear fork and shaft
(51) Pin
(52) Reverse gear shaft
(53) Third-four th gear fork and shaft
(54) Ring
(55) Lock shaft
(56) First-second gear fork and shaft
(57) Retaining locating ball car tridge
(58) Selector shaft bolt
(59) Reverse gear fork shaft bolt
Page 39 of 135
21A-24
MANUAL GEARBOX
Manual gearbox: Removal - Refitting
K9K, and JH3 or JR5
21A
REMOVAL
I - REMOVAL PREPARATION OPERATION
aPosition the vehicle on a two-post lift (see Vehicle:
Towing and lifting) (02A, Lifting equipment).
aRemove:
-the battery (see Battery: Removal - Refitting)
(80A, Battery),
-the battery tray (see Battery tray: Removal - Re-
fitting) (80A, Battery).
-the scuttle panel grille (see Scuttle panel grille:
Removal - Refitting) (56A, Exterior equipment),
-the scoop under the scuttle panel grille (see Scoop
under the scuttle panel grille: Removal - Refit-
ting) (56A, Exterior equipment).
aDisconnect the engine management computer con-
nectors.
aRemove:
-the engine management computer mounting bolts,
-the engine management computer mounting nuts.
aRemove the engine management computer mount-
ing.
aRemove the engine management computer wiring
harness nut from the engine management computer
mounting.
aRemove the engine management computer wiring
harness.
aRemove the engine management computer mount-
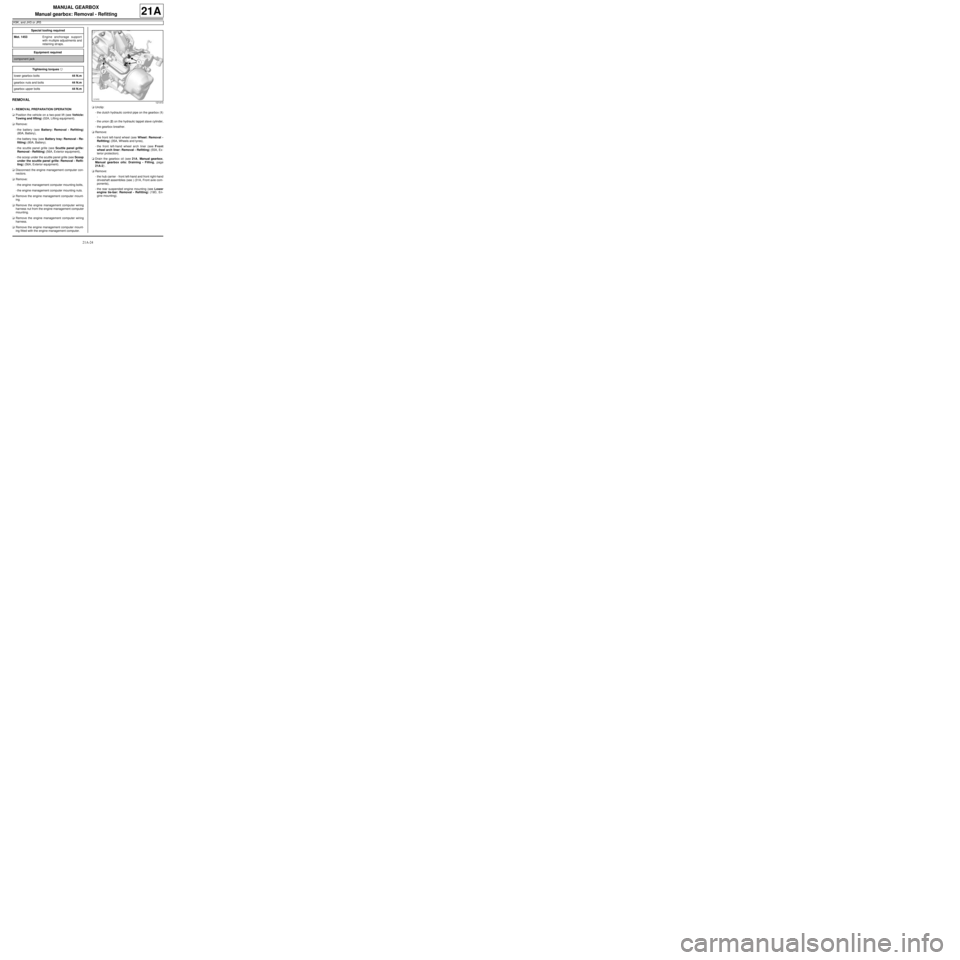
ing fitted with the engine management computer.aUnclip:
-the clutch hydraulic control pipe on the gearbox (1)
,
-the union (2) on the hydraulic tappet slave cylinder,
-the gearbox breather.
aRemove:
-the front left-hand wheel (see Wheel: Removal -
Refitting) (35A, Wheels and tyres),
-the front left-hand wheel arch liner (see Front
wheel arch liner: Removal - Refitting) (55A, Ex-
terior protection).
aDrain the gearbox oil (see 21A, Manual gearbox,
Manual gearbox oils: Draining - Filling, page
21A-2) .
aRemove:
-the hub carrier - front left-hand and front right-hand
driveshaft assemblies (see ) (31A, Front axle com-
ponents),
-the rear suspended engine mounting (see Lower
engine tie-bar: Removal - Refitting) (19D, En-
gine mounting). Special tooling required
Mot. 1453Engine anchorage support
with m ultiple adjustments and
retaining str aps.
Equipment required
component jack
Tightening torquesm
lower gearbox bolts44 N.m
gearbox nuts and bolts44 N.m
gearbox upper bolts44 N.m
121410