headlight RENAULT TWINGO RS 2009 2.G Electrical Equipment Owner's Manual
[x] Cancel search | Manufacturer: RENAULT, Model Year: 2009, Model line: TWINGO RS, Model: RENAULT TWINGO RS 2009 2.GPages: 241
Page 144 of 241
88A-8
WIRING HARNESS
Front left-hand wiring: Removal - Refitting
LEFT-HAND DRIVE
88A
-the front left-hand indicator connector,
-the front left-hand headlight connector,
-the front left-hand side light connector,
-the windscreen washer pump connector,
-the horn connector,
-the front right-hand side light connector,
-the front right-hand headlight connector,
-the front right-hand indicator connector.
aConnect the regulated additional heater connector.
aRefit the additional heater earth wiring nut.
aConnect the gearbox pump assembly relay connec-
tor.
aRefit:
-the windscreen wiper mechanism (see 85A, Wi-
ping - Washing, Windscreen wiper mechanism:
Removal - Refitting, page 85A-10) ,
-the earth wiring nut on the bodywork,
-the earth wiring nut on the negative battery termi-
nal,
-the hydraulic brake unit earth wiring nut,
-the earth wiring nut on the body,
-the earth wiring nut on the front left-hand side
member,
-the earth wiring nut on the front right-hand side
member,
aClip:
-the section of wiring onto the dashboard cross
member,
-the section of wiring onto the windscreen washer
reservoir
-the section of wiring onto the front bumper cross
member,
-the section of wiring onto the bulkhead.
aRefit the engine compartment connection unit nuts.aClip on:
-the fuse holders,
-the front left-hand wiring/engine harness connec-
tor.
aConnect the front left-hand wiring/engine harness
connector.
aRefit:
-the engine compartment connection unit supply wi-
ring nut,
-the fuses.
aClip on the engine compartment connection unit
board.
III - FINAL OPERATION
aRefit:
-the cover from the engine compartment connection
unit,
-the bolts.
aConnect the cruise control switch connector.
aRefit the dashboard lower trim.
aClip the glovebox in position.
aRefit:
-the left-hand suspended engine mounting (see
Left-hand suspended engine mounting: Remo-
val - Refitting) (MR 411, 19D, Engine mounting),
-the brake servo (see Brake servo: Removal - Re-
fitting) (MR 411, 37A, Mechanical component con-
trols),
-the master cylinder (see Master cylinder: Remo-
val - Refitting) (MR 411, 37A, Mechanical compo-
nent controls),
-the side indicators (see 80B, Headlights, Side in-
dicator: Removal - Refitting, page 80B-13) ,
-the front bumper (see Front bumper: Removal -
Refitting) (MR 412, 55A, Exterior protection), CLIMATE CONTROL
JH1
WARNING
To prevent damage to the wiring har ness when
refitting, obser ve the original routing.
CRUISE CONTROL
Page 172 of 241
88A-36
WIRING HARNESS
Engine wiring: Removal - Refitting
EQ UIPMENT LEVEL SPORT
88A
REMOVAL
I - REMOVAL PREPARATION OPERATION
aPosition the vehicle on a two-post lift (see Vehicle:
Towing and lifting) (02A, Lifting equipment).
aSwitch off the ignition.
aRemove:
-the engine undertray,
-the front wheels (see Wheel: Removal - Refitting)
(35A, Wheels and tyres),-the front wheel arch liners (see Front wheel arch
liner: Removal - Refitting) (55A, Exterior protec-
tion),
-the front bumper (see Front bumper: Removal -
Refitting) (55A, Exterior protection),
-the left-hand headlight (see 80B, Headlights,
Halogen headlight: Removal - Refitting, page
80B-7) ,
-the battery (see 80A, Battery, Battery: Removal -
Refitting, page 80A-2) ,
-the battery tray (see 80A, Battery, Battery tray:
Removal - Refitting, page 80A-6) ,
-the air filter unit (see Air filter unit: Removal - Re-
fitting) (12A, Fuel mixture),
-the windscreen wiper arms (see 85A, Wiping -
Washing, Windscreen wiper arm: Removal - Re-
fitting, page 85A-6) ,
-the scuttle panel grille (see Scuttle panel grille:
Removal - Refitting) (56A, Exterior equipment),
-the scoop under the scuttle panel grille (see Scoop
under the scuttle panel grille: Removal - Refit-
ting) (56A, Exterior equipment).
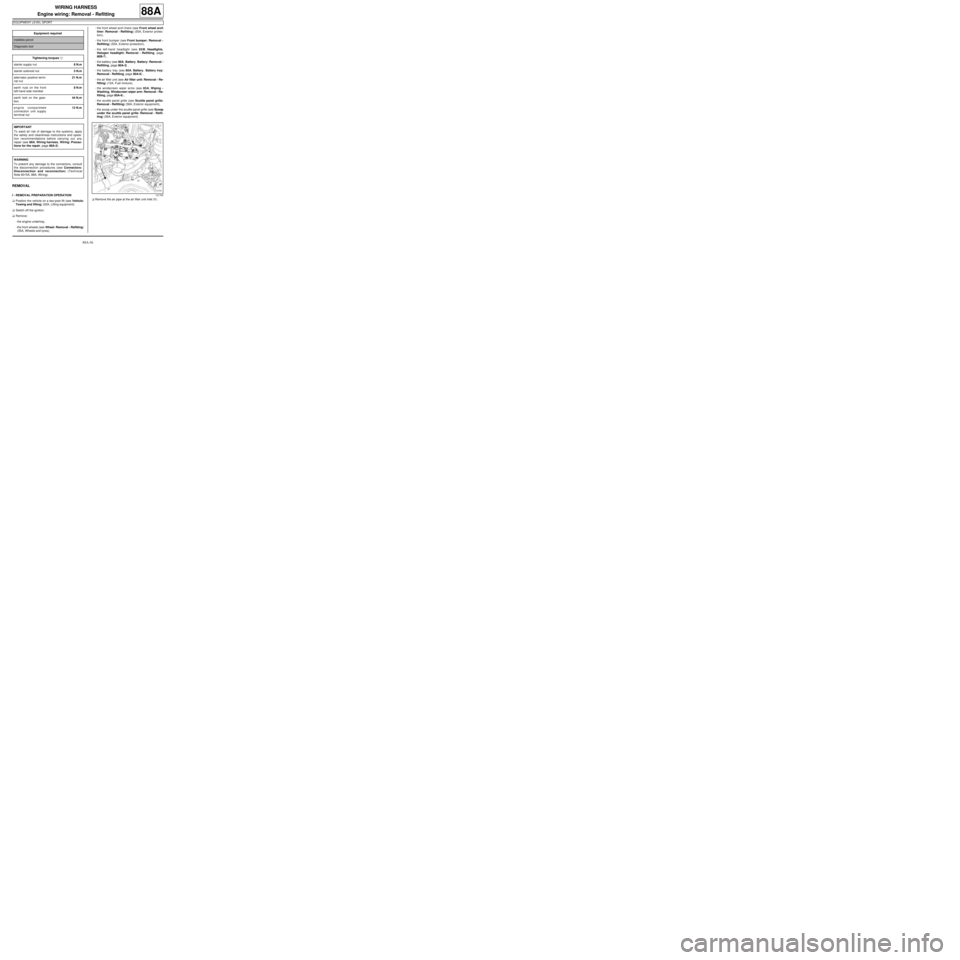
aRemove the air pipe at the air filter unit inlet (1) . Equipment required
indelible pencil
Diagnostic tool
Tightening torquesm
starter supply nut8 N.m
starter solenoid nut5 N.m
alter nator positive termi-
nal nut21 N.m
earth nuts on the front
left-hand side member8 N.m
earth bolt on the gear-
box44 N.m
engine compartment
connection unit supply
terminal nut12 N.m
IMPORTANT
To avoid all risk of damage to the systems, apply
the safety and cleanliness instructions and opera-
tion recommendations before carrying out any
repair (see 88A, Wiring harness, Wiring: Precau-
tions for the repair, page 88A-2) .
WARNING
To prevent any damage to the connectors, consult
the disconnection procedures (see Connectors:
Disconnection and reconnection) (Technical
Note 6015A, 88A, Wiring).
131763
Page 177 of 241
88A-41
WIRING HARNESS
Engine wiring: Removal - Refitting
EQ UIPMENT LEVEL SPORT
88A
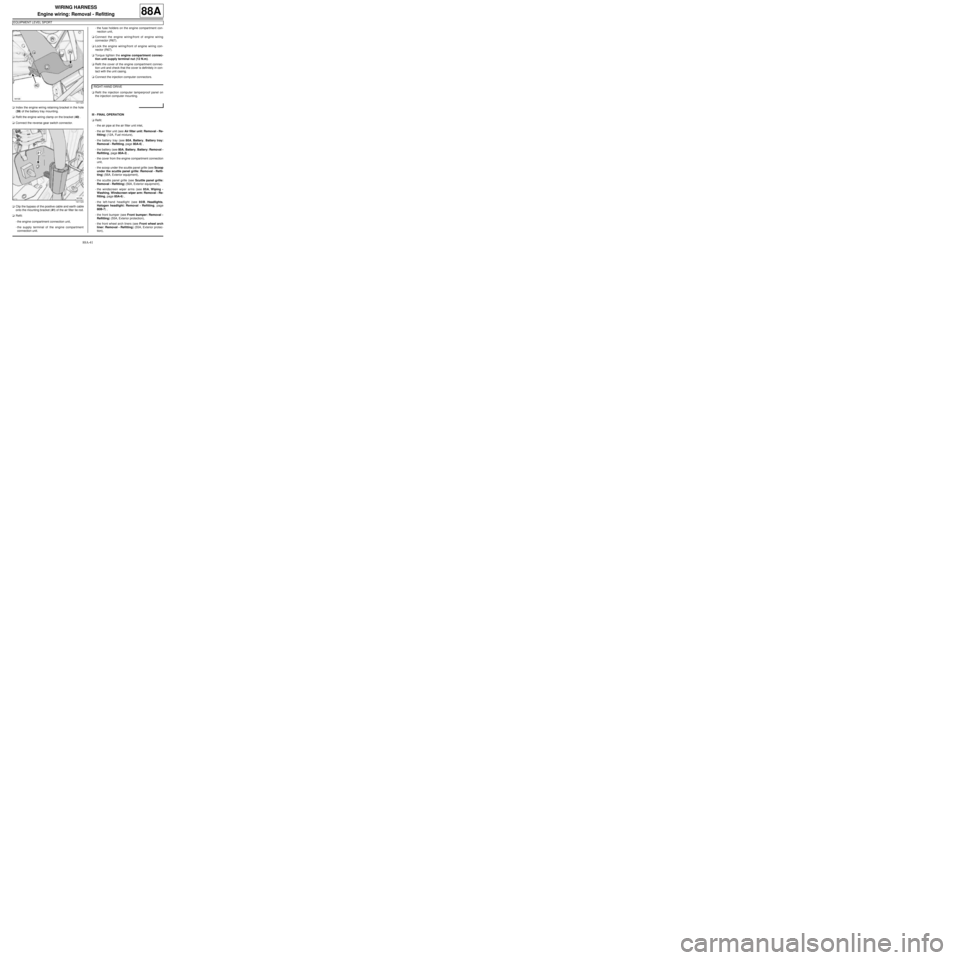
aIndex the engine wiring retaining bracket in the hole
(39) of the battery tray mounting.
aRefit the engine wiring clamp on the bracket (40) .
aConnect the reverse gear switch connector.
aClip the bypass of the positive cable and earth cable
onto the mounting bracket (41) of the air filter tie rod.
aRefit:
-the engine compartment connection unit,
-the supply terminal of the engine compartment
connection unit.-the fuse holders on the engine compartment con-
nection unit,
aConnect the engine wiring/front of engine wiring
connector (R67).
aLock the engine wiring/front of engine wiring con-
nector (R67).
aTorque tighten the engine compartment connec-
tion unit supply terminal nut (12 N.m).
aRefit the cover of the engine compartment connec-
tion unit and check that the cover is definitely in con-
tact with the unit casing.
aConnect the injection computer connectors.
aRefit the injection computer tamperproof panel on
the injection computer mounting.
III - FINAL OPERATION
aRefit:
-the air pipe at the air filter unit inlet,
-the air filter unit (see Air filter unit: Removal - Re-
fitting) (12A, Fuel mixture),
-the battery tray (see 80A, Battery, Battery tray:
Removal - Refitting, page 80A-6) ,
-the battery (see 80A, Battery, Battery: Removal -
Refitting, page 80A-2) ,
-the cover from the engine compartment connection
unit,
-the scoop under the scuttle panel grille (see Scoop
under the scuttle panel grille: Removal - Refit-
ting) (56A, Exterior equipment),
-the scuttle panel grille (see Scuttle panel grille:
Removal - Refitting) (56A, Exterior equipment),
-the windscreen wiper arms (see 85A, Wiping -
Washing, Windscreen wiper arm: Removal - Re-
fitting, page 85A-6) ,
-the left-hand headlight (see 80B, Headlights,
Halogen headlight: Removal - Refitting, page
80B-7) ,
-the front bumper (see Front bumper: Removal -
Refitting) (55A, Exterior protection),
-the front wheel arch liners (see Front wheel arch
liner: Removal - Refitting) (55A, Exterior protec-
tion),
141123
141124
RIGHT-HAND DRIVE
Page 192 of 241
88A-56
WIRING HARNESS
Passenger compartment wiring: Removal - Refitting
LEFT-HAND DRIVE
88A
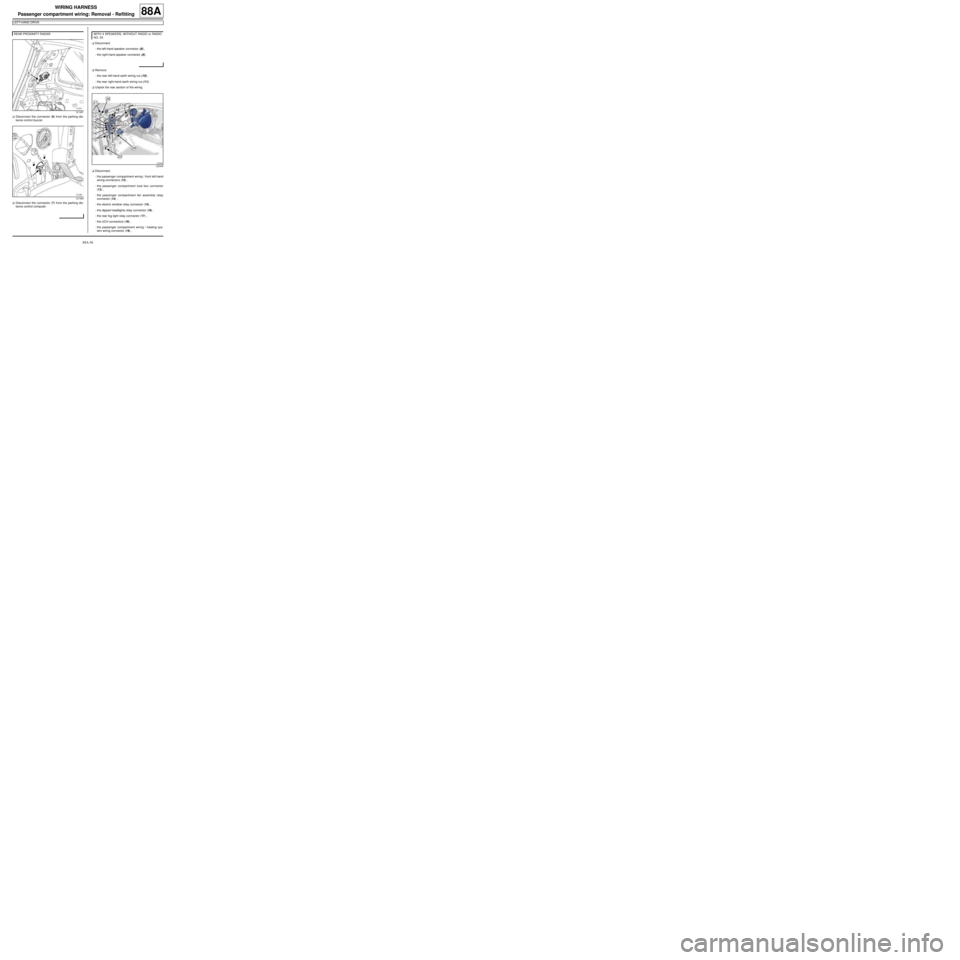
aDisconnect the connector (6) from the parking dis-
tance control buzzer.
aDisconnect the connector (7) from the parking dis-
tance control computer.aDisconnect:
-the left-hand speaker connector (8) ,
-the right-hand speaker connector (9) .
aRemove:
-the rear left-hand earth wiring nut (10) ,
-the rear right-hand earth wiring nut (11) .
aUnpick the rear section of the wiring.
aDisconnect:
-the passenger compartment wiring / front left-hand
wiring connectors (12) ,
-the passenger compartment fuse box connector
(13) ,
-the passenger compartment fan assembly relay
connector (14) ,
-the electric window relay connector (15) ,
-the dipped headlights relay connector (16) ,
-the rear fog light relay connector (17) ,
-the UCH connectors (18) ,
-the passenger compartment wiring / heating sys-
tem wiring connector (19) , REAR PROXIMITY RADAR
121367
121369
WITH 4 SPEAKERS, WITHOUT RADIO or RADIO
NO. 03
122345
Page 194 of 241
88A-58
WIRING HARNESS
Passenger compartment wiring: Removal - Refitting
LEFT-HAND DRIVE
88A
-the section of wiring on the floor.
aRemove the passenger compartment wiring.
REFITTING
I - REFITTING PREPARATIONS OPERATION
aIf replacing with more wiring, immobilise the unused
connectors (see Connector: Sealing and immobi-
lising) (Technical Note 6015A, 88A, Wiring).
II - REFITTING OPERATION FOR PART
CONCERNED
aRefit the passenger compartment wiring.
aClip:
-the section of wiring onto the floor,
-the section of wiring onto the dashboard.
aRefit:
-the earth wiring nut on the right-hand side of the
dashboard,
-the passenger compartment wiring / passenger's
door wiring connector bolts.
aConnect the passenger compartment wiring / pas-
senger's door wiring connector.
aRefit the radio earth wiring nut.
aConnect:
-the airbag computer connector,
-the gear lever switch connector,
-the side impact sensor connectors.
aRefit:
-the tunnel earth wiring nut,
-the dashboard cross member earth wiring nut,
-the passenger compartment wiring / driver's door
wiring connector bolts.
aConnect the passenger compartment wiring / dri-
ver's door wiring connector.aConnect the fog light relay connector.
aConnect the passenger compartment wiring / sun-
roof wiring connector.
aConnect:
-the passenger compartment wiring / interior lights
wiring connector,
-the passenger compartment wiring / heating sys-
tem wiring connector,
-the UCH connectors,
-the rear fog light relay connector,
-the dipped headlights relay connector,
-the electric window relay connector,
-the passenger compartment fan assembly relay
connector,
-the passenger compartment fuse box connector,
-the passenger compartment wiring / front left-hand
wiring connectors.
aClip on the rear section of the wiring.
aRefit:
-the rear right-hand earth wiring nut,
-the rear left-hand earth wiring nut.
aConnect:
-the right-hand speaker connector,
-the left-hand speaker connector.
aConnect:
-the parking distance control computer connector, WARNING
To prevent any damage during the removal ope-
ration, check that the wiring is free from its moun-
tings (retaining clip, plastic clip, adhesive tape,
connector, etc.).
FOG LIGHTS
OPENING ROOF
WITH 4 SPEAKERS, WITHOUT RADIO or RADIO
NO. 03
REAR PROXIMITY RADAR
Page 198 of 241
88A-62
WIRING HARNESS
Passenger compartment wiring: Removal - Refitting
RIGHT-HAND DRIVE
88A
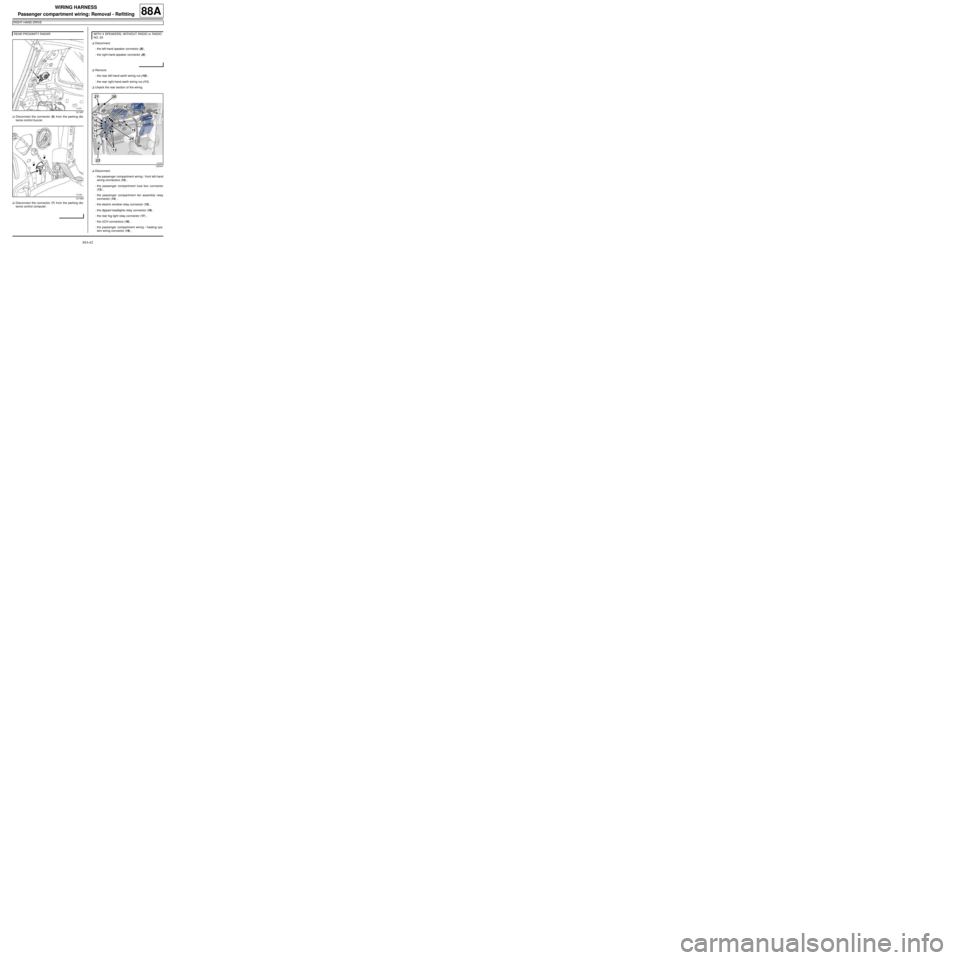
aDisconnect the connector (6) from the parking dis-
tance control buzzer.
aDisconnect the connector (7) from the parking dis-
tance control computer.aDisconnect:
-the left-hand speaker connector (8) ,
-the right-hand speaker connector (9) .
aRemove:
-the rear left-hand earth wiring nut (10) ,
-the rear right-hand earth wiring nut (11) .
aUnpick the rear section of the wiring.
aDisconnect:
-the passenger compartment wiring / front left-hand
wiring connectors (12) ,
-the passenger compartment fuse box connector
(13) ,
-the passenger compartment fan assembly relay
connector (14) ,
-the electric window relay connector (15) ,
-the dipped headlights relay connector (16) ,
-the rear fog light relay connector (17) ,
-the UCH connectors (18) ,
-the passenger compartment wiring / heating sys-
tem wiring connector (19) , REAR PROXIMITY RADAR
121367
121369
WITH 4 SPEAKERS, WITHOUT RADIO or RADIO
NO. 03
122347
Page 200 of 241
88A-64
WIRING HARNESS
Passenger compartment wiring: Removal - Refitting
RIGHT-HAND DRIVE
88A
-the section of wiring on the floor.
aRemove the passenger compartment wiring.
REFITTING
I - REFITTING PREPARATIONS OPERATION
aIf replacing with more wiring, immobilise the unused
connectors (see Connector: Sealing and immobi-
lising) (Technical Note 6015A, 88A, Wiring).
II - REFITTING OPERATION FOR PART
CONCERNED
aRefit the passenger compartment wiring.
aClip:
-the section of wiring onto the floor,
-the section of wiring onto the dashboard.
aRefit:
-the earth wiring nut on the right-hand side of the
dashboard,
-the passenger compartment wiring / driver's door
wiring connector bolts.
aConnect the passenger compartment wiring / dri-
ver's door wiring connector.
aRefit the radio earth wiring nut.
aConnect:
-the airbag computer connector,
-the gear lever switch connector,
-the side impact sensor connectors.
aRefit:
-the tunnel earth wiring nut,
-the dashboard cross member earth wiring nut,
-the passenger compartment wiring / passenger's
door wiring connector bolts.
aConnect the passenger compartment wiring / pas-
senger's door wiring connector.aConnect the fog light relay connector.
aConnect the passenger compartment wiring / sun-
roof wiring connector.
aConnect:
-the passenger compartment wiring / interior lights
wiring connector,
-the passenger compartment wiring / heating sys-
tem wiring connector,
-the UCH connectors,
-the rear fog light relay connector,
-the dipped headlights relay connector,
-the electric window relay connector,
-the passenger compartment fan assembly relay
connector,
-the passenger compartment fuse box connector,
-the passenger compartment wiring / front left-hand
wiring connectors.
aClip on the rear section of the wiring.
aRefit:
-the rear right-hand earth wiring nut,
-the rear left-hand earth wiring nut.
aConnect:
-the right-hand speaker connector,
-the left-hand speaker connector.
aConnect:
-the parking distance control computer connector, WARNING
To prevent any damage during the removal ope-
ration, check that the wiring is free from its moun-
tings (retaining clip, plastic clip, adhesive tape,
connector, etc.).
FOG LIGHTS
OPENING ROOF
WITH 4 SPEAKERS, WITHOUT RADIO or RADIO
NO. 03
REAR PROXIMITY RADAR