heating RENAULT TWINGO RS 2009 2.G Engine And Peripherals Owner's Manual
[x] Cancel search | Manufacturer: RENAULT, Model Year: 2009, Model line: TWINGO RS, Model: RENAULT TWINGO RS 2009 2.GPages: 652
Page 417 of 652
13C-2
PREHEATING
Heater plugs: Removal - Refitting
K9K
13C
REMOVAL
I - REMOVAL PREPARATION OPERATION
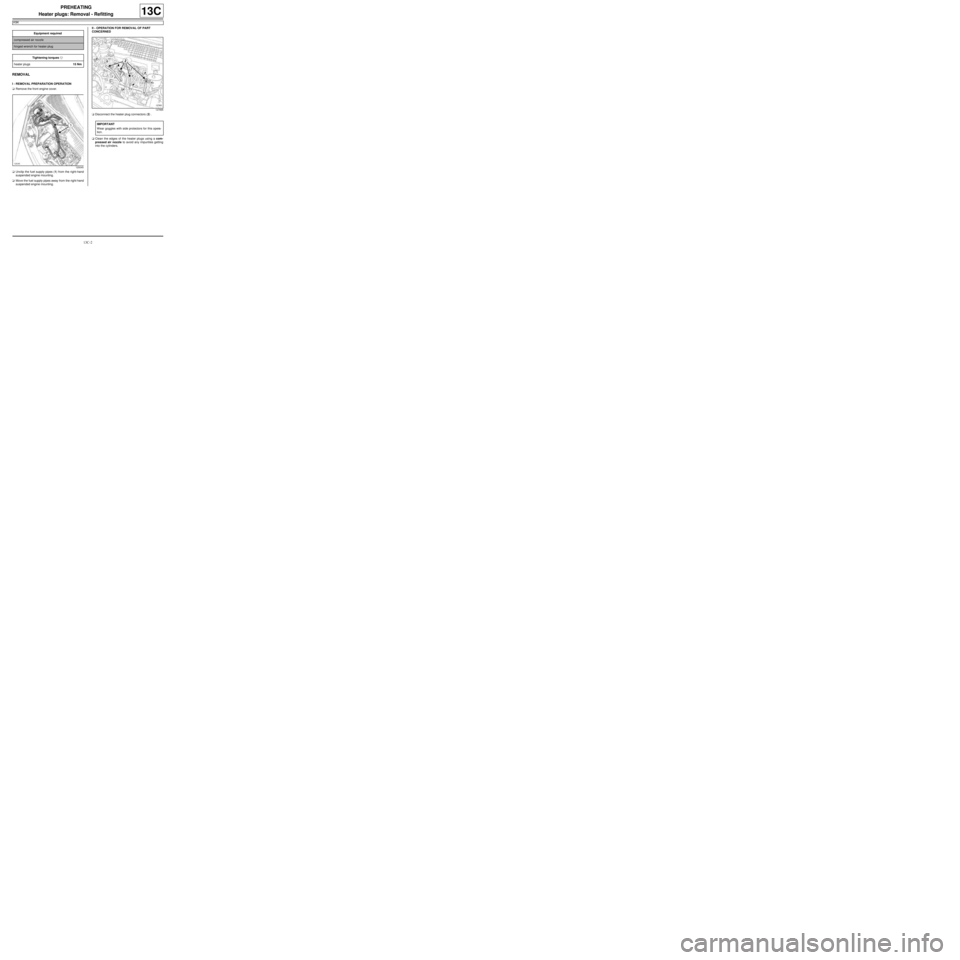
aRemove the front engine cover.
aUnclip the fuel supply pipes (1) from the right-hand
suspended engine mounting.
aMove the fuel supply pipes away from the right-hand
suspended engine mounting.II - OPERATION FOR REMOVAL OF PART
CONCERNED
aDisconnect the heater plug connectors (2) .
aClean the edges of the heater plugs using a com-
pressed air nozzle to avoid any impurities getting
into the cylinders. Equipment required
compressed air nozzle
hinged wrench for heater plug
Tightening torquesm
heater plugs15 Nm
120045
127895
IMPORTANT
Wear goggles with side protectors for this opera-
tion.
Page 418 of 652
13C-3
PREHEATING
Heater plugs: Removal - Refitting
K9K
13C
a
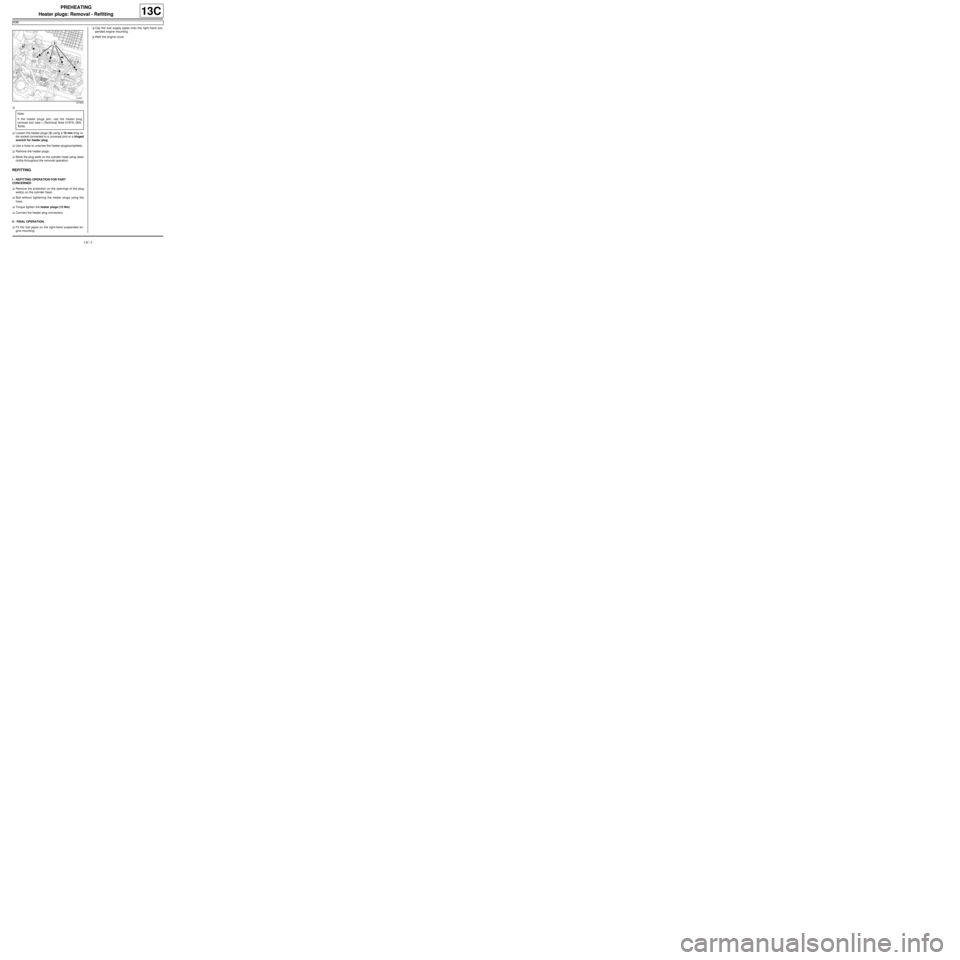
aLoosen the heater plugs (3) using a 10 mm long ra-
dio socket connected to a universal joint or a hinged
wrench for heater plug.
aUse a hose to unscrew the heater plugscompletely.
aRemove the heater plugs.
aBlock the plug wells on the cylinder head using clean
cloths throughout the removal operation.
REFITTING
I - REFITTING OPERATION FOR PART
CONCERNED
aRemove the protection on the openings of the plug
well(s) on the cylinder head.
aBolt without tightening the heater plugs using the
hose.
aTorque tighten the heater plugs (15 Nm).
aConnect the heater plug connectors.
II - FINAL OPERATION.
aFit the fuel pipes on the right-hand suspended en-
gine mounting.aClip the fuel supply pipes onto the right-hand sus-
pended engine mounting.
aRefit the engine cover.
127905
Note:
If the heater plugs jam, use the heater plug
removal tool (see ) (Technical Note 5197A, 06A,
Tools).
Page 440 of 652
16A-1
STARTING - CHARGING
Alternator: Removal - Refitting
D4F or D7F, and STANDARD HEATING
16A
REMOVAL
I - REMOVAL PREPARATION OPERATION
aDisconnect the battery (see ) (MR 411, 80A, Bat-
tery).
aRemove:
-the front right-hand wheel (see Wheel: Removal -
Refitting) (MR 411, 35A, Wheels and tyres),
-the front right-hand wheel arch liner (see Front
wheel arch liner: Removal - Refitting) (MR 412,
55A, Exterior protection).
aUndo the lower bolt on the sub-frame tie-rod.
aRemove the upper bolt from the sub-frame tie-rod.
aRemove the sub-frame tie-rod.
aRemove the accessories belt (see 11A, Top and
front of engine, Accessories belt: Removal - Re-
fitting, page 11A-3) . Tightening torquesm
alter nator bolts25 Nm
sub-frame tie-rod lower
bolt62 Nm
sub-frame tie-rod upper
bolt21 Nm
Page 441 of 652
16A-2
STARTING - CHARGING
Alternator: Removal - Refitting
D4F or D7F, and STANDARD HEATING
16A
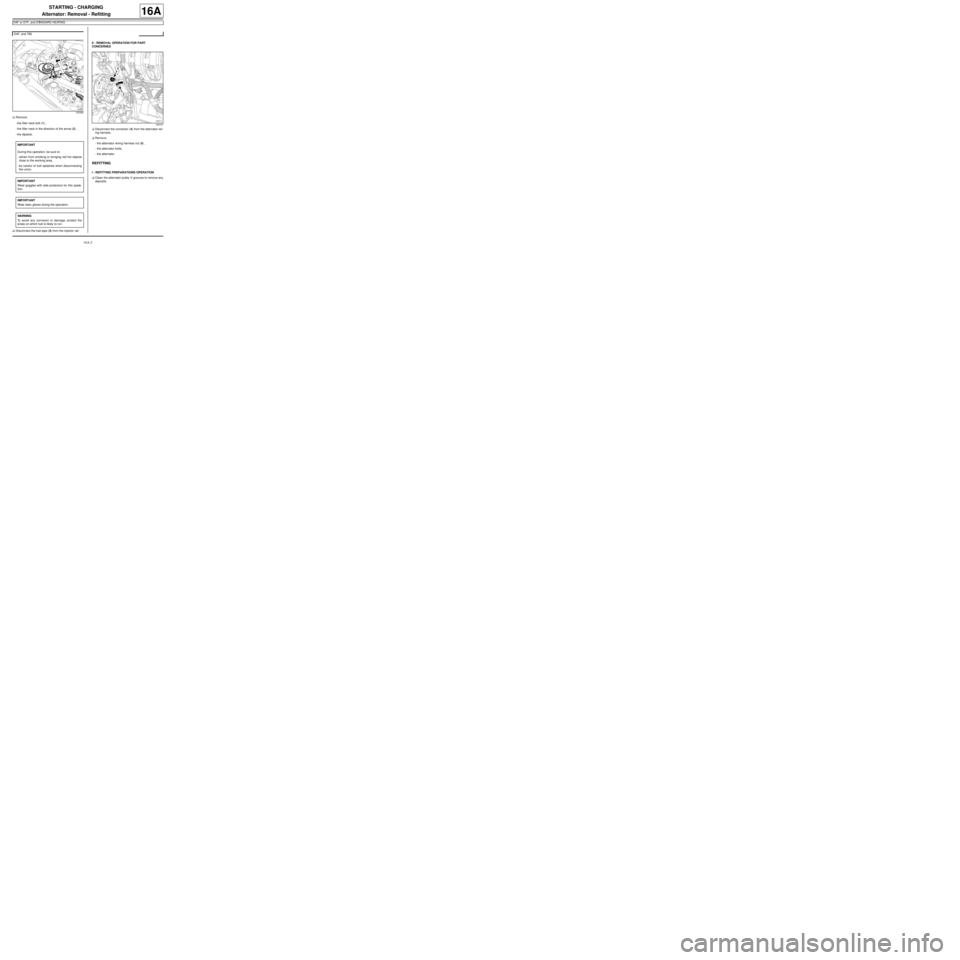
aRemove:
-the filler neck bolt (1) ,
-the filler neck in the direction of the arrow (2) ,
-the dipstick.
aDisconnect the fuel pipe (3) from the injector rail.II - REMOVAL OPERATION FOR PART
CONCERNED
aDisconnect the connector (4) from the alternator wir-
ing harness.
aRemove:
-the alternator wiring harness nut (5) ,
-the alternator bolts,
-the alternator.
REFITTING
I - REFITTING PREPARATIONS OPERATION
aClean the alternator pulley V-grooves to remove any
deposits. D4F, and 780
122392
IMPORTANT
During this operation, be sure to:
-refrain from smoking or bringing red hot objects
close to the working area,
-be careful of fuel splashes when disconnecting
the union.
IMPORTANT
Wear goggles with side protectors for this opera-
tion.
IMPORTANT
Wear latex gloves during the operation.
WARNING
To avoid any corrosion or damage, protect the
areas on which fuel is likely to run.
109727
Page 442 of 652
16A-3
STARTING - CHARGING
Alternator: Removal - Refitting
D4F or D7F, and STANDARD HEATING
16A
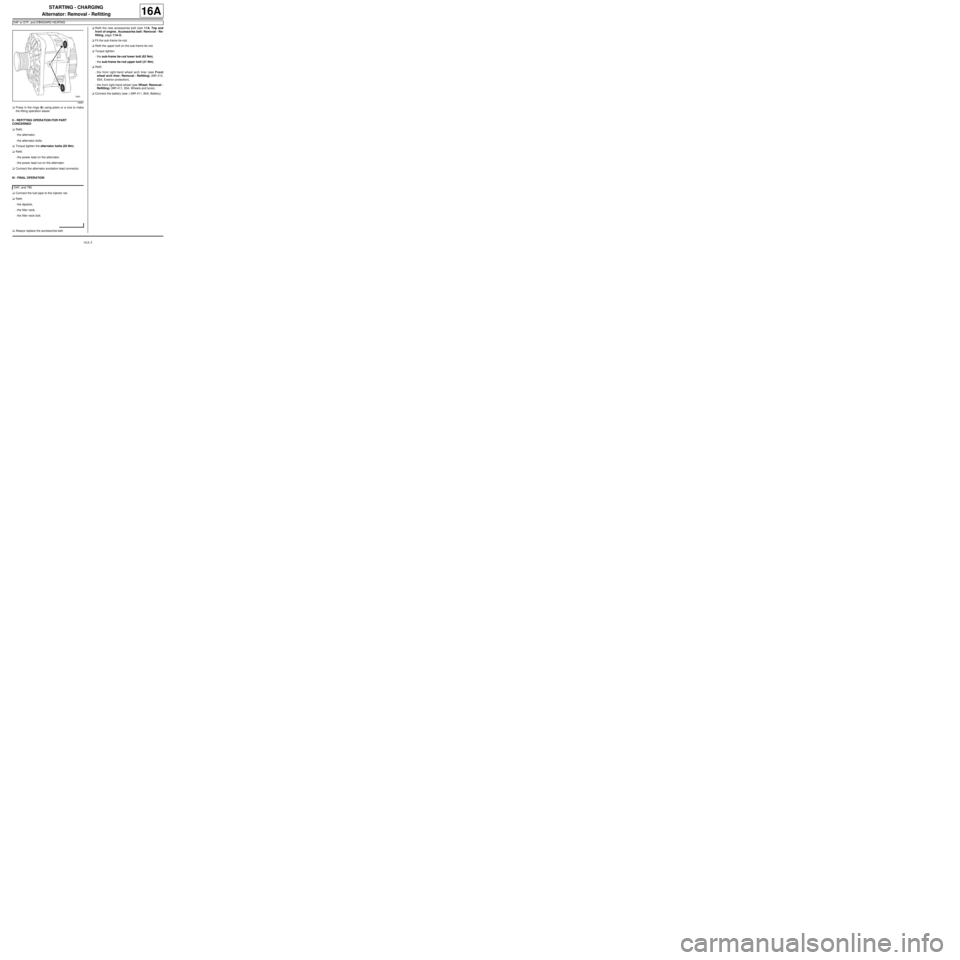
aPress in the rings (6) using pliers or a vice to make
the fitting operation easier.
II - REFITTING OPERATION FOR PART
CONCERNED
aRefit:
-the alternator,
-the alternator bolts.
aTorque tighten the alternator bolts (25 Nm).
aRefit:
-the power lead on the alternator,
-the power lead nut on the alternator.
aConnect the alternator excitation lead connector.
III - FINAL OPERATION
aConnect the fuel pipe to the injector rail.
aRefit:
-the dipstick,
-the filler neck,
-the filler neck bolt.
aAlways replace the accessories belt.aRefit the new accessories belt (see 11A, Top and
front of engine, Accessories belt: Removal - Re-
fitting, page 11A-3) .
aFit the sub-frame tie-rod.
aRefit the upper bolt on the sub-frame tie-rod.
aTorque tighten:
-the sub-frame tie-rod lower bolt (62 Nm),
-the sub-frame tie-rod upper bolt (21 Nm).
aRefit:
-the front right-hand wheel arch liner (see Front
wheel arch liner: Removal - Refitting) (MR 412,
55A, Exterior protection),
-the front right-hand wheel (see Wheel: Removal -
Refitting) (MR 411, 35A, Wheels and tyres).
aConnect the battery (see ) (MR 411, 80A, Battery).
18987
D4F, and 780
Page 445 of 652
16A-6
STARTING - CHARGING
Alternator: Removal - Refitting
K9K
16A
aFor removing and refitting the alternator (see 11A,
Top and front of engine, Accessories belt: Re-
moval - Refitting, page 11A-3) .
aFor removing and refitting the alternator (see 11A,
Top and front of engine, Accessories belt: Re-
moval - Refitting, page 11A-3) . AIR CONDITIONING or CLIMATE CONTROL
STANDARD HEATING
Page 511 of 652
19A-1
COOLING
Engine cooling system: Specifications
D4F or D7F or K4M or K9K
19A
Vehicles in the current range have cooling systems
with the following basic specifications:
-hermetically-sealed pressurised circuit (with expan-
sion bottle valve),
-circuit using only type « D » fluid,
-passenger compartment heating system equipped
with a « heater matrix » type radiator located under
the dashboard which helps to cool the engine.
Coolant quantities
Special notes:
-protection down to - 25˚C ±± ± ±
2 for cold and temperate
countries,
-protection down to - 40˚C ±± ± ±
2 for "extreme cold" coun-
tries.
Thermostat opening temperaturesEngine Quantity
(litres)Grade
D7F 800 5.5
Only use coolant
GLACEOL RX
(type D) D4F 772 5.5
K9K 740 5.7
D4F 780 5.7
D4F 782 5.7
K4M 854 5.7
Engine Star t o f
opening (˚C)Fully open (˚C)
D7F89 99
D4F89 99 ±± ± ±
2
K9K83 ±± ± ±
395
K4M89 101
Page 521 of 652
19A-11
COOLING
Cooling system: Draining - Refilling
D4F or D7F or K4M or K9K
19A
aMaintain the engine speed at 1500 rpm, sharply
varying the engine speed (up to the maximum) 2 to
3 times approximately every 2 minutes until the fan
assembly starts for the second time.
aMaintain the engine speed at 3000 rpm using a ped-
al press, until the fan assembly has been activated
for a third time.
aCheck that the heating is operating correctly.
aAllow the engine to cool until the engine coolant tem-
perature is less than 50˚C.
aRemove the expansion bottle cap.
aAdjust the coolant fluid level to the "Max" mark.
aRefit the expansion bottle cap.
V - FINAL OPERATION
aRemove the coolant recovery tray.
aRefit the engine undertray. K9K
K4M
K4M
Page 528 of 652
19A-18
COOLING
Cooling radiator: Removal - Refitting
D4F or D7F, and STANDARD HEATING
19A
REMOVAL
I - REMOVAL PREPARATION OPERATION
aPosition the vehicle on a two-post lift (see Vehicle:
Towing and lifting) (MR 411, 02A, Lifting equip-
ment).
aDisconnect the battery (see ) (MR 411, 80A, Bat-
tery).
aRemove:
-the front wheels (see Wheel: Removal - Refitting)
(MR 411, 35A, Wheels and tyres),
-the front wheel arch liners (see Front wheel arch
liner: Removal - Refitting) (MR 412, 55A, Exterior
protection),
-the front bumper (see Front bumper: Removal -
Refitting) (MR 412, 55A, Exterior protection).
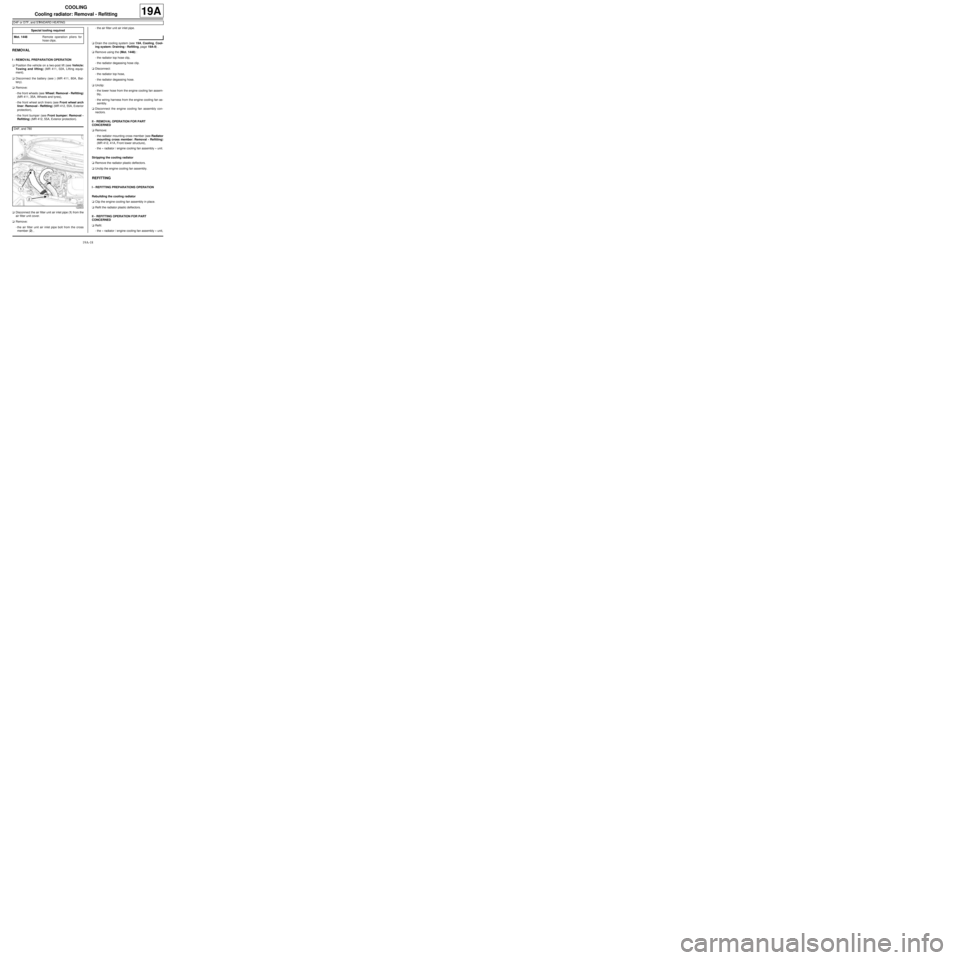
aDisconnect the air filter unit air inlet pipe (1) from the
air filter unit cover.
aRemove:
-the air filter unit air inlet pipe bolt from the cross
member (2) ,-the air filter unit air inlet pipe.
aDrain the cooling system (see 19A, Cooling, Cool-
ing system: Draining - Refilling, page 19A-9) .
aRemove using the (Mot. 1448) :
-the radiator top hose clip,
-the radiator degassing hose clip.
aDisconnect:
-the radiator top hose,
-the radiator degassing hose.
aUnclip:
-the lower hose from the engine cooling fan assem-
bly,
-the wiring harness from the engine cooling fan as-
sembly.
aDisconnect the engine cooling fan assembly con-
nectors.
II - REMOVAL OPERATION FOR PART
CONCERNED
aRemove:
-the radiator mounting cross member (see Radiator
mounting cross member: Removal - Refitting)
(MR 412, 41A, Front lower structure),
-the « radiator / engine cooling fan assembly » unit.
Stripping the cooling radiator
aRemove the radiator plastic deflectors.
aUnclip the engine cooling fan assembly.
REFITTING
I - REFITTING PREPARATIONS OPERATION
Rebuilding the cooling radiator
aClip the engine cooling fan assembly in place.
aRefit the radiator plastic deflectors.
II - REFITTING OPERATION FOR PART
CONCERNED
aRefit:
-the « radiator / engine cooling fan assembly » unit, Special tooling required
Mot. 1448Remote operation pliers for
hose clips .
D4F, and 780
122833
Page 529 of 652
19A-19
COOLING
Cooling radiator: Removal - Refitting
D4F or D7F, and STANDARD HEATING
19A
-the radiator mounting cross member (see Radiator
mounting cross member: Removal - Refitting)
(MR 412, 41A, Front lower structure).
III - FINAL OPERATION
aConnect the engine cooling fan assembly connec-
tors.
aClip:
-the wiring harness to the engine cooling fan as-
sembly,
-the bottom hose to the engine cooling fan assem-
bly.
aConnect:
-the radiator degassing hose,
-the radiator top hose.
aUsing the (Mot. 1448), fit:
-the radiator degassing hose clip,
-the radiator top hose clip.
aRefit:
-the air filter box air inlet pipe,
-the air filter unit air inlet pipe bolt on the cross
member.
aConnect the air filter unit air inlet pipe to the air filter
unit cover.
aRefit:
-the front bumper (see Front bumper: Removal -
Refitting) (MR 412, 55A, Exterior protection),
-the front wheel arch liners (see Front wheel arch
liner: Removal - Refitting) (MR 412, 55A, Exterior
protection),
-the front wheels (see Wheel: Removal - Refitting)
(MR 411, 35A, Wheels and tyres).
aConnect the battery (see ) (MR 411, 80A, Battery).
aFill and bleed the cooling system (see 19A, Cool-
ing, Cooling system: Draining - Refilling, page
19A-9) . D4F, and 780