charging RENAULT TWINGO RS 2009 2.G Engine And Peripherals Repair Manual
[x] Cancel search | Manufacturer: RENAULT, Model Year: 2009, Model line: TWINGO RS, Model: RENAULT TWINGO RS 2009 2.GPages: 652
Page 443 of 652
16A-4
STARTING - CHARGING
Alternator: Removal - Refitting
D4F or D7F, and AIR CONDITIONING
16A
REMOVAL
I - REMOVAL PREPARATION OPERATION
aPosition the vehicle on a two-post lift (see Vehicle:
Towing and lifting) (02A, Lifting equipment).
aDisconnect the battery (see Battery: Removal - Re-
fitting) (80A, Battery).
aRemove:
-the front right-hand wheel (see Wheel: Removal -
Refitting) (35A, Wheels and tyres),
-the front right-hand wheel arch liner (see Front
wheel arch liner: Removal - Refitting) (55A, Ex-
terior protection),
-the accessories belt (see 11A, Top and front of
engine, Accessories belt: Removal - Refitting,
page 11A-3) .
aRemove the air filter unit (see 12A, Fuel mixture,
Air filter unit: Removal - Refitting, page 12A-13) .
aRemove the inlet distributor (see 12A, Fuel mixture,
Inlet distributor: Removal - Refitting, page 12A-
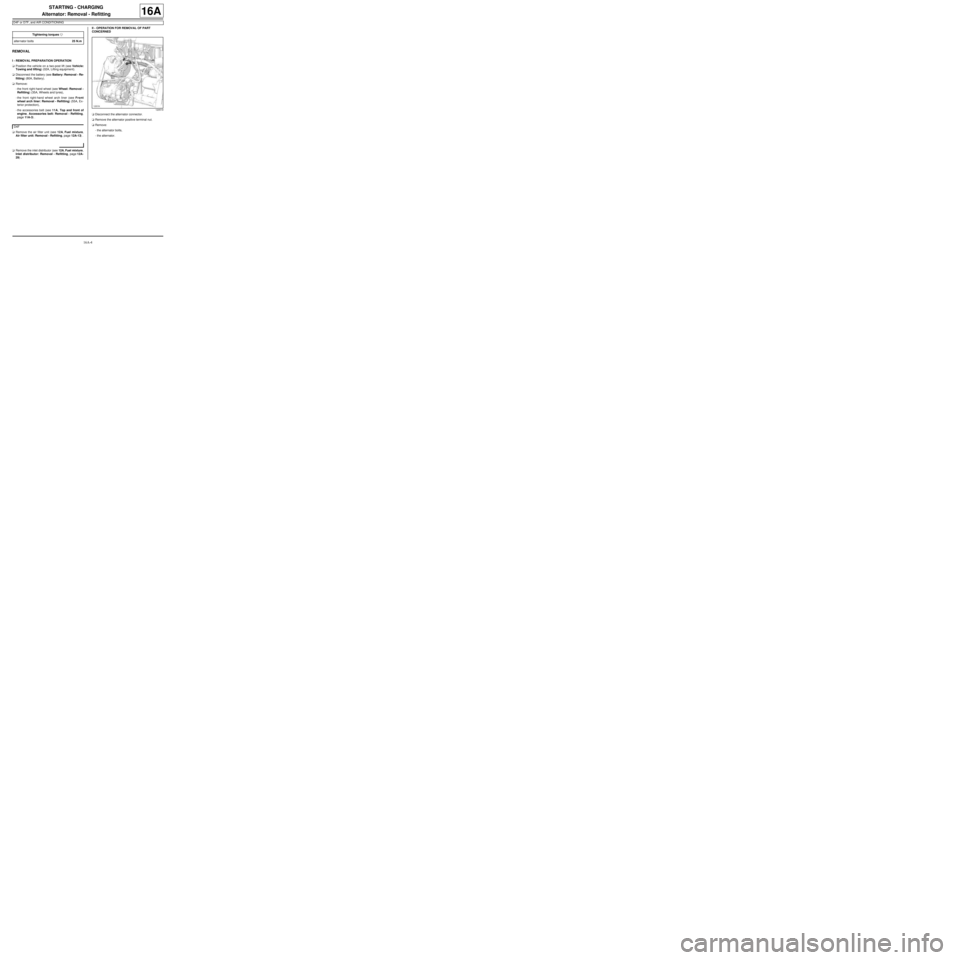
29) .II - OPERATION FOR REMOVAL OF PART
CONCERNED
aDisconnect the alternator connector.
aRemove the alternator positive terminal nut.
aRemove:
-the alternator bolts,
-the alternator. Tightening torquesm
alter nator bolts25 N.m
D4F
120519
Page 444 of 652
16A-5
STARTING - CHARGING
Alternator: Removal - Refitting
D4F or D7F, and AIR CONDITIONING
16A
REFITTING
I - REFITTING PREPARATION OPERATION
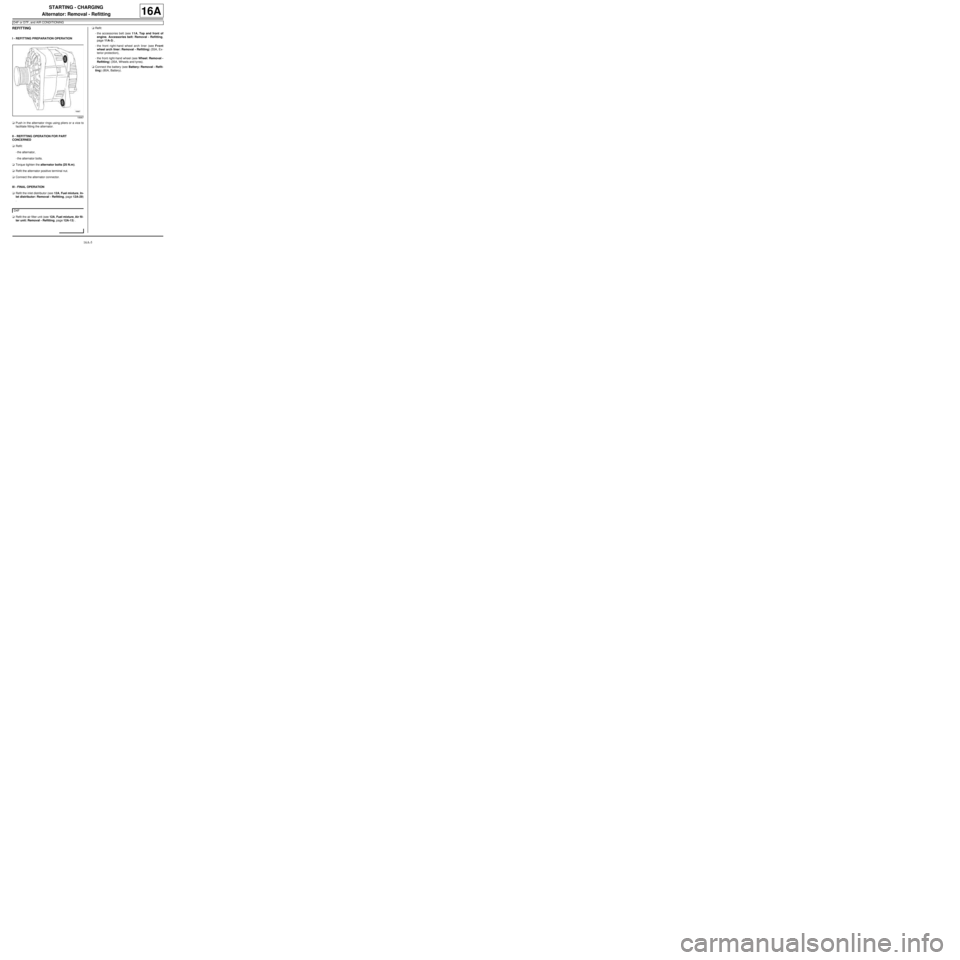
aPush in the alternator rings using pliers or a vice to
facilitate fitting the alternator.
II - REFITTING OPERATION FOR PART
CONCERNED
aRefit:
-the alternator,
-the alternator bolts.
aTorque tighten the alternator bolts (25 N.m).
aRefit the alternator positive terminal nut.
aConnect the alternator connector.
III - FINAL OPERATION
aRefit the inlet distributor (see 12A, Fuel mixture, In-
let distributor: Removal - Refitting, page 12A-29)
.
aRefit the air filter unit (see 12A, Fuel mixture, Air fil-
ter unit: Removal - Refitting, page 12A-13) .aRefit:
-the accessories belt (see 11A, Top and front of
engine, Accessories belt: Removal - Refitting,
page 11A-3) ,
-the front right-hand wheel arch liner (see Front
wheel arch liner: Removal - Refitting) (55A, Ex-
terior protection),
-the front right-hand wheel (see Wheel: Removal -
Refitting) (35A, Wheels and tyres).
aConnect the battery (see Battery: Removal - Refit-
ting) (80A, Battery).
18987
D4F
Page 445 of 652
16A-6
STARTING - CHARGING
Alternator: Removal - Refitting
K9K
16A
aFor removing and refitting the alternator (see 11A,
Top and front of engine, Accessories belt: Re-
moval - Refitting, page 11A-3) .
aFor removing and refitting the alternator (see 11A,
Top and front of engine, Accessories belt: Re-
moval - Refitting, page 11A-3) . AIR CONDITIONING or CLIMATE CONTROL
STANDARD HEATING
Page 446 of 652
16A-7
STARTING - CHARGING
Alternator: Removal - Refitting
K4M
16A
REMOVAL
I - REMOVAL PREPARATION OPERATION
aPosition the vehicle on a two-post lift (see Vehicle:
Towing and lifting) (02A, Lifting equipment).
aDisconnect the battery (see Battery: Removal - Re-
fitting) (80A, Battery).
aRemove:
-the engine undertray,
-the front right-hand wheel (see Wheel: Removal -
Refitting) (35A, Wheels and tyres),
-the front right-hand wheel arch liner (see Front
wheel arch liner: Removal - Refitting) (55A, Ex-
terior protection),
-the front bumper (see Front bumper: Removal -
Refitting) (55A, Exterior protection),
-the headlights (see Halogen headlight: Removal
- Refitting) (80B, Headlights),
-the bonnet catch (see Bonnet lock: Removal -
Refitting) (52A, Non-side opening element mecha-
nisms),
-the front upper cross member (see Front upper
cross member: Removal - Refitting) (42A, Upper
front structure),
-the accessories belt (see 11A, Top and front of
engine, Accessories belt: Removal - Refitting,
page 11A-3) .II - REMOVAL OPERATION
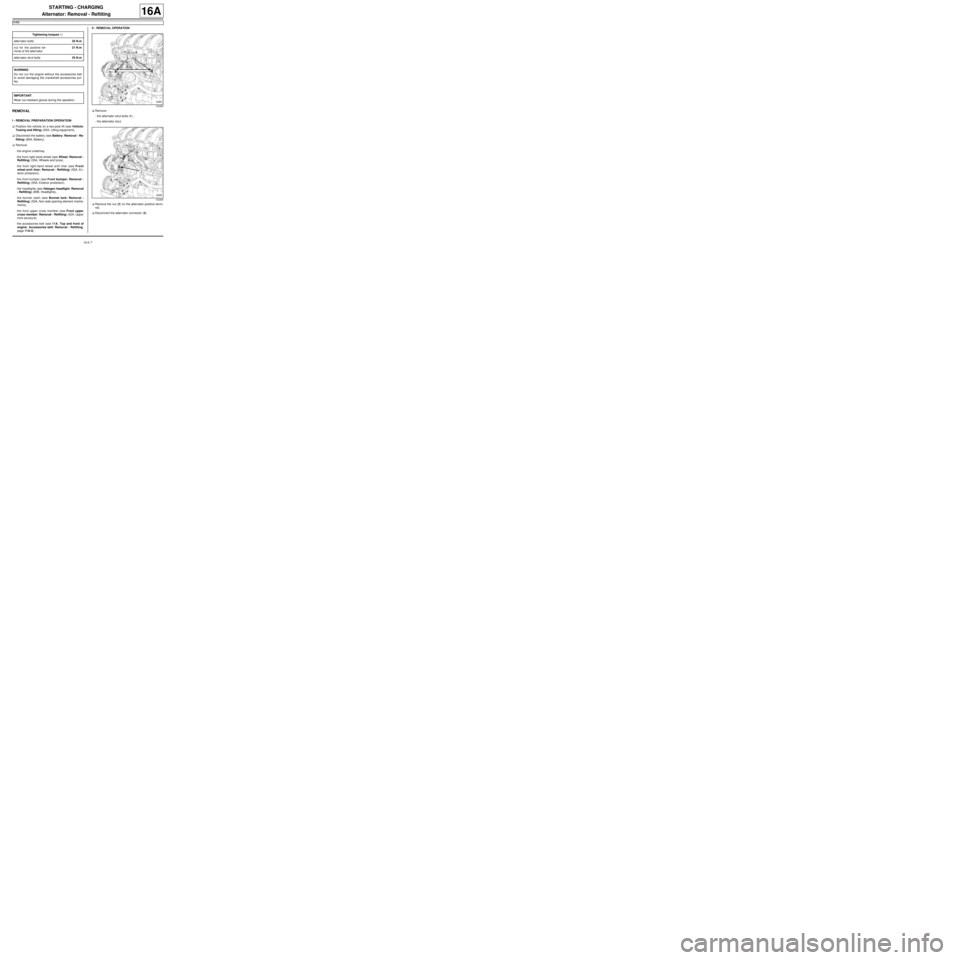
aRemove:
-the alternator strut bolts (1) ,
-the alternator strut.
aRemove the nut (2) on the alternator positive termi-
nal.
aDisconnect the alternator connector (3) . Tightening torquesm
alter nator bolts25 N.m
nut for the positive ter-
minal of the alternator21 N.m
alter nator strut bolts25 N.m
WARNING
Do not r un the engine without the accessories belt
to avoid damaging the crankshaft accessories pul-
ley.
IMPORTANT
Wear cut-resistant gloves during the operation.
132363
132365
Page 447 of 652
16A-8
STARTING - CHARGING
Alternator: Removal - Refitting
K4M
16A
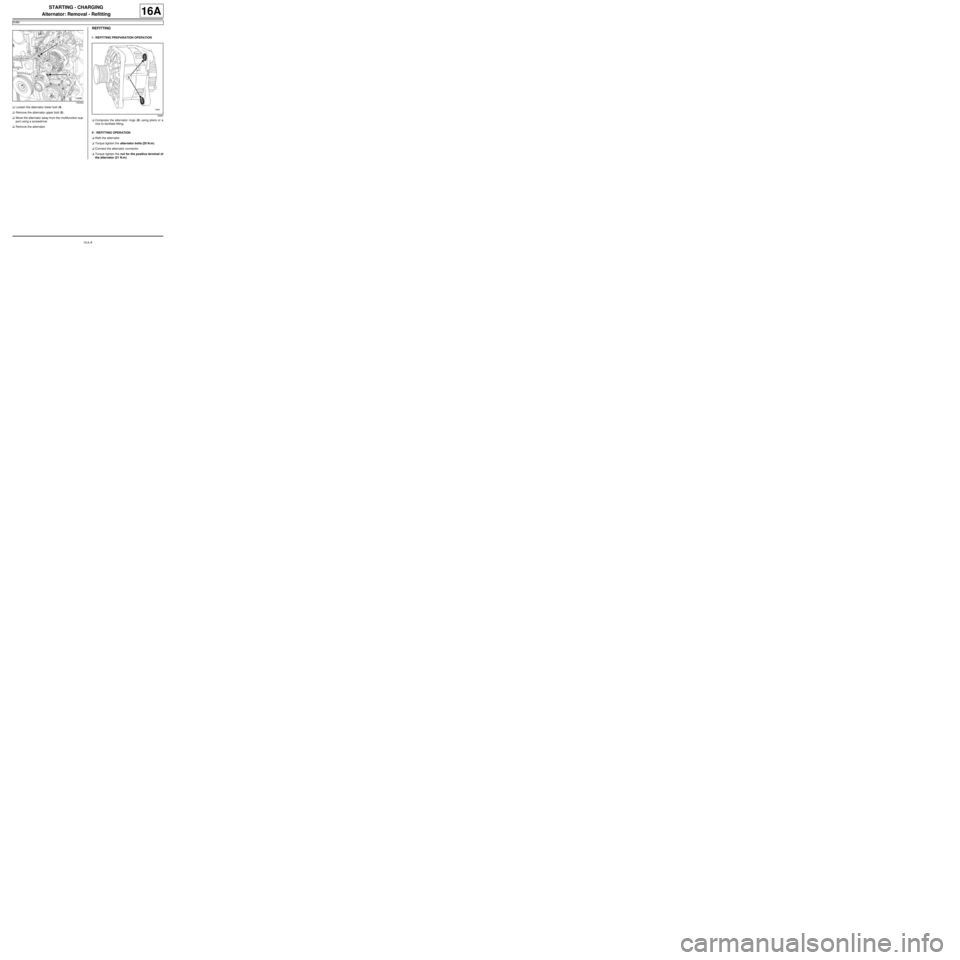
aLoosen the alternator lower bolt (4) .
aRemove the alternator upper bolt (5) .
aMove the alternator away from the multifunction sup-
port using a screwdriver.
aRemove the alternator.
REFITTING
I - REFITTING PREPARATION OPERATION
aCompress the alternator rings (6) using pliers or a
vice to facilitate fitting.
II - REFITTING OPERATION
aRefit the alternator.
aTorque tighten the alternator bolts (25 N.m).
aConnect the alternator connector.
aTorque tighten the nut for the positive terminal of
the alternator (21 N.m).
132362
18987
Page 448 of 652
16A-9
STARTING - CHARGING
Alternator: Removal - Refitting
K4M
16A
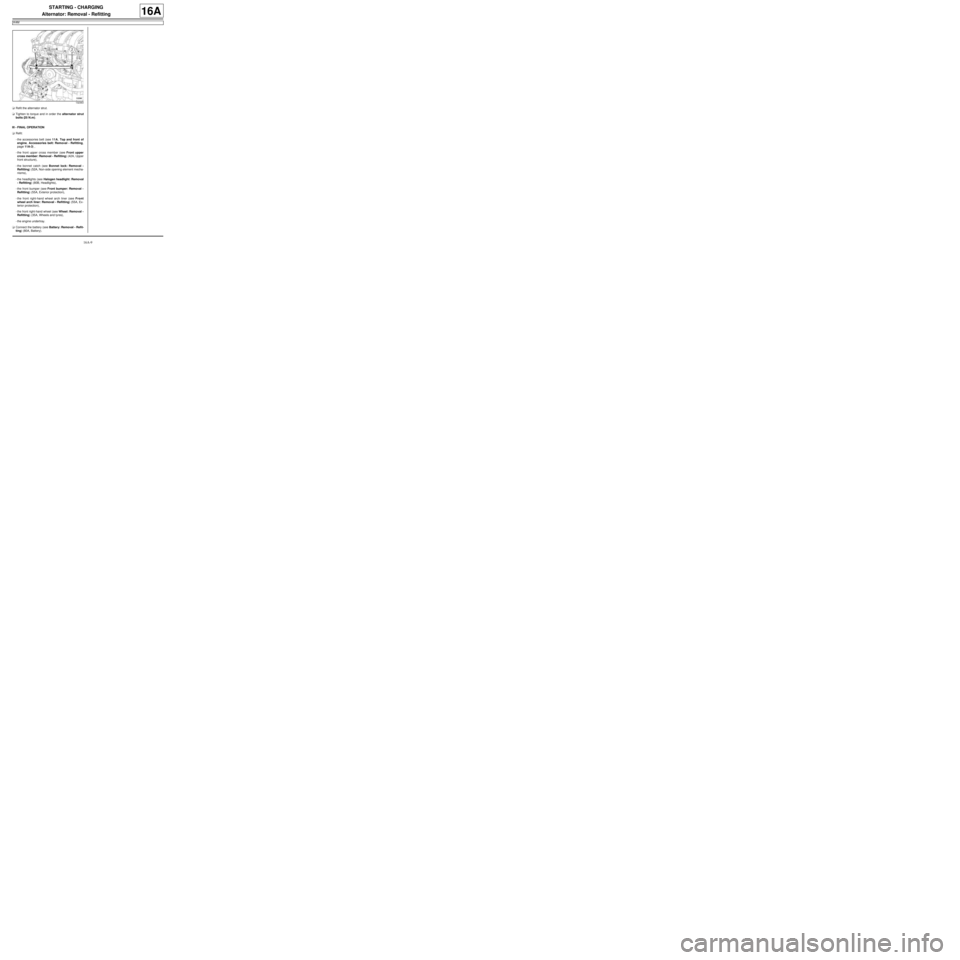
aRefit the alternator strut.
aTighten to torque and in order the alternator strut
bolts (25 N.m).
III - FINAL OPERATION
aRefit:
-the accessories belt (see 11A, Top and front of
engine, Accessories belt: Removal - Refitting,
page 11A-3) ,
-the front upper cross member (see Front upper
cross member: Removal - Refitting) (42A, Upper
front structure),
-the bonnet catch (see Bonnet lock: Removal -
Refitting) (52A, Non-side opening element mecha-
nisms),
-the headlights (see Halogen headlight: Removal
- Refitting) (80B, Headlights),
-the front bumper (see Front bumper: Removal -
Refitting) (55A, Exterior protection),
-the front right-hand wheel arch liner (see Front
wheel arch liner: Removal - Refitting) (55A, Ex-
terior protection),
-the front right-hand wheel (see Wheel: Removal -
Refitting) (35A, Wheels and tyres),
-the engine undertray.
aConnect the battery (see Battery: Removal - Refit-
ting) (80A, Battery).
132363
Page 449 of 652
16A-10
STARTING - CHARGING
Starter: Removal - Refitting
D4F or D7F
16A
REMOVAL
I - REMOVAL PREPARATION OPERATION
aDisconnect the battery (see ) (80A, Battery).
aRemove the engine oil dipstick.
aRemove the air filter unit (see 12A, Fuel mixture,
Air filter unit: Removal - Refitting, page 12A-13) .
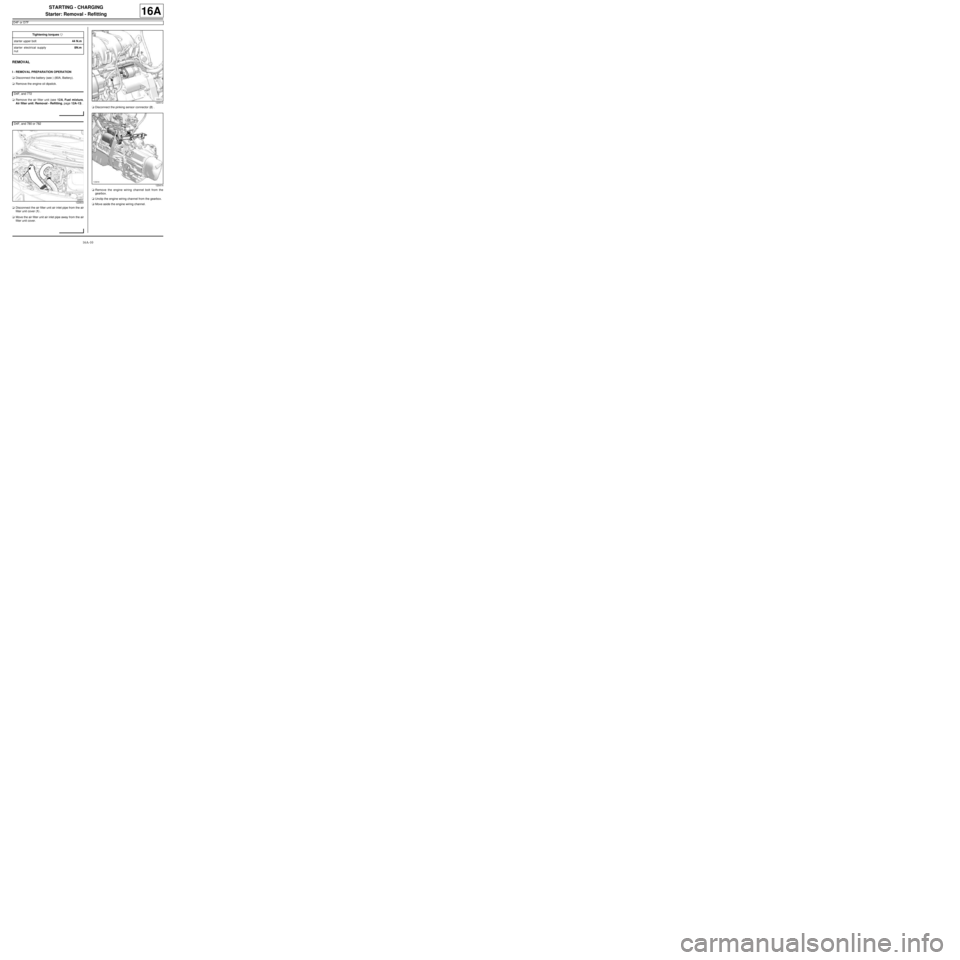
aDisconnect the air filter unit air inlet pipe from the air
filter unit cover (1) .
aMove the air filter unit air inlet pipe away from the air
filter unit cover.aDisconnect the pinking sensor connector (2) .
aRemove the engine wiring channel bolt from the
gearbox.
aUnclip the engine wiring channel from the gearbox.
aMove aside the engine wiring channel. Tightening torquesm
starter upper bolt44 N.m
starter electrical supply
nut8N.m
D4F, and 772
D4F, and 780 or 782
122833
120512
120414
Page 450 of 652
16A-11
STARTING - CHARGING
Starter: Removal - Refitting
D4F or D7F
16A
II - OPERATION FOR REMOVAL OF PART
CONCERNED
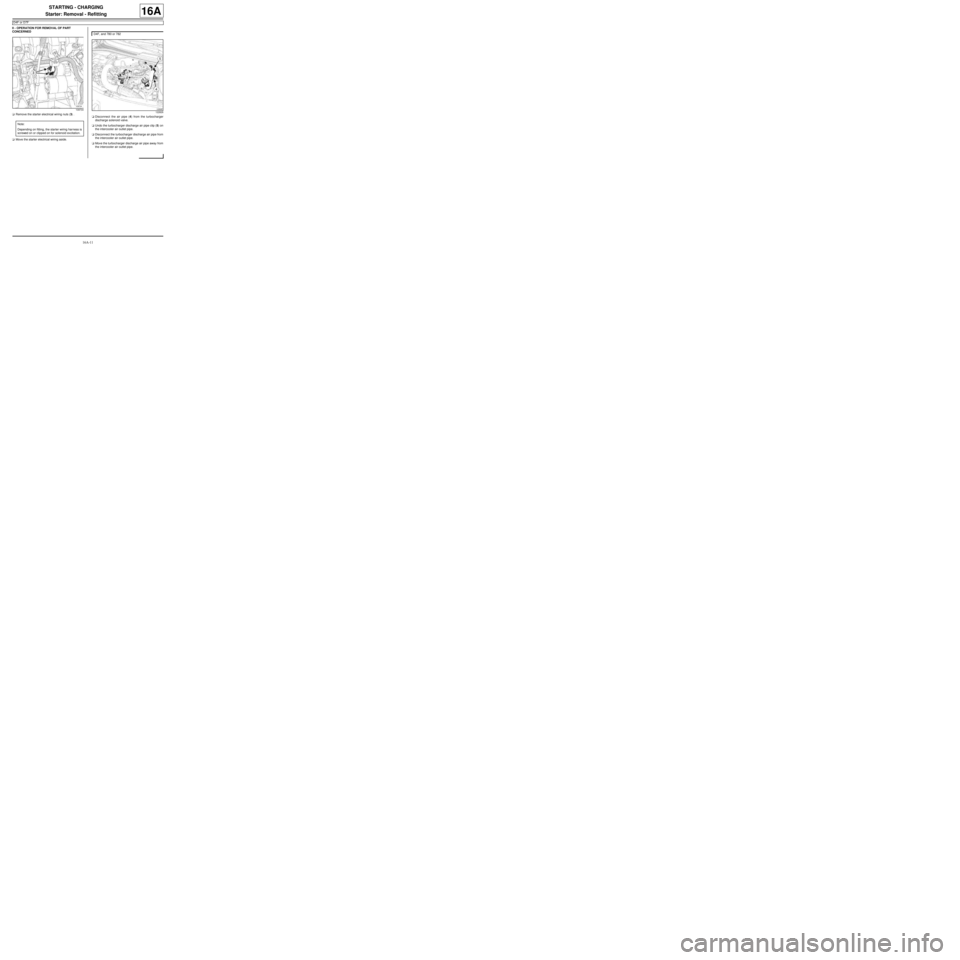
aRemove the starter electrical wiring nuts (3) .
aMove the starter electrical wiring aside.aDisconnect the air pipe (4) from the turbocharger
discharge solenoid valve.
aUndo the turbocharger discharge air pipe clip (5) on
the intercooler air outlet pipe.
aDisconnect the turbocharger discharge air pipe from
the intercooler air outlet pipe.
aMove the turbocharger discharge air pipe away from
the intercooler air outlet pipe.
109734
Note:
Depending on fitting, the starter wiring harness is
screwed on or clipped on for solenoid excitation.
D4F, and 780 or 782
122826
Page 451 of 652
16A-12
STARTING - CHARGING
Starter: Removal - Refitting
D4F or D7F
16A
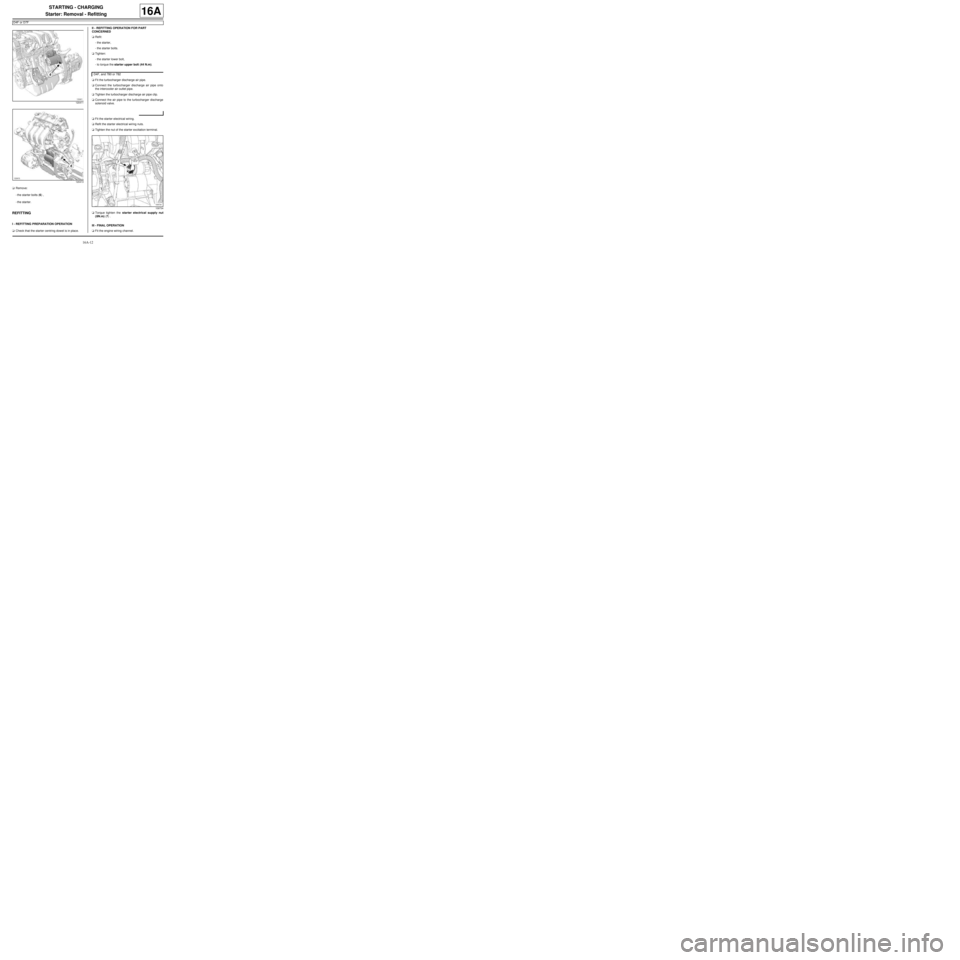
aRemove:
-the starter bolts (6) ,
-the starter.
REFITTING
I - REFITTING PREPARATION OPERATION
aCheck that the starter centring dowel is in place.II - REFITTING OPERATION FOR PART
CONCERNED
aRefit:
-the starter,
-the starter bolts.
aTighten:
-the starter lower bolt,
-to torque the starter upper bolt (44 N.m).
aFit the turbocharger discharge air pipe.
aConnect the turbocharger discharge air pipe onto
the intercooler air outlet pipe.
aTighten the turbocharger discharge air pipe clip.
aConnect the air pipe to the turbocharger discharge
solenoid valve.
aFit the starter electrical wiring.
aRefit the starter electrical wiring nuts.
aTighten the nut of the starter excitation terminal.
aTorque tighten the starter electrical supply nut
(8N.m) (7) .
III - FINAL OPERATION
aFit the engine wiring channel.
120411
120413
D4F, and 780 or 782
109734
Page 452 of 652
16A-13
STARTING - CHARGING
Starter: Removal - Refitting
D4F or D7F
16A
aClip the engine wiring channel onto the gearbox.
aRefit the engine wiring channel bolt to the gearbox.
aTighten the engine wiring channel bolt on the gear-
box.
aConnect the pinking sensor connector.
aFit the air filter unit air inlet pipe on the air filter unit
cover.
aConnect the air filter unit air inlet pipe on the air filter
unit cover.
aRefit the air filter unit (see 12A, Fuel mixture, Air fil-
ter unit: Removal - Refitting, page 12A-13) .
aRefit the engine oil dipstick.
aConnect the battery (see ) (80A, Battery). D4F, and 780 or 782
D4F, and 772