tailgate RENAULT TWINGO RS 2009 2.G Mechanism And Accessories Workshop Manual
[x] Cancel search | Manufacturer: RENAULT, Model Year: 2009, Model line: TWINGO RS, Model: RENAULT TWINGO RS 2009 2.GPages: 95
Page 2 of 95
TWINGO - Section 5
Contents
Pages
TWINGO - Section 5 ContentsPages
51A SIDE OPENING ELEMENT MECHANISMS
Front side door lock:
Removal - Refitting 51A-1
Front side door lock barrel:
Removal - Refitting 51A-3
Exter ior door handle:
Removal - Refitting 51A-5
Front side door electric
window mechanism:
Removal - Refitting 51A-6
Front side door manual
window winder mechanism:
Removal - Refitting 51A-8
Front side door check strap:
Removal - Refitting 51A-10
52ANON-SIDE OPENING ELEMENT
MECHANISMS
Bonnet lock: Removal -
Refitting 52A-1
Bonnet release cable:
Removal - Refitting 52A-2
Tailgate lock: Removal -
Refitting 52A-3
Tailgate strut: Removal -
Refitting 52A-4
Tailgate exterior opening
control: Removal - Refitting 52A-5
Sunroof operating
mechanism: Removal -
Refitting 52A-6
Sunroof mobile panel:
Removal - Refitting 52A-9
Sunroof mobile panel guide:
Removal - Refitting 52A-12
Sunroof deflector: Removal -
Refitting 52A-14
Sunroof sun visors: Removal
- Refitting 52A-15
54A WINDOWS
Windscreen: Removal -
Refitting 54A-1
Front side door sliding
window: Removal - Refitting 54A-3
Rear quar ter panel window:
Removal - Refitting 54A-4
Rear screen: Removal -
Refitting 54A-5
Sunroof fixed window:
Removal - Refitting 54A-7 52ANON-SIDE OPENING ELEMENT
MECHANISMS
Page 3 of 95

Contents
55A EXTERIOR PROTECTION
Front bumper: Removal -
Refitting 55A-1
Front bumper: Stripping -
Rebuilding 55A-3
Rear bumper : Removal -
Refitting 55A-10
Rear bumper : Stripping -
Rebuilding 55A-13
Rear bumper : Conversion 55A-14
Front side door protective
strip: Removal - Refitting 55A-15
Rear wing protective strip:
Removal - Refitting 55A-16
Roof protection strip:
Removal - Refitting 55A-17
Front wheel arch liner:
Removal - Refitting 55A-18
56A EXTERIOR EQUIPMENT
Scuttle panel gr ille: Removal
- Refitting 56A-1
Tailgate spoiler: Removal -
Refitting 56A-3
Scoop under the scuttle
panel grille: Removal -
Refitting 56A-6
Door mirror: Removal -
Refitting 56A-8
Door mirror casing: Removal
- Refitting 56A-9
Door mirror glass: Removal -
Refitting 56A-10
Side decorative strips:
Removal - Refitting 56A-11
Sill panel extension:
Removal - Refitting 56A-13
Rear wing extension:
Removal - Refitting 56A-1557A INTERIOR EQUIPMENT
Dashboard: Removal -
Refitting 57A-1
Dashboard: Conversion 57A-4
Dashboard side air vent:
Removal - Refitting 57A-6
Centre front panel: Removal
- Refitting 57A-7
Glovebox: Removal -
Refitting 57A-9
Dashboard storage
compar tment: Removal -
Refitting 57A-11
Centre console: Removal -
Refitting 57A-12
Interior rear-view mirror:
Removal - Refitting 57A-14
Sun visor: Removal -
Refitting 57A-16
59A SAFETY ACCESSORIES
Front seat belt: Removal -
Refitting 59A-1
Rear seat belt: Removal -
Refitting 59A-3
Rear seat belt buckle:
Removal - Refitting 59A-5
Page 17 of 95
52A-3
NON-SIDE OPENING ELEMENT MECHANISMS
Tailgate lock: Removal - Refitting
52A
REMOVAL
I - REMOVAL PREPARATION OPERATION
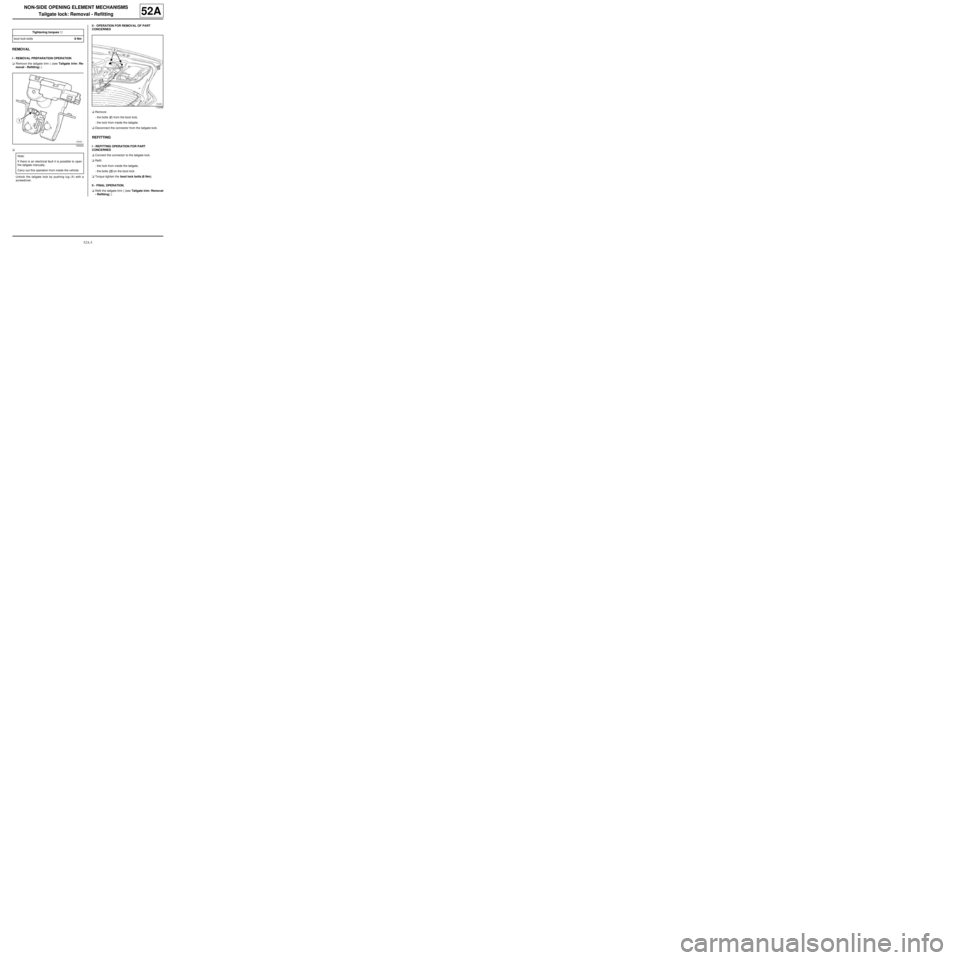
aRemove the tailgate trim ( (see Tailgate trim: Re-
moval - Refitting) ).
a
Unlock the tailgate lock by pushing lug (1) with a
screwdriver.II - OPERATION FOR REMOVAL OF PART
CONCERNED
aRemove:
-the bolts (2) from the boot lock,
-the lock from inside the tailgate.
aDisconnect the connector from the tailgate lock.
REFITTING
I - REFITTING OPERATION FOR PART
CONCERNED
aConnect the connector to the tailgate lock.
aRefit:
-the lock from inside the tailgate,
-the bolts (2) on the boot lock.
aTorque tighten the boot lock bolts (8 Nm ).
II - FINAL OPERATION.
aRefit the tailgate trim ( (see Tailgate trim: Removal
- Refitting) ). Tightening torquesm
boot lock bolts8 Nm100232
Note:
If there is an electrical fault it is possible to open
the tailgate manually.
Carry out this operation from inside the vehicle.
119288
Page 18 of 95
52A-4
NON-SIDE OPENING ELEMENT MECHANISMS
Tailgate strut: Removal - Refitting
52A
REMOVAL
I - REMOVAL PREPARATION OPERATION
a
II - OPERATION FOR REMOVAL OF PART
CONCERNED
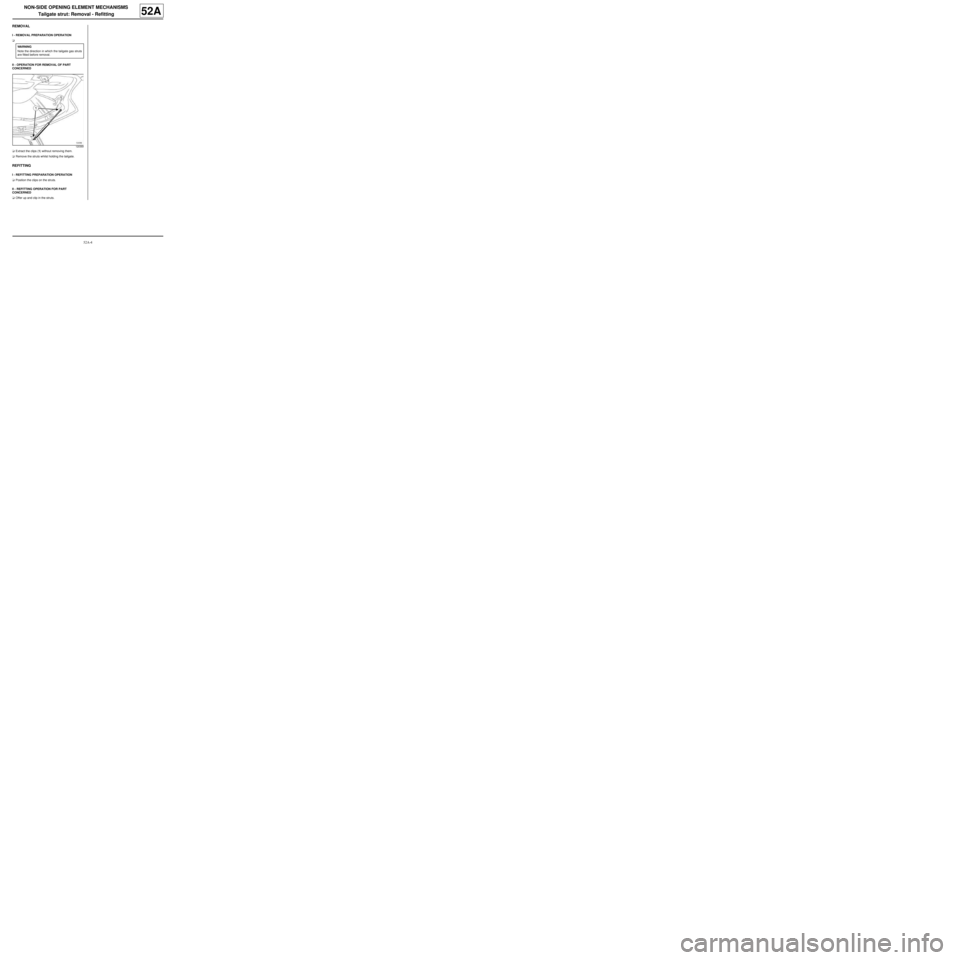
aExtract the clips (1) without removing them.
aRemove the struts whilst holding the tailgate.
REFITTING
I - REFITTING PREPARATION OPERATION
aPosition the clips on the struts.
II - REFITTING OPERATION FOR PART
CONCERNED
aOffer up and clip in the struts.WARNING
Note the direction in which the tailgate gas struts
are fitted before removal.
120369
Page 19 of 95
52A-5
NON-SIDE OPENING ELEMENT MECHANISMS
Tailgate exterior opening control: Removal - Refitting
52A
REMOVAL
I - REMOVAL PREPARATION OPERATION
aRemove the tailgate trim (see Tailgate trim: Remo-
val - Refitting) (MR 412, 73A, Non-side opening
element trim).
II - REMOVAL OPERATION FOR PART
CONCERNED
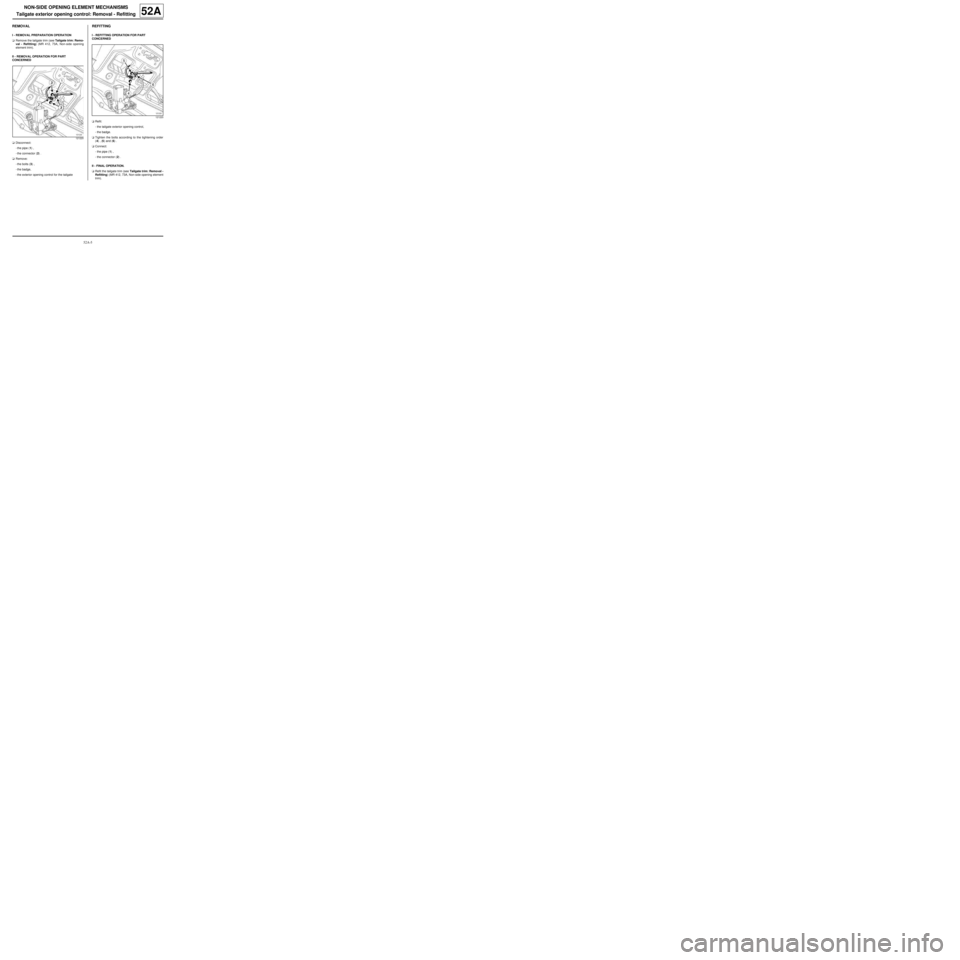
aDisconnect:
-the pipe (1) ,
-the connector (2) .
aRemove:
-the bolts (3) ,
-the badge,
-the exterior opening control for the tailgate
REFITTING
I - REFITTING OPERATION FOR PART
CONCERNED
aRefit:
-the tailgate exterior opening control,
-the badge.
aTighten the bolts according to the tightening order
(4) , (5) and (6) .
aConnect:
-the pipe (1) ,
-the connector (2) .
II - FINAL OPERATION.
aRefit the tailgate trim (see Tailgate trim: Removal -
Refitting) (MR 412, 73A, Non-side opening element
trim).
121220
121220
Page 35 of 95
54A-5
WINDOWS
Rear screen: Removal - Refitting
54A
REMOVAL
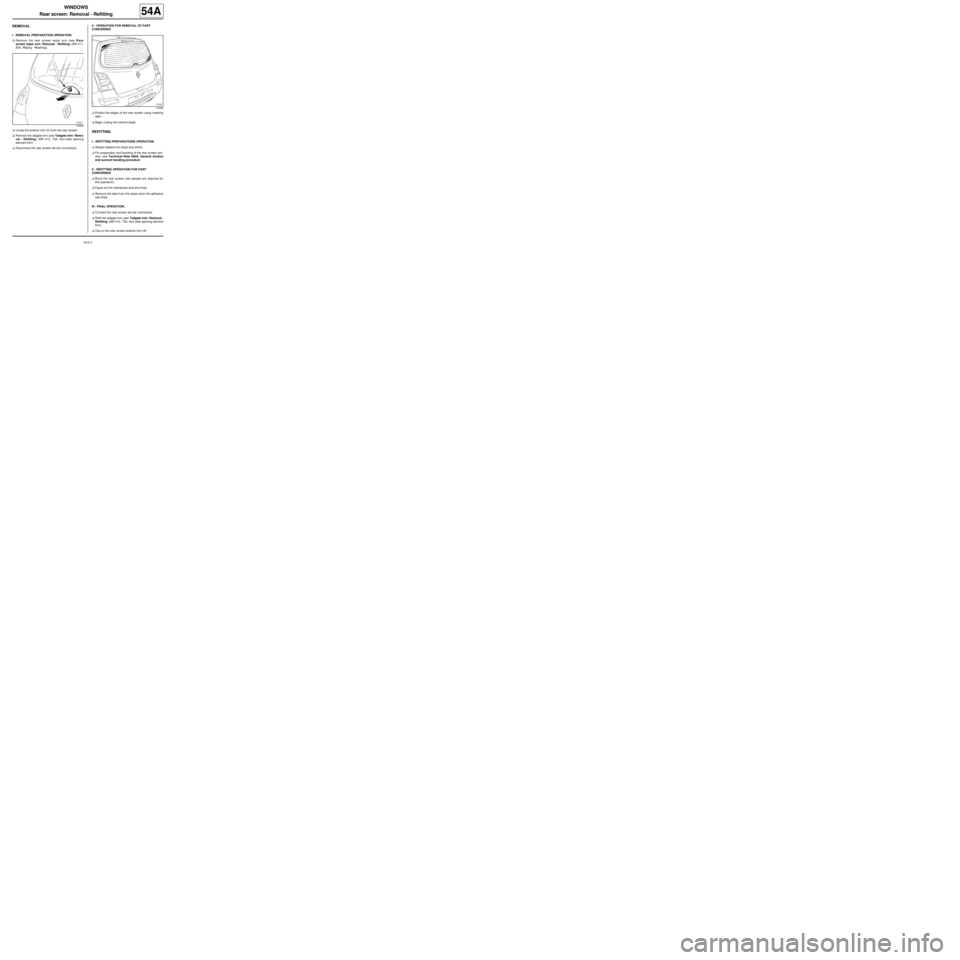
I - REMOVAL PREPARATION OPERATION
aRemove the rear screen wiper arm (see Rear
screen wiper arm: Removal - Refitting) (MR 411,
85A, Wiping - Washing).
aUnclip the exterior trim (1) from the rear screen.
aRemove the tailgate trim (see Tailgate trim: Remo-
val - Refitting) (MR 412, 73A, Non-side opening
element trim).
aDisconnect the rear screen de-icer connectors.II - OPERATION FOR REMOVAL OF PART
CONCERNED
aProtect the edges of the rear screen using masking
tape.
aBegin cutting the cement bead.
REFITTING
I - REFITTING PREPARATIONS OPERATION
aAlways replace the stops and shims.
aFor preparation and bonding of the rear screen win-
dow, see Technical Note 560A, General window
and sunroof bonding procedure.
II - REFITTING OPERATION FOR PART
CONCERNED
aBond the rear screen (two people are required for
this operation).
aEqual out the clearances and shut lines.
aRemove the tabs from the stops when the adhesive
has dried.
III - FINAL OPERATION.
aConnect the rear screen de-icer connectors.
aRefit the tailgate trim (see Tailgate trim: Removal -
Refitting) (MR 412, 73A, Non-side opening element
trim).
aClip on the rear screen exterior trim (1) .
119525
119290
Page 60 of 95

56A-3
EXTERIOR EQUIPMENT
Tailgate spoiler: Removal - Refitting
C44
56A
REMOVAL
OPERATION FOR REMOVAL OF PART
CONCERNED
aRemove:
-the blanking covers (1) ,
-the bolts (2) .
aRemove the tailgate spoiler (3) .
REFITTING
REFITTING OPERATION FOR PART CONCERNED
aRefit:
-the tailgate spoiler (3) ,
-the bolts (2) ,
-the blanking covers (1) .
122852
122851
Page 61 of 95
56A-4
EXTERIOR EQUIPMENT
Tailgate spoiler: Removal - Refitting
C44, and EQUIPMENT LEVEL SPORT
56A
REMOVAL
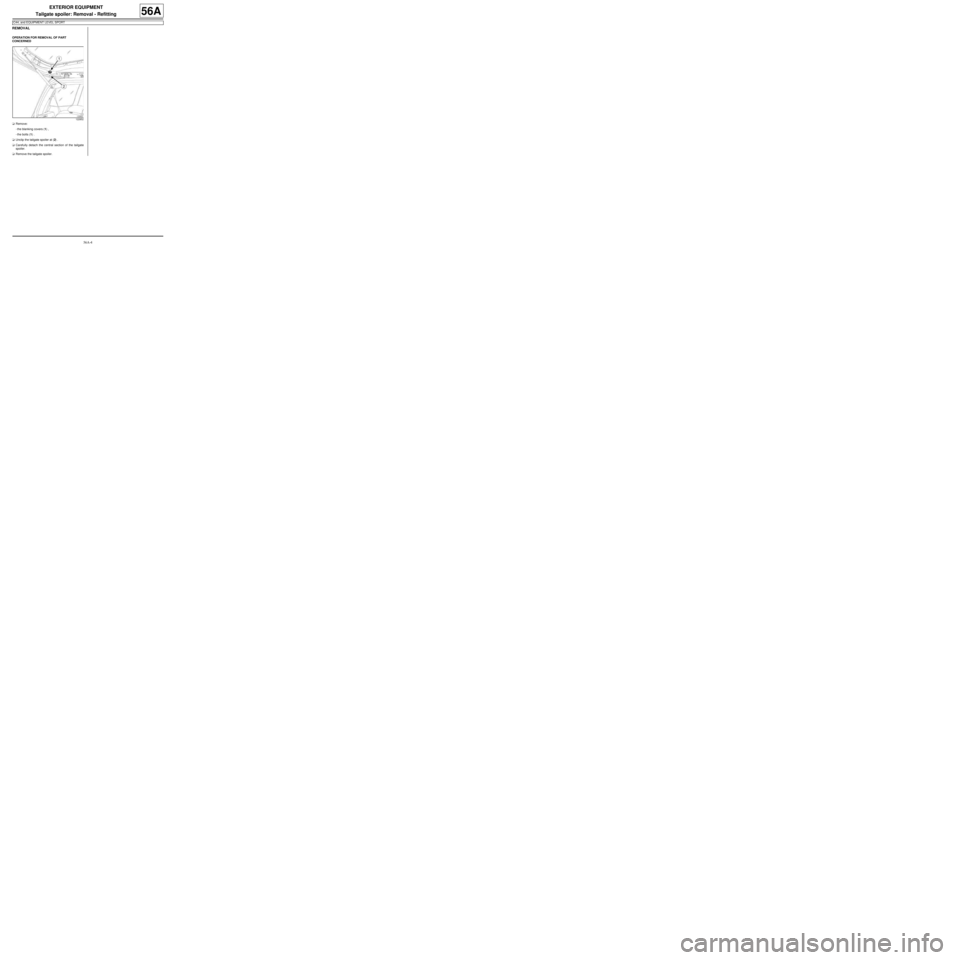
OPERATION FOR REMOVAL OF PART
CONCERNED
aRemove:
-the blanking covers (1) ,
-the bolts (1) .
aUnclip the tailgate spoiler at (2) .
aCarefully detach the central section of the tailgate
spoiler.
aRemove the tailgate spoiler.
122852
Page 62 of 95
56A-5
EXTERIOR EQUIPMENT
Tailgate spoiler: Removal - Refitting
C44, and EQUIPMENT LEVEL SPORT
56A
REFITTING
I - REFITTING PREPARATION OPERATION
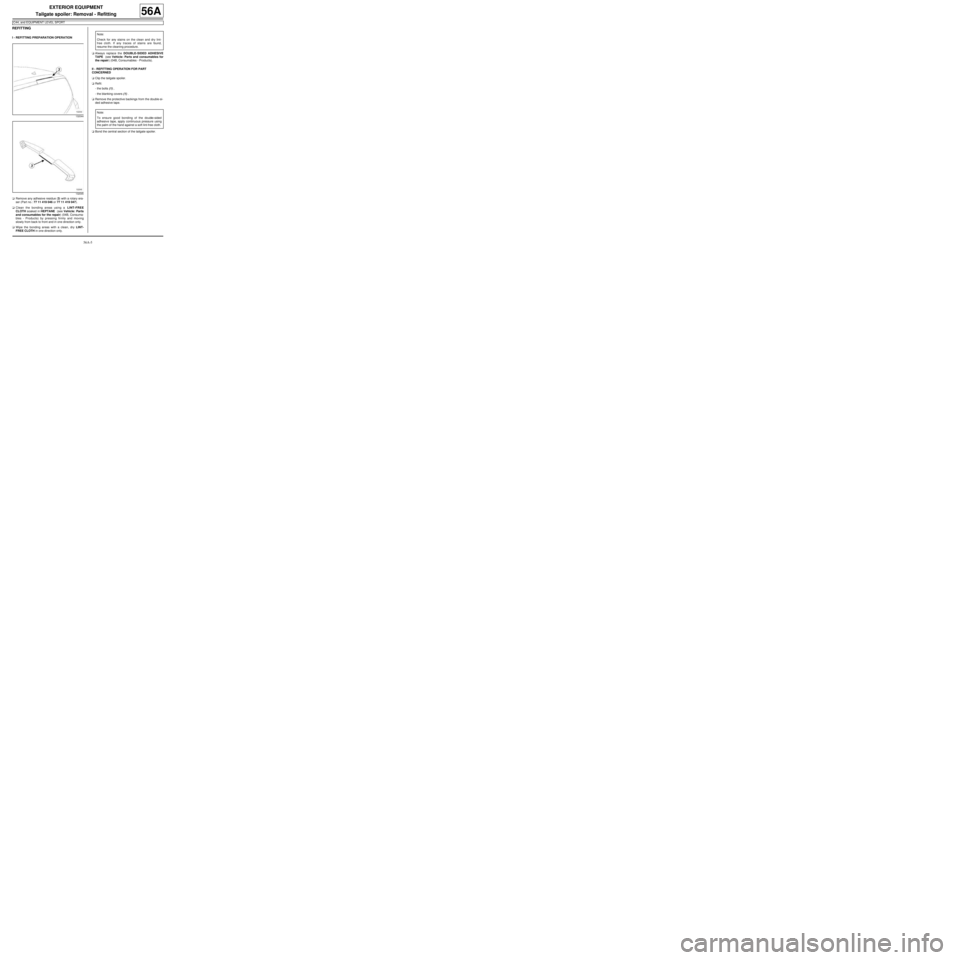
aRemove any adhesive residue (3) with a rotary era-
ser (Part no.: 77 11 419 046 or 77 11 419 047).
aClean the bonding areas using a LINT-FREE
CLOTH soaked in HEPTANE (see Vehicle: Parts
and consumables for the repair) (04B, Consuma-
bles - Products) by pressing firmly and moving
slowly from back to front and in one direction only.
aWipe the bonding areas with a clean, dry LINT-
FREE CLOTH in one direction only.aAlways replace the DOUBLE-SIDED ADHESIVE
TAPE (see Vehicle: Parts and consumables for
the repair) (04B, Consumables - Products).
II - REFITTING OPERATION FOR PART
CONCERNED
aClip the tailgate spoiler.
aRefit:
-the bolts (1) ,
-the blanking covers (1) .
aRemove the protective backings from the double-si-
ded adhesive tape.
aBond the central section of the tailgate spoiler.
132044
132045
Note:
Chec k for any stains on the clean and dry lint-
free cloth. If any traces of stains are found,
resume the cleaning procedure.
Note:
To ensure good bonding of the double-sided
adhesiv e tape, apply continuous pressure using
the palm of the hand against a soft lint-free cloth.