RENAULT TWINGO RS 2009 2.G Trim And Upholstery Workshop Manual
Manufacturer: RENAULT, Model Year: 2009, Model line: TWINGO RS, Model: RENAULT TWINGO RS 2009 2.GPages: 60
Page 1 of 60
© Renault s.a.s 2007 "The repair procedures given by the manufacturer in this document are based on the
technical specifications current when it was prepared.
The procedures may be modified as a result of changes introduced by the manufacturer in
the production of the various component units and accessories from which the vehicles are
constructed".All rights reserved by Renault.
Copying or translating, in part or in full, of this document or use of the service part reference
numbering system is forbidden without the prior written authority of Renault.
JUNE 2009 EDITION ANGLAISE
X44
7Trim and upholstery
71ABODY INTERNAL TRIM
72ASIDE OPENING ELEMENT TRIM
73ANON-SIDE OPENING ELEMENTS TRIM
75AFRONT SEAT FRAMES AND MECHANISMS
76AREAR SEAT FRAMES AND MECHANISMS
77AFRONT SEAT TRIM
78AREAR SEAT TRIM
79ASEAT ACCESSORIES
Page 2 of 60
TWINGO - Section 7
Contents
Pages
TWINGO - Section 7 ContentsPages
71A BODY INTERNAL TRIM
Floor car pet: Removal -
Refitting 71A-1
Luggage compartment
carpet: Removal - Refitting 71A-3
Headlining: Removal -
Refitting 71A-4
Front door sill lining:
Removal - Refitting 71A-7
Rear wheel arch trim:
Removal - Refitting 71A-8
Windscreen pillar trim:
Removal - Refitting 71A-9
B-pillar upper tr im: Removal -
Refitting 71A-10
Quar ter panel trim: Remo val
- Refitting 71A-12
Rear panel lining: Removal -
Refitting 71A-14
Rear parcel shelf side trim:
Removal - Refitting 71A-15
Rear loading trim: Removal -
Refitting 71A-16
72A SIDE OPENING ELEMENT TRIM
Front side door trim:
Removal - Refitting 72A-173A NON-SIDE OPENING ELEMENTS TRIM
Tailgate trim: Removal -
Refitting 73A-1
75AFRONT SEAT FRAMES AND
MECHANISMS
Front seat base frame:
Removal - Refitting 75A-1
Front seatback frame:
Removal - Refitting 75A-2
Front seat runner: Removal -
Refitting 75A-6
Complete front seat:
Removal - Refitting 75A-8
76A REAR SEAT FRAMES AND MECHANISMS
Complete rear seat: Removal
- Refitting 76A-1
Folding rear seat frame:
Removal - Refitting 76A-3
Rear seat r unner: Removal -
Refitting 76A-4
Rear bench seatback:
Removal - Refitting 76A-5
Rear bench seat base:
Removal - Refitting 76A-6
Page 3 of 60

Contents
77A FRONT SEAT TRIM
Front seat base trim:
Removal - Refitting 77A-1
Front seatback trim: Removal
- Refitting 77A-4
78A REAR SEAT TRIM
Rear seat base trim:
Removal - Refitting 78A-1
Rear seatback trim: Removal
- Refitting 78A-4
Single unit rear bench
seatback trim: Removal -
Refitting 78A-6
Single unit rear bench seat
base trim: Removal -
Refitting 78A-7
79A SEAT ACCESSORIES
Heated seat pad: Removal -
Refitting 79A-1
Page 4 of 60
71A-1
BODY INTERNAL TRIM
Floor carpet: Removal - Refitting
71A
REMOVAL
I - REMOVAL PREPARATION OPERATION
aLock the airbag computer using the Diagnostic tool
(see Fault finding - Replacement of components)
(MR 413, 88C, Airbags and pretensioners).
aDisconnect the battery (see Battery: Removal - Re-
fitting) .
aRemove:
-the front seats completely (see 75A, Front seat
frames and mechanisms, Complete front seat:
Removal - Refitting, page 75A-8) ,
-the rear seats completely (depending on equip-
ment level) (see 76A, Rear seat frames and me-
chanisms, Complete rear seat: Removal -
Refitting, page 76A-1) ,
-the rear bench seat base (depending on equipment
level) (see 76A, Rear seat frames and mecha-
nisms, Rear bench seat base: Removal - Refit-
ting, page 76A-6) ,
-the rear bench seatback (depending on equipment
level) (see 76A, Rear seat frames and mecha-
nisms, Rear bench seatback: Removal - Refit-
ting, page 76A-5) ,
-the centre front panel (see Centre front panel: Re-
moval - Refitting) (MR 412, 57A, Interior equip-
ment),-the centre console (see Centre console: Removal
- Refitting) (MR 412, 57A, Interior equipment),
-the rear parcel shelf side trim (see 71A, Body in-
ternal trim, Rear parcel shelf side trim: Removal
- Refitting, page 71A-15) ,
-the rear panel trim (see 71A, Body internal trim,
Rear panel lining: Removal - Refitting, page
71A-14) ,
-the front door sill lining (see 71A, Body internal
trim, Front door sill lining: Removal - Refitting,
page 71A-7) .
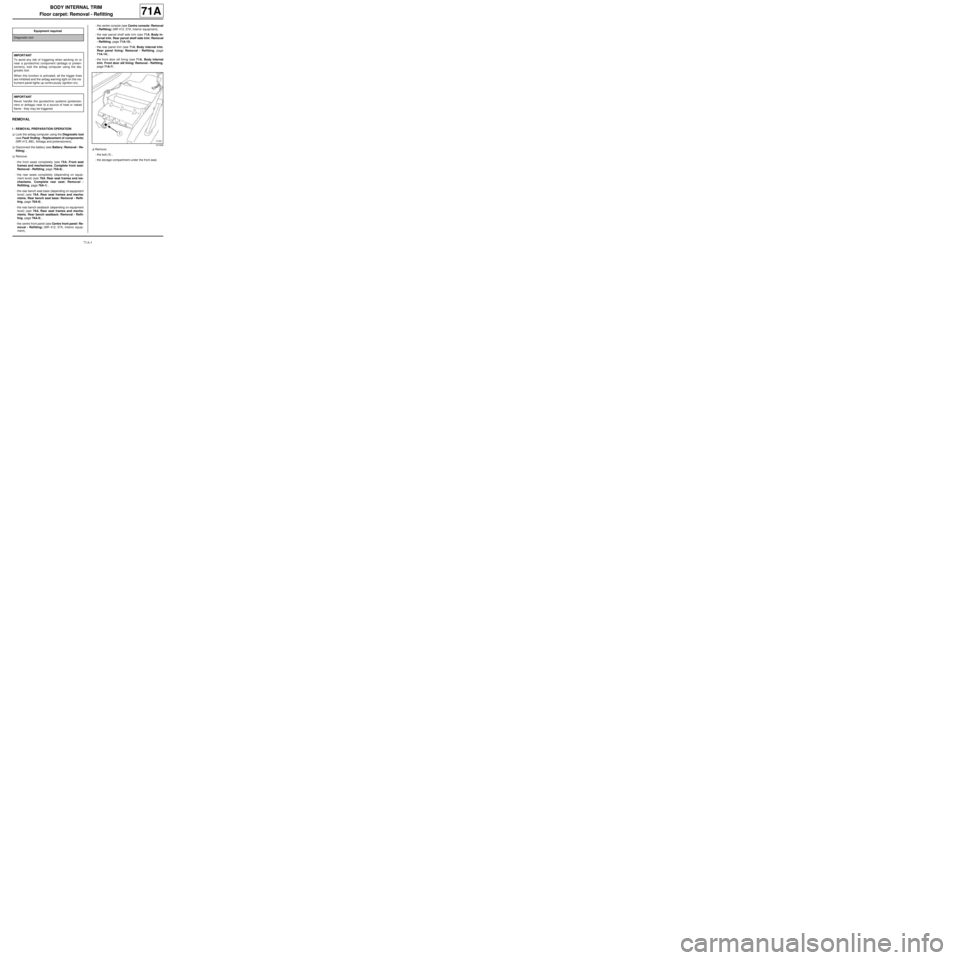
aRemove:
-the bolt (1) ,
-the storage compartment under the front seat. Equipment required
Diagnostic tool
IMPORTANT
To avoid any risk of triggering when working on or
near a pyrotechnic component (airbags or preten-
sioners), lock the airbag computer using the dia-
gnostic tool.
When this function is activated, all the trigger lines
are inhibited and the airbag warning light on the ins-
trument panel lights up contin uously (ignition on).
IMPORTANT
Never handle the pyrotechnic systems (pretensio-
ners or airbags) near to a source of heat or naked
flame - they may be triggered.
121608
Page 5 of 60
71A-2
BODY INTERNAL TRIM
Floor carpet: Removal - Refitting
71A
II - OPERATION FOR REMOVAL OF PART
CONCERNED
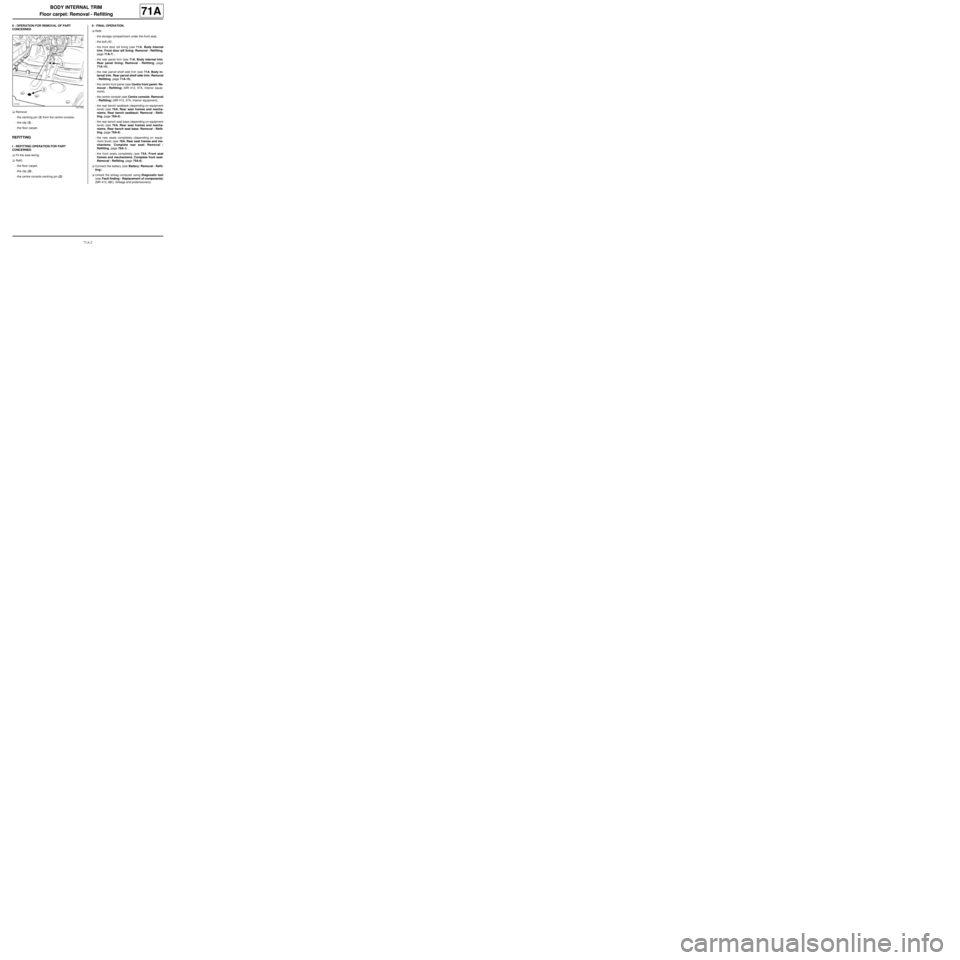
aRemove:
-the centring pin (2) from the centre console,
-the clip (3) ,
-the floor carpet.
REFITTING
I - REFITTING OPERATION FOR PART
CONCERNED
aFit the seat wiring.
aRefit:
-the floor carpet,
-the clip (3) ,
-the centre console centring pin (2) .II - FINAL OPERATION.
aRefit:
-the storage compartment under the front seat,
-the bolt (1) ,
-the front door sill lining (see 71A, Body internal
trim, Front door sill lining: Removal - Refitting,
page 71A-7) ,
-the rear panel trim (see 71A, Body internal trim,
Rear panel lining: Removal - Refitting, page
71A-14) ,
-the rear parcel shelf side trim (see 71A, Body in-
ternal trim, Rear parcel shelf side trim: Removal
- Refitting, page 71A-15) ,
-the centre front panel (see Centre front panel: Re-
moval - Refitting) (MR 412, 57A, Interior equip-
ment),
-the centre console (see Centre console: Removal
- Refitting) (MR 412, 57A, Interior equipment),
-the rear bench seatback (depending on equipment
level) (see 76A, Rear seat frames and mecha-
nisms, Rear bench seatback: Removal - Refit-
ting, page 76A-5) ,
-the rear bench seat base (depending on equipment
level) (see 76A, Rear seat frames and mecha-
nisms, Rear bench seat base: Removal - Refit-
ting, page 76A-6) ,
-the rear seats completely (depending on equip-
ment level) (see 76A, Rear seat frames and me-
chanisms, Complete rear seat: Removal -
Refitting, page 76A-1) ,
-the front seats completely (see 75A, Front seat
frames and mechanisms, Complete front seat:
Removal - Refitting, page 75A-8) .
aConnect the battery (see Battery: Removal - Refit-
ting) .
aUnlock the airbag computer using Diagnostic tool
(see Fault finding - Replacement of components)
(MR 413, 88C, Airbags and pretensioners).
121162
Page 6 of 60
71A-3
BODY INTERNAL TRIM
Luggage compartment carpet: Removal - Refitting
71A
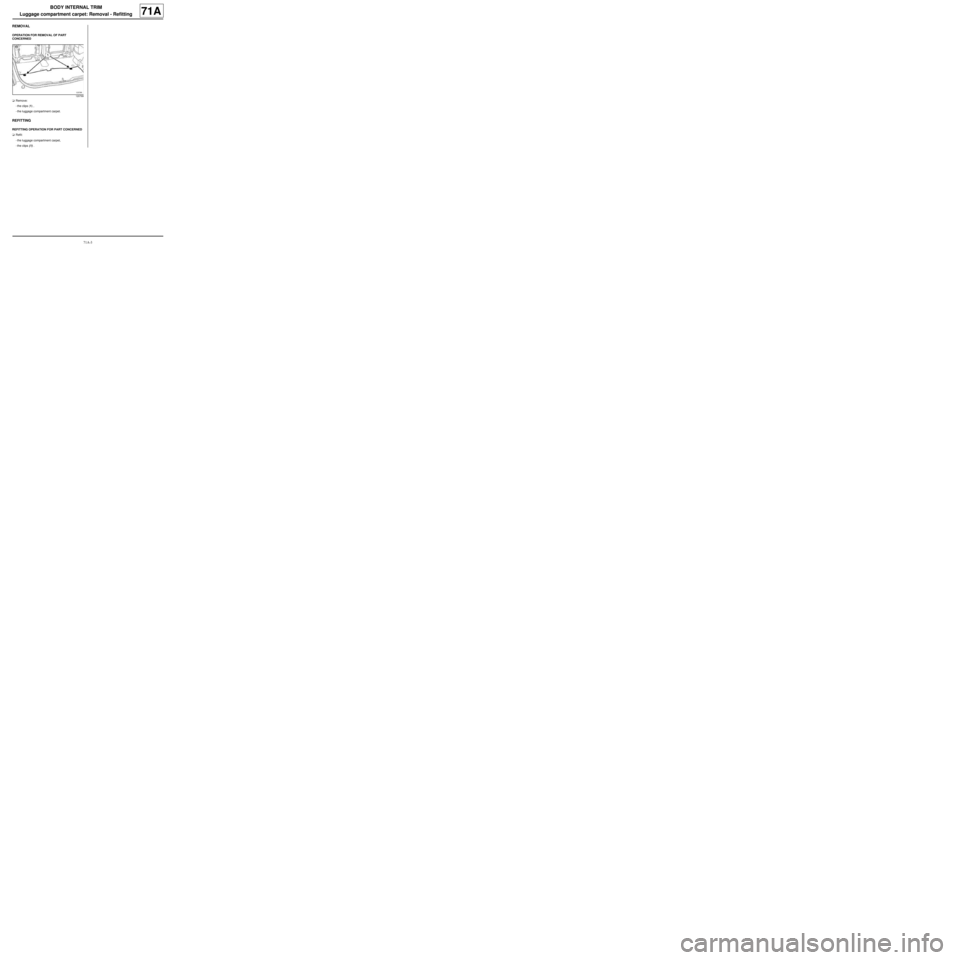
REMOVAL
OPERATION FOR REMOVAL OF PART
CONCERNED
aRemove:
-the clips (1) ,
-the luggage compartment carpet.
REFITTING
REFITTING OPERATION FOR PART CONCERNED
aRefit:
-the luggage compartment carpet,
-the clips (1) .
120799
Page 7 of 60
71A-4
BODY INTERNAL TRIM
Headlining: Removal - Refitting
71A
REMOVAL
I - REMOVAL PREPARATION OPERATION
aLock the airbag computer using Diagnostic tool
(see Fault finding - Replacement of components)
(MR 413, 88C, Airbags and pretensioners).
aDisconnect the battery (see Battery: Removal - Re-
fitting) (MR 411, 80A, Battery).
aPartially remove the front side door and tailgate
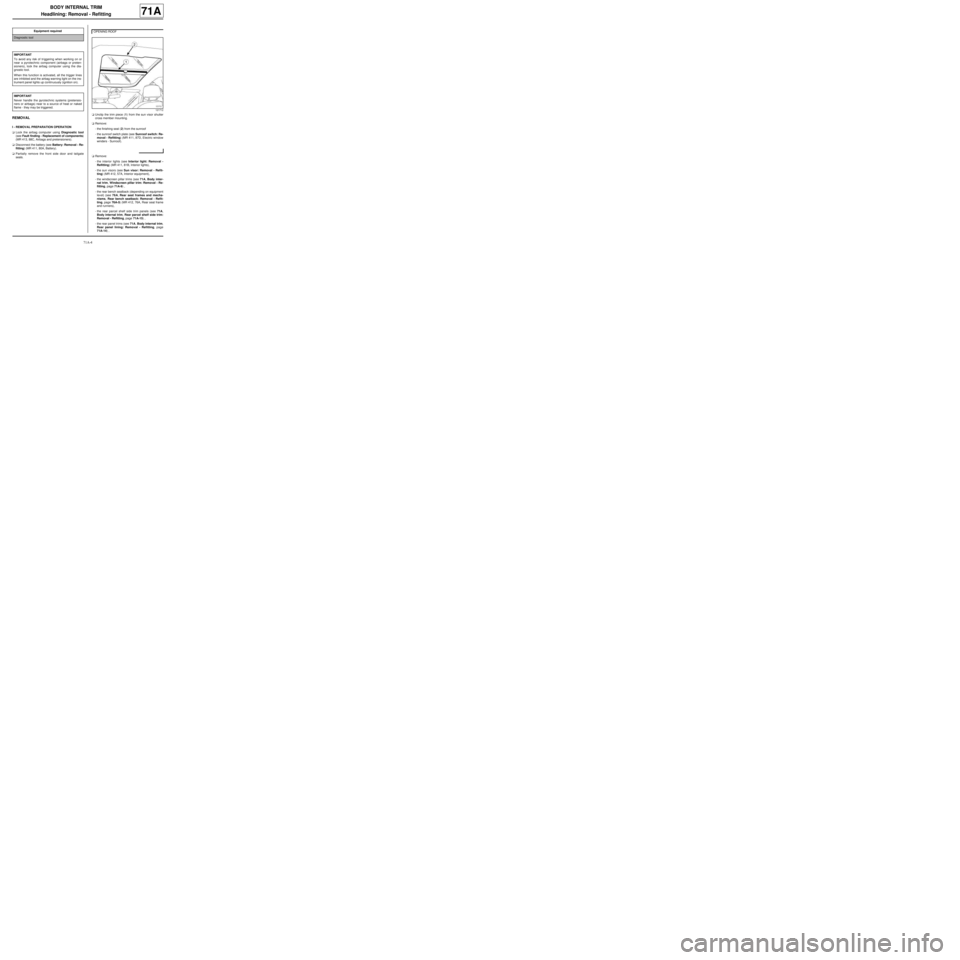
seals.aUnclip the trim piece (1) from the sun visor shutter
cross member mounting.
aRemove:
-the finishing seal (2) from the sunroof
-the sunroof switch plate (see Sunroof switch: Re-
moval - Refitting) (MR 411, 87D, Electric window
winders - Sunroof).
aRemove:
-the interior lights (see Interior light: Removal -
Refitting) (MR 411, 81B, Interior lights),
-the sun visors (see Sun visor: Removal - Refit-
ting) (MR 412, 57A, Interior equipment),
-the windscreen pillar trims (see 71A, Body inter-
nal trim, Windscreen pillar trim: Removal - Re-
fitting, page 71A-9) ,
-the rear bench seatback (depending on equipment
level) (see 76A, Rear seat frames and mecha-
nisms, Rear bench seatback: Removal - Refit-
ting, page 76A-5) (MR 412, 76A, Rear seat frame
and runners),
-the rear parcel shelf side trim panels (see 71A,
Body internal trim, Rear parcel shelf side trim:
Removal - Refitting, page 71A-15) ,
-the rear panel trims (see 71A, Body internal trim,
Rear panel lining: Removal - Refitting, page
71A-14) , Equipment required
Diagnostic tool
IMPORTANT
To avoid any risk of triggering when working on or
near a pyrotechnic component (airbags or preten-
sioners), lock the airbag computer using the dia-
gnostic tool.
When this function is activated, all the trigger lines
are inhibited and the airbag warning light on the ins-
trument panel lights up contin uously (ignition on).
IMPORTANT
Never handle the pyrotechnic systems (pretensio-
ners or airbags) near to a source of heat or naked
flame - they may be triggered.
OPENING ROOF
121712
Page 8 of 60
71A-5
BODY INTERNAL TRIM
Headlining: Removal - Refitting
71A
-the B-pillar upper trims (see 71A, Body internal
trim, B-pillar upper trim: Removal - Refitting,
page 71A-10) ,
-the rear quarter panel trims (see 71A, Body inter-
nal trim, Quarter panel trim: Removal - Refit-
ting, page 71A-12) .
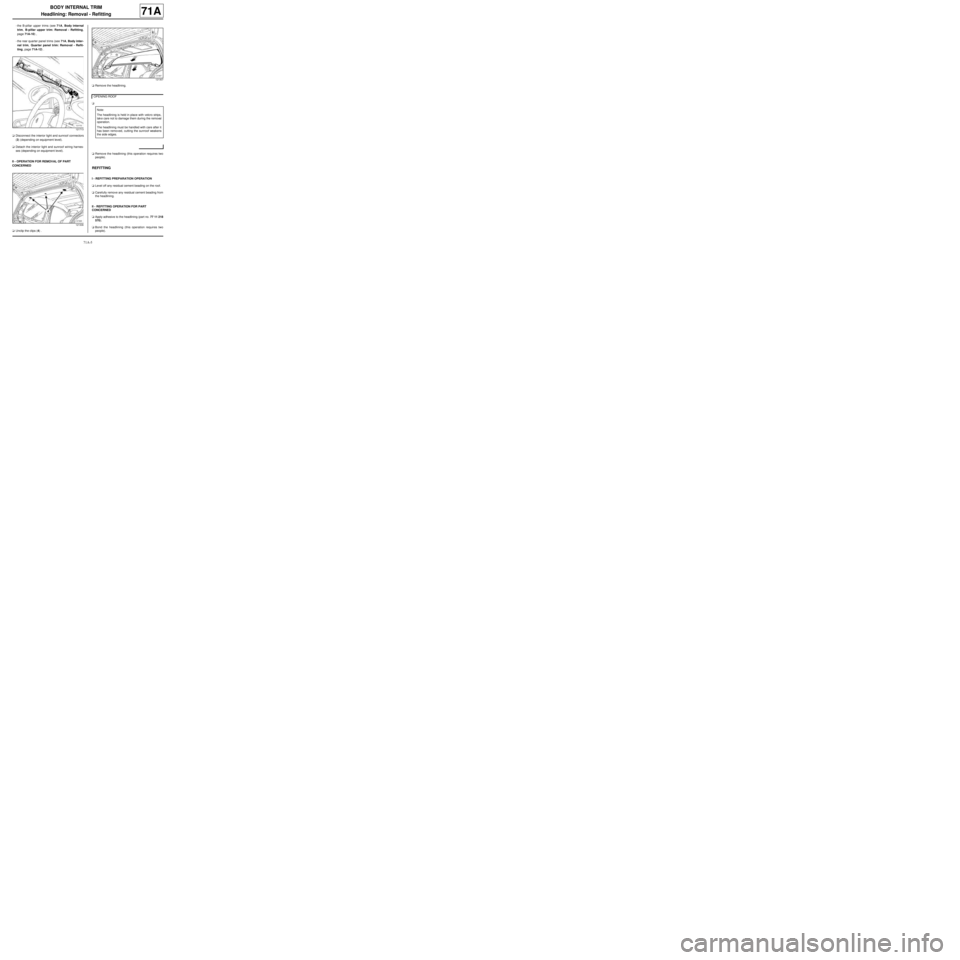
aDisconnect the interior light and sunroof connectors
(3) (depending on equipment level).
aDetach the interior light and sunroof wiring harnes-
ses (depending on equipment level).
II - OPERATION FOR REMOVAL OF PART
CONCERNED
aUnclip the clips (4) .aRemove the headlining.
a
aRemove the headlining (this operation requires two
people).
REFITTING
I - REFITTING PREPARATION OPERATION
aLevel off any residual cement beading on the roof.
aCarefully remove any residual cement beading from
the headlining.
II - REFITTING OPERATION FOR PART
CONCERNED
aApply adhesive to the headlining (part no. 77 11 218
570).
aBond the headlining (this operation requires two
people).
121713
121306
121307
OPENING ROOF
Note:
The headlining is held in place with velcro strips,
tak e care not to damage them during the removal
operation.
The headlining must be handled with care after it
has been removed, cutting the sunroof weakens
the side edges.
Page 9 of 60
71A-6
BODY INTERNAL TRIM
Headlining: Removal - Refitting
71A
aRefit the headlining (this operation requires two peo-
ple).
aRefit clips (4) .
III - FINAL OPERATION.
aRefit the interior light and sunroof wiring harnesses
(depending on equipment level).
aConnect the interior light and sunroof connectors (3)
(depending on equipment level).
aRefit:
-the interior lights (see Interior light: Removal -
Refitting) (MR 411, 81B, Interior lights),
-the sun visors (see Sun visor: Removal - Refit-
ting) (MR 412, 57A, Interior equipment),
-the windscreen pillar trims (see 71A, Body inter-
nal trim, Windscreen pillar trim: Removal - Re-
fitting, page 71A-9) ,
-the rear quarter panel trims (see 71A, Body inter-
nal trim, Quarter panel trim: Removal - Refit-
ting, page 71A-12) .
-the B-pillar upper trims (see 71A, Body internal
trim, B-pillar upper trim: Removal - Refitting,
page 71A-10) ,
-the rear panel trims (see 71A, Body internal trim,
Rear panel lining: Removal - Refitting, page
71A-14) ,
-the rear parcel shelf side trim panels (see 71A,
Body internal trim, Rear parcel shelf side trim:
Removal - Refitting, page 71A-15) ,
-the rear bench seatback (depending on equipment
level) (see 76A, Rear seat frames and mecha-
nisms, Rear bench seatback: Removal - Refit-
ting, page 76A-5) (MR 412, 76A, Rear seat frame
and runners),aRefit:
-the sunroof switch plate (see Sunroof switch: Re-
moval - Refitting) (MR 411, 87D, Electric window
winders - Sunroof),
-the sunroof finishing seal (2) .
aFit the sun visor headlining cross member mounting
trim piece (1) .
aRefit the front side door and tailgate seals.
aConnect the battery (see Battery: Removal - Refit-
ting) (MR 411, 80A, Battery).
aUnlock the airbag computer using Diagnostic tool
(see Fault finding - Replacement of components)
(MR 413, 88C, Airbags and pretensioners). OPENING ROOF
OPENING ROOF
Page 10 of 60
71A-7
BODY INTERNAL TRIM
Front door sill lining: Removal - Refitting
71A
REMOVAL
I - REMOVAL PREPARATION OPERATION
aUnclip the bonnet release catch.
aPartially remove the front side door seal.
aRemove:
-the front seat belt lower mounting (see Front seat
belt: Removal - Refitting) (MR 412, 59A, Safety
equipment),
-the rear parcel shelf side trim (see 71A, Body in-
ternal trim, Rear parcel shelf side trim: Removal
- Refitting, page 71A-15) ,
-the rear panel trim (see 71A, Body internal trim,
Rear panel lining: Removal - Refitting, page
71A-14) .II - OPERATION FOR REMOVAL OF PART
CONCERNED
aUnclip the front door sill lining.
REFITTING
I - REFITTING OPERATION FOR PART
CONCERNED
aClip on the front door sill lining.
II - FINAL OPERATION.
aRefit:
-the rear panel trim (see 71A, Body internal trim,
Rear panel lining: Removal - Refitting, page
71A-14) ,
-the rear parcel shelf side trim (see 71A, Body in-
ternal trim, Rear parcel shelf side trim: Removal
- Refitting, page 71A-15) ,
-the front seat belt lower mounting (see Front seat
belt: Removal - Refitting) (MR 412, 59A, Safety
equipment),
-the front side door seal.
aFit the bonnet release catch.
121144
121143
Note:
The front seat does not need to be removed to
remove the front door sill lining.