ECU SAAB 9-3 2008 Owner's Manual
[x] Cancel search | Manufacturer: SAAB, Model Year: 2008, Model line: 9-3, Model: SAAB 9-3 2008Pages: 320, PDF Size: 56.39 MB
Page 56 of 320
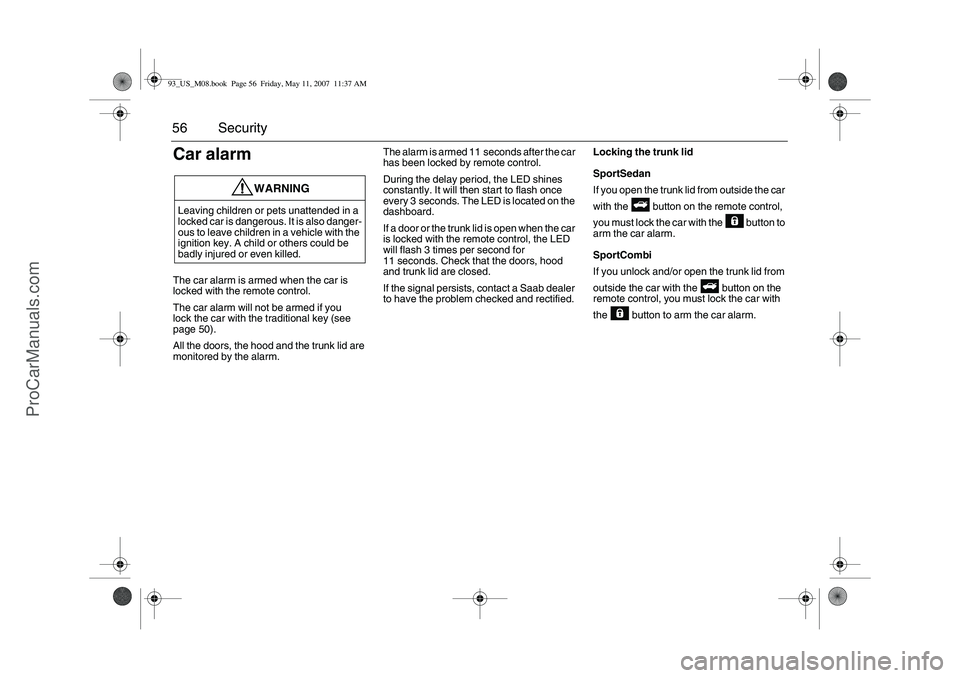
56 SecurityCar alarmThe car alarm is armed when the car is
locked with the remote control.
The car alarm will not be armed if you
lock the car with the traditional key (see
page 50).
All the doors, the hood and the trunk lid are
monitored by the alarm.The alarm is armed 11 seconds after the car
has been locked by remote control.
During the delay period, the LED shines
constantly. It will then start to flash once
every 3 seconds. The LED is located on the
dashboard.
If a door or the trunk lid is open when the car
is locked with the remote control, the LED
will flash 3 times per second for
11 seconds. Check that the doors, hood
and trunk lid are closed.
If the signal persists, contact a Saab dealer
to have the problem checked and rectified.Locking the trunk lid
SportSedan
If you open the trunk lid from outside the car
with the button on the remote control,
you must lock the car with the button to
arm the car alarm.
SportCombi
If you unlock and/or open the trunk lid from
outside the car with the button on the
remote control, you must lock the car with
the button to arm the car alarm.
WARNING
Leaving children or pets unattended in a
locked car is dangerous. It is also danger-
ous to leave children in a vehicle with the
ignition key. A child or others could be
badly injured or even killed.93_US_M08.book Page 56 Friday, May 11, 2007 11:37 AM
ProCarManuals.com
Page 57 of 320
57 Security
To avoid any inconvenience, make sure that
anyone using the car is familiar with how the
car alarm and the locking system work.
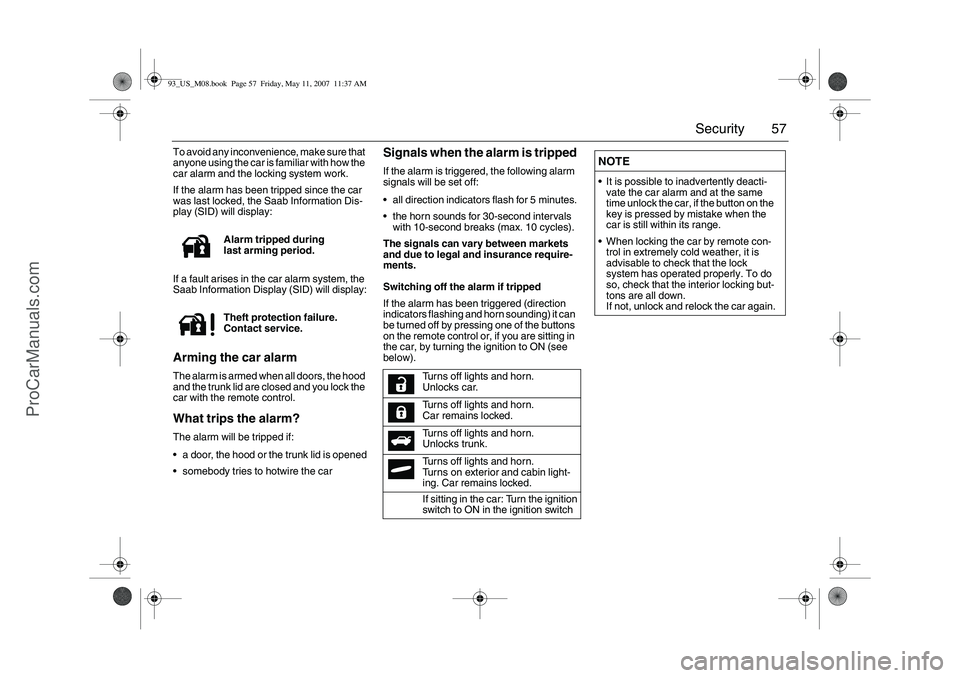
If the alarm has been tripped since the car
was last locked, the Saab Information Dis-
play (SID) will display:
If a fault arises in the car alarm system, the
Saab Information Display (SID) will display:Arming the car alarmThe alarm is armed when all doors, the hood
and the trunk lid are closed and you lock the
car with the remote control.What trips the alarm?The alarm will be tripped if:
a door, the hood or the trunk lid is opened
somebody tries to hotwire the car
Signals when the alarm is trippedIf the alarm is triggered, the following alarm
signals will be set off:
all direction indicators flash for 5 minutes.
the horn sounds for 30-second intervals
with 10-second breaks (max. 10 cycles).
The signals can vary between markets
and due to legal and insurance require-
ments.
Switching off the alarm if tripped
If the alarm has been triggered (direction
indicators flashing and horn sounding) it can
be turned off by pressing one of the buttons
on the remote control or, if you are sitting in
the car, by turning the ignition to ON (see
below). Alarm tripped during
last arming period.
Theft protection failure.
Contact service.
Turns off lights and horn.
Unlocks car.
Turns off lights and horn.
Car remains locked.
Turns off lights and horn.
Unlocks trunk.
Turns off lights and horn.
Turns on exterior and cabin light-
ing. Car remains locked.
If sitting in the car: Turn the ignition
switch to ON in the ignition switch
NOTEIt is possible to inadvertently deacti-
vate the car alarm and at the same
time unlock the car, if the button on the
key is pressed by mistake when the
car is still within its range.
When locking the car by remote con-
trol in extremely cold weather, it is
advisable to check that the lock
system has operated properly. To do
so, check that the interior locking but-
tons are all down.
If not, unlock and relock the car again.
93_US_M08.book Page 57 Friday, May 11, 2007 11:37 AM
ProCarManuals.com
Page 58 of 320
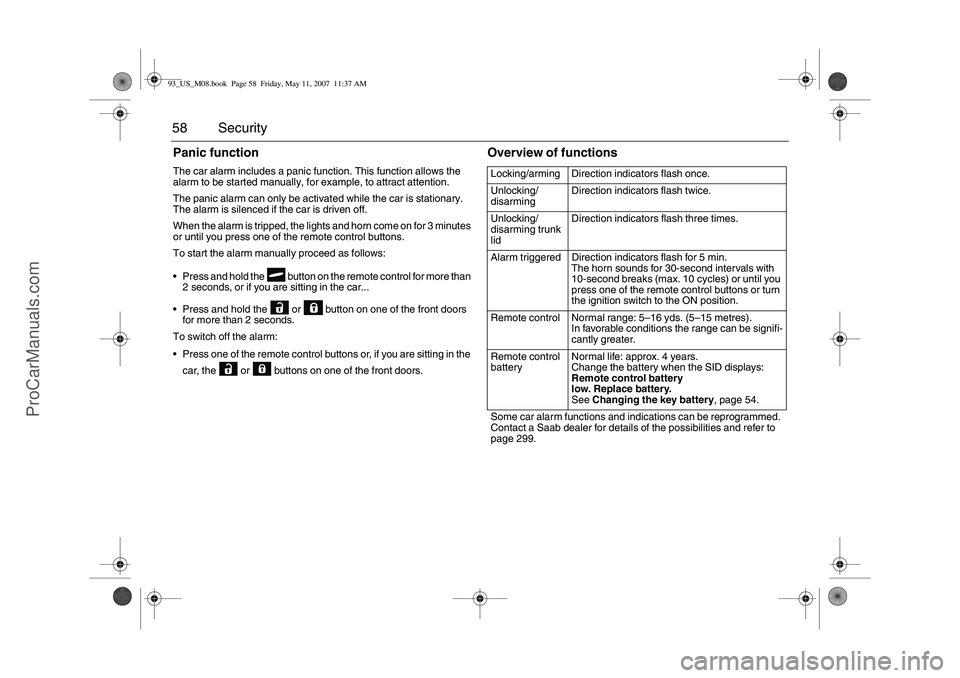
58 SecurityPanic functionThe car alarm includes a panic function. This function allows the
alarm to be started manually, for example, to attract attention.
The panic alarm can only be activated while the car is stationary.
The alarm is silenced if the car is driven off.
When the alarm is tripped, the lights and horn come on for 3 minutes
or until you press one of the remote control buttons.
To start the alarm manually proceed as follows:
Press and hold the button on the remote control for more than
2 seconds, or if you are sitting in the car...
Press and hold the or button on one of the front doors
for more than 2 seconds.
To switch off the alarm:
Press one of the remote control buttons or, if you are sitting in the
car, the or buttons on one of the front doors.
Overview of functionsLocking/arming Direction indicators flash once.
Unlocking/
disarmingDirection indicators flash twice.
Unlocking/
disarming trunk
lidDirection indicators flash three times.
Alarm triggered Direction indicators flash for 5 min.
The horn sounds for 30-second intervals with
10-second breaks (max. 10 cycles) or until you
press one of the remote control buttons or turn
the ignition switch to the ON position.
Remote control Normal range: 5–16 yds. (5–15 metres).
In favorable conditions the range can be signifi-
cantly greater.
Remote control
batteryNormal life: approx. 4 years.
Change the battery when the SID displays:
Remote control battery
low. Replace battery.
See Changing the key battery, page 54.
Some car alarm functions and indications can be reprogrammed.
Contact a Saab dealer for details of the possibilities and refer to
page 299.
93_US_M08.book Page 58 Friday, May 11, 2007 11:37 AM
ProCarManuals.com
Page 59 of 320
59 Security
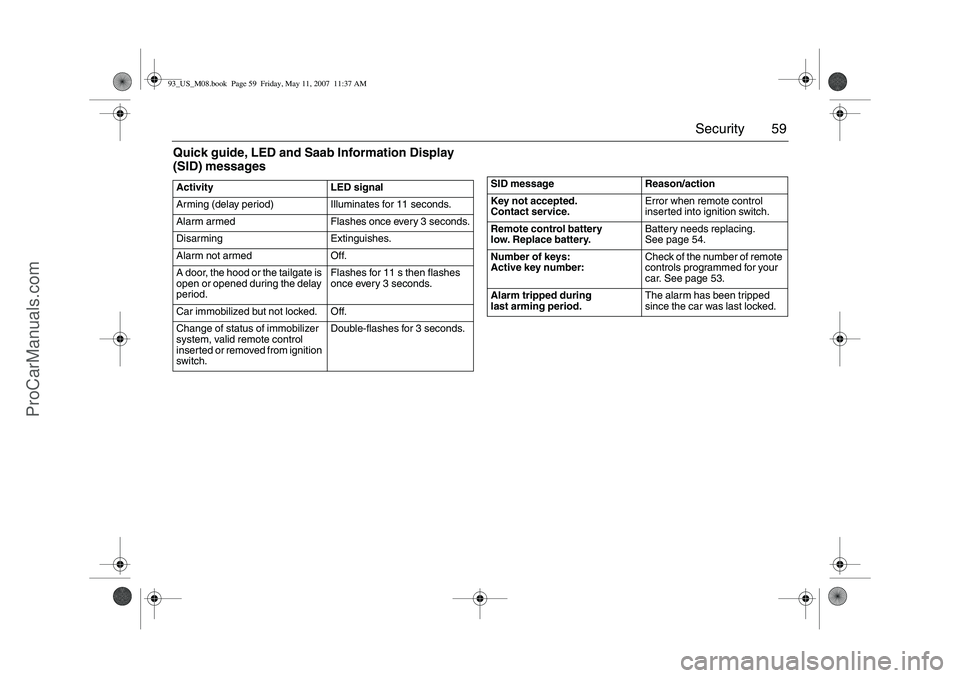
Quick guide, LED and Saab Information Display
(SID) messagesActivity LED signal
Arming (delay period) Illuminates for 11 seconds.
Alarm armed Flashes once every 3 seconds.
Disarming Extinguishes.
Alarm not armed Off.
A door, the hood or the tailgate is
open or opened during the delay
period.Flashes for 11 s then flashes
once every 3 seconds.
Car immobilized but not locked. Off.
Change of status of immobilizer
system, valid remote control
inserted or removed from ignition
switch.Double-flashes for 3 seconds.
SID message Reason/action
Key not accepted.
Contact service.Error when remote control
inserted into ignition switch.
Remote control battery
low. Replace battery.Battery needs replacing.
Seepage54.
Number of keys:
Active key number:Check of the number of remote
controls programmed for your
car. See page 53.
Alarm tripped during
last arming period.The alarm has been tripped
since the car was last locked.
93_US_M08.book Page 59 Friday, May 11, 2007 11:37 AM
ProCarManuals.com
Page 60 of 320
60 Security(This page has been left blank.)93_US_M08.book Page 60 Friday, May 11, 2007 11:37 AM
ProCarManuals.com
Page 66 of 320
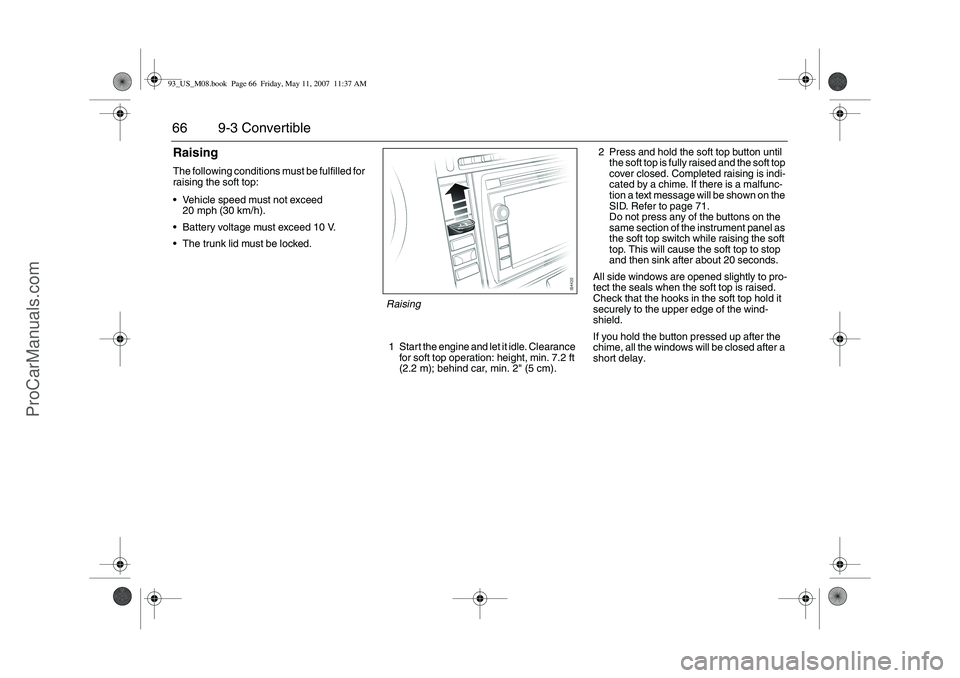
66 9-3 ConvertibleRaisingThe following conditions must be fulfilled for
raising the soft top:
Vehicle speed must not exceed
20 mph (30 km/h).
Battery voltage must exceed 10 V.
The trunk lid must be locked.
1 Start the engine and let it idle. Clearance
for soft top operation: height, min. 7.2 ft
(2.2 m); behind car, min. 2" (5 cm).2 Press and hold the soft top button until
the soft top is fully raised and the soft top
cover closed. Completed raising is indi-
cated by a chime. If there is a malfunc-
tion a text message will be shown on the
SID. Refer to page 71.
Do not press any of the buttons on the
same section of the instrument panel as
the soft top switch while raising the soft
top. This will cause the soft top to stop
and then sink after about 20 seconds.
All side windows are opened slightly to pro-
tect the seals when the soft top is raised.
Check that the hooks in the soft top hold it
securely to the upper edge of the wind-
shield.
If you hold the button pressed up after the
chime, all the windows will be closed after a
short delay.
Raising
93_US_M08.book Page 66 Friday, May 11, 2007 11:37 AM
ProCarManuals.com
Page 75 of 320
75 9-3 Convertible
Safety belts, rear seat,
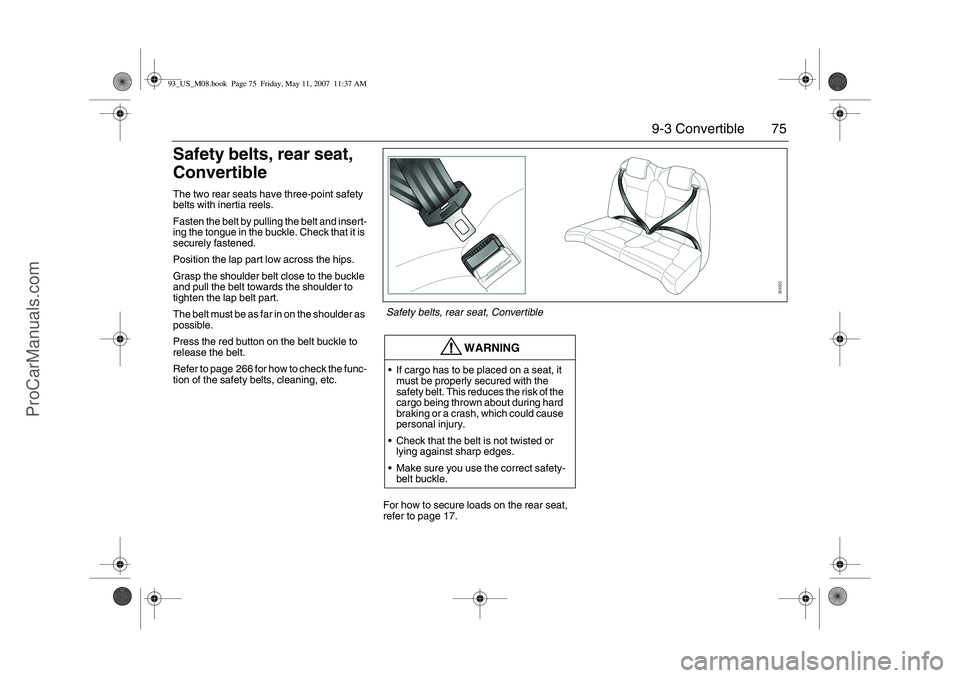
ConvertibleThe two rear seats have three-point safety
belts with inertia reels.
Fasten the belt by pulling the belt and insert-
ing the tongue in the buckle. Check that it is
securely fastened.
Position the lap part low across the hips.
Grasp the shoulder belt close to the buckle
and pull the belt towards the shoulder to
tighten the lap belt part.
The belt must be as far in on the shoulder as
possible.
Press the red button on the belt buckle to
release the belt.
Refer to page 266 for how to check the func-
tion of the safety belts, cleaning, etc.
For how to secure loads on the rear seat,
refer to page 17.
WARNING
If cargo has to be placed on a seat, it
must be properly secured with the
safety belt. This reduces the risk of the
cargo being thrown about during hard
braking or a crash, which could cause
personal injury.
Check that the belt is not twisted or
lying against sharp edges.
Make sure you use the correct safety-
belt buckle.Safety belts, rear seat, Convertible
93_US_M08.book Page 75 Friday, May 11, 2007 11:37 AM
ProCarManuals.com
Page 125 of 320

125 Interior equipment
Interior rearview mirrorThe interior rearview mirror is of the auto-
dimming type and can be deflected with the
lever on its underside. Certain variants have
an autodimming rearview mirror.
The lever should be in the normal position
when you adjust the mirror.
Interior rearview mirror with
garage opener, autodimming
function and compass3
33 3
Retain your original garage door opener
(transmitter) for future programming proce-
dures (i.e., new vehicle purchase). It is also
suggested that upon the sale of the vehicle,
the programmed garage opener buttons be
erased for security purposes, see
page 128.
WARNING
Make sure that people and objects are out
of the way of moving door or gate to pre-
vent potential harm or damage.
When programming the garage opener,
you may be operating a garage door or
gate operator. Therefore it is advised to
park outside of the garage.
Do not use the garage opener with any
garage door opener that lacks the safety
stop and reverse feature as required by
federal safety standards. (This includes
any garage door opener model manufac-
tured before April 1, 1982.). A garage
door opener which cannot detect an
object, signaling the door to stop and
reverse, does not meet current federal
safety standards. Using a garage door
opener without these features increases
risk of serious injury or death.
Mirror position lever1 Normal position
2 Antidazzle position
Buttons for garage opener, autodimming
and compass
1–3 Garage opener
4LED
5 Autodimming/compass ON/OFF
6 Compass bearing
93_US_M08.book Page 125 Friday, May 11, 2007 11:37 AM
ProCarManuals.com
Page 128 of 320

128 Interior equipmentErasing the three buttons
To erase programming from the three but-
tons (individual buttons cannot be erased
but can be "reprogrammed" as outlined
below), follow the step noted:
Press and hold the two outer buttons until
the indicator light begins to flash-after
20 seconds. Release both buttons. Do
not hold for longer that 30 seconds. The
garage opener is now in the train (or
learning) mode and can be programmed
at any time beginning with "Programming"
- step 3.Opening a garage door
To operate, simply press and release the
programmed button. Activation will now
occur for the trained device (i.e. garage door
opener, gate operator, security system,
entry door lock, home/office lighting, etc.).
For convenience, the hand-held transmitter
of the device may also be used at any time.
AutodimmingPress button 5 briefly to switch autodimming
on or off. When autodimming is switched on,
a 1 is displayed briefly in the compass win-
dow. A 0 indicates that autodimming is
switched off.Buttons for garage opener, autodimming
and compass
1–3 Garage opener
4LED
5 Autodimming/compass ON/OFF
6 Compass bearing
93_US_M08.book Page 128 Friday, May 11, 2007 11:37 AM
ProCarManuals.com
Page 140 of 320

140 Interior equipmentLoad-through hatch, SportSedanConvertible: There is no load-through hatch.
A load-through hatch is incorporated in the rear seat backrest to
enable long, narrow items to be carried inside the car.
Before loading or unloading long items, switch off the engine and
apply the parking brake. This avoids the danger of the car moving
off if a long item were to knock the gear or selector lever into gear.
Fold down the armrest and open the hatch by lifting the handle.
There is a lock on the rear side of the hatch. Use this to lock or unlock
the hatch.
To lock: Open the hatch and lock the lock. Close the hatch. The
hatch is now locked.
To unlock: Fold down the wide section of the backrest and unlock
the lock. Alternatively, you can unlock the hatch from the trunk.
WARNING
Always secure the load firmly, for example using the middle
safety belt. This reduces the danger of personal injury result-
ing from the displacement of the load on hard braking or in the
event of a crash.
Do not exceed the load capacity of the car, as this will alter its
handling characteristics (see page 286).93_US_M08.book Page 140 Friday, May 11, 2007 11:37 AM
ProCarManuals.com