ECU SATURN AURA 2010 Owner's Guide
[x] Cancel search | Manufacturer: SATURN, Model Year: 2010, Model line: AURA, Model: SATURN AURA 2010Pages: 428, PDF Size: 2.78 MB
Page 106 of 428

Adding Equipment to Your
Airbag-Equipped Vehicle
Q:Is there anything I might add to or change
about the vehicle that could keep the airbags
from working properly?
A:Yes. If you add things that change your vehicle’s
frame, bumper system, height, front end or side
sheet metal, they may keep the airbag system from
working properly. Changing or moving any parts
of the front seats, safety belts, the airbag sensing
and diagnostic module, steering wheel, instrument
panel, roof-rail airbag modules, ceiling headliner
or pillar garnish trim, overhead console, front
sensors, side impact sensors, or airbag wiring can
affect the operation of the airbag system.
In addition, your vehicle has a passenger sensing
system for the right front passenger’s position,
which includes sensors that are part of the
passenger’s seat. The passenger sensing system
may not operate properly if the original seat
trim is replaced with non-GM covers, upholstery or
trim, or with GM covers, upholstery or trim
designed for a different vehicle. Any object, such as
an aftermarket seat heater or a comfort enhancingpad or device, installed under or on top of the seat
fabric, could also interfere with the operation of
the passenger sensing system. This could either
prevent proper deployment of the passenger
airbag(s) or prevent the passenger sensing system
from properly turning off the passenger airbag(s).
SeePassenger Sensing System on page 2-68.
If you have any questions about this, you should
contact Customer Assistance before you modify
your vehicle. The phone numbers and addresses for
Customer Assistance are in Step Two of the
Customer Satisfaction Procedure in this manual.
SeeCustomer Satisfaction Procedure on page 8-2.
Q:Because I have a disability, I have to get
my vehicle modi�ed. How can I �nd out whether
this will affect my airbag system?
A:If you have questions, call Customer Assistance.
The phone numbers and addresses for Customer
Assistance are in Step Two of the Customer
Satisfaction Procedure in this manual. See
Customer Satisfaction Procedure on page 8-2.
In addition, your dealer/retailer and the service manual
have information about the location of the airbag
sensors, sensing and diagnostic module and airbag
wiring.
2-74
ProCarManuals.com
Page 109 of 428

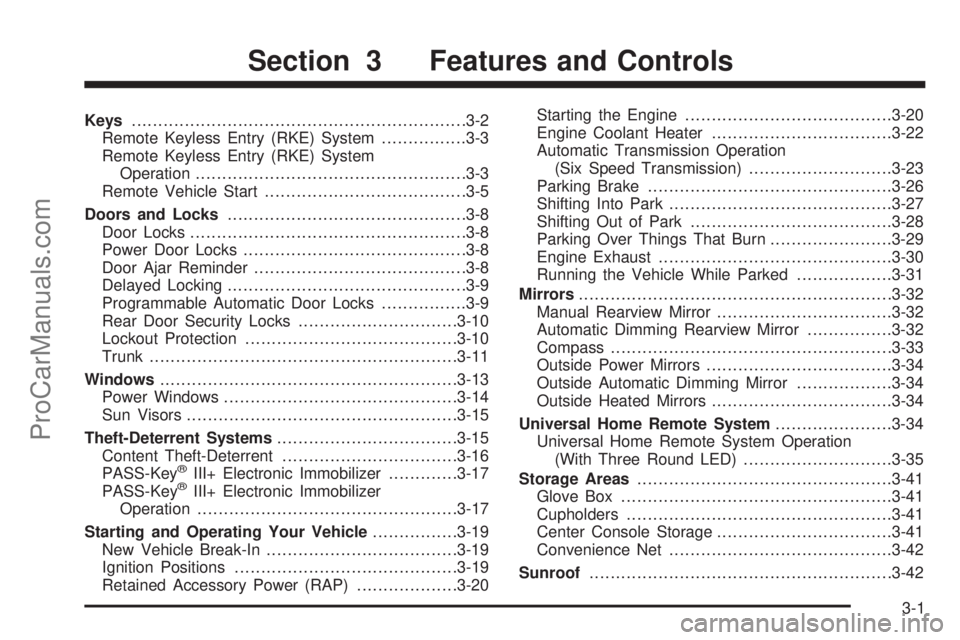
Keys...............................................................3-2
Remote Keyless Entry (RKE) System................3-3
Remote Keyless Entry (RKE) System
Operation...................................................3-3
Remote Vehicle Start......................................3-5
Doors and Locks.............................................3-8
Door Locks....................................................3-8
Power Door Locks..........................................3-8
Door Ajar Reminder........................................3-8
Delayed Locking.............................................3-9
Programmable Automatic Door Locks................3-9
Rear Door Security Locks..............................3-10
Lockout Protection........................................3-10
Trunk..........................................................3-11
Windows........................................................3-13
Power Windows............................................3-14
Sun Visors...................................................3-15
Theft-Deterrent Systems..................................3-15
Content Theft-Deterrent.................................3-16
PASS-Key
®III+ Electronic Immobilizer.............3-17
PASS-Key®III+ Electronic Immobilizer
Operation.................................................3-17
Starting and Operating Your Vehicle................3-19
New Vehicle Break-In....................................3-19
Ignition Positions..........................................3-19
Retained Accessory Power (RAP)...................3-20Starting the Engine.......................................3-20
Engine Coolant Heater..................................3-22
Automatic Transmission Operation
(Six Speed Transmission)...........................3-23
Parking Brake..............................................3-26
Shifting Into Park..........................................3-27
Shifting Out of Park......................................3-28
Parking Over Things That Burn.......................3-29
Engine Exhaust............................................3-30
Running the Vehicle While Parked..................3-31
Mirrors...........................................................3-32
Manual Rearview Mirror.................................3-32
Automatic Dimming Rearview Mirror................3-32
Compass.....................................................3-33
Outside Power Mirrors...................................3-34
Outside Automatic Dimming Mirror..................3-34
Outside Heated Mirrors..................................3-34
Universal Home Remote System......................3-34
Universal Home Remote System Operation
(With Three Round LED)............................3-35
Storage Areas................................................3-41
Glove Box...................................................3-41
Cupholders..................................................3-41
Center Console Storage.................................3-41
Convenience Net..........................................3-42
Sunroof.........................................................3-42
Section 3 Features and Controls
3-1
ProCarManuals.com
Page 118 of 428

Rear Door Security Locks
Rear door security locks prevent passengers from
opening the rear doors from the inside.
The rear door security locks are located on the inside
edge of each rear door. The rear doors must be opened
to access them.
To assist in finding the lock, the vehicle has the following:
To use the lock:
1. Insert the key into the security lock slot and turn it
so the slot is in the horizontal position.
2. Close the door.
3. Do the same for the other rear door.To open a rear door when the security lock is on, do the
following:
1. Unlock the door using the Remote Keyless Entry
(RKE) transmitter, if the vehicle has one, the
power door lock switch, or by lifting the rear door
manual lock.
2. Open the door from the outside.
To cancel the rear door security lock:
1. Unlock the door and open it from the outside.
2. Insert the key into the security lock slot and turn it
so the slot is in the vertical position.
3. Do the same for the other rear door.
Lockout Protection
This feature prevents the driver door from being locked
using the power door locks, if the key is left in the
ignition and a door is open.
Press the power door lock switch to lock all the doors
and then unlock the driver door.
Press and hold the power door lock switch for more
than three seconds to override this feature.
If the key is removed from the ignition, or if the manual
door lock or the Remote Keyless Entry (RKE)
transmitter is used, the key could still be locked inside
the vehicle. Always remember to take the key with you.
3-10
ProCarManuals.com
Page 120 of 428

Remote Trunk Release
Press the button located
on the driver’s door near
the map pocket to open the
trunk.
The trunk can only be opened while the vehicle is in
P (Park).
To close the trunk use the pullstrap located on the
trunk lid.
Emergency Trunk Release Handle
Notice:Do not use the emergency trunk release
handle as a tie-down or anchor point when securing
items in the trunk as it could damage the handle.
The emergency trunk release handle is only
intended to aid a person trapped in a latched trunk,
enabling them to open the trunk from the inside.
There is a glow-in-the-dark emergency trunk release
handle located inside the trunk on the trunk latch. This
handle glows following exposure to light. Pull the
release handle up to open the trunk from the inside.
3-12
ProCarManuals.com
Page 124 of 428

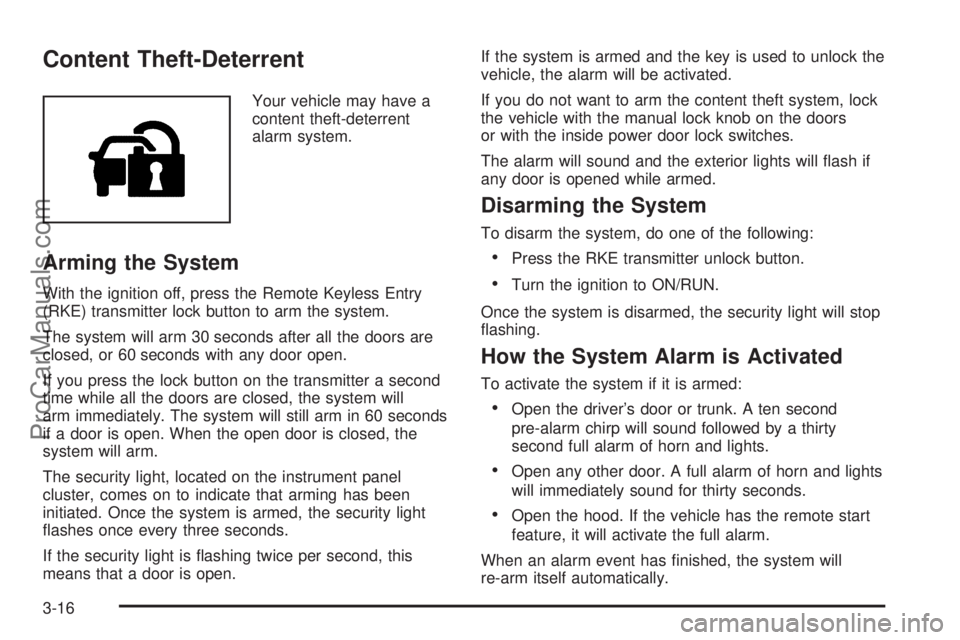
Content Theft-Deterrent
Your vehicle may have a
content theft-deterrent
alarm system.
Arming the System
With the ignition off, press the Remote Keyless Entry
(RKE) transmitter lock button to arm the system.
The system will arm 30 seconds after all the doors are
closed, or 60 seconds with any door open.
If you press the lock button on the transmitter a second
time while all the doors are closed, the system will
arm immediately. The system will still arm in 60 seconds
if a door is open. When the open door is closed, the
system will arm.
The security light, located on the instrument panel
cluster, comes on to indicate that arming has been
initiated. Once the system is armed, the security light
flashes once every three seconds.
If the security light is flashing twice per second, this
means that a door is open.If the system is armed and the key is used to unlock the
vehicle, the alarm will be activated.
If you do not want to arm the content theft system, lock
the vehicle with the manual lock knob on the doors
or with the inside power door lock switches.
The alarm will sound and the exterior lights will flash if
any door is opened while armed.
Disarming the System
To disarm the system, do one of the following:
•Press the RKE transmitter unlock button.
•Turn the ignition to ON/RUN.
Once the system is disarmed, the security light will stop
flashing.
How the System Alarm is Activated
To activate the system if it is armed:
•Open the driver’s door or trunk. A ten second
pre-alarm chirp will sound followed by a thirty
second full alarm of horn and lights.
•Open any other door. A full alarm of horn and lights
will immediately sound for thirty seconds.
•Open the hood. If the vehicle has the remote start
feature, it will activate the full alarm.
When an alarm event has finished, the system will
re-arm itself automatically.
3-16
ProCarManuals.com
Page 125 of 428

How to Turn Off the System Alarm
To turn off the system alarm:
•Press the lock button on the RKE transmitter. The
system will then re-arm itself.
•Press the unlock button on the RKE transmitter.
This will also disarm the system.
•Insert the key in the ignition and turn it on. This will
also disarm the system.
How to Detect a Tamper Condition
If three chirps are heard when the unlock or lock button
is pressed on the RKE transmitter, it means that the
content theft security system alarm was previously
triggered.
PASS-Key®III+ Electronic
Immobilizer
SeeRadio Frequency Statement on page 8-17for
information regarding Part 15 of the Federal
Communications Commission (FCC) Rules and
RSS-210/211 of Industry and Science Canada.
PASS-Key®III+ Electronic
Immobilizer Operation
Your vehicle has PASS-Key®III+ (Personalized
Automotive Security System) theft-deterrent system.
PASS-Key
®III+ is a passive theft-deterrent system.
The system is automatically armed when the key
is removed from the ignition.
You do not have to manually arm or disarm the system.
The security light will come on if there is a problem
with arming or disarming the theft-deterrent system.
When the PASS-Key
®III+ system senses that someone
is using the wrong key, it prevents the vehicle from
starting. Anyone using a trial-and-error method to start
the vehicle will be discouraged because of the high
number of electrical key codes.
When trying to start the vehicle if the engine does not
start and the security light on the instrument panel
cluster comes on, there may be a problem with your
theft-deterrent system. Turn the ignition off and try again.
3-17
ProCarManuals.com
Page 126 of 428

If the engine still does not start, and the key appears to
be not damaged, try another ignition key. At this
time, you may also want to check the fuse. SeeFuses
on page 6-97. If the engine still does not start with
the other key, your vehicle needs service. If your vehicle
does start, the first key may be faulty. See your
dealer/retailer who can service the PASS-Key
®III+ to
have a new key made. In an emergency, contact
Roadside Assistance. SeeRoadside Assistance
Program on page 8-6.
It may be possible for the PASS-Key
®III+ decoder to
“learn” the transponder value of a new or replacement
key. Up to 10 keys may be programmed for the vehicle.
The following procedure is for programming additional
keys only. If all the currently programmed keys are
lost or do not operate, you must see your dealer/retailer
or a locksmith who can service PASS-Key
®III+ to
have keys made and programmed to the system.
See your dealer/retailer or a locksmith who can service
PASS-Key
®III+ to get a new key blank that is cut
exactly as the ignition key that operates the system.
To program the new key:
1. Verify that the new key has a
1stamped on it.
2. Insert the already programmed key in the ignition
and start the engine. If the engine will not start,
see your dealer/retailer for service.3. After the engine has started, turn the key to
LOCK/OFF, and remove the key.
4. Insert the key to be programmed and turn it to the
ON/RUN position within five seconds of the original
key being turned to the LOCK/OFF position.
The security light will turn off once the key has
been programmed.
5. Repeat Steps 1 through 4 if additional keys are to
be programmed.
If you are ever driving and the security light comes on
and stays on, you may be able to restart your engine if
you turn it off. Your PASS-Key
®III+ system, however,
is not working properly and must be serviced by
your dealer/retailer. Your vehicle is not protected by the
PASS-Key
®III+ system at this time.
If the PASS-Key
®III+ key is lost or damaged, see your
dealer/retailer or a locksmith who can service
PASS-Key
®III+ to have a new key made.
Do not leave the key or device that disarms or
deactivates the theft deterrent system in the vehicle.
3-18
ProCarManuals.com
Page 143 of 428

Universal Home Remote System
Operation (With Three Round LED)
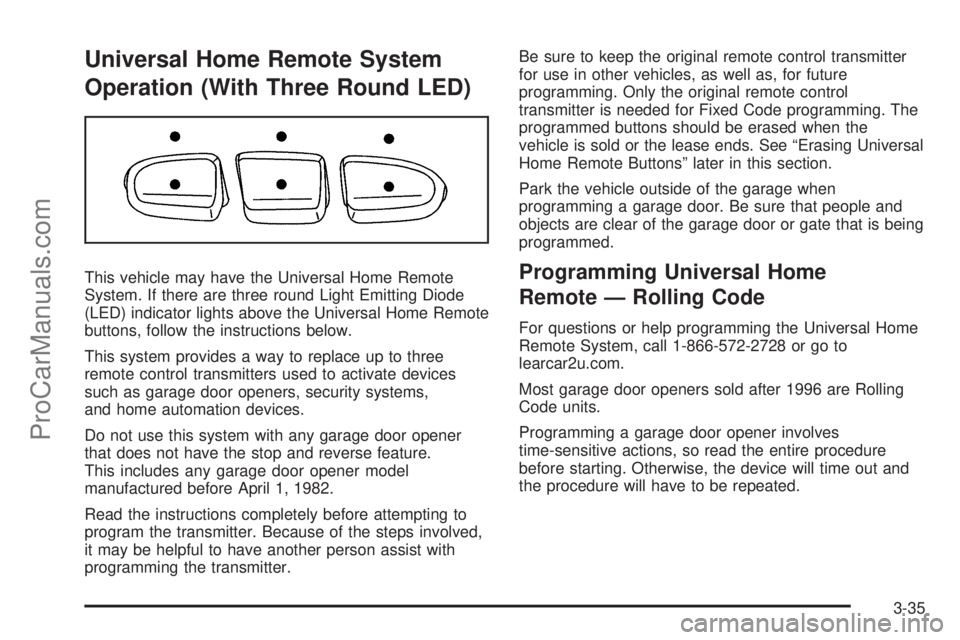
This vehicle may have the Universal Home Remote
System. If there are three round Light Emitting Diode
(LED) indicator lights above the Universal Home Remote
buttons, follow the instructions below.
This system provides a way to replace up to three
remote control transmitters used to activate devices
such as garage door openers, security systems,
and home automation devices.
Do not use this system with any garage door opener
that does not have the stop and reverse feature.
This includes any garage door opener model
manufactured before April 1, 1982.
Read the instructions completely before attempting to
program the transmitter. Because of the steps involved,
it may be helpful to have another person assist with
programming the transmitter.Be sure to keep the original remote control transmitter
for use in other vehicles, as well as, for future
programming. Only the original remote control
transmitter is needed for Fixed Code programming. The
programmed buttons should be erased when the
vehicle is sold or the lease ends. See “Erasing Universal
Home Remote Buttons” later in this section.
Park the vehicle outside of the garage when
programming a garage door. Be sure that people and
objects are clear of the garage door or gate that is being
programmed.Programming Universal Home
Remote — Rolling Code
For questions or help programming the Universal Home
Remote System, call 1-866-572-2728 or go to
learcar2u.com.
Most garage door openers sold after 1996 are Rolling
Code units.
Programming a garage door opener involves
time-sensitive actions, so read the entire procedure
before starting. Otherwise, the device will time out and
the procedure will have to be repeated.
3-35
ProCarManuals.com
Page 144 of 428

To program up to three devices:
1. From inside the vehicle, press the two outside
buttons at the same time for one to two seconds,
and immediately release them.2. Locate in the garage, the garage door opener
receiver (motor-head unit). Locate the “Learn”
or “Smart” button. It can usually be found where the
hanging antenna wire is attached to the motor-head
unit and may be a colored button. Press this
button. After pressing this button, complete the
following steps in less than 30 seconds.
3. Immediately return to the vehicle. Press and hold
the Universal Home Remote button that will be
used to control the garage door until the garage
door moves. The indicator light, above the selected
button, should slowly blink. This button may
need to be held for up to 20 seconds.
4. Immediately, within one second, release the button
when the garage door moves. The indicator light
will blink rapidly until programming is complete.
5. Press and release the same button again. The
garage door should move, confirming that
programming is successful and complete.
To program another Rolling Code device such as an
additional garage door opener, a security device,
or home automation device, repeat Steps 1 through 5,
choosing a different function button in Step 3 than
what was used for the garage door opener.
If these instructions do not work, the garage door
opener is probably a Fixed Code unit. Follow the
Programming instructions that follow for a Fixed Code
garage door opener.
3-36
ProCarManuals.com
Page 148 of 428

5. After entering all of the switch positions, again,
firmly press and release all three buttons at the
same time. The indicator lights will turn on.
6. Press and hold the button that will be used to
control the garage door until the garage door
moves. The indicator light above the selected button
should slowly blink. This button may need to be
held for up to 55 seconds.
7. Immediately release the button when the garage
door moves. The indicator light will blink rapidly
until programming is complete.
8. Press and release the same button again. The
garage door should move, confirming that
programming is successful and complete.
To program another Fixed Code device such as an
additional garage door opener, a security device,
or home automation device, repeat Steps 1-8, choosing
a different button in Step 6 than what was used for
the garage door opener.
Using Universal Home Remote
Press and hold the appropriate button for at least half of
a second. The indicator light will come on while the
signal is being transmitted.
Reprogramming Universal Home
Remote Buttons
Any of the three buttons can be reprogrammed by
repeating the instructions.
Erasing Universal Home Remote
Buttons
The programmed buttons should be erased when the
vehicle is sold or the lease ends.
To erase either Rolling Code or Fixed Code on the
Universal Home Remote device:
1. Press and hold the two outside buttons at the same
time for approximately 20 seconds, until the
indicator lights, located directly above the buttons,
begin to blink rapidly.
2. Once the indicator lights begin to blink, release both
buttons. The codes from all buttons will be erased.
For help or information on the Universal Home Remote
System, call the customer assistance phone number
underCustomer Assistance Offices on page 8-5.
3-40
ProCarManuals.com