start stop button SATURN AURA 2010 Owners Manual
[x] Cancel search | Manufacturer: SATURN, Model Year: 2010, Model line: AURA, Model: SATURN AURA 2010Pages: 428, PDF Size: 2.78 MB
Page 29 of 428
Driving for Better Fuel Economy
Driving habits can affect fuel mileage. Here are some
driving tips to get the best fuel economy possible.
•Avoid fast starts and accelerate smoothly.
•Brake gradually and avoid abrupt stops.
•Avoid idling the engine for long periods of time.
•When road and weather conditions are appropriate,
use cruise control, if equipped.
•Always follow posted speed limits or drive more
slowly when conditions require.
•Keep vehicle tires properly inflated.
•Combine several trips into a single trip.
•Replace the vehicle’s tires with the same
TPC Spec number molded into the tire’s
sidewall near the size.
•Follow recommended scheduled maintenance.
Roadside Assistance Program
U.S.:1-800-553-6000
TTY Users:1-888-889-2438
Canada:1-800-268-6800
As the owner of a new Saturn, you are automatically
enrolled in the Roadside Assistance program. This
program provides technically trained advisors who are
available 24 hours a day, 365 days a year, minor repair
information or towing arrangements.
Roadside Assistance and OnStar
If you have a current OnStar subscription, press the
OnStar button and the current GPS location will be sent
to an OnStar Advisor who will assess your problem,
contact Roadside Assistance, and relay exact location to
get you the help you need.
Online Owner Center
The Online Owner Center is a complimentary service
that includes online service reminders, vehicle
maintenance tips, online owner manual, special
privileges and more.
Sign up today at:www.gmownercenter.com/saturn
(U.S.) orwww.gm.ca(Canada).
1-23
ProCarManuals.com
Page 124 of 428
Content Theft-Deterrent
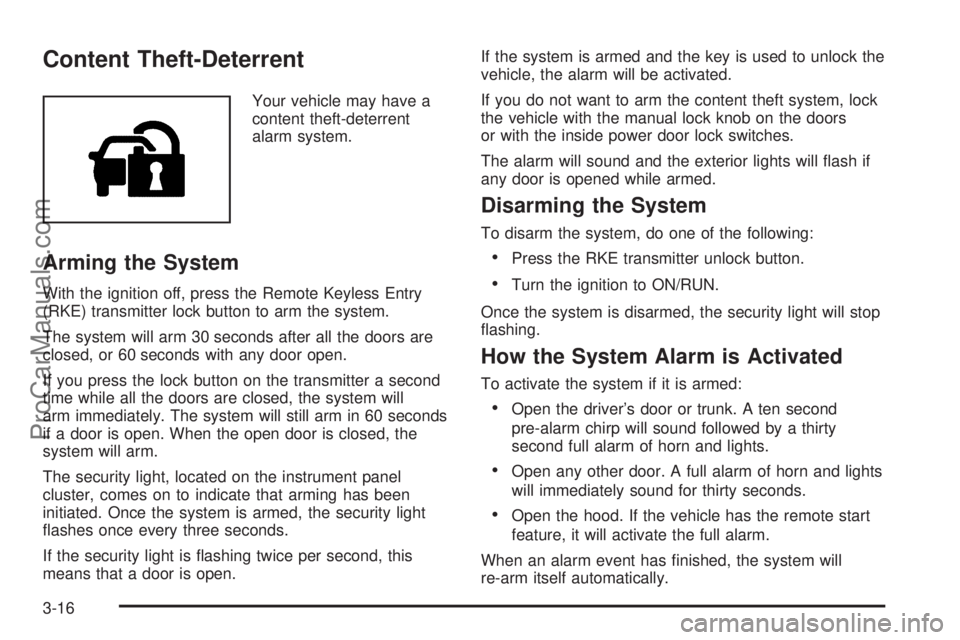
Your vehicle may have a
content theft-deterrent
alarm system.
Arming the System
With the ignition off, press the Remote Keyless Entry
(RKE) transmitter lock button to arm the system.
The system will arm 30 seconds after all the doors are
closed, or 60 seconds with any door open.
If you press the lock button on the transmitter a second
time while all the doors are closed, the system will
arm immediately. The system will still arm in 60 seconds
if a door is open. When the open door is closed, the
system will arm.
The security light, located on the instrument panel
cluster, comes on to indicate that arming has been
initiated. Once the system is armed, the security light
flashes once every three seconds.
If the security light is flashing twice per second, this
means that a door is open.If the system is armed and the key is used to unlock the
vehicle, the alarm will be activated.
If you do not want to arm the content theft system, lock
the vehicle with the manual lock knob on the doors
or with the inside power door lock switches.
The alarm will sound and the exterior lights will flash if
any door is opened while armed.
Disarming the System
To disarm the system, do one of the following:
•Press the RKE transmitter unlock button.
•Turn the ignition to ON/RUN.
Once the system is disarmed, the security light will stop
flashing.
How the System Alarm is Activated
To activate the system if it is armed:
•Open the driver’s door or trunk. A ten second
pre-alarm chirp will sound followed by a thirty
second full alarm of horn and lights.
•Open any other door. A full alarm of horn and lights
will immediately sound for thirty seconds.
•Open the hood. If the vehicle has the remote start
feature, it will activate the full alarm.
When an alarm event has finished, the system will
re-arm itself automatically.
3-16
ProCarManuals.com
Page 134 of 428
Second or Third Gear Start Feature
When accelerating the vehicle from a stop in snowy and
icy conditions, you may want to shift the gear select
tap switch into Second or Third gear. A higher
gear allows you to gain more traction on slippery
surfaces.
With the DSC feature, the vehicle can be set to pull
away in Second or Third gear.
1. Move the shift lever from D (Drive) into the
M (Manual Mode).
2. With the vehicle stopped, press (+) end of the
button to select Second or Third gear. The
vehicle will start from a stop position in Second or
Third gear.
3. Once moving select the desired drive gear.
Parking Brake
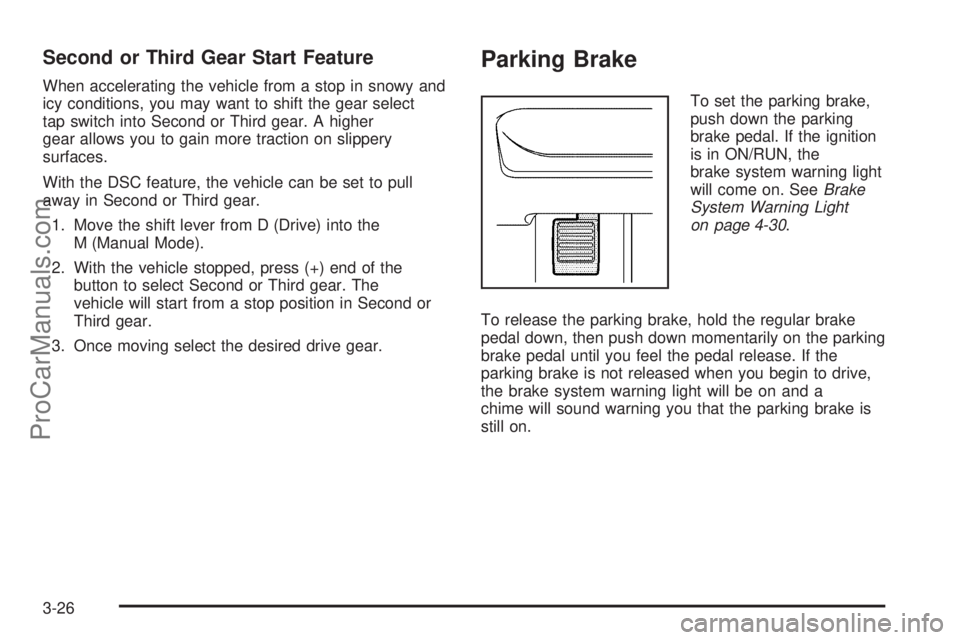
To set the parking brake,
push down the parking
brake pedal. If the ignition
is in ON/RUN, the
brake system warning light
will come on. SeeBrake
System Warning Light
on page 4-30.
To release the parking brake, hold the regular brake
pedal down, then push down momentarily on the parking
brake pedal until you feel the pedal release. If the
parking brake is not released when you begin to drive,
the brake system warning light will be on and a
chime will sound warning you that the parking brake is
still on.
3-26
ProCarManuals.com
Page 143 of 428
Universal Home Remote System
Operation (With Three Round LED)
This vehicle may have the Universal Home Remote
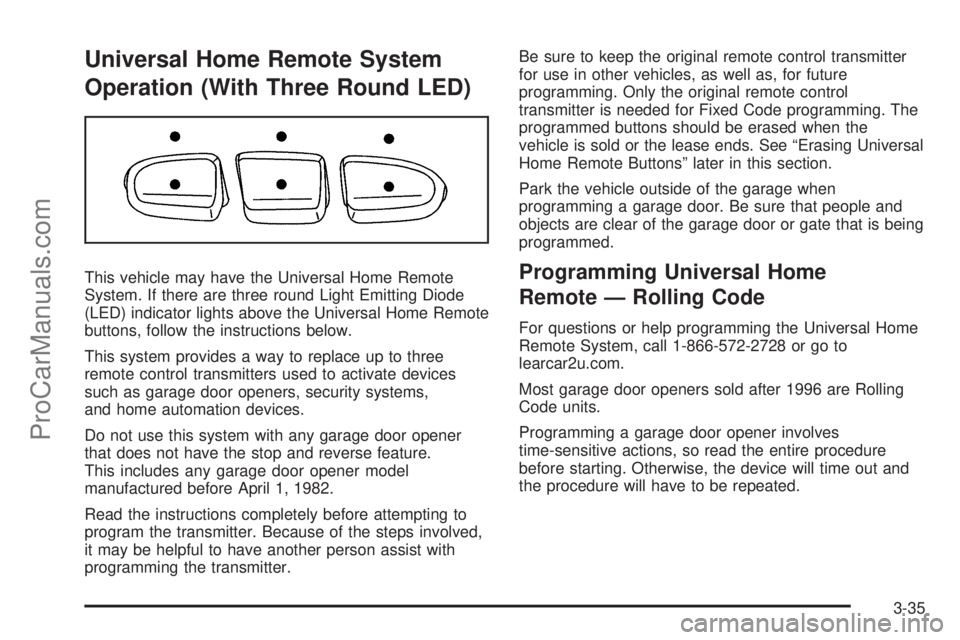
System. If there are three round Light Emitting Diode
(LED) indicator lights above the Universal Home Remote
buttons, follow the instructions below.
This system provides a way to replace up to three
remote control transmitters used to activate devices
such as garage door openers, security systems,
and home automation devices.
Do not use this system with any garage door opener
that does not have the stop and reverse feature.
This includes any garage door opener model
manufactured before April 1, 1982.
Read the instructions completely before attempting to
program the transmitter. Because of the steps involved,
it may be helpful to have another person assist with
programming the transmitter.Be sure to keep the original remote control transmitter
for use in other vehicles, as well as, for future
programming. Only the original remote control
transmitter is needed for Fixed Code programming. The
programmed buttons should be erased when the
vehicle is sold or the lease ends. See “Erasing Universal
Home Remote Buttons” later in this section.
Park the vehicle outside of the garage when
programming a garage door. Be sure that people and
objects are clear of the garage door or gate that is being
programmed.Programming Universal Home
Remote — Rolling Code
For questions or help programming the Universal Home
Remote System, call 1-866-572-2728 or go to
learcar2u.com.
Most garage door openers sold after 1996 are Rolling
Code units.
Programming a garage door opener involves
time-sensitive actions, so read the entire procedure
before starting. Otherwise, the device will time out and
the procedure will have to be repeated.
3-35
ProCarManuals.com
Page 210 of 428

Ejecting a CD
Z
EJECT:Press to eject the CD. If the CD is not
removed, after several seconds, the CD automatically
pulls back into the player.
Playing a CD
If the ignition or radio is turned off with a CD in the
player it stays in the player. When the ignition or radio
is turned on, the CD starts to play where it stopped, if it
was the last selected audio source.
f(Tune):Turn to select tracks on the CD currently
playing.
©SEEK:Press to go to the start of the current track,
if more than ten seconds have played. Press and
hold or press multiple times to continue moving
backward through the tracks on the CD.
¨SEEK:Press to go to the next track. Press and
hold or press multiple times to continue moving forward
through the tracks on the CD.
sREV (Reverse):Press and hold to reverse
playback quickly within a track. Sound is heard at a
reduced volume and the elapsed time of the track
displays. Release to resume playing the track.
\FWD (Fast Forward):Press and hold to advance
playback quickly within a track. Sound is heard at a
reduced volume and the elapsed time of the track
displays. Release to resume playing the track.
RDM (Random):Tracks can be listened to in random,
rather than sequential order.
To use random:
1. Press the softkey below RDM tab until Random
Current Disc displays.
2. Press the softkey again to turn off random play.
BAND:Press to listen to the radio while a CD is
playing. The CD remains inside the radio for future
listening.
CD/AUX (CD/Auxiliary):Press to play a CD while
listening to the radio. The CD icon and a message
showing the track number displays when a CD is in
the player. Press this button again and the system
automatically searches for an auxiliary input device,
such as a portable audio player. If a portable audio
player is not connected, No Aux Input Device Found
may display.
Playing an MP3 CD-R or CD-RW Disc
The radio may have the MP3 CD-R or CD-RW disc
capability feature. For more information, seeUsing an
MP3 on page 4-61later in this section.
4-58
ProCarManuals.com
Page 326 of 428
•One or more TPMS sensors are missing or
damaged. The DIC message and the TPMS
malfunction light should go off when the TPMS
sensors are installed and the sensor matching
process is performed successfully. See your
dealer/retailer for service.
•Replacement tires or wheels do not match your
vehicle’s original equipment tires or wheels.
Tires and wheels other than those recommended
for your vehicle could prevent the TPMS from
functioning properly. SeeBuying New Tires on
page 6-60.
•Operating electronic devices or being near facilities
using radio wave frequencies similar to the TPMS
could cause the TPMS sensors to malfunction.
If the TPMS is not functioning it cannot detect or signal
a low tire condition. See your dealer/retailer for
service if the TPMS malfunction light and DIC message
comes on and stays on.
TPMS Sensor Matching Process
Each TPMS sensor has a unique identification code.
Any time you replace one or more of the TPMS sensors
or rotate the vehicle’s tires, the identification codes
need to be matched to the new tire/wheel location. The
sensors are matched, to the tire/wheel locations, in
the following order: driver side front tire, passenger sidefront tire, passenger side rear tire, and driver side rear
tire using a TPMS diagnostic tool. See your
dealer/retailer for service.
The TPMS sensors can also be matched to each
tire/wheel position by increasing or decreasing the tire’s
air pressure. When increasing the tire’s pressure, do
not exceed the maximum inflation pressure indicated on
the tire’s sidewall. To decrease the tire’s air-pressure
use the pointed end of the valve cap, a pencil-style
air pressure gage, or a key.
You have two minutes to match each tire and wheel
position. If it takes longer than two minutes to match any
tire and wheel position, the matching process stops
and you need to start over.
The TPMS matching process is outlined below:
1. Set the parking brake.
2. Turn the ignition switch to ON/RUN with the
engine off.
3. Press and hold the Remote Keyless Entry (RKE)
transmitter’s LOCK and UNLOCK buttons, at the
same time, for about five seconds to start the TPMS
learn mode. The horn sounds twice indicating the
TPMS receiver is ready and in learn mode.
4. Start with the driver side front tire. The driver side
front turn signal also comes on to indicate that
corner’s sensor is ready to be learned.
6-56
ProCarManuals.com